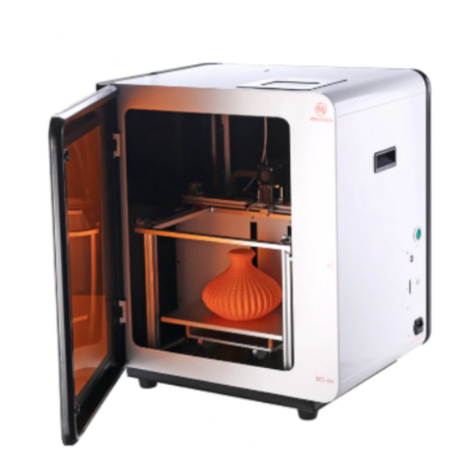
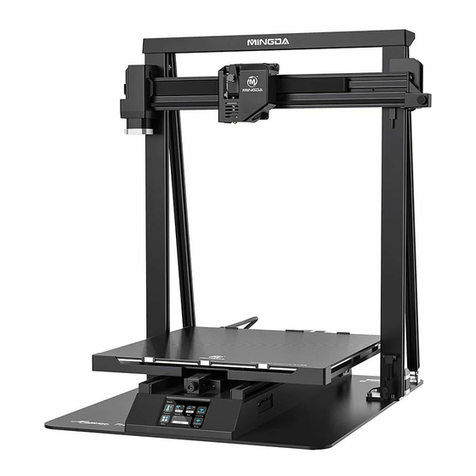
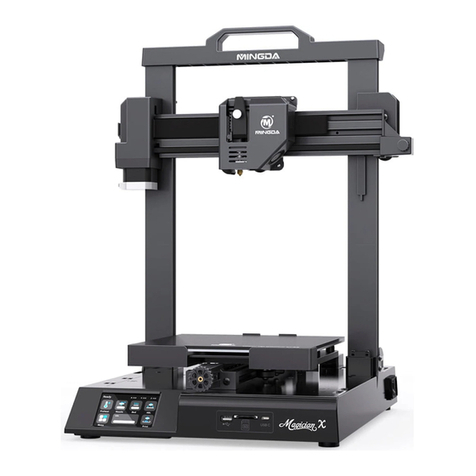
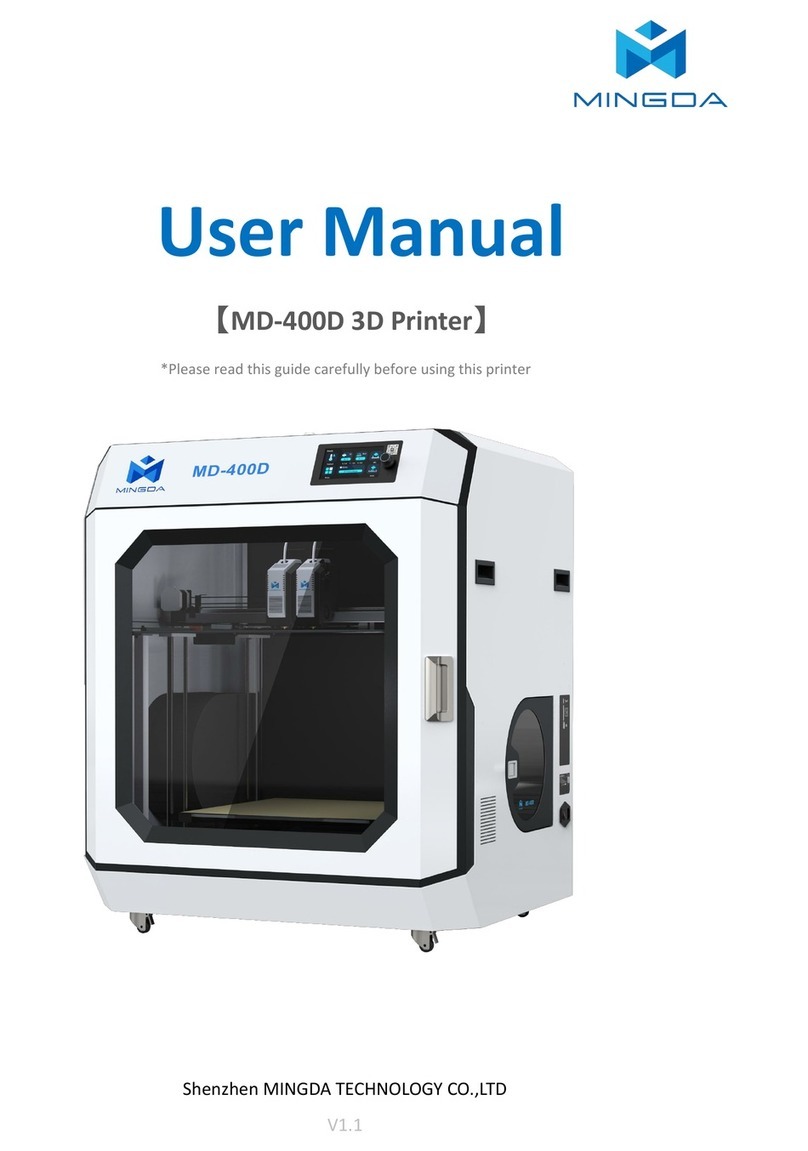
Mingda MD-600D User manual

User Manual
[MD-600D & MD-1000D 3D Printer]
Shenzhen MINGDA Technology Co.,Ltd
V1.1
*Please read this guide carefully before using this printer

Thank you for choosing MINGDA Technology's products!
For the best experience, please read this user manual carefully and follow the instructions to operate the printer.
If you encounter any issues with the printer, please contact us using the contact information provided at the end
of this user manual. Our team is always ready to provide you with high-quality service.
To enhance your usage of our product, you can also learn how to use the printer through the following means:
1. User Manual: Relevant instructions and videos can be found on the included USB drive.
2. You can also visit our official website (www.3dmingda.com) for information on software, hardware, contact
details, device instructions, device specifications, and warranty information, among other things.
1. Please do not place the printer in environments with significant vibrations or instability, as machine
shaking can affect the print quality.
2. Avoid touching the nozzle and heated bed while the printer is in operation to prevent potential burns from
high temperatures, resulting in personal injury.
3. Refrain from moving the device during the printing process to prevent accidents and injuries.
4. Do not dismantle the equipment or alter circuit settings without authorization.
5. Avoid using the device in high-temperature or humid environments to prevent compromising device
performance or creating safety hazards.
6. In case of an emergency, immediately cease using the device and power it off.
Cautionary Notes

Contents
1 Overview …………………………………………………………………………………………………………………..........
2 Device Introduction ……………………………………………………………………………….............................
Device Parameters ……………………………………………………………………………………………...…..........................................
Packing List ……………………………………………………………………………………………………………...........................................
Precautions for the Use of High Temperature Filament ……......…….......…….......……............….......……..................
3 Operational Steps ……………………………………………………………………………………...........................
Unboxing Inspection …………………………………………………………………………………………….....….....................................
Device Installation ……………………………………………………………………………………………..................................................
1. Install the indicator light ………………………………………………………………………………............................................
2. Install the antenna ……………………………………………………………………………….....……..........................................
3. Power on ………………………………………………………………………………..............……...............................................
Startup Configuration ………………………………………………………………………………………..................................................
Select Language and Time Zone …………………………………………………………………................................................
Auto Bed Leveling ……………………………………………………………………………….....……............................................
Wi-Fi ……………………………………………………………………..............……...................................................................
Introduction to machine operation page ………………….........…………………………………………………………….………….....…
Extruder Offset Calibration.…….........…………………………………….…………......….………......….………......….…...................
XY Axis Offset Calibration ………………………………………………………………….........................................................
Z Axis Offset Calibration …………………………………………………………………….....…….............................................
Install the filament.…….........…………………………………….…………......…........………......…........………......…........……….....
Slicing Software Installation and Usage ………………………….……....….......................................................................
Installation …………………………………………………………………................................................................................
Configuration ……………………………………………………………………………….....……..................................................
Usage ……………………………………………………………………..............…….................................................................
Printing ........….........…………………………………….…………......…....................................................................................
Local Printing …………………………………………………………………............................................................................
LAN Printing ……………………………………………………………………………….....…….....................................................
Print Mode ………………………………….……………………….…………......…...........................................................................
Print Two Colors ……………………………………………………………………..............…….................................................
Printing Support ……………………………………………………………………..............…….................................................
Printing ...…...…...…...…...…...…...…............…...…...…...…......…...…...…...…..….…..….…..….…..….…....…....…...........…..
4 Maintenance and Care …...…...…...……...……...……...…...…...…...…..……...…...…....…...…...............
5 Common Issues and Solution …..…...…...…...…...…...…...……...…...…...…...…...…....……...…...…...
6. After sales service and support ..…..........……...............……..........……..............................…...
2
2
2
3
4
5
5
5
5
5
6
7
7
7
7
9
13
13
14
15
18
18
18
19
20
20
20
23
23
25
26
27
28
29
1. Overview
This manual provides instructions on the usage of the 3D printer, covering aspects such as an overall introduction
to the device, operational procedures, maintenance, and care. The aim of this manual is to assist you in correctly using
and maintaining the 3D printer, ensuring device performance and safety, extending the lifespan of the equipment,
and enhancing print quality. We hope that you follow the requirements and recommendations outlined in this manual
during usage, and maintain attention to and care for the equipment. Thank you for choosing our product, and we wish
you a pleasant experience!
2. Device Introduction
Device Parameters
Basic Parameters
Product Model
MD-600D | MD-1000D
Machine Dimensions
1300*965*1255mm | 1680*1365*1665 mm
Max. Build Dimensions
600*600*600mm | 1000*1000*1000mm
Print Technology
Fused Deposition Modeling (FDM)
Rated Voltage
100-240V, 50/60Hz
Rated Power
2000W | 2700W
Ambient temperature
10℃-30℃ / 50°F-86°F
Extruder Type
Dual Extruders
Max. Nozzle Temperature
350℃
Max. Bed Temperature
110℃
Screen
10inch touch screen
Printing Method
USB Flash Disk / LAN Printing
Connection
USB Flash Disk / WIFI / Ethernet
Power Loss Recovery
Yes
Filament Detection
Yes
Fast Auto leveling
Yes
Camera
Yes
Fast Calibrate Offset
Yes
Supported Filament
Common filament: PLA, PETG;
Engineering filament: PA-CF/GF, PET-CF/GF, HtPA-CF/GF,
PA-GF25/CF25;
Support filament: S-Mulit, S-HtPA, PVA, etc
2

Packing List
Tool List
Note: The picture is for reference only. When the real thing is inconsistent with
the picture, the actual object shall prevail.
U-disk Nozzle*2 Diagonal pliers 7mm Sleeve
Allen wrench Antenna
Indicator light & screw
Below we will take MD-1000D as an example to introduce the function and use of the printer:
If you choose high temperature
filament, we will provide a drying box.
3

Note: Please put the high-temperature filaments in a dry box for printing, otherwise humidity
will affect the print quality.
Precautions for the Use of High Temperature Filament
If the high-temperature filament is not used up, put it in an aluminum foil bag in time. If
the filament is wet or the surface of the print has obvious drawing, it means that the
filament is damp, and it needs to be dried in an industrial oven before use.
4

Unpack and inspect the device for any damage. If there is any abnormality, please
contact the manufacturer or dealer.
Device Installation
Unboxing Inspection
2. Install the antenna.
3. Operational Steps
5
1. Install the indicator light.

2. Power on
In a good ventilation and dry environment
Insert a power socket Press the power button to turn on the printer
Please ensure that the print platform is clear before connecting the power and
check if the device is connected properly.
6
3. Power off
When you turn off the printer, please don't press the power button
directly! Check the Page 12, click "General-System-Shutdown-Printer"
to turn off the printer
Click the "System" button.
Click the "General" button.
Click the "Shutdown" button.

Startup Configuration
1. Select Language and Time Zone
Start by selecting your continent on the left,
then click the right arrow to choose your
specific region. [Time zone settings will take
effect after connecting to Wi-Fi and restarting
the system.]
Click the right arrow to choose
the language, and click the upper
right arrow to proceed to the next
step.
3
1
21
2
(For the first startup, it will enter the configuration wizard.)
2. Auto Bed Leveling
Click the "Save" button to store the bed
leveling data and automatically restart the
printer.
Click the "Calibrate" button to initiate the
quick auto bed leveling process, which will
take approximately 3 minutes. Please be
patient.
3. Wi-Fi
Enter the network password and then click
Save.
Click the right arrow button, select the network
you want to connect to. The first connection
may take some time, please be patient. If the
network is not displayed for an extended period,
click the refresh button at the top.
7

Upon successful connection, click the
checkmark in the upper right corner to enter
the main interface of the machine. If you do
not need to connect to the network, you can
also click the checkmark to skip this step.
Once the connection is successful, click
the Close button.
8
After completing the above steps, Home all Axis
Click the "Move" button Click the "Home" button
Z Calibrate
Click "Setting-Z Calibrate"
Click "Start" , wait Z axis calibrating
and click "Accept" and comfirm

Primary interface
Explain
Temperature
Temperature display area.
Time
Time display.
Move
Adjust the value of the XYZ axis.
Preheat
Pre-set nozzle & hotbed’s temperature.
Extrude
To unload or load filament.
Settings
Printer’s printing value adjustment.
General
More printer setting.
Print
Start printing.
Stop
Emergency stop button.
Homepage
Return to the main page.
Return
Return to the previous page.
Introduction to machine operation page
11
10
09
01
02
04
05
06
08
07
03
01
02
03
04
05
06
07
08
09
10
11
9

Settings:
Secondry interface
Explain
Leveling
Auto-leveling
Z Calibrate
Calibrate Z offset
Fan
Cooling fan adjustment
Leds
Turn on/off Light
Save config
To save your configuration
KlipperScreen
Includes some basic settings such as time, language, screen
timeout, notification sound toggle, and automatic shutdown
after printing completion.
Network
To connect Wi-Fi
Print Mode
Select Copy Mirror or Autonomous Mode
01
02
03
04
05
06
07
08
01 02 03 04
05 06 07 08
10

Secondry interface
Explain
Manual
Manual
Troubleshooting
Troubleshooting
Cautions
Cautions
Maintenance
Maintenance
Calibration
Contains some basic test models, which can be selected to
test the corresponding functions.
XY Offset
Calibrate XY axis
Z Offset
Calibrate Z axis
System
Check next page
General:
01
02
03
04
05
06
07
08
01 02 03 04
05 06 07 08
11

Secondry interface
Explain
Full update
Update all content available for update on the current page
Reset
Reset to Factory Defaults
Refresh
Refresh the current page to check for updates, in
conjunction with the use of 'Full update'.
Restart
Restart the printer
Shutdown
Turn off the printer, click Shutdown-Printer
System:
01
02
03
04
05
01 02 03 04 05
12

Extruder Offset Calibration
XY Axis Offset Calibration
Click the "XY Offset" button.
Click the "General" button.
Fine-tune the XY axis to align the nozzle
center of the left extruder with the origin of
the XY axis. Click "Confirm Pos" to confirm
the position of the left extruder. Meanwhile,
the right extruder will move to the calibration
camera's position.
Click the "Start" button, and the left
extruder will move to the calibration
camera's position.
2
1
Click the "Save" button to save the XY
offset of the right extruder relative to the
left extruder.
Fine-tune the XY axis to align the nozzle
center of the right extruder with the origin
of the XY axis. Click "Confirm Pos" again to
confirm the position of the right extruder.
2
1
Tips:
Wipe the nozzle clean before calibration to avoid
any interference during the process.
13

Z Axis Offset Calibration
Click the "Start" button to begin the
automatic calibration. Initially, the left
extruder will move to the top of the Z axis
calibration sensor and slowly descend to
trigger the switch. It will then automatically
switch to the right extruder, repeating the
same motion as the left extruder.
Click the "Z Offset" button.
After the automatic calibration is
complete, click the "Accept" button
to save the Z-axis offset value.
Tips: Wipe the nozzle clean before calibration to avoid any interference during the process.
14
Safety Reminder: To ensure that the nozzle correctly lands on the sensor, please calibrate the XY axis before
calibrating the Z axis. While the extruder is moving downward, pay close attention to its movement. If there is
excessive deviation or signs of extreme extrusion pressure, click the return button in the top left corner of the
screen or the emergency stop button in the bottom left corner to stop the calibration. Contact customer
support or refer to official videos for troubleshooting solutions.

Install the filament
(Take PLA filament as an example )
1. Hang two volumes of PLA Filament on the scraping pole in the left and right Filament box, and
insert the Filament from the inlet port until the Filament are exposed to the printed head along the
guide pipe.
2. Press the gas joint , pull out the guide tube, pull the handle of the inlet port, insert the Filament
into the squeeze machine into the material mouth.
15

3. Load Filament for the Left and Right Extruders
4. After the filament feeding is completed, Insert the large catheter.
Sequentially load filament for the left and
right extruders. If the temperature is too
low, a prompt will appear indicating the
need for heating. Click "Accept," wait for
the nozzle temperature to reach 240°C,
and then click the "Load" button to feed
the filament.
Switch to the second extruder ”T1”,
Repeat the steps of the first extruder.
Click the "Extrude" button Select the first extruder “T0”, Click
'100mm', click on the feed speed
'5mm/s', then click 'load' to inport the
filament.
1
2
After the completion of loading filament for
"T1," it is necessary to click on the "T0" icon
again. Failure to do so may result in collisions
during subsequent movement commands for
the extruder.
1
1
16

Resume printing after power failure
After power is restored, the printer will
prompt whether to resume printing.
After clicking 'Confirm,' the printer will begin
the preheating process on the Picture 2 ,
continuing until the specified temperature is
reached.
After reaching the specified temperature, the
printer will automatically transition to the
printing interface.
When the printer is in the midst of the printing process, power
outages may occur at times. This printer is equipped with a
resume printing function to assist you in resuming the print
from the point of interruption.
17

Installation:
Note: Copy the data from the USB drive to your computer for backup.
Our company's slicing software is designed to work seamlessly with our machines to meet customer requirements.
Open the provided USB drive and navigate to software -> slicer.
Double-click on MingDa_OrcaSlicer_Windows_Installer_x.x.x.exe to launch the application installer.
Choose your preferred language and follow the on-screen prompts during the installation process.
Wait for the installation to complete.
Configuration:
Upon the first run of Mingda OrcaSlicer,
you will enter the configuration wizard.
Choose the MD-600D &MD-1000D model and click
"Confirm."
Select the desired filament type.
2
1
2
Slicing Software Installation and Usage
1
18
This manual suits for next models
1
Table of contents
Other Mingda 3D Printer manuals

Mingda
Mingda Magician X2 User manual

Mingda
Mingda Rock 3 Pro User manual

Mingda
Mingda MD-A128 User manual

Mingda
Mingda Magician X User manual

Mingda
Mingda MD-600 Pro User manual

Mingda
Mingda Rock 3 User manual

Mingda
Mingda Magician X Assembly instructions

Mingda
Mingda MD Series User manual

Mingda
Mingda Goldfish X User manual

Mingda
Mingda MD-400D User manual
Popular 3D Printer manuals by other brands

FELIXprinters
FELIXprinters Pro Series quick start guide

re:3D
re:3D Gigabot Assembling Instruction

BIG TREE TECH
BIG TREE TECH MINI12864 V2.0 user manual

Zcorporation
Zcorporation SPECTRUM Z M510 quick start guide

RAISE 3D
RAISE 3D Pro2 Series quick start guide

Zcorporation
Zcorporation Z810 System user manual