manuals.online logo
Brands
  1. Home
  2. •
  3. Brands
  4. •
  5. Mingda
  6. •
  7. 3D Printer
  8. •
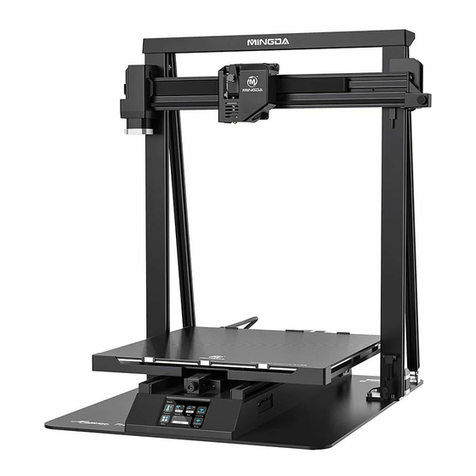
  9. Mingda Rock 3 User manual

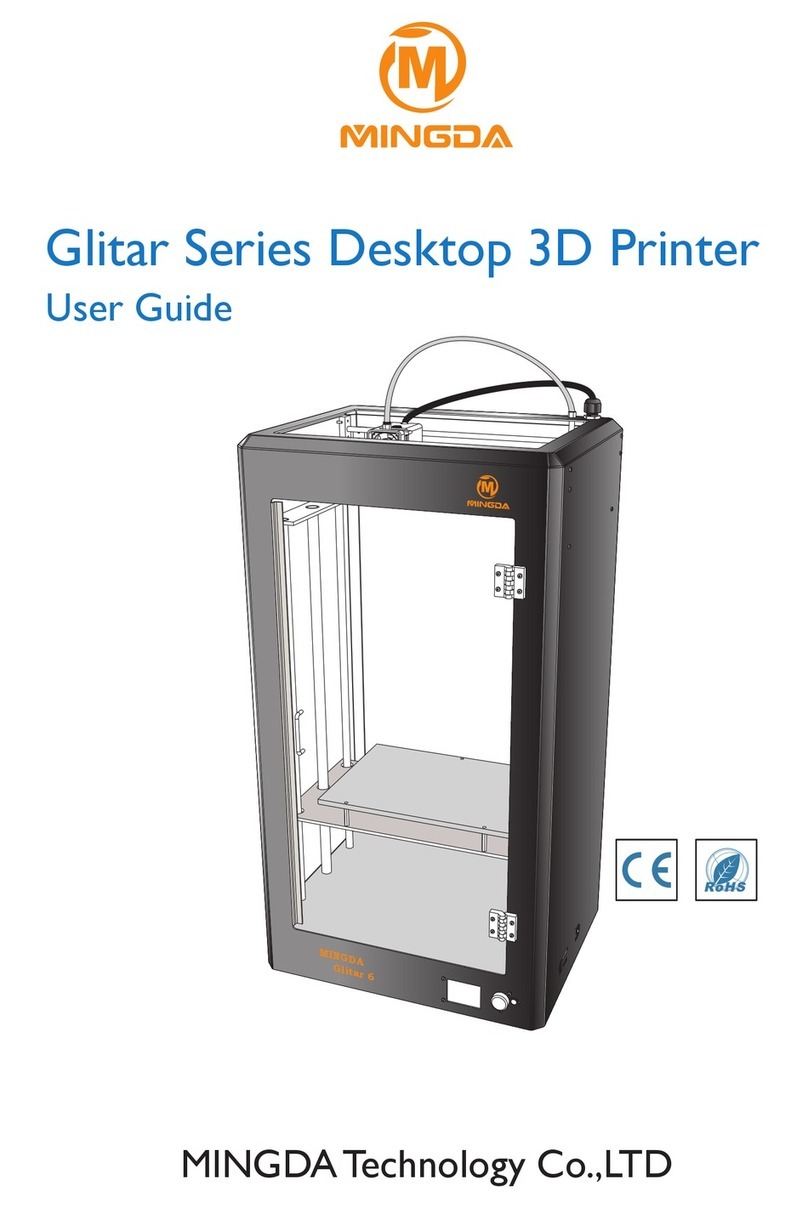
Mingda Rock 3 User manual

MINGDA 3D Printer
Rock 3
Fast Installation guide
The main parts of the machine Toolkit
Printing head
Filament holder The main chassis
Gantry
Step 1
Install the gantry
Note: In order to avoid bending the leading scew
and affecting the printing effect, don’t touch or
twist the leading screw at will when taking out
the gantry.
M5×12 (4pcs)
Step 3
Install the printing head
Step 2
Install motor cover
M3×8 (3pcs)
Step 4
Install the Filament Holder
Step 5
Install T-reinforced plate
M4×16 (4pcs) M4×8 (4pcs)
Teflon tube
Insert X limit port and X motor port
Install the cover
M3×6 (2pcs)
M4 Shaped nut (2pcs)
M4*5 screw (2pcs)
M5*12 screw (1pcs)
M4×8 (4pcs)
M5×12 (4pcs)
M3×6 (2pcs)
M4×16 (4pcs)
M3×8 (3pcs)
T-shaped reinforcing
plate 2pcs
Triangular reinforcing
plate2pcs
M4 Shaped nut (2pcs)
M4*8 screw (2pcs) M5×8 (4pcs)
Adjust left and right height of X axis
Step 6
Cable connecting
Z motor 1 / Filament detector
Z motor 2
Because of transportation the screw
rod may be rotated, please check
with a ruler. If there is an error, you
can turn the coupling to adjust the
height of one side until it is the same
height as the other side.
Step 7
Machine Checking and Adjustment
Official website
Shenzhen MINGDA Technology Co.,LTD
Email: [email protected]
www.3dmingda.com
Facebook Page
Youtube Channel
For detailed warranty policy, please visit
http://www.3dmingda.com/article/sales_service/
AfterSales_Service_Commitment_327.html
For support ,please visit our Youtube Channel
https://www.youtube.com/channel/UC6PO64H7CfQtBy4
H-fSRM4A?view_as=subscriber
Or you can visit our Facebook group at
https://www.facebook.com/groups/1018823731846578
Adjust the wheels
Adjust the tension of all the wheels on the
machine. Try to turn the wheels without forcing
them. If the wheel turns freely or without much
effort, then it is too loose. To tighten the
wheels, rotate the eccentric nuts slightly until
the wheel is snug against the frame
Adjust platform wheels
Similarly, please check the platform. If necessary, do
as step 8.
Step 9
Step 8
Step 10
Plug in the power cord and turn on the power.
Leveling and printing
1.Choose Home , Click to stop moving
and prevent the nozzle hit the platform. Then you
can gently push the print head and platform let
the nozzle move to the four corners and the
middle position of the platform, observe the gap
between the nozzle and the hot bed at any time.
Manual leveling
Ready > Menu > Home
2. The gap requirement is about 0.1mm. You can
take out the leveling paper comes with the
platform and insert it between the nozzle and the
printing platform, and push the printing head to
the four corners and the center of the platform,
at the same time adjust the four fine-tuning nuts
to ensure that the paper can be moved with
resistance but not scratched.
3. If you want to add a glass or other material
plate on the hot bed, you can adjust the limit
block position, and adjust the platform level
again..
Preheat the nozzle temperature to 200℃
Note:Click Load to feed the
material, and we suggest that
don't click Upload to pull the
filament because it may make
the extruder be blocked
Insert the filament
Insert SD card
Select a gcode file to print
Other Mingda 3D Printer manuals

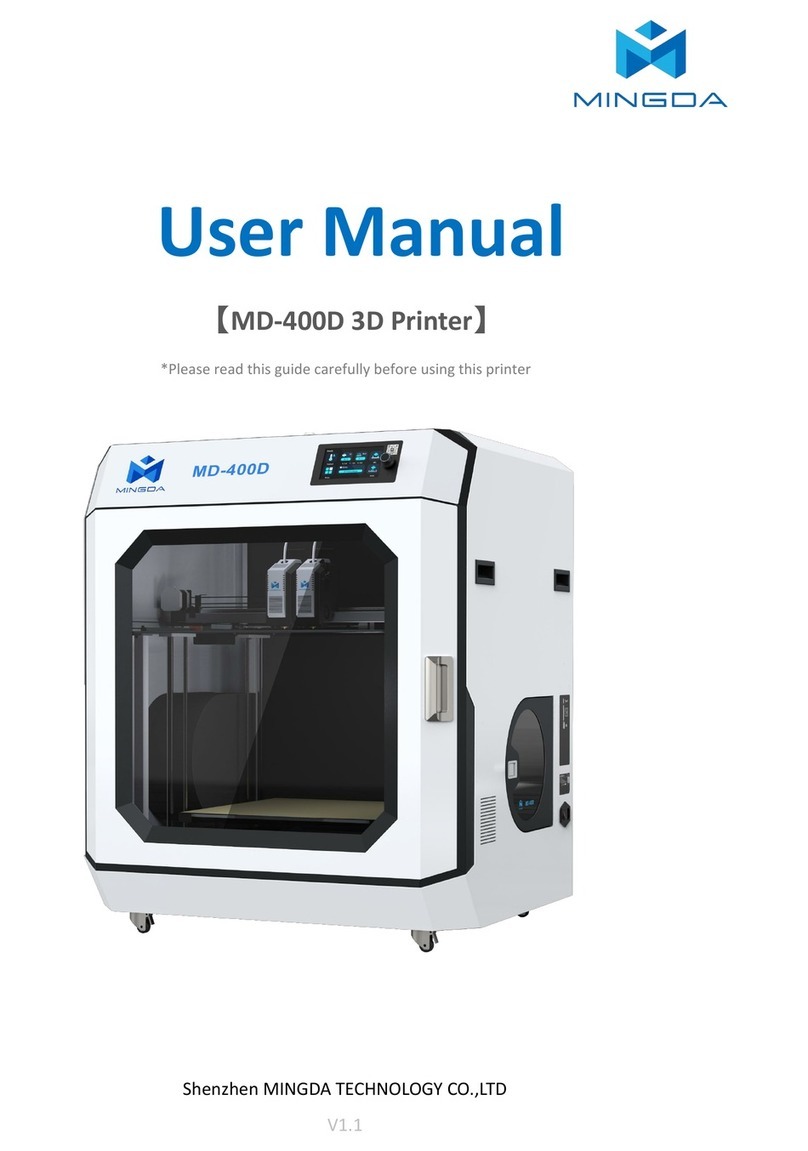
Mingda MD-400D User manual

Mingda

Mingda MD-400D User manual

Mingda MD-16 User manual

Mingda

Mingda MD-16 User manual

Mingda MD-600 Pro User manual

Mingda

Mingda MD-600 Pro User manual

Mingda Magician X2 User manual

Mingda

Mingda Magician X2 User manual

Mingda MD-D01 User manual

Mingda

Mingda MD-D01 User manual

Mingda MD-600D User manual

Mingda

Mingda MD-600D User manual

Mingda MD Series User manual

Mingda

Mingda MD Series User manual

Mingda Magician X2 User manual

Mingda

Mingda Magician X2 User manual

Mingda Glitar 4 User manual

Mingda

Mingda Glitar 4 User manual

Mingda Magician X User manual

Mingda

Mingda Magician X User manual

Mingda Magician Pro User manual

Mingda

Mingda Magician Pro User manual

Mingda Magician X Assembly instructions

Mingda

Mingda Magician X Assembly instructions

Mingda Rock 3 Pro User manual

Mingda

Mingda Rock 3 Pro User manual

Mingda Goldfish X User manual

Mingda

Mingda Goldfish X User manual

Mingda MD-A128 User manual

Mingda

Mingda MD-A128 User manual

Mingda Magician Pro User manual

Mingda

Mingda Magician Pro User manual

Popular 3D Printer manuals by other brands

iFactory3D One Upgraded Semi manual

iFactory3D

iFactory3D One Upgraded Semi manual

Markforged MARK TWO Service manual

Markforged

Markforged MARK TWO Service manual

zortrax M200 manual

zortrax

zortrax M200 manual

weistek IdeaWerk Quick setup guide

weistek

weistek IdeaWerk Quick setup guide

Filament Innovations BFP-ICARUS-TYPHOON manual

Filament Innovations

Filament Innovations BFP-ICARUS-TYPHOON manual

Ackuretta FreeShape 120 user manual

Ackuretta

Ackuretta FreeShape 120 user manual

3D Systems CubeX Print Tip Replacement

3D Systems

3D Systems CubeX Print Tip Replacement

Stratasys P750K user guide

Stratasys

Stratasys P750K user guide

Objet Objet30 user guide

Objet

Objet Objet30 user guide

NWA3D Afinibot A31 user manual

NWA3D

NWA3D Afinibot A31 user manual

Ender Ender-3 Instructions for assembly

Ender

Ender Ender-3 Instructions for assembly

Tinkerine Studio Ditto Pro quick start guide

Tinkerine Studio

Tinkerine Studio Ditto Pro quick start guide

MakerBot Replicator quick start guide

MakerBot

MakerBot Replicator quick start guide

Monoprice MP10 user manual

Monoprice

Monoprice MP10 user manual

DHM PRO VORON 2.4 KIT 9 manual

DHM PRO

DHM PRO VORON 2.4 KIT 9 manual

Bambu Lab P1S-Combo quick start

Bambu Lab

Bambu Lab P1S-Combo quick start

Felix Storch Food 1.5 quick start guide

Felix Storch

Felix Storch Food 1.5 quick start guide

Stratasys H350 user guide

Stratasys

Stratasys H350 user guide

manuals.online logo
manuals.online logoBrands
  • About & Mission
  • Contact us
  • Privacy Policy
  • Terms and Conditions

Copyright 2025 Manuals.Online. All Rights Reserved.