MobileHelp Touch User manual

Touch |User Guide

Touch User Guide2
SETUP GUIDE FOR TOUCH
We thank you for choosing a Medical Alert System and welcome you to the family.
Congratulations on making a smart choice!
If you have any questions during the setup process, please call Technical Support.

Touch User Guide 3
Touch Features
Time, Date &
Local Weather
Enhanced Audio
Speaker
Integrated
Front-facing
Camera
Home Screen
Help Button
Kickstand USB Charging
Port
7” Touch Display Status Bar
Android 7.1.2
Connectivity:
- 4G LTE Cellular
- WiFi Enabled
- Bluetooth
- RF 433MHz
**Up to 24 Hour Backup Battery**
BackHome
Power Button
Power Button
Tablet Back Features

Touch User Guide4
Connecting your Touch
Please perform the following steps when you receiveyour new Touch:
Select a Location
Plug the USB charging cord into an electrical outlet
that is not controlled by a light switch.
Plug the other end into the back of the Touch.
USB Charging
Cord
Tablet Power
Button
Figure 1

Touch User Guide5
Turning ON Your Touch
Press and hold the Power Button on top of your Touch for 5 seconds until it
powers on.
In about 60 seconds, your Touch will be
turned on and the Home Screen will appear.
If your Touch tablet does not power on,
please contact Technical Support.
The volume adjustment can be accessed
from the Settings icon button on the Home
Screen.
Figure 2
Table
Settings
t Power
Button

Touch User Guide 6
Welcome Tutorial
to get you started
for
.
You can reset the tutorial at any time by clicking on the Settings icon on the Home
Screen and then selecting Reset Tutorial.
Follow the instructions on the screen and click Next to go to the next screen until
you are done with the tutorial.

Touch User Guide7
Home Screen
The following icons are available on your Home Screen. For more information, please
questions, please call Technical Support.
MobileVitals (Optional)
Messaging
Help Button Education (Optional)
Reminders (Optional) Gallery
Apps

Touch User Guide8
Connect: Getting Started
You received an email when you purchased your Touch with the subject line “Welcome to
Connect.” Follow the directions provided in this email to login to your Connect account,
using a device that is not your Touch.
The Connect web portal powers the Messaging, Gallery, Reminders and MobileVitals
(if purchased) apps on your Touch. You will need to login to your Connect account to
access these features.
Open the URL and use the User ID and Password
we have provided to login to Connect. This
Connect account has already synced with your
Touch.
A copy of the Connect User guide is located in
the “Help” section of your Connect Portal.

Touch User Guide 9
Connect: Adding Contacts to Your Circle
With Connect and Touch, you are able to invite family members, friends, caregivers, and
trusted connections to your “Circle.” Once they have accepted your invitation, members
of your circle will be able to send and receive SMS text messages and emails to your
Touch. They will also be able to view your MobileVitals (optional) readings through the
web portal.
While signed into your Connect account web portal, locate “My Circle” by clicking the
hamburger menu icon on the upper
left hand corner. Connect allows you
to customize your Touch dashboard.
For convenience, click on the “+”
sign within the blank module on your
dashboard and select for “My Circle”
to appear on your homescreen.
(See Figure 3, Figure 4)
Figure 3

Touch User Guide10
(continued) Adding Contacts to Your Circle
1. Click on the “Gear” icon to the
right of “My Circle” to locate
the “Invite Friend” option.
(See Figure 4)
2. Click “Invite Friend.”
(See Figure 5)
3. Enter the email address of the
contact you’d like to invite to
your Circle, then click “Invite.”
(See Figure 6)
Figure 5 Figure 6
Figure 4

Touch User Guide 11
Figure 8
Figure 7
When you send the invite to join your Circle on Connect,
your contact will receive an email that prompts them to
create a password for their Connect account.
Once they have created a password and successfully
logged into the Connect portal, contacts must
complete their contact details and save their phone
number to the account.
Tell your contacts to save their phone number to
their account as soon as they are logged in by clicking
“Settings” under the hamburger menu icon at the top
left corner. (See Figure 7)
The Account Settings page will appear, where contacts
should confirm their email address correct and save
their preferred number to the profile. (See Figure 8)
Once the invited member of your Circle has saved a
phone number to their Connect Profile, it will take about
10 minutes for their information to appear on your Touch.

Touch User Guide12
(continued)
You will have to verify your phone number. Simply click on the red text “CLICK HERE
TO VERIFY”, and an SMS message will be sent to the phone number with a code.
A pop up will show requesting the code. Once you enter the code, your phone number
Connect: Send and Receive SMS Messages and Emails
then “Messaging” .
2. Choose a displayname. Press the “Update” button.
3. Now your Touch will be ready to send and receive both SMS text messages andemails
from authorized contacts that are members of your Circle.

Touch User Guide 13
Using Touch to Send and Receive Messages
1.
message the contacts in your Circle directly from your tablet.
2. Click “Messaging.”
3. Click the pink circle with a “+” inside of it that appears on the bottom right hand side of
the screen.
4. You will see a list of your Connect “My Circle” contacts.
5. Click on the contact name you wish to message.
6.
invitation via email, you will see both a phone number and email address for the contact.
7. Click on the phone number to send your contact an SMS message.
8. Click on the email address to send your contact an email message.

Touch User Guide14
Your Touch Phone Number and Email Address
both of these to communicate with members of your Circle through Touch.
To view the phone number that contacts will send and receive SMS messages to, click the
“About” icon in “Settings.”
Scroll down to “Other info” at the bottom, where you will see the Phone number and
email address associated with your Touch.
Inform members of your Circle to save this phone number and email address in their
contact list to ensure they don’t miss an important message from you.

Touch User Guide 15
Your Touch Gallery
Touch features a Gallery application that can display images in slideshow form as a
To add photographs and images to your Gallery, which you can choose to display in
must be sent to the email address of your Touch.
Touch email address.
your Touch Gallery.
Click on the Gallery icon from your Home Screen to access photos.
To delete photos, simply long press the image you want to remove and click “Delete.”

Touch User Guide16
Your Touch Settings
pendants, train new pendants, and save display settings for your screensaver, click the “Settings”
icon from the Touch Home Screen.
Click “Advanced Settings” from the “Settings” page to customize the screensaver display for your
Touch. From this screen, you will have the option to add a Security Pin, set the duration of inactivity
that should pass before the screensaver appears, and select whether or not you’d like the screensaver
to display a clock and/or pictures.
The screensaver duration uses seconds as the unit of measure. If you’d like 3 minutes to pass before
minutes to pass, enter 300, etc. “Screensaver Duration” is the amount of time the screen saver will
toggle between showing pictures and displaying a clock.
About your Security PIN
Your Security PIN will also be utilized for MobileVitals and allows you access to the MobileVitals features.
If a Security PIN is created, when you press the “MobileVitals” icon, a PIN will be requested. You will
not be able to enter the MobileVitals screen if a correct PIN is not provided. To create a new Security
PIN, please click on “Settings” from your Home Screen and then “Advanced Settings.” Next to Security
Options, switch the slide to “PIN” and enter your new PIN twice. Click “Ok” to save your PIN.

Touch User Guide 17
Schedule reminders in the Connect web portal and receive them directly from your Touch.
1. Login to the Connect web portal account that is synced to your Touch.
2. Left click the hamburger menu on the top left corner of your web portal account.
3. Scroll down and click on “Settings.”
4. Connect will take you to the URL:
https://accounts.mobilehelpsys.com/MobileHelpConnect/Settings
5. Locate and click on “Reminders” in the top bar with a blue background. (See Figure 9)
Figure 9

Touch User Guide18
6. On the next screen, click “Add New” to schedule a Medication Reminder that will be
received by your Touch. (See Figure 10)
7.
pop-up. (See Figure 11)
8.
9. Follow the prompts to “Update Your Device” to receive Medication Reminders on your
Touch.
10.
(See Figure 12)
Figure 10 Figure 11 Figure 12

Touch User Guide 19
Touch: Education
Some Touch models will come with pre-installed videos and articles about health and
safety. Click on the “Education” icon from the Touch Home Screen to see educational
videos, articles, and resources.
Touch: Apps
Click on the Apps icon from the Touch Home Screen to access cognitive games like
Sudoku.

Touch User Guide 20
MobileVitals
If you have MovileVitals, this app will allow you to monitor vital signs using the peripherals
included in your system, which will vary based on your program/purchase.
Weight
Blood Pressure
Pulse Oximetry
Glucose
Other manuals for Touch
2
Table of contents
Other MobileHelp Personal Care Product manuals
MobileHelp
MobileHelp IGP-01 User manual

MobileHelp
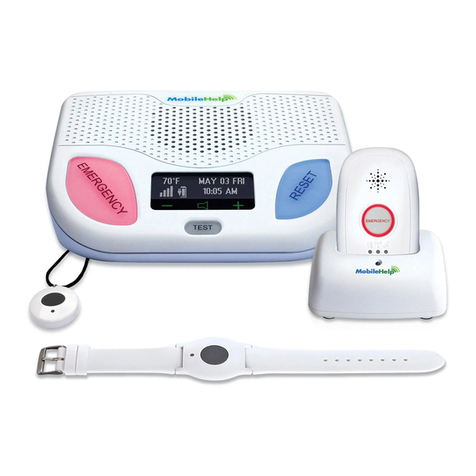
MobileHelp Cellular DUO System User manual

MobileHelp
MobileHelp Touch User manual

MobileHelp
MobileHelp Fall Button User manual

MobileHelp
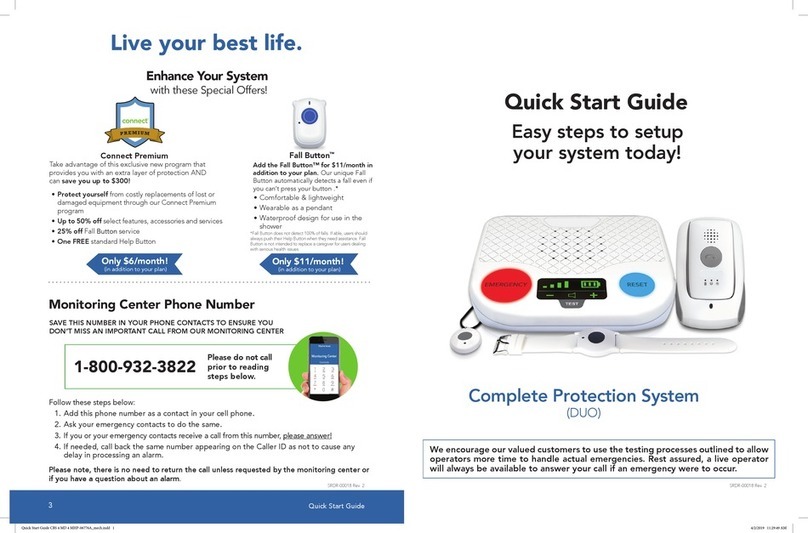
MobileHelp Complete Protection System User manual
MobileHelp
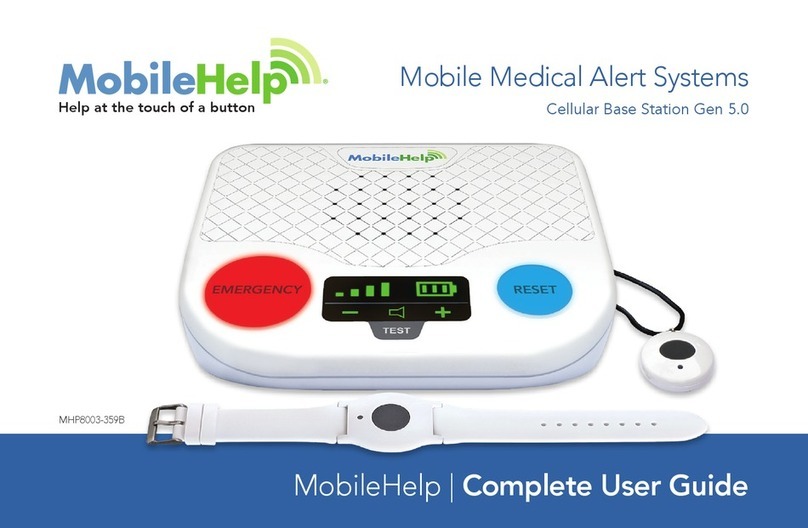
MobileHelp CBS 5 User manual

MobileHelp
MobileHelp Mobile Double System User manual
MobileHelp
MobileHelp Fall Button User manual