manuals.online logo
Brands
  1. Home
  2. •
  3. Brands
  4. •
  5. Mocka
  6. •
  7. Indoor Furnishing
  8. •
  9. Mocka Hamptons User manual

Mocka Hamptons User manual

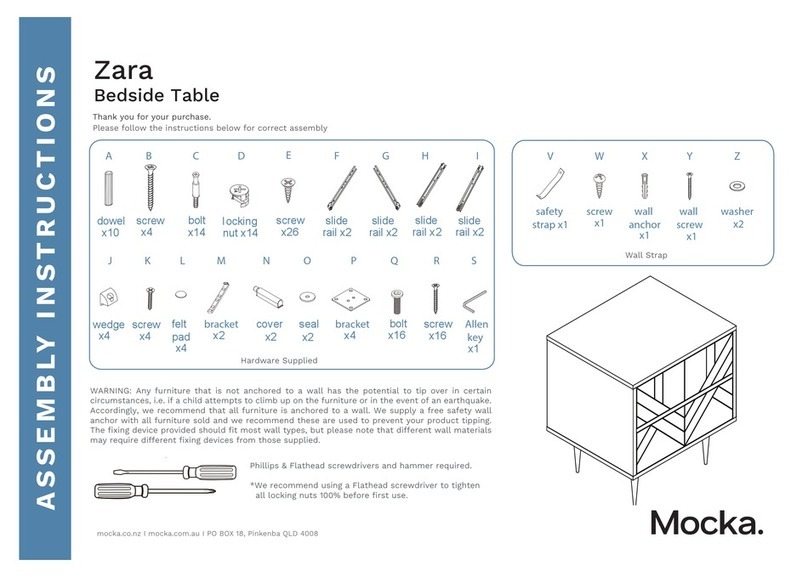
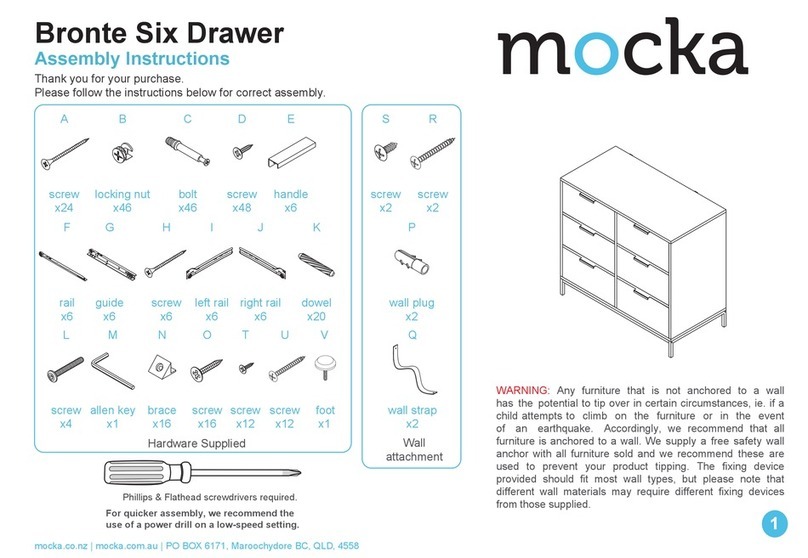
mocka.co.nz I mocka.com.au I PO BOX 18, Pinkenba QLD 4008
ASSEMBLY I N S TRUCTION S
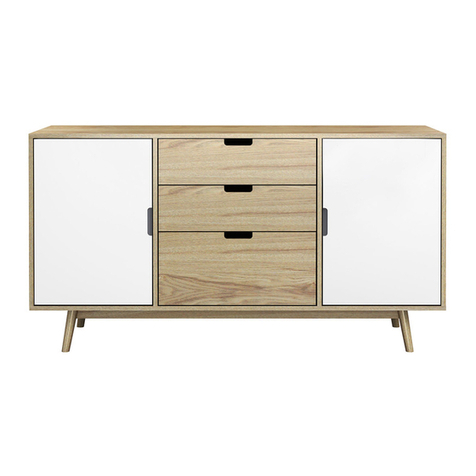
Hamptons
Bookcase
Thank you for your purchase.
Please follow the instructions below for correct assembly WARNING: Any furniture that is not anchored to a wall has the
potential to tip over in certain circumstances, i.e. if a child
attempts to climb up on the furniture or in the event of an
earthquake. Accordingly, we recommend that all furniture is
anchored to a wall. We supply a free safety wall anchor with all
furniture sold and we recommend these are used to prevent
your product tipping. The fixing device provided should fit most
wall types, but please note that dierent wall materials may
require dierent fixing devices from those supplied.
*We recommend using a Flathead screwdriver
to tighten all locking nuts 100% before first use.
.Phillips & Flathead screwdrivers
and hammer required
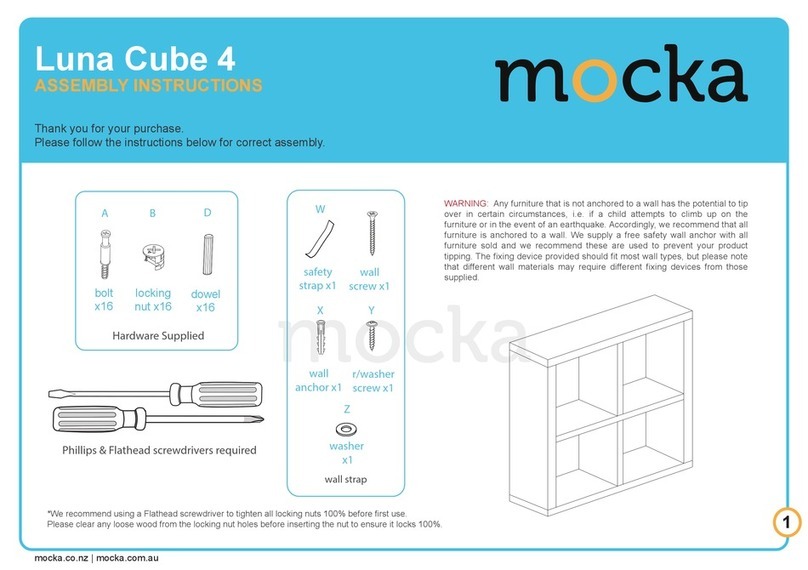
X
Z
Y
W
safety
x2
strap
x2
screw
long
x2
screw
wall
x2
anchor
x2
washer
B
ACDEF
GH
Hardware Supplied
x 28
boltlocking
nut x 28 x 30
dowel
I
screw
x 24 screw x8
40 mm
long
25 mm
screw x 14
medium
J
4
hinge
x 4 x 8
shelf plug handle
K
x 2
shelf
plug x 1
long
screw x 1
WARNING: Never leave a child unattended on the change table.
1
Hamptons
mocka.co.nz I mocka.com.au I PO BOX 18, Pinkenba QLD 4008
ASSEMBLY I N S TRUCTION S
2
Bookcase
2
Insert 8 x bolts (A) into panels [3]. Tighten with a screwdriver. Insert 2 x dowel s (C) into panels [5]. Attach panels [3] to panels [5] and
secure with 4 x locking nuts (B). Tighten with a screwdriver.
A
3
A
A
A
A
5
5
3
B
B
CB
C
B
B
Hamptons
Bookcase
mocka.co.nz I mocka.com.au I PO BOX 18, Pinkenba QLD 4008
ASSEMBLY I N S TRUCTION S
Slide panel [6] between the grooves on panels [3] and [5] to form
the back of the unit as shown.
3 4
Insert 2 x dowel s (C) into panels [5]. Attach panels [3] to panels [5]
and [6] and secure with 4 x locking nuts (B).
Tighten with a screwdriver.
5
5
3
6
5
5
3
3
C
C
B
B
B
B
mocka.co.nz I mocka.com.au I PO BOX 18, Pinkenba QLD 4008
ASSEMBLY I N S TRUCTION S
Hamptons
Bookcase
5 6
Slide panels [6] between the grooves on panels [3] and [5]
to form the back of the unit as shown.
Insert 16 x bolts (A) into panels [2] and [9]. Attach panel [2] to panel [8]
with 4 x medium screws (F). Tighten with a screwdriver.
5
5
3
3
6
6
8
2
A
A
A
A
A
AF
F
F
F
9
A
AA
A
A
A
A
A
AA
Hamptons
Bookcase
mocka.co.nz I mocka.com.au I PO BOX 18, Pinkenba QLD 4008
ASSEMBLY I N S TRUCTION S
Attach 2 x wall straps (W) to panel [1] using 2 x screws (Y). Attach panel [8]
to panel [1] with 4 x medium screws (F). Tighten with a screwdriver.
Attach 2 x wall straps (W) to panel [1] using 2 x screws (Y). Attach panel [8]
to panel [1] with 4 x medium screws (F). Tighten with a screwdriver.
7 8
1
1
8
Y
YW
W
1
3
3
D
D
D
D
C
C
F
F
F
F
Hamptons
Bookcase
mocka.co.nz I mocka.com.au I PO BOX 18, Pinkenba QLD 4008
ASSEMBLY I N S TRUCTION S
Insert 2 x dowels (C) into panels [2] and [3]. Attach panel [2] to panels [3]
and secure with 4 x long screws (D).
Attach 6 x dowels (C) to panels [10] , [11] and [12]. Attach panel [2]
to panels [10], [11] and [12] and secure with 6 x locking nuts (B).
109
3
3
2
D
D
D
D
C
C
B
B
B
BB
B
C
C
C
C
C
C
2
10
11
12
11
Hamptons
Bookcase
mocka.co.nz I mocka.com.au I PO BOX 18, Pinkenba QLD 4008
ASSEMBLY I N S TRUCTION S
Slide panels [7] between the grooves on panels [10], [11] and [12] to form
the back of the unit as shown.
Attach 6 x dowels (C) to panels [10], [11] and [12]. Attach panel [9] to
panels [10], [11] and [12] and secure with 6 x long screws (D). Attach
1 x long screw (K) to centre support (J) as shown.
12
D
D
K
KJ
9
C
CC
C
C
C
D
D
D
D
10
12
11
12
10
11
7777
7777
13
Hamptons
Bookcase
mocka.co.nz I mocka.com.au I PO BOX 18, Pinkenba QLD 4008
ASSEMBLY I N S TRUCTION S
Attach 4 x bolts (A) into panels [13]. Attach 4 x dowels (C) to panels [13] and [14].
Insert 4 x locking nuts (B) into panels [14]. Tighten with a screwdriver.
Insert 6 x dowels (C) into panels [9], [13] and [14]. Attach panels [9], [13]
and [14] and secure with 10 x locking nuts (B). Tighten with a screwdriver.
14
A
13
A
A
x2
13
13
14
14
C
C
C
C
B
B
B
B
13
13
14
14
BBB
B
B
B
B
B
C
BB
C
C
C
C
C
9
15
Hamptons
Bookcase
mocka.co.nz I mocka.com.au I PO BOX 18, Pinkenba QLD 4008
ASSEMBLY I N S TRUCTION S
Attach 4 x hinges (G) to panels [15] and [16] and secure with 8 x
small screws (E).
Attach panels [15] and [16] to panels [10] and [11] as shown. Secure
with 16 x screws (E). Insert 2 x handles (I) into panels [15] and [16].
16
16
15
G
G
EE
EE
E
G
G
G
EE
EE
E x4
E x4
E x4
E x4
II
I15
16
10
11
17
Hamptons
Bookcase
mocka.co.nz I mocka.com.au I PO BOX 18, Pinkenba QLD 4008
ASSEMBLY I N S TRUCTION S
Insert 8 x shelf plugs (H) to panels [10], [11] and [12]. Place panels [4]
on to shelf plugs (H).
Once assembled lift furniture into place, do not drag. Use a drill to create
a small hole lining up with the top of the safety strap (W). Fasten to wall
using wall anchor (X), washer (Z) and screw. Ensure the unit is balaced and
steady before use. You’re done, enjoy!
18
4
12
11
10
H x4
x4H
1
H
11
X
Z
wall
screw
x2
wall
anchor
wall
screw
Washer
Strap
X
Z
wall
screw
4

Other manuals for Hamptons

18

Other Mocka Indoor Furnishing manuals

Mocka Sadie Six Cube Unit User manual

Mocka

Mocka Sadie Six Cube Unit User manual

Mocka Elias Change Table User manual

Mocka

Mocka Elias Change Table User manual

Mocka Georgia User manual

Mocka

Mocka Georgia User manual

Mocka Nava Buffet User manual

Mocka

Mocka Nava Buffet User manual

Mocka Aspen User manual

Mocka

Mocka Aspen User manual

Mocka Avila User manual

Mocka

Mocka Avila User manual

Mocka Vancouver Cot User manual

Mocka

Mocka Vancouver Cot User manual

Mocka Savannah User manual

Mocka

Mocka Savannah User manual

Mocka Sintra Side Table User manual

Mocka

Mocka Sintra Side Table User manual

Mocka Sonata User manual

Mocka

Mocka Sonata User manual

Mocka Hamptons User manual

Mocka

Mocka Hamptons User manual
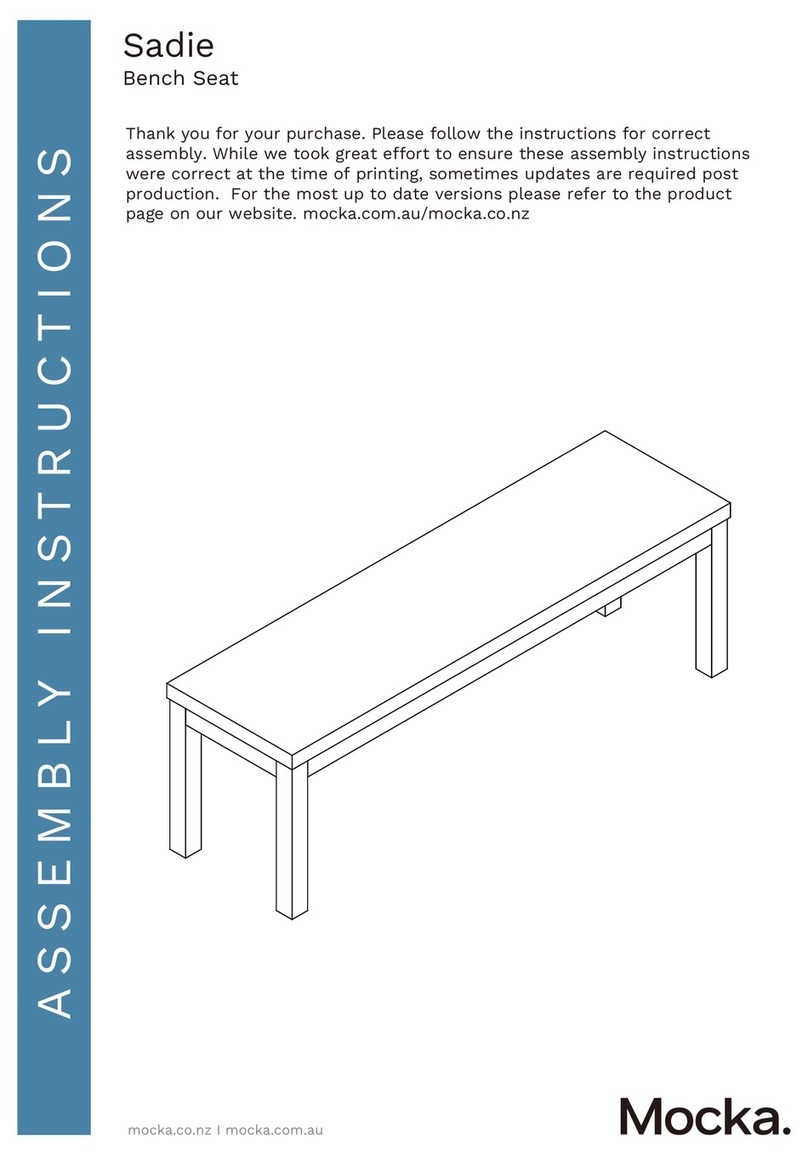
Mocka Bronte Coffee Table User manual

Mocka

Mocka Bronte Coffee Table User manual

Mocka Eliza Coffee Table User manual

Mocka

Mocka Eliza Coffee Table User manual

Mocka Original Highchair User manual

Mocka

Mocka Original Highchair User manual

Mocka Kai User manual

Mocka

Mocka Kai User manual

Mocka Ladder Shelf User manual

Mocka

Mocka Ladder Shelf User manual

Mocka Detroit Trolley Side Table User manual

Mocka

Mocka Detroit Trolley Side Table User manual

Mocka Porto User manual

Mocka

Mocka Porto User manual

Mocka Hamptons User manual

Mocka

Mocka Hamptons User manual
Mocka Eliza Six Drawer User manual

Mocka

Mocka Eliza Six Drawer User manual

Mocka Luna User manual

Mocka

Mocka Luna User manual

Mocka Dahlia Bedside Table User manual

Mocka

Mocka Dahlia Bedside Table User manual

Mocka Kids House Bookcase User manual

Mocka

Mocka Kids House Bookcase User manual

Mocka Sadie Tallboy User manual

Mocka

Mocka Sadie Tallboy User manual

Popular Indoor Furnishing manuals by other brands

Gautier Office 113-BASIC 210 Assembly instructions

Gautier Office

Gautier Office 113-BASIC 210 Assembly instructions

MARMEX LOTTA RTV 160 2d2k Assembly instructions

MARMEX

MARMEX LOTTA RTV 160 2d2k Assembly instructions

Sunnydaze Decor NHU-361 quick start guide

Sunnydaze Decor

Sunnydaze Decor NHU-361 quick start guide

Rauch M2803 Assembly instructions

Rauch

Rauch M2803 Assembly instructions

Human Touch Perfect Chair Zero-G PC-050 Use & care manual

Human Touch

Human Touch Perfect Chair Zero-G PC-050 Use & care manual

Belnick ZG-037-LTGY-GG Assembly instructions

Belnick

Belnick ZG-037-LTGY-GG Assembly instructions

Furniture of America Dicarlo FOA-BK971 Assembly instructions

Furniture of America

Furniture of America Dicarlo FOA-BK971 Assembly instructions

WLIVE ABZ003 quick start guide

WLIVE

WLIVE ABZ003 quick start guide

BEGA ULTRA X Assembly instructions

BEGA

BEGA ULTRA X Assembly instructions

Poliman A5000 Assembly instructions

Poliman

Poliman A5000 Assembly instructions

Progressive DRIFT PRO user manual

Progressive

Progressive DRIFT PRO user manual

Forte YPK24 Assembling Instruction

Forte

Forte YPK24 Assembling Instruction

BIG FURNITURE WAREHOUSE POLAR G-POLTVUWHT Assembly instructions

BIG FURNITURE WAREHOUSE

BIG FURNITURE WAREHOUSE POLAR G-POLTVUWHT Assembly instructions

BDI TANAMI 7109 instructions

BDI

BDI TANAMI 7109 instructions

Crate&Barrel Big Sur manual

Crate&Barrel

Crate&Barrel Big Sur manual

Ironwood GLACIER CDAS manual

Ironwood

Ironwood GLACIER CDAS manual

MATTRESS FIRM 500 Quick setup guide

MATTRESS FIRM

MATTRESS FIRM 500 Quick setup guide

Lifestyle Solutions HENNEPIN 660A001WHT Assembly instructions

Lifestyle Solutions

Lifestyle Solutions HENNEPIN 660A001WHT Assembly instructions

manuals.online logo
manuals.online logoBrands
  • About & Mission
  • Contact us
  • Privacy Policy
  • Terms and Conditions

Copyright 2025 Manuals.Online. All Rights Reserved.