manuals.online logo
Brands
  1. Home
  2. •
  3. Brands
  4. •
  5. Mocka
  6. •
  7. Indoor Furnishing
  8. •
  9. Mocka Olsen User manual

Mocka Olsen User manual

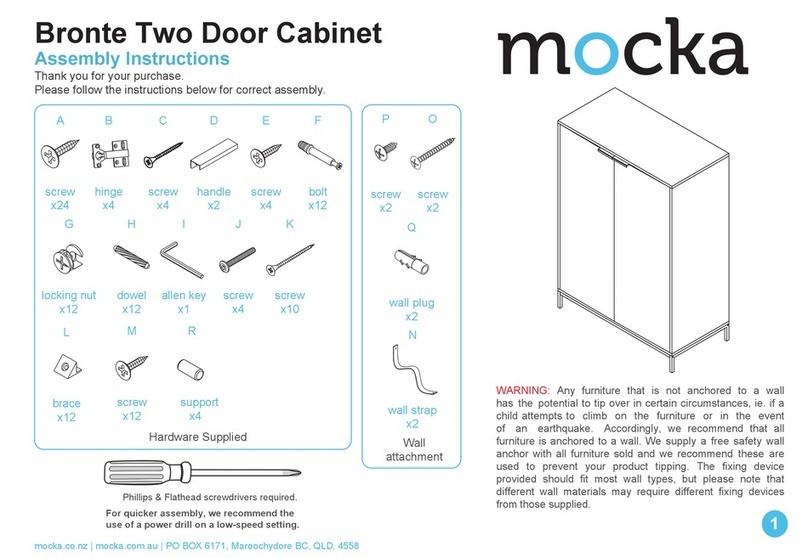
WARNING: Any furniture that is not anchored to a wall has the potential to tip
over in certain circumstances, i.e. if a child attempts to climb up on the furniture
or in the event of an earthquake. Accordingly, we recommend that all furniture
is anchored to a wall. We supply a free safety wall anchor with all furniture sold
and we recommend these are used to prevent your product tipping. The fixing
device provided should fit most wall types, but please note that different wall
materials may require different fixing devices from those supplied.
A B C D EF
GH
Hardware Supplied
small
screw
x24
*We recommend using a Flathead screwdriver to tighten all locking nuts 100% before first use.
Please clear any loose wood from the locking nut holes before inserting the nut to ensure it locks 100%.
hinge
x4
Phillips & Flathead screwdrivers required
I
wedge
x8
J
screw
x8
Wall Strap
x2
washer
Z
Y
wall
anchor
x1
X
safety
strap x1
WV
screw
x1
wall
screw
x1
Vibe/Olsen Buffet
1
mocka.co.nz | mocka.com.au | PO BOX 6171, Maroochydore BC, QLD, 4558
Assembly Instructions
Thank you for your purchase.
Please follow the instructions below for correct assembly.
For quicker assembly, we recommend the
use of a power drill on a low-speed setting.
shelf
plug x10
dowel
x20
bolt
x12
bolt
x12
locking
nut x12
long
screw x8
K
allen key
x1
L
cover
x8
12
Insert 12x bolts (A) into panels [1], [5] and [6] as shown. Tighten
with a screwdriver.
Vibe/Olsen Buffet
2
mocka.co.nz | mocka.com.au | PO BOX 6171, Maroochydore BC, QLD, 4558
Assembly Instructions
Attach 4x hinges (G) to door panels [10] and [11], securing with 8x
screws (F). Tighten with a screwdriver.
A
A
1
A
A
A
A
A
A
A
A
A
A
5
6
11
10
G
F
G
F
G
F
G
F
F
G
Attach panels [5] and [6] to panel [7] with 4x dowels (C) and secure with
4x locking nuts (B) and tighten with a screwdriver.
34
Slide panel [8] between the grooves of panels [5] ,[6] and [7]
to form the back of the unit, as shown.
Vibe/Olsen Buffet
3
mocka.co.nz | mocka.com.au | PO BOX 6171, Maroochydore BC, QLD, 4558
Assembly Instructions
5
6
7
6
7
5
8
B
B
B
B
C
C
C
B
Attach panel [1] to the rest of the unit with 4x dowels (C) and secure
with 4x locking nuts (B) and tighten with a screwdriver. Seal the
holes with 4 x covers (L).
56
Attach panels [2] and [3] to panel [1] with 4x dowels (C) and secure
with 4x locking nuts (B) and tighten with a screwdriver. Seal the
holes with 4 x covers (L).
Vibe/Olsen Buffet
Assembly Instructions
4
mocka.co.nz | mocka.com.au | PO BOX 6171, Maroochydore BC, QLD, 4558
C
C
B
B
3
2
B
B
1
1
5
6
C
C
C
C
B
B
L
L
L
L
L
L
Slide the completed drawers into the unit, ensuring they slide smoothly
and easily.
Jolt Wardrobe
mocka.co.nz | mocka.com.au | PO BOX 6171, Maroochydore BC, QLD, 4558
78
Attach panel [4] to the rest of the unit with 8x dowels (C) and
secure with 8x long screws (D) and tighten with a screwdriver.
Vibe/Olsen Buffet
Assembly Instructions
5
Slide panels [8] and [9] between the grooves of panels [1], [2] ,[3], [5],
[6] and [7] to form the back of the unit, as shown.
2
9
3
7
8
9
5
6CC
C
C
C
D
D
D
D
D
D
D
D
4
1
Jolt Wardrobe
mocka.co.nz | mocka.com.au | PO BOX 6171, Maroochydore BC, QLD, 4558
9
Attach 4x legs [12] to the bottom panel [4] with 12x bolts (E), and tighten
with an Allen key (K).
Vibe/Olsen Buffet
Assembly Instructions
6
10
Secure door panels [10] and [11] to the main unit by attaching the
other end of the 4x hinges (G) with 16x screws (F) as shown. Tighten
with a screwdriver. Insert 2x shelf plugs (H) into the panels [5] and
[6] as shown.
4
12
12
12
12
E
10
3
2
11
E
E
E
E
F
F
F
G
G
G
K
H
5
6
H
NOTE: If the doors are uneven or
there is a gap in the middle, loosen
or tighten the screw on the door
hinge until they are sitting flush.
Jolt Wardrobe
mocka.co.nz | mocka.com.au | PO BOX 6171, Maroochydore BC, QLD, 4558
11
Insert 8x shelf plugs (H) into the end cavities of the cabinet as shown.
Insert the shelf panels [13] and balance on top of the plugs.
Vibe/Olsen Buffet
Assembly Instructions
7
12
Attach 8x wedges (I) to the corners of the back [9] as shown, and
secure with 8x small screws (J). Tighten with a screwdriver.
3
25
6
13
13
H
1
J
I
J
I
J
I
9
9
Jolt Wardrobe
mocka.co.nz | mocka.com.au | PO BOX 6171, Maroochydore BC, QLD, 4558
13
Attach 1x safety strap (V) to the top of the back side of the unit as shown
using 1x washer (Z) and 1x screw (W). Tighten with a screwdriver.
Vibe/Olsen Buffet
Assembly Instructions
7
14
Once assembled lift furniture into place, do not drag. Use a drill
to create a small hole lining up with the top of the safety strap (V).
Fasten to the wall using 1x washer (Z), 1x wall plug (X) and 1x
screw (Y). Ensure unit is balanced and steady before use. You’re
done, enjoy!
X
Y
Z
X
Y
Z
V
Z
W
V
W
Z
1

Other Mocka Indoor Furnishing manuals

Mocka Zander Round Dining Table User manual

Mocka

Mocka Zander Round Dining Table User manual

Mocka Nava Three Drawer User manual

Mocka

Mocka Nava Three Drawer User manual

Mocka Porto User manual

Mocka

Mocka Porto User manual
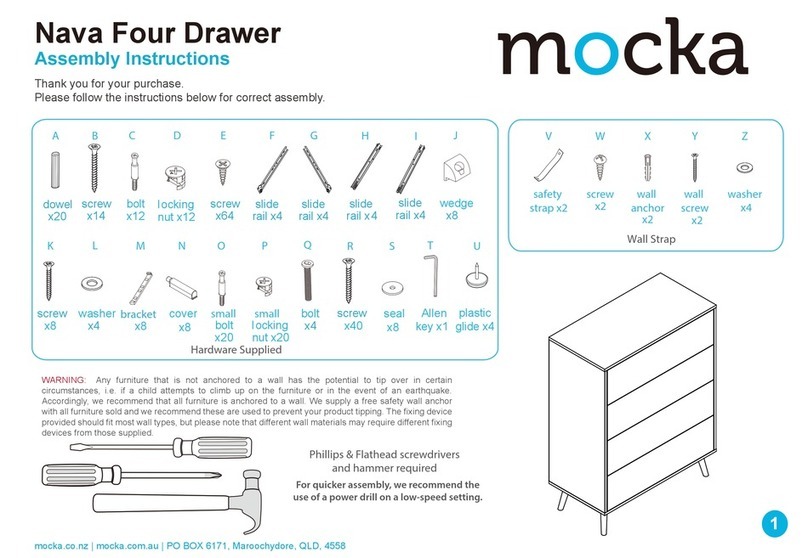
Mocka Hamptons User manual

Mocka

Mocka Hamptons User manual

Mocka Belinda User manual

Mocka

Mocka Belinda User manual

Mocka Sadie User manual

Mocka

Mocka Sadie User manual

Mocka Chelsea Buffet Three Door User manual

Mocka

Mocka Chelsea Buffet Three Door User manual

Mocka Porto Bookcase User manual

Mocka

Mocka Porto Bookcase User manual

Mocka Leia User manual

Mocka

Mocka Leia User manual

Mocka Livi Bar Seat User manual

Mocka

Mocka Livi Bar Seat User manual

Mocka Kids Modern Easel User manual

Mocka

Mocka Kids Modern Easel User manual

Mocka Vancouver Cot User manual

Mocka

Mocka Vancouver Cot User manual

Mocka Addi User manual

Mocka

Mocka Addi User manual

Mocka Hobart Four Drawer User manual

Mocka

Mocka Hobart Four Drawer User manual

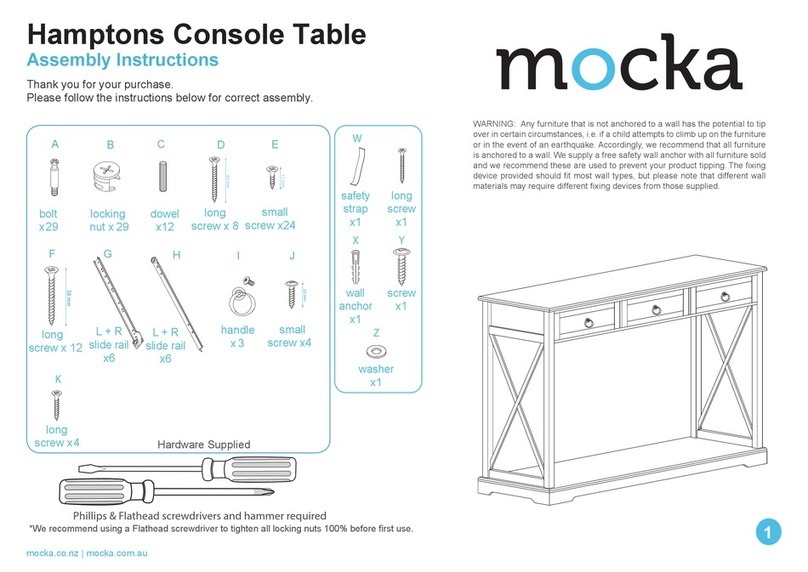
Mocka Addi Entertainment Unit User manual
Mocka

Mocka Addi Entertainment Unit User manual

Mocka Zander Bench Seat User manual

Mocka

Mocka Zander Bench Seat User manual

Mocka Chelsea Bedside Table User manual

Mocka

Mocka Chelsea Bedside Table User manual

Mocka Sintra Buffet User manual

Mocka

Mocka Sintra Buffet User manual

Mocka Aspiring Classic Cot User manual

Mocka

Mocka Aspiring Classic Cot User manual

Mocka Canyon User manual

Mocka

Mocka Canyon User manual

Mocka Marlow Six Drawer-Wide User manual

Mocka

Mocka Marlow Six Drawer-Wide User manual

Mocka Octavia User manual

Mocka

Mocka Octavia User manual

Mocka Nava Buffet User manual

Mocka

Mocka Nava Buffet User manual

Mocka Hudson Mini Table User manual

Mocka

Mocka Hudson Mini Table User manual

Popular Indoor Furnishing manuals by other brands

Frontgate Arlo Daybed Frame Assembly instruction

Frontgate

Frontgate Arlo Daybed Frame Assembly instruction

Habitat Macadam 826270 manual

Habitat

Habitat Macadam 826270 manual

Bell'O TC56-7301 manual

Bell'O

Bell'O TC56-7301 manual

JWA VEDIA 400 68461 Assembly instruction

JWA

JWA VEDIA 400 68461 Assembly instruction

Forte PPT31011 Assembling Instruction

Forte

Forte PPT31011 Assembling Instruction

Habitat Venus 810047 manual

Habitat

Habitat Venus 810047 manual

Haworth ACTIVE COMPONENTS installation instructions

Haworth

Haworth ACTIVE COMPONENTS installation instructions

Furniture of America CM6778-SF Assembly instructions

Furniture of America

Furniture of America CM6778-SF Assembly instructions

Kompernass KH 4139 operating instructions

Kompernass

Kompernass KH 4139 operating instructions

Naos Girotondo Instructions for use

Naos

Naos Girotondo Instructions for use

TEMPLE & WEBSTER HTLLSKBNT Assembly instructions

TEMPLE & WEBSTER

TEMPLE & WEBSTER HTLLSKBNT Assembly instructions

JWA MYSTIC 68268 Assembly instruction

JWA

JWA MYSTIC 68268 Assembly instruction

Tresanti 30BV0725-O127 Use and care guide

Tresanti

Tresanti 30BV0725-O127 Use and care guide

Frontgate Livorno 166282 MWH Assembly instructions

Frontgate

Frontgate Livorno 166282 MWH Assembly instructions

Steelcase 2300 Series Assembly instructions

Steelcase

Steelcase 2300 Series Assembly instructions

Kinder Valley SYDNEY COMPACT COT Assembly instructions

Kinder Valley

Kinder Valley SYDNEY COMPACT COT Assembly instructions

senses akustik DUO + installation manual

senses akustik

senses akustik DUO + installation manual

Asgard TWIN BIKE SHELTER Assembly instructions

Asgard

Asgard TWIN BIKE SHELTER Assembly instructions

manuals.online logo
manuals.online logoBrands
  • About & Mission
  • Contact us
  • Privacy Policy
  • Terms and Conditions

Copyright 2025 Manuals.Online. All Rights Reserved.