manuals.online logo
Brands
  1. Home
  2. •
  3. Brands
  4. •
  5. Mocka
  6. •
  7. Indoor Furnishing
  8. •
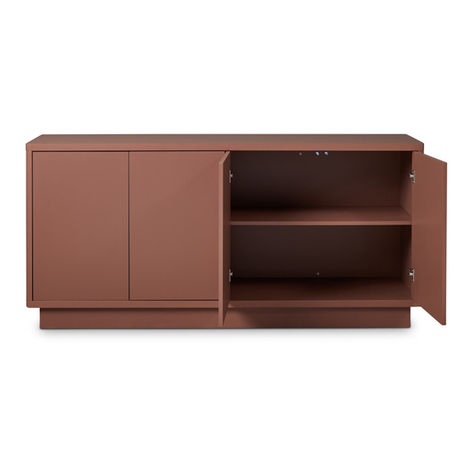
  9. Mocka Vigo Buffet User manual

Mocka Vigo Buffet User manual

AB1 B2 C1 C2 D E
G H I J KF L
Hardware Supplied
Phillips & Flathead screwdrivers and hammer required
30mm
screw x20
12mm
screw x16
bolt & nut
set x32
14mm
screw x56
18mm
screw x8
50mm
screw x16
dowel
x24
hinge
x4
wedge
x8
*We recommend using a Flathead screwdriver to tighten all locking nuts 100% before first use.
Please clear any loose wood from the locking nut holes before inserting the nut to ensure it locks 100%.
washer
x2 bracket
x2
stopper
x2
feet
x4
slide
rail x3
WARNING: Any furniture that is not anchored to a wall has the potential to tip
over in certain circumstances, i.e. if a child attempts to climb up on the
furniture or in the event of an earthquake. Accordingly, we recommend that all
furniture is anchored to a wall. We supply a free safety wall anchor with all
furniture sold and we recommend these are used to prevent your product
tipping. The fixing device provided should fit most wall types, but please note
that different wall materials may require different fixing devices from those
supplied.
For quicker assembly, we recommend the
use of a power drill on a low-speed setting.
M
12mm
screw x2
N
bracket
x4
OPQR
25mm
screw x2
14mm
screw x2
wall
plug x2
wall
strap x2
Wall Strap
Vigo Buffet
1
mocka.co.nz | mocka.com.au
Assembly Instructions
Thank you for your purchase.
Please follow the instructions below for correct assembly.
12
Insert 4x feet (I) into the leg side panels as shown. Attach the leg panels together as shown using 8x 30mm screws (B1).
Tighten with a screwdriver.
I
II
I
B1
B1
B1
B1
B1
B1
B1
B1
Vigo Buffet
2
mocka.co.nz | mocka.com.au
Assembly Instructions
34
Attach 4x brackets (N) into the corners of the legs and secure using
16x 12mm screws (B2). Tighten with a screwdriver.
Attach 3x slide rails (E1) to panel [5] using 6x 14mm screws (C1). Attach
3x slide rails (E3) to panel [6] using 6x 14mm screws (C1). Tighten with
a screwdriver.
B2
N
E3
E1
E1
E1
6
5
E3
E3
C1
C1
Vigo Buffet
3
mocka.co.nz | mocka.com.au
Assembly Instructions
56
Insert 4x bolts (A) into panels [5] and [6]. Attach 1x bracket (L) to panel
[5] and secure with 4x 14mm screws (C1). Attach 1x bracket (L) to
panel [6] and secure with 4x 14mm screws (C1). Tighten with a
screwdriver.
Attach panels [5] and [6] to panel [2] using 4x dowels (F) and 4x 50mm
screws (D). Tighten with a screwdriver.
2
C1
L
C1
6
5
6
5
D
F
F
F
F
D
D
D
A
A
A
A2
Vigo Buffet
Assembly Instructions
4
mocka.co.nz | mocka.com.au
Jolt Wardrobe
ASSEMBLY INSTRUCTIONS
5
mocka.co.nz | mocka.com.au
78
Attach panel [7] to panel [5] using 2x dowels (F) and 2x locking nuts (A)
as shown. Attach panel [7] to panel [6] using 2x dowels (F) and 2x
locking nuts (A) as shown.Tighten with a screwdriver.
Insert 4x bolts (A) into panel [3] and panel [4].
7
6
5
4
3
7
A
FF
FA
A
A
A
A
A
A
A
A
A
3
Vigo Buffet
Assembly Instructions
5
mocka.co.nz | mocka.com.au
910
Slide panel [8] down along the grooves between panels [3] and [4].
Attach 2x stoppers (K) to the brackets (L) as shown.
K
8
L
4
3
7
4
3
7
F
F
FF
F
F
A
A
A
A
Attach panel [3] to panel [7] using 4x dowels (F) and 4x locking nuts (A).
Attach panel [4] to panel [7] using 4x dowels (F) and 4x locking nuts (A).
Tighten with a screwdriver.
Vigo Buffet
Assembly Instructions
6
mocka.co.nz | mocka.com.au
11
12
Insert 8x bolts (A) to panel [1].
A
1
F
F
F
F
F
FA
F
F
6
5
4
3
1
A
AA
A
A
A
A
A
Attach panel [1] to panels [3], [5], [6] and [4] using 8x dowels (F) and
secure with 8x locking nuts (A). Tighten with a screwdriver.
A
A
A
A
A
A
A
Vigo Buffet
Assembly Instructions
7
mocka.co.nz | mocka.com.au
13 14
Attach 8x wedges (H) to the sides of panel [8] as shown, and secure
with 8x 18mm screws (C2). Tighten with a screwdriver.
Attach base panel [2] to the legs using 12x 20mm screws (B1). Tighten
with a screwdriver.
C2
8
H
H
H
H
H
H
H
H
H
B1 B1 B1 B1
B1
B1
B1
B1
B1 B1
B1
B1
2
Vigo Buffet
Assembly Instructions
8
mocka.co.nz | mocka.com.au
15 16
Attach 1x washer (J) to panel [9] and secure with 1x 12mm screw (M).
Attach 1x washer (J) to panel [10] and secure with 1x 12mm screw (M).
Tighten with a screwdriver.
Attach 4x hinges (G) to the unit as shown using 24x 14mm screws (C1).
Tighten with a screwdriver.
10
9
M
J
M
J
3
10
9
C1 G
G
G
NOTE: If the doors are uneven or
there is a gap in the middle, loosen
or tighten the screw on the door
hinge until they are sitting flush.
Vigo Buffet
Assembly Instructions
9
mocka.co.nz | mocka.com.au
17 18
insert 4x bolts (A) into panel [11], then attach side panels [12] and [13]
using 4x locking nuts (A). Slide panel [15] along the grooves between
panels [12] and [13] to form the base.
Attach panel [14] as shown using 4x screws (D). Attach 1x slide rail (E2)
to panel [12] and 1x slide rail (E4) to panel [14]. Secure with 4x 14mm
screws (C1) and tighten with a screwdriver. Repeat Steps 15 and 16 to
assemble the remaining two drawers.
14
Drawers x3
A
E
AA
A
AA
13
12
11
15
13
12
D
DD
13
12
C1
C1
C1
C1
E2
E4
Vigo Buffet
10
mocka.co.nz | mocka.com.au
Assembly Instructions
D
19
Insert the completed drawers as shown, ensuring they slide smoothly and easily along the rails.
Attach 2x safety straps (R) to the back side of the unit using 2x 25mm screws (P). Lift the furniture
into the desired position, do not drag. Attach the other end of the safety straps to the wall using
2x wall plugs (Q) and 2x 25mm screws (O). Tighten with a screwdriver. You抮e done, enjoy!
1
11
11
11
R
O
Q
R
R
Vigo Buffet
11
mocka.co.nz | mocka.com.au
Assembly Instructions

Other Mocka Indoor Furnishing manuals

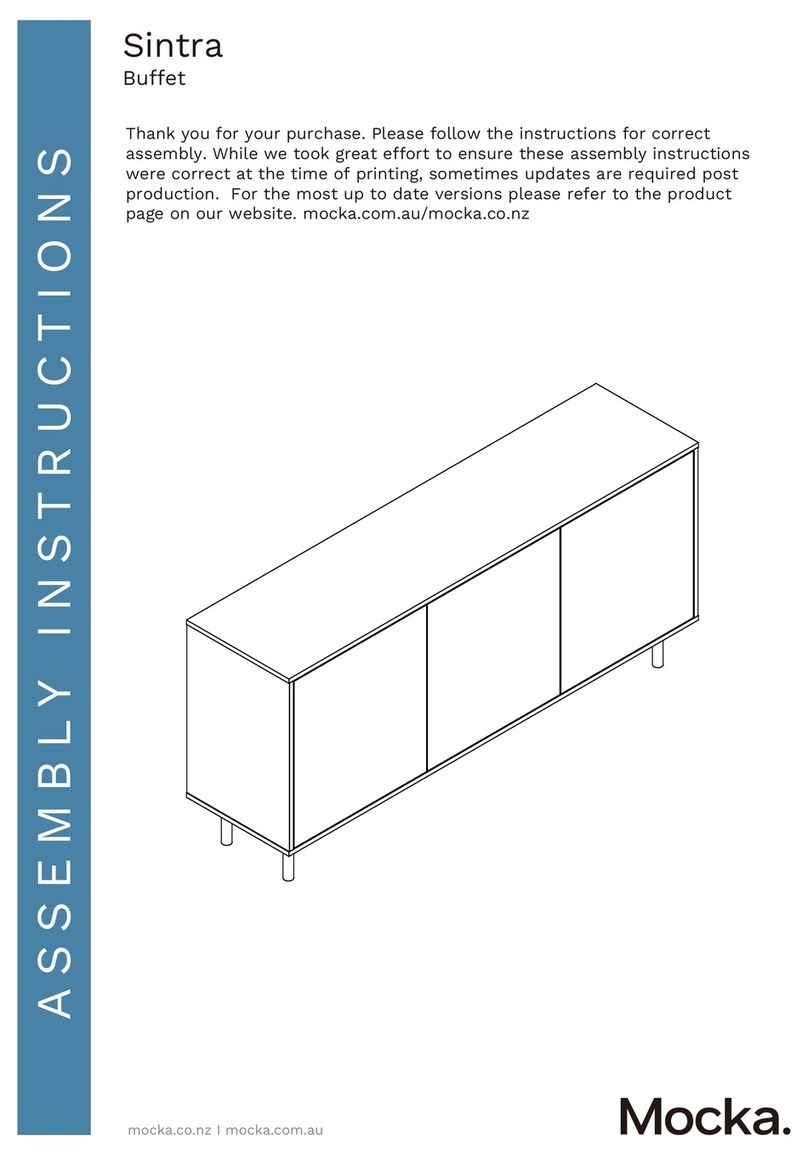
Mocka Sintra Buffet User manual

Mocka

Mocka Sintra Buffet User manual

Mocka Sadie Entertainment Unit - Large User manual

Mocka

Mocka Sadie Entertainment Unit - Large User manual

Mocka Asha Bedside Table User manual

Mocka

Mocka Asha Bedside Table User manual

Mocka Tahoe User manual

Mocka

Mocka Tahoe User manual

Mocka Porto Bookcase User manual

Mocka

Mocka Porto Bookcase User manual

Mocka Dakota Nine Cube Shelf User manual

Mocka

Mocka Dakota Nine Cube Shelf User manual

Mocka Sadie User manual

Mocka

Mocka Sadie User manual

Mocka Jesse User manual

Mocka

Mocka Jesse User manual

Mocka Kenny Desk User manual

Mocka

Mocka Kenny Desk User manual

Mocka Hudson Kids Stools User manual

Mocka

Mocka Hudson Kids Stools User manual

Mocka Eva A-Frame User manual

Mocka

Mocka Eva A-Frame User manual

Mocka Asta Recline User manual

Mocka

Mocka Asta Recline User manual

Mocka Eden Low Shelf User manual

Mocka

Mocka Eden Low Shelf User manual

Mocka Watson Entertainment Unit User manual

Mocka

Mocka Watson Entertainment Unit User manual

Mocka Sadie Six Drawer User manual

Mocka

Mocka Sadie Six Drawer User manual

Mocka Milton 5 Shelf Plant Stand User manual

Mocka

Mocka Milton 5 Shelf Plant Stand User manual

Mocka Zander Entertainment unit User manual

Mocka

Mocka Zander Entertainment unit User manual

Mocka Zander Round Coffee Table User manual

Mocka

Mocka Zander Round Coffee Table User manual

Mocka Canyon User manual

Mocka

Mocka Canyon User manual

Mocka Sadie User manual

Mocka

Mocka Sadie User manual

Mocka Jersey Change Table User manual

Mocka

Mocka Jersey Change Table User manual

Mocka Edmond User manual

Mocka

Mocka Edmond User manual

Mocka Elias Cot User manual

Mocka

Mocka Elias Cot User manual

Mocka Canyon User manual

Mocka

Mocka Canyon User manual

Popular Indoor Furnishing manuals by other brands

Origin 21 BEECHAM 60W installation manual

Origin 21

Origin 21 BEECHAM 60W installation manual

Home Decorators Collection TEAGEN 30 installation manual

Home Decorators Collection

Home Decorators Collection TEAGEN 30 installation manual

BorMann BPC1200 quick start guide

BorMann

BorMann BPC1200 quick start guide

Presidential Billiards CARMEL Assembly instructions

Presidential Billiards

Presidential Billiards CARMEL Assembly instructions

Canvas SEABROOKE 088-0746-8 Assembly instructions

Canvas

Canvas SEABROOKE 088-0746-8 Assembly instructions

Pyle PDRIS14 user guide

Pyle

Pyle PDRIS14 user guide

OFM ORO200 Assembly instructions

OFM

OFM ORO200 Assembly instructions

Ropox Vision Manual A user manual

Ropox

Ropox Vision Manual A user manual

Teamson F0013 quick start guide

Teamson

Teamson F0013 quick start guide

jokey 11 19122 quick start guide

jokey

jokey 11 19122 quick start guide

Moss LISCIA Assembly instruction

Moss

Moss LISCIA Assembly instruction

Kvik T530,060 Assembly instruction

Kvik

Kvik T530,060 Assembly instruction

Furniture of America CM7725T Assembly instructions

Furniture of America

Furniture of America CM7725T Assembly instructions

Comfort Products COUBLO 60-COUB2028 Operation manual

Comfort Products

Comfort Products COUBLO 60-COUB2028 Operation manual

Hülsta now! 4133 Assembly instructions

Hülsta

Hülsta now! 4133 Assembly instructions

Haworth CULTIVATE FLUSH installation instructions

Haworth

Haworth CULTIVATE FLUSH installation instructions

Nucraft Myne installation instructions

Nucraft

Nucraft Myne installation instructions

BoLiving 519789 Assembly instructions

BoLiving

BoLiving 519789 Assembly instructions

manuals.online logo
manuals.online logoBrands
  • About & Mission
  • Contact us
  • Privacy Policy
  • Terms and Conditions

Copyright 2025 Manuals.Online. All Rights Reserved.