manuals.online logo
Brands
  1. Home
  2. •
  3. Brands
  4. •
  5. Mocka
  6. •
  7. Indoor Furnishing
  8. •
  9. Mocka Vigo Tallboy User manual

Mocka Vigo Tallboy User manual

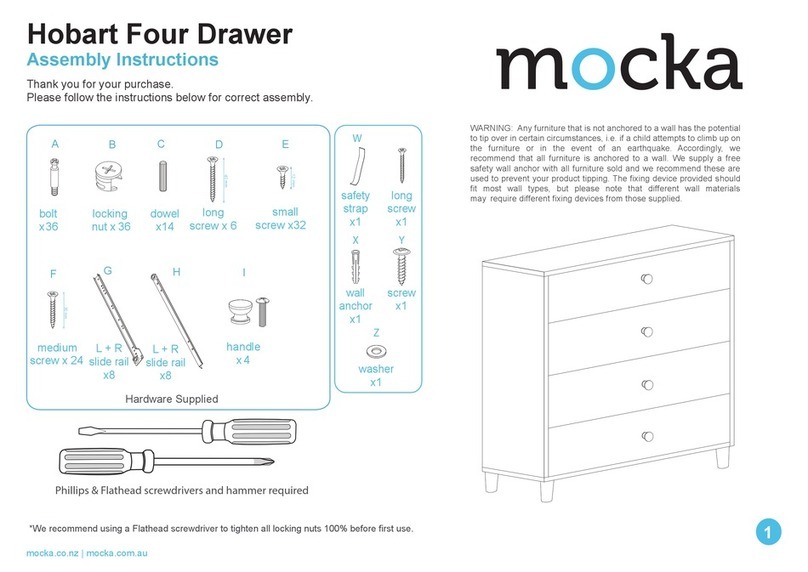
WARNING: Any furniture that is not anchored to a wall has the potential to tip over in certain
circumstances, i.e. if a child attempts to climb up on the furniture or in the event of an
earthquake. Accordingly, we recommend that all furniture is anchored to a wall. We supply a free
safety wall anchor with all furniture sold and we recommend these are used to prevent your
product tipping. The fixing device provided should fit most wall types, but please note that
different wall materials may require different fixing devices from those supplied.
Phillips & Flathead screwdrivers required
*We recommend using a Flathead screwdriver to tighten all locking nuts 100% before first use.
Please clear any loose wood from the locking nut holes before inserting the nut to ensure it locks 100%.
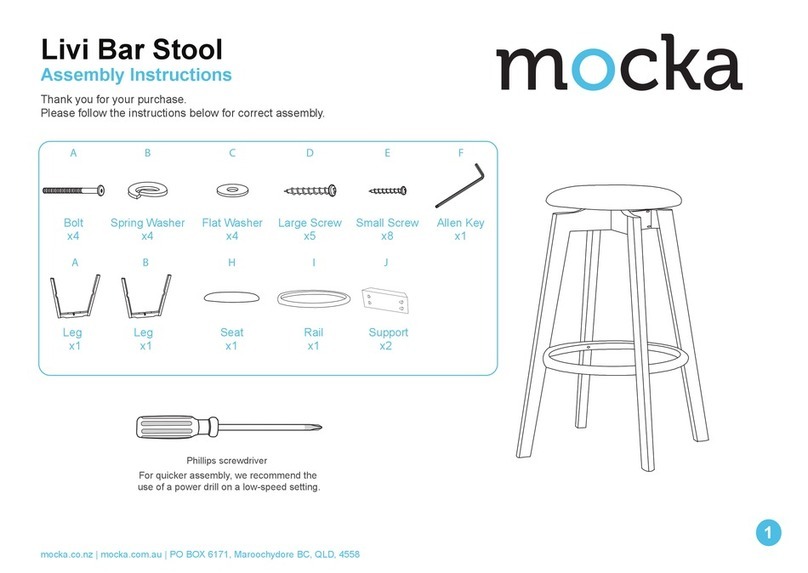
For quicker assembly, we recommend the
use of a power drill on a low-speed setting.
A B C1 C2 D
EFH
I J KL
G
Hardware Supplied
30mm
screw x16
bolt &
nut x54
12mm
screw x48
18mm
screw x10
wedge
x10
feet
x4
25mm
screw x2
wall
anchor x2
wall
strap x2
14mm
screw x2
dowel
x10
50mm
screw x30
slide
rail x12
E1
E2
E4
E3
Vigo Tallboy
1
mocka.co.nz | mocka.com.au | PO BOX 6171, Maroochydore BC, QLD, 4558
Assembly Instructions
Thank you for your purchase.
Please follow the instructions below for correct assembly.
12
Attach 4x feet (H) to the ends of the side leg panels. Attach the middle leg panels and side leg panels together as shown
using 8x 30mm screws (B). Tighten with a screwdriver.
H
B
B
B
H
B
H
B
H
B
B
B
Vigo Tallboy
2
mocka.co.nz | mocka.com.au | PO BOX 6171, Maroochydore BC, QLD, 4558
Assembly Instructions
12
Attach 4x feet (H) to the ends of the side leg panels. Attach the middle leg panels and side leg panels together as shown
using 8x 30mm screws (B). Tighten with a screwdriver.
H
B
B
B
H
B
H
B
H
B
B
B
34
Attach panel [2] to the leg panels using 8x 30mm screws (B). Tighten
with a screwdriver.
Attach 4x bolts (A) and 5x slide rail (E1) to panel [3] using 10x 12mm
screws (C1). Attach 4x bolts (A) and 5x slide rail (E3) to panel [4] using
10x 12mm screws (C1). Tighten with a screwdriver.
B
2
B
B
B
B
B
B
B
A
A
A
A
4
3
E1 E3
E1
E3
E1
E3
E1
E3
E3
A
A
A
A
E1
C1
C1
Vigo Tallboy
3
mocka.co.nz | mocka.com.au | PO BOX 6171, Maroochydore BC, QLD, 4558
Assembly Instructions
56
Attach 1x slide rail (E3) to one side of panel [14] using 2x 12mm screws
(C1). Attach 1x slide rail (E3) to the other side of panel [14] using 2x
12mm screws (C1). Tighten with a screwdriver.
E3
14
C1
C1
C1
C1
14
E1 4
3
13
12
A
A
Attach panel [12] to panels [3] and [4] using 4x locking nuts (A). Attach
panel [13] to panels [3] and [4] using 4x locking nuts (A). Tighten with a
screwdriver.
A
A
A
Vigo Tallboy
Assembly Instructions
4
mocka.co.nz | mocka.com.au | PO BOX 6171, Maroochydore BC, QLD, 4558
Jolt Wardrobe
ASSEMBLY INSTRUCTIONS
5
mocka.co.nz | mocka.com.au
56
Attach 1x slide rail (E3) to one side of panel [14] using 2x 12mm screws
(C1). Attach 1x slide rail (E3) to the other side of panel [14] using 2x
12mm screws (C1). Tighten with a screwdriver.
E3
14
C1
C1
C1
C1
14
E1 4
3
13
12
A
A
Attach panel [12] to panels [3] and [4] using 4x locking nuts (A). Attach
panel [13] to panels [3] and [4] using 4x locking nuts (A). Tighten with a
screwdriver.
A
A
A
78
Attach panels [3] and [4] to panel [2] using 4x dowels (F) and 4x 50mm
screws (D). Tighten with a screwdriver.
Attach 6x bolts (A) to the underside of panel [1].
D
1
A
A
AA
A
A
3
4
2
F
D
F
D
F
D
F
Vigo Tallboy
Assembly Instructions
5
mocka.co.nz | mocka.com.au | PO BOX 6171, Maroochydore BC, QLD, 4558
910
Attach panel [14] to the underside of panel [1] as shown using 2x
dowels (F) and 2x locking nuts (A). Tighten with a screwdriver.
Insert panel [5] down along the grooves between panels [3] and [4] to
form the back of the unit.
F
A
1
F
A
A
14
5
4
3
Vigo Tallboy
Assembly Instructions
6
mocka.co.nz | mocka.com.au | PO BOX 6171, Maroochydore BC, QLD, 4558
910
Attach panel [14] to the underside of panel [1] as shown using 2x
dowels (F) and 2x locking nuts (A). Tighten with a screwdriver.
Insert panel [5] down along the grooves between panels [3] and [4] to
form the back of the unit.
F
A
1
F
A
A
14
5
4
3
11
12
Attach panel [1] to panels [3] and [4] using 4x dowels (F) and secure
with 4x locking nuts (A). Secure panel [14] to panel [13] using 2x 50mm
screws (D). Tighten with a screwdriver.
F
4
3
1
F
D
F
D
F
A
A
A
A
13
14
Drawers x4
C1
D
D
E2
A
C1
C1
A
A
C1
E4
8
7
7
11
8
10
9
8
7
Attach panels [7], [8], [9] and [10] together using 2x bolts & locking nuts
(A) and 4x 50mm screws (D) as shown. Slide panel [11] between the side
panels. Attach panel [6] to panels [7], [8] and [10] using 6x bolts & locking
nuts (A). Attach 1x slide rail (E2) to panel [7] and 1x slide rail (E4) to
panel [8] with 4x 12mm screws (C1). Tighten with a screwdriver.
AA
A
A
8
7
9
6
A
Vigo Tallboy
Assembly Instructions
7
mocka.co.nz | mocka.com.au | PO BOX 6171, Maroochydore BC, QLD, 4558
13 14
Drawers x2
Attach panels [7], [8] and [17] together using 4x 50mm screws (D) as
shown. Slide panel [18] between the side panels. Attach panel [15]/[16]
to panels [7] and [8] using 4x bolts & locking nuts (A). Attach 1x slide rail
(E2) to panel [7] and 1x slide rail (E4) to panel [8] with 4x 12mm screws
(C1). Tighten with a screwdriver.
C2
GG
D
D
D
D8
7
5
15
18
17
16
A
8
7
A
A
8
7
C1
E2
C1
C1
C1 E4
A
G
G
G
G
G
G
G
G
G
G
Attach 10x wedges (G) to the back of the unit [5] and secure with 10x
18mm screws (C2). Tighten with a screwdriver.
Vigo Tallboy
Assembly Instructions
8
mocka.co.nz | mocka.com.au | PO BOX 6171, Maroochydore BC, QLD, 4558
13 14
Drawers x2
Attach panels [7], [8] and [17] together using 4x 50mm screws (D) as
shown. Slide panel [18] between the side panels. Attach panel [15]/[16]
to panels [7] and [8] using 4x bolts & locking nuts (A). Attach 1x slide rail
(E2) to panel [7] and 1x slide rail (E4) to panel [8] with 4x 12mm screws
(C1). Tighten with a screwdriver.
C2
GG
D
D
D
D8
7
5
15
18
17
16
A
8
7
A
A
8
7
C1
E2
C1
C1
C1 E4
A
G
G
G
G
G
G
G
G
G
G
Attach 10x wedges (G) to the back of the unit [5] and secure with 10x
18mm screws (C2). Tighten with a screwdriver.
15 16
6
1
15
16
6
6
6
Insert each drawer into the unit as shown, ensuring they slide smoothly
and easily along the rails. Once assembled, lift furniture into place, do
not drag.
K
L
Move the unit into the desired location up against a wall. Attach 2x wall
straps (L) to the back sides of panel [1] and secure with 2x 14mm screws
(J). Fasten to wall using 2x wall anchors (K) and 2x wall screws (I).
Ensure unit is balanced and steady before use. You’re done, enjoy!
J
Safety Straps
I
J
Vigo Tallboy
Assembly Instructions
9
mocka.co.nz | mocka.com.au | PO BOX 6171, Maroochydore BC, QLD, 4558

Other Mocka Indoor Furnishing manuals

Mocka Inca Buffet User manual

Mocka

Mocka Inca Buffet User manual

Mocka Zack User manual

Mocka

Mocka Zack User manual

Mocka Sadie User manual

Mocka

Mocka Sadie User manual
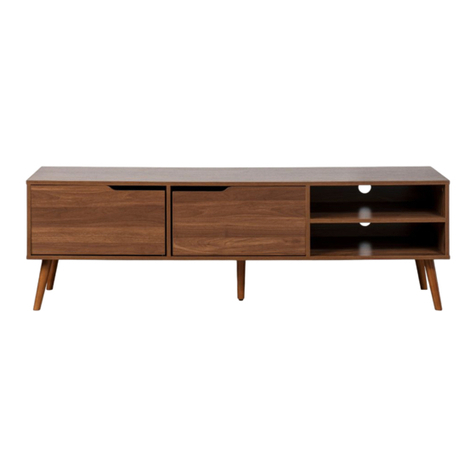
Mocka Luka Velvet User manual

Mocka

Mocka Luka Velvet User manual

Mocka Aspen User manual

Mocka

Mocka Aspen User manual

Mocka Leon User manual

Mocka

Mocka Leon User manual

Mocka Aspen User manual

Mocka

Mocka Aspen User manual

Mocka Inca Tallboy User manual

Mocka

Mocka Inca Tallboy User manual

Mocka Sadie User manual

Mocka

Mocka Sadie User manual

Mocka Emmett Bed User manual

Mocka

Mocka Emmett Bed User manual

Mocka Luna User manual

Mocka

Mocka Luna User manual

Mocka Reese User manual

Mocka

Mocka Reese User manual

Mocka Toby Desk User manual

Mocka

Mocka Toby Desk User manual

Mocka Aspen User manual

Mocka

Mocka Aspen User manual

Mocka Orlando User manual

Mocka

Mocka Orlando User manual

Mocka Georgia User manual

Mocka

Mocka Georgia User manual

Mocka Alps Two Door Cabinet User manual

Mocka

Mocka Alps Two Door Cabinet User manual

Mocka Inca Console Table User manual

Mocka

Mocka Inca Console Table User manual

Mocka Oli Bookcase User manual

Mocka

Mocka Oli Bookcase User manual

Mocka Claremont Two Door Cabinet User manual

Mocka

Mocka Claremont Two Door Cabinet User manual

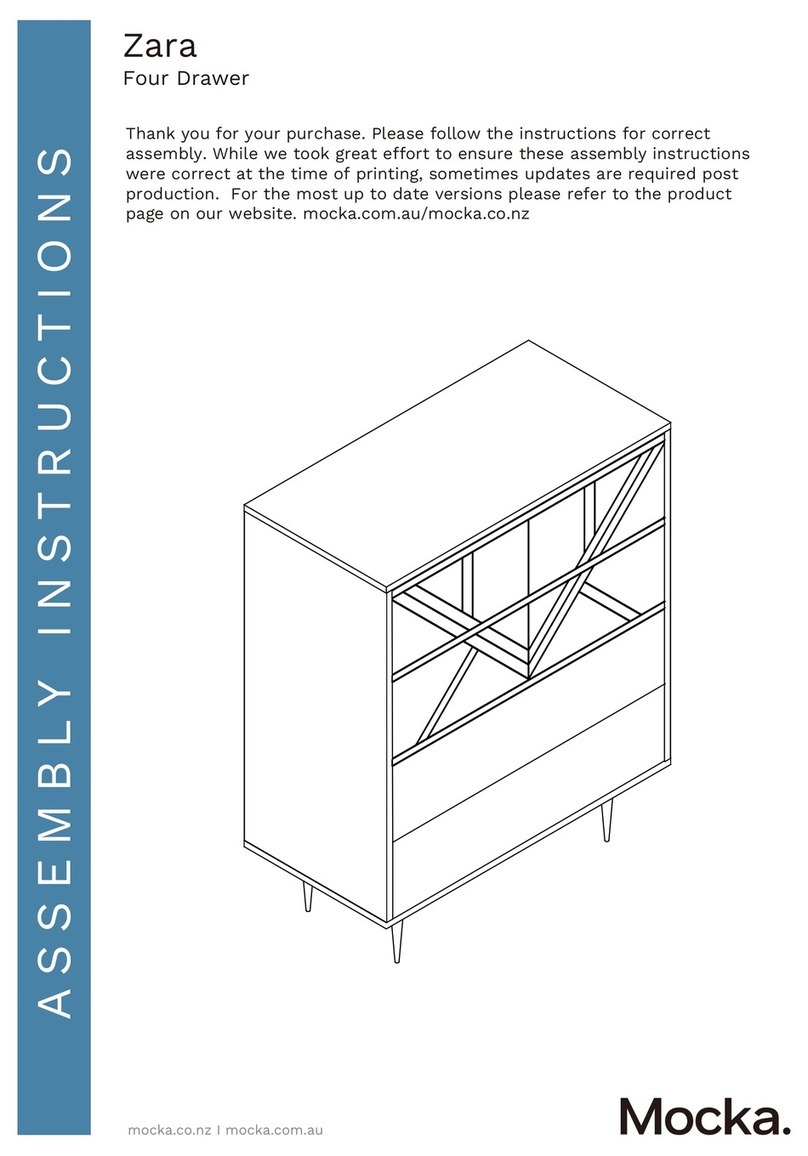
Mocka Zara User manual

Mocka

Mocka Zara User manual
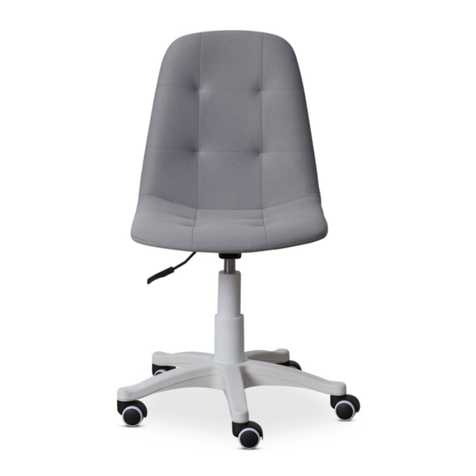
Mocka Sadie User manual

Mocka

Mocka Sadie User manual

Mocka Rupert User manual

Mocka

Mocka Rupert User manual

Mocka Ora User manual

Mocka

Mocka Ora User manual

Popular Indoor Furnishing manuals by other brands

CEROCHA COZINHA KAUS 1.44 Assembly instructions

CEROCHA

CEROCHA COZINHA KAUS 1.44 Assembly instructions

SCIEM 3BD-3086 Assembly instructions

SCIEM

SCIEM 3BD-3086 Assembly instructions

Furniture of America CM1738T-2 Assembly instructions

Furniture of America

Furniture of America CM1738T-2 Assembly instructions

Badger Basket 98841 Assembly instructions

Badger Basket

Badger Basket 98841 Assembly instructions

Winsome Torino 20896 R2 manual

Winsome

Winsome Torino 20896 R2 manual

LDI Safco Uber 3491 Assembly instructions

LDI

LDI Safco Uber 3491 Assembly instructions

LAZBOY Addyson Sling Swivel Rocker owner's manual

LAZBOY

LAZBOY Addyson Sling Swivel Rocker owner's manual

World Market 527211 Assembly instructions

World Market

World Market 527211 Assembly instructions

Habitat Tiek 915309 manual

Habitat

Habitat Tiek 915309 manual

Northbeam WNR0032200010 Care Instructions

Northbeam

Northbeam WNR0032200010 Care Instructions

Studymate DYSON TRESTILE SMDYSONOB Assembly instructions

Studymate

Studymate DYSON TRESTILE SMDYSONOB Assembly instructions

Victor High Rise DC500 Assembly instructions

Victor

Victor High Rise DC500 Assembly instructions

FMD Furniture FELIX 350-001 Assembly instructions

FMD Furniture

FMD Furniture FELIX 350-001 Assembly instructions

VITRA Alcove Cabin Instructions for use

VITRA

VITRA Alcove Cabin Instructions for use

Hornbach 45049 quick start guide

Hornbach

Hornbach 45049 quick start guide

Office Star Products TV230 Assembly instructions

Office Star Products

Office Star Products TV230 Assembly instructions

Serta HARVARD Assembly instructions

Serta

Serta HARVARD Assembly instructions

Habitat JAK 940/1820 manual

Habitat

Habitat JAK 940/1820 manual

manuals.online logo
manuals.online logoBrands
  • About & Mission
  • Contact us
  • Privacy Policy
  • Terms and Conditions

Copyright 2025 Manuals.Online. All Rights Reserved.