manuals.online logo
Brands
  1. Home
  2. •
  3. Brands
  4. •
  5. Mocka
  6. •
  7. Indoor Furnishing
  8. •
  9. Mocka Hobart Four Drawer User manual

Mocka Hobart Four Drawer User manual

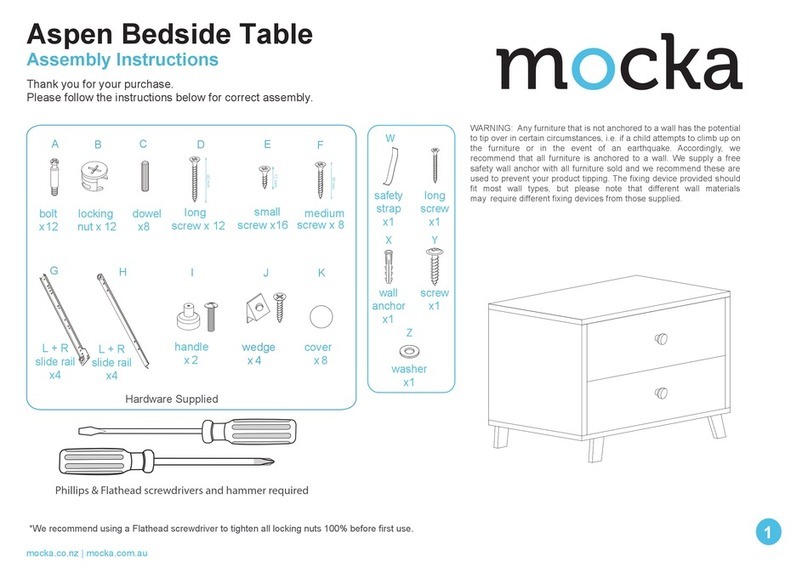
Phillips & Flathead screwdrivers and hammer required
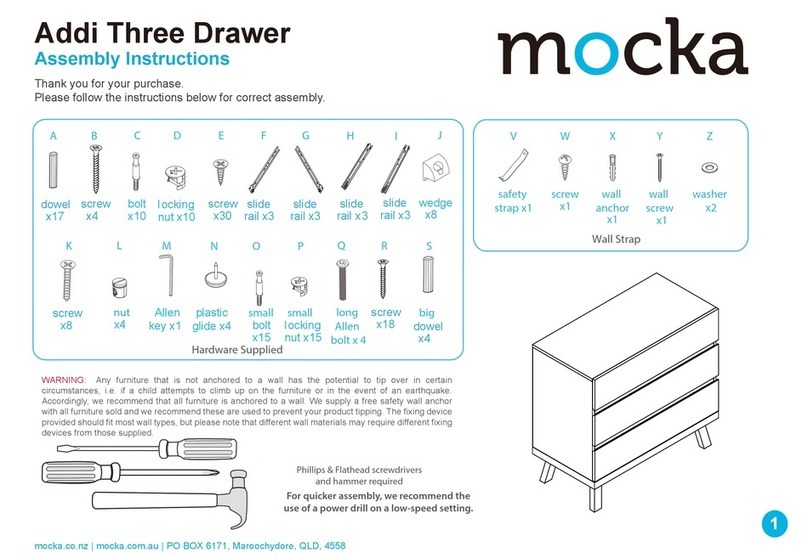
Assembly Instructions
Thank you for your purchase.
Please follow the instructions below for correct assembly.
1
X
Z
Y
W
safety
strap
x1
screw
x1
long
screw
x1
wall
anchor
x1
washer
x1
mocka.co.nz | mocka.com.au
B
ACDE
FGH
12 mm
Hardware Supplied
*We recommend using a Flathead screwdriver to tighten all locking nuts 100% before first use.
WARNING: Any furniture that is not anchored to a wall has the potential
to tip over in certain circumstances, i.e. if a child attempts to climb up on
the furniture or in the event of an earthquake. Accordingly, we
recommend that all furniture is anchored to a wall. We supply a free
safety wall anchor with all furniture sold and we recommend these are
used to prevent your product tipping. The fixing device provided should
fit most wall types, but please note that different wall materials
may require different fixing devices from those supplied.
bolt
x36
locking
nut x 36
dowel
x14
small
screw x32
I
L + R
slide rail
x8
L + R
slide rail
x8
screw x 24
Hobart Four Drawer
40 mm
long
screw x 6
handle
x 4
30 mm
medium
2
12
Hobart Four Drawer
Assembly Instructions
Thank you for your purchase.
Please follow the instructions below for correct assembly.
mocka.co.nz | mocka.com.au
A
1
Insert 6 x bolts (A) into panel [1] . Tighten with a screwdriver.
AA
A
A
A
A
A
EE
EE
A
EE
EE
A
EE
EE
A
A
EE
A
E
E
3
4
G
G
G
G
GG
G
G
G
G
Attach 4 x left slide rails (G) to panel [3] and secure with 8 x small screw (E).
Tighten with a screwdriver.
Attach 4 x right slide rails (G) to panel [4] and secure with 8 x small screw (E).
Insert 6 x bolts (A) into panel [3] and [4].
3
34
Hobart Four Drawer
Assembly Instructions
Thank you for your purchase.
Please follow the instructions below for correct assembly.
mocka.co.nz | mocka.com.au
C
3
4
B
Insert 6 x dowels (C) into panels [5]. Attach panels [5] to panels [3] and [4] secure
with 6 x locking nuts (B). Tighten with a screwdriver.
5
5
5C
C
C
C
C
B
B
B
B
B
B
6
2
C
C
D
DD
D
C
C
W
Y
4
3
DD
Insert 4 x dowel (C) into panel [3] and [4] and [2] .
Attach panels [3] and [4] to panel [2] and secure with 6 x long screws(D).
Attach 1 x wall strap (W)
to panel [6] using 1x screw(Y).
4
56
Hobart Four Drawer
Assembly Instructions
Thank you for your purchase.
Please follow the instructions below for correct assembly.
mocka.co.nz | mocka.com.au
2
8
8
8
8
Firmly screw 4 legs [8] to the base of panel [2].
Tighten with a screwdriver.
7
7
Slide panel [7] between the grooves on panels [3] and [4] and [6] to form the
back of the unit as shown.
Tighten with a screwdriver.
6
3
4
5
78
Hobart Four Drawer
Assembly Instructions
Thank you for your purchase.
Please follow the instructions below for correct assembly.
mocka.co.nz | mocka.com.au
BB
BB
BB
CC
CC
3
4
1
Tighten with a screwdriver.
Insert 4 x dowel (C) into panel [1]. Attach panels [3], [4] and [6]
and secure with 6 x locking nuts (B).
6
Drawers (x4)
B
B
B
B
AA
A
A
9
11
10
Tighten with a screwdriver.
Insert 16 xbolts (A) into panel [9] .Attach panels [10] and [11] to panel
[9] secure with 16 xlocking nuts (B).
6
910
Hobart Four Drawer
Assembly Instructions
Thank you for your purchase.
Please follow the instructions below for correct assembly.
mocka.co.nz | mocka.com.au
Drawers (x4)
910
Drawers (x4)
A
A
B
B
12
12
13
Insert 8 x bolts (A) into panel [9] . Slide panels [13] between the
Attach panel [12] to panel [9] and secure with 8 x locking nut (B).
grooves on panels [10] and [11] to form the base of the drawer as shown.
13
14
10
11
11
FF
F
F
F
F
Tighten with a screwdriver.
Attach panel [14] to panels [10] and [11] secure with 24 x medium
screws (F).
7
11 12
Hobart Four Drawer
Assembly Instructions
Thank you for your purchase.
Please follow the instructions below for correct assembly.
mocka.co.nz | mocka.com.au
Drawers (x4)
11
E
E
E
I
H
H
10
9
Attach 8 x slide rails (H) to panels [10] and [11] and secure with 16 x small
screws (E). Insert 4 x handles (I) into panel [9] .
I
X
Z
x1
wall
screw
wall
anchor
wall
screw
Washer
Strap
Once assembled lift furniture into place, do not drag. Use a drill to create
a small hole lining up with the top of the safety strap (W). Fasten to wall
using wall anchor (X), washer (Z) and screw. Ensure the unit is balaced
and steady before use. You’re done, enjoy!

Other Mocka Indoor Furnishing manuals

Mocka Toby Desk User manual

Mocka

Mocka Toby Desk User manual

Mocka Hatcher User manual

Mocka

Mocka Hatcher User manual

Mocka Inca Console Table User manual

Mocka

Mocka Inca Console Table User manual

Mocka Zara User manual

Mocka

Mocka Zara User manual

Mocka Watson Coffee Table User manual

Mocka

Mocka Watson Coffee Table User manual

Mocka Marlow Four Drawer User manual

Mocka

Mocka Marlow Four Drawer User manual

Mocka Georgia Console Table User manual

Mocka

Mocka Georgia Console Table User manual

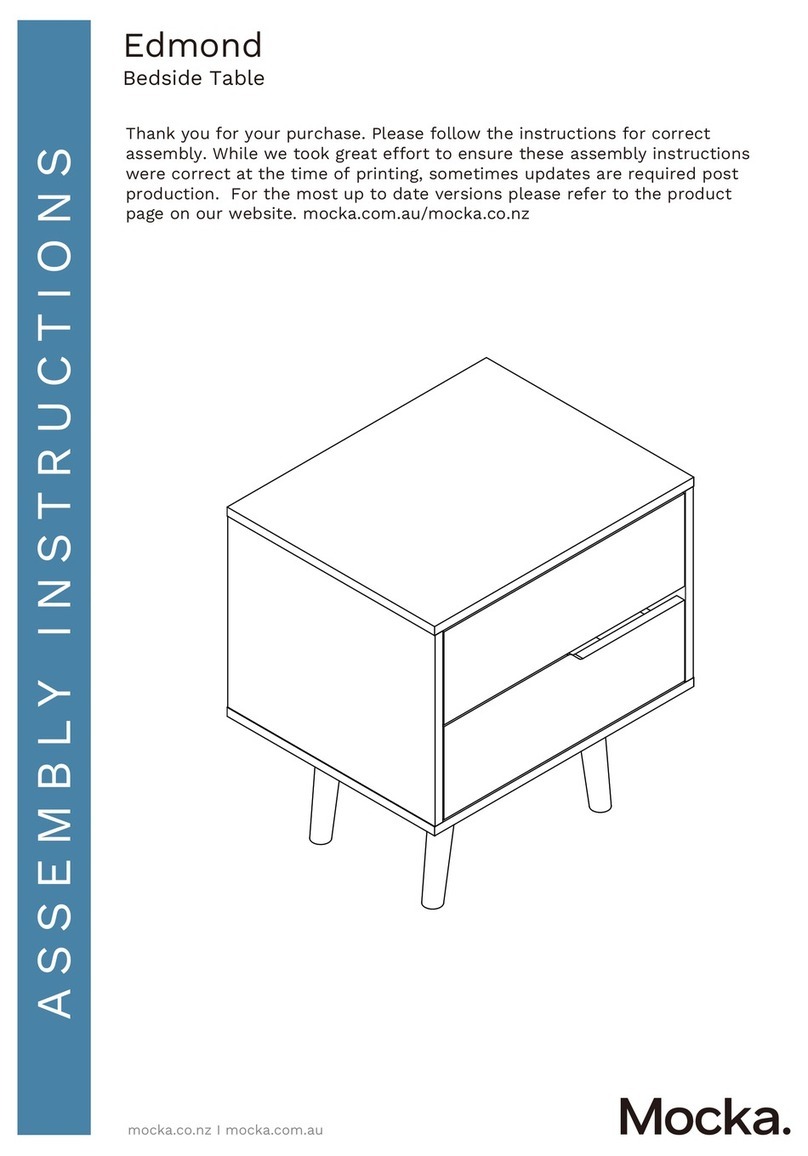
Mocka Edmond User manual

Mocka

Mocka Edmond User manual

Mocka Tahoe User manual

Mocka

Mocka Tahoe User manual

Mocka Avoca User manual

Mocka

Mocka Avoca User manual

Mocka Austin Chair User manual

Mocka

Mocka Austin Chair User manual

Mocka Claremont Entertainment Unit User manual

Mocka

Mocka Claremont Entertainment Unit User manual

Mocka Hamptons Hallway Stand User manual

Mocka

Mocka Hamptons Hallway Stand User manual

Mocka Parker Desk User manual

Mocka

Mocka Parker Desk User manual

Mocka Vigo Tallboy User manual

Mocka

Mocka Vigo Tallboy User manual

Mocka Aspen User manual

Mocka

Mocka Aspen User manual
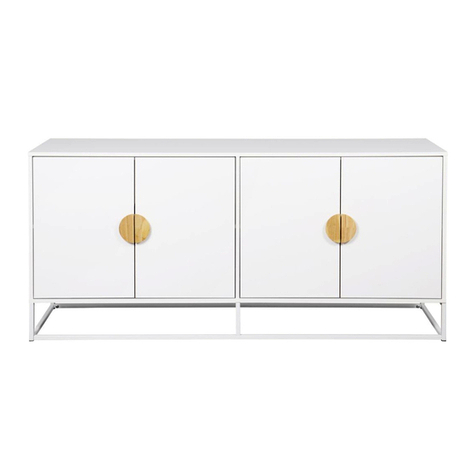
Mocka Bronte Console Table User manual

Mocka

Mocka Bronte Console Table User manual

Mocka Nava Coffee Table User manual

Mocka

Mocka Nava Coffee Table User manual

Mocka Detroit Trolley Side Table User manual

Mocka

Mocka Detroit Trolley Side Table User manual

Mocka Portia Console Table User manual

Mocka

Mocka Portia Console Table User manual

Mocka Eliza Coffee Table User manual

Mocka

Mocka Eliza Coffee Table User manual

Mocka Bentley Slim Shelf User manual

Mocka

Mocka Bentley Slim Shelf User manual

Mocka Asha Four Drawer User manual

Mocka

Mocka Asha Four Drawer User manual

Mocka Denham Bedside Table User manual

Mocka

Mocka Denham Bedside Table User manual

Popular Indoor Furnishing manuals by other brands

rst brands Portofino OP-PESOF48-PORVI Assembly instructions

rst brands

rst brands Portofino OP-PESOF48-PORVI Assembly instructions

Next MATSON 127638 Assembly instructions

Next

Next MATSON 127638 Assembly instructions

MELLOW rocky base E instructions

MELLOW

MELLOW rocky base E instructions

Costway HU10416 manual

Costway

Costway HU10416 manual

Costway HW65954 user manual

Costway

Costway HW65954 user manual

Dunelm 30151811 manual

Dunelm

Dunelm 30151811 manual

Ameriwood HOME Barrow Creek 1807015COM manual

Ameriwood HOME

Ameriwood HOME Barrow Creek 1807015COM manual

Street Furniture Aria installation guide

Street Furniture

Street Furniture Aria installation guide

BLACK RED WHITE GRACE B186-POL140 Assembly

BLACK RED WHITE

BLACK RED WHITE GRACE B186-POL140 Assembly

Furniture To Go 1040601 Assembly instructions

Furniture To Go

Furniture To Go 1040601 Assembly instructions

Dorel DA037SECUK instruction manual

Dorel

Dorel DA037SECUK instruction manual

zieta 3+ TABLE quick start guide

zieta

zieta 3+ TABLE quick start guide

Germania 0469 Assembly instruction

Germania

Germania 0469 Assembly instruction

Forte DURK241-C818 Assembling Instruction

Forte

Forte DURK241-C818 Assembling Instruction

burgbad Lado M1060 Fitting instructions

burgbad

burgbad Lado M1060 Fitting instructions

modway EEI-2140 Assembly instruction

modway

modway EEI-2140 Assembly instruction

SUNON T202 installation manual

SUNON

SUNON T202 installation manual

JWA ELCHE 70457 Assembly instruction

JWA

JWA ELCHE 70457 Assembly instruction

manuals.online logo
manuals.online logoBrands
  • About & Mission
  • Contact us
  • Privacy Policy
  • Terms and Conditions

Copyright 2025 Manuals.Online. All Rights Reserved.