manuals.online logo
Brands
  1. Home
  2. •
  3. Brands
  4. •
  5. Monacor
  6. •
  7. Measuring Instrument
  8. •
  9. Monacor DVM-12 User manual

Monacor DVM-12 User manual

Einbau-Digital-Voltmeter
Bitte lesen Sie diese Anleitung vor dem Betrieb gründlich
durch und heben Sie sie für ein späteres Nachlesen auf.
1 Einsatzmöglichkeiten
Das DVM-12 ist ein 21/2-stelliges Digital-Voltmeter mit
einem Anzeigebereich von 10 – 16 V und speziell für den
Einbau z. B. in die Frontplatte eines Gerätes konzipiert.
2 Wichtige Hinweise für den Gebrauch
Das Gerät entspricht allen erforderlichen Richtlinien der
EU und ist deshalb mit gekennzeichnet.
GSetzen Sie das Gerät nur im Innenbereich ein. Schützen
Sie es vor Tropf- und Spritzwasser, hoher Luftfeuchtig-
keit und Hitze (zulässige Einsatztemperatur 0 – 40 °C).
GVerwenden Sie zum Reinigen nur ein trockenes, wei-
ches Tuch, niemals Chemikalien oder Wasser.
GWird das Gerät zweckentfremdet, nicht richtig installiert,
überlastet oder nicht fachgerecht repariert, kann keine
Garantie für das Gerät und keine Haftung für daraus
resultierende Sach- oder Personenschäden übernom-
men werden.
3 Inbetriebnahme
1) Das Voltmeter vorläufig zum Kalibrieren mit dem zu
messenden Stromkreis verbinden: den Pluspol an das
rote Kabel und den Minuspol an das schwarze Kabel.
Mit einem präzisen Messgerät die anliegende Span-
nung messen und ggf. mit dem Potentiometer Aden
vom DVM-12 angezeigten Wert genau einstellen.
2) Für den Einbau einen entsprechenden Ausschnitt an
geeigneter Stelle sägen. Die Einbautiefe beträgt 15 mm.
3) Die Aluminium-Frontblende abnehmen und das Instru-
ment mit vier Senkkopfschrauben festschrauben. Die
Frontblende wieder aufsetzen und das Instrument an
den zu messenden Stromkreis anschließen.
Sobald die Spannung anliegt, zeigt das Display deren Wert
an. Bei Spannungen außerhalb des Anzeigebereiches
zeigt das Display:
LO für „low“ (zu niedrig) bei einer Spannung < 10 V
HI für „high“ (zu hoch) bei einer Spannung > 16 V
Soll das Gerät endgültig aus dem Betrieb genom-
men werden, übergeben Sie es zur umweltge-
rechten Entsorgung einem örtlichen Recycling-
betrieb.
37
60
62
9
35
9
A
72
47
DVM-12
Digital Voltmeter for Installation
Please read these operating instructions carefully prior to
operating the unit and keep them for later reference.
1 Applications
The DVM-12 is a digital voltmeter of 21/2digits with a dis-
play range of 10 – 16 V and especially designed for instal-
lation e. g. into the front panel of a unit.
2 Important Notes
The unit corresponds to all required directives of the EU
and is therefore marked with .
GThe unit is suitable for indoor use only. Protect it against
dripping water and splash water, high air humidity, and
heat (admissible ambient temperature range 0 – 40 °C).
GFor cleaning only use a dry, soft cloth, never use chem-
icals or water.
GNo guarantee claims for the unit and no liability for any
resulting personal damage or material damage will be
accepted if the unit is used for other purposes than orig-
inally intended, if it is not correctly installed, if it is over-
loaded, or not repaired in an expert way.
3 Operation
1) For the time being, connect the voltmeter for calibration
to the electric circuit to be measured: connect the posi-
tive pole to the red cable and the negative pole to the
black cable. Measure the present voltage with a precise
meter and, if required, precisely adjust the value indi-
cated by the DVM-12 with the potentiometer A.
2) For the installation saw a corresponding cutout at a suit-
able place. The mounting depth is 15 mm.
3) Remove the aluminium front panel and tightly fasten the
meter with four countersunk screws. Reposition the
front panel and connect the meter to the electric circuit
to be measured.
As soon as the voltage is present, the display shows its
value. For voltages outside the display range the display
shows:
LO = too low at a voltage < 10 V
HI = too high at a voltage > 16 V
If the unit is to be put out of operation definitively,
take it to a local recycling plant for a disposal
which is not harmful to the environment.
Best.-Nr. 29.2000
®
MONACOR INTERNATIONAL GmbH & Co. KG • Zum Falsch 36 • 28307 Bremen • Germany
Copyright ©by MONACOR INTERNATIONAL. All rights reserved. A-0939.99.02.06.2011
®
D A CHD A CH GB
Technische Daten • Specifications
Display 10-mm-LCD, 2
1
/
2
-stellig, blau
10 mm LCD, 2
1
/
2
digits, blue
Betriebsspannungsbereich
Operating voltage range 5–18V
Anzeigebereich
Display range 10.0 – 16.0 V
Änderungen vorbehalten • Subject to technical modification. Maße in mm • Dimensions in mm
Voltmètre digital à installer
Veuillez lire la présente notice avec attention avant le fonc-
tionnement et conservez-la pour pouvoir vous y reporter
ultérieurement.
1 Possibilités dʼutilisation
Le DVM-12 est un voltmètre digital 21/2positions avec une
plage dʼaffichage de 10 à 16 V et spécialement conçu
pour une installation, par exemple en façade dʼun appareil.
2 Conseils dʼutilisation importants
Lʼappareil répond à toutes les directives nécessaires de
lʼUnion européenne et porte donc le symbole .
GLʼappareil nʼest conçu que pour une utilisation en inté-
rieur. Protégez-le de tout type de projections dʼeau, des
éclaboussures, dʼune humidité élevée de lʼair et de la
chaleur (plage de température de fonctionnement auto-
risée : 0 – 40 °C).
GPour le nettoyage, utilisez seulement un chiffon sec et
doux, en aucun cas, de produits chimiques ou dʼeau.
GNous déclinons toute responsabilité en cas de dom-
mages matériels ou corporels résultants si lʼappareil est
utilisé dans un but autre que celui pour lequel il a été
conçu, sʼil nʼest pas correctement installé, sʼil y a sur-
charge ou sʼil nʼest pas réparé par une personne habili-
tée, en outre, la garantie deviendrait caduque.
3 Fonctionnement
1) Il convient tout dʼabord de calibrer le voltmètre : reliez-le
au circuit électrique à mesurer : reliez le pôle plus au
câble rouge et le pôle moins au câble noir. Avec un
appareil de mesure précis, mesurez la tension présente
et si besoin, réglez avec précision la valeur affichée par
le DVM-12 avec le potentiomètre A.
2)
Effectuez la découpe correspondante pour lʼinstallation à un
endroit approprié. La profondeur de montage est de 15 mm.
3) Retirez la face avant en aluminium, vissez lʼinstrument
avec quatre vis à tête fraisée. Replacez la face avant,
reliez lʼinstrument au circuit électrique à mesurer.
Dès que la tension est présente, lʼaffichage indique sa
valeur. Pour des tensions au-delà de la plage dʼaffichage,
lʼaffichage indique :
LO pour “low” (trop faible) pour une tension < 10 V
HI pour “high” (trop élevé) pour une tension > 16 V
Lorsque lʼappareil est définitivement retiré du ser-
vice, vous devez le déposer dans une usine de
recyclage adaptée pour contribuer à son élimina-
tion non polluante.
37
60
62
9
35
9
A
72
47
DVM-12
Voltmetro digitale da pannello
Vi preghiamo di leggere attentamente le presenti istruzioni
prima della messa in funzione e di conservarle per un uso
futuro.
1 Possibilità dʼimpiego
Il DVM-12 è un voltmetro digitale a 21/2cifre con un range
di visualizzazione di 10 – 16 V ed è stato realizzato spe-
cialmente per il montaggio per esempio nel pannello fron-
tale di un apparecchio.
2 Avvertenze importanti per lʼuso
Lo strumento è conforme a tutte le direttive richieste del-
lʼUE e pertanto porta la sigla .
GUsare lo strumento solo allʼinterno di locali. Proteggerlo
dallʼacqua gocciolante e dagli spruzzi dʼacqua, da alta
umidità dellʼaria e dal calore (temperatura dʼimpiego
ammessa fra 0 e 40 °C).
GPer la pulizia usare solo un panno morbido, asciutto; non
impiegare in nessun caso prodotti chimici o acqua.
GNel caso dʼuso improprio, dʻinstallazione sbagliata, di
sovraccarico o di riparazione non a regola dʼarte dello
strumento, non si assume nessuna responsabilità per
eventuali danni consequenziali a persone o a cose e non
si assume nessuna garanzia per lo strumento.
3 Messa in funzione
1) Per calibrare il voltmetro, collegarlo momentaneamente
con il circuito da misurare: il polo positivo con il cavo
rosso e il polo negativo con il cavo nero. Con un misu-
ratore di precisione misurare la tensione presente ed
eventualmente impostare con esattezza il valore visua-
lizzato dal DVM-12 servendosi del potenziometro A.
2) Per il montaggio, preparare in un punto adatto lʼapertura
necessaria. La profondità di montaggio è di 15 mm.
3) Togliere la maschera frontale dʼalluminio ed avvitare lo
strumento con quattro viti a testa svasata. Rimettere la
mascherina frontale e collegare lo strumento con il cir-
cuito da misurare.
Non appena è presente una tensione, il display indica il
relativo valore. Nel caso di tensioni al di fuori dei range di
visualizzazione, il display indica:
LO per “low” (troppo basso) con tensione < 10 V
HI per “high” (troppo alto) con tensione > 16 V
Se si desidera eliminare lo strumento definitiva-
mente, consegnarlo per lo smaltimento ad unʼisti-
tuzione locale per il riciclaggio.
Best.-Nr. 29.2000
®
MONACOR INTERNATIONAL GmbH & Co. KG • Zum Falsch 36 • 28307 Bremen • Germany
Copyright ©by MONACOR INTERNATIONAL. All rights reserved. A-0939.99.02.06.2011
®
F B CH I
Caractéristiques techniques • Dati tecnici
Affichage
Display
LCD 10 mm, 2
1
/
2
positions, bleu
LCD di 10 mm, 2
1
/
2
cifre, blu
Plage de tension de fonctionnem.
Range di tensione d’esercizio 5–18V
Plage d’affichage
Range di visualizzazione 10,0 – 16,0 V
Tout droit de modification réservé. • Con riserva di modifiche tecniche. Dimensions en mm • Dimensioni in mm

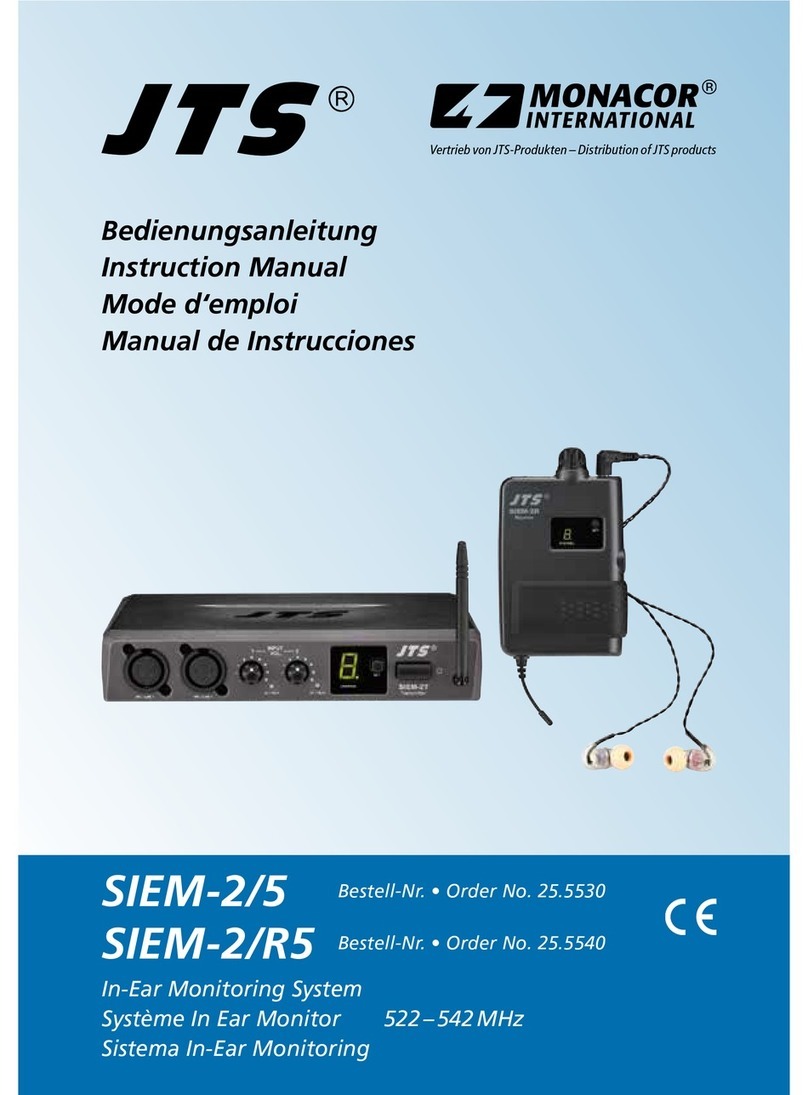
This manual suits for next models

1

Other Monacor Measuring Instrument manuals

Monacor SWR-2 Operator's manual

Monacor

Monacor SWR-2 Operator's manual

Monacor ZM-100 User manual

Monacor

Monacor ZM-100 User manual

Monacor JTS SIEM-2/5 User manual

Monacor

Monacor JTS SIEM-2/5 User manual

Monacor SM-2 User manual

Monacor

Monacor SM-2 User manual

Monacor 0171950 User manual

Monacor

Monacor 0171950 User manual

Monacor SM-2 User manual

Monacor

Monacor SM-2 User manual

Monacor LEVELMAX-1 User manual

Monacor

Monacor LEVELMAX-1 User manual

Monacor DMT-2505 User manual

Monacor

Monacor DMT-2505 User manual

Monacor SM-1 User manual

Monacor

Monacor SM-1 User manual

Monacor DMT-2010 User manual

Monacor

Monacor DMT-2010 User manual

Monacor ZM-100 User manual

Monacor

Monacor ZM-100 User manual

Monacor LEVELMAX-1 User manual

Monacor

Monacor LEVELMAX-1 User manual

Monacor PS-3030D User manual

Monacor

Monacor PS-3030D User manual

Popular Measuring Instrument manuals by other brands

carrierweb CARRIERMATE Diagnostics guide

carrierweb

carrierweb CARRIERMATE Diagnostics guide

Kenwood FL-180 instruction manual

Kenwood

Kenwood FL-180 instruction manual

GHM GREISINGER GMH 3331 operating manual

GHM

GHM GREISINGER GMH 3331 operating manual

VWR MCP 100 instruction manual

VWR

VWR MCP 100 instruction manual

GREER Company MicroGuard 510 Retrofit Calibration

GREER Company

GREER Company MicroGuard 510 Retrofit Calibration

Parker Digital MXR-D 4065D user manual

Parker

Parker Digital MXR-D 4065D user manual

Spirax Sarco DIVA Installation and maintenance instructions

Spirax Sarco

Spirax Sarco DIVA Installation and maintenance instructions

Manson Engineering Industrial DPM-3321 user manual

Manson Engineering Industrial

Manson Engineering Industrial DPM-3321 user manual

Honeywell RM640 Handbook

Honeywell

Honeywell RM640 Handbook

Titan Logix Corp TD100 Installation and operation manual

Titan Logix Corp

Titan Logix Corp TD100 Installation and operation manual

iCheckTPMS IC005 instruction manual

iCheckTPMS

iCheckTPMS IC005 instruction manual

Nassar PM-23 user manual

Nassar

Nassar PM-23 user manual

BOPP &  REUTHER MESSTECHNIK MDS-30 instruction manual

BOPP & REUTHER MESSTECHNIK

BOPP & REUTHER MESSTECHNIK MDS-30 instruction manual

TELEVAC CC-10 Instrument manual

TELEVAC

TELEVAC CC-10 Instrument manual

Novanta p400 OEM Series user manual

Novanta

Novanta p400 OEM Series user manual

Xylem WTW LabStation LS Flex/430 operating manual

Xylem

Xylem WTW LabStation LS Flex/430 operating manual

Anritsu MS2690A Operation manual

Anritsu

Anritsu MS2690A Operation manual

Relat BM3000 user manual

Relat

Relat BM3000 user manual

manuals.online logo
manuals.online logoBrands
  • About & Mission
  • Contact us
  • Privacy Policy
  • Terms and Conditions

Copyright 2025 Manuals.Online. All Rights Reserved.