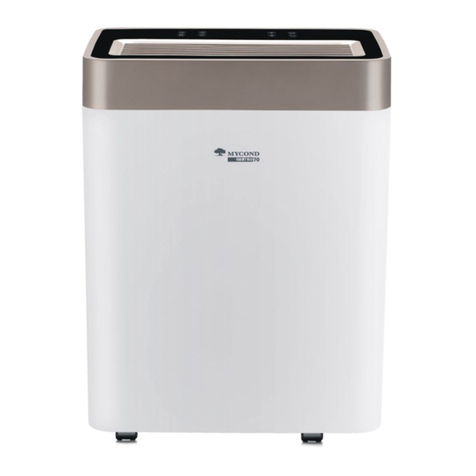
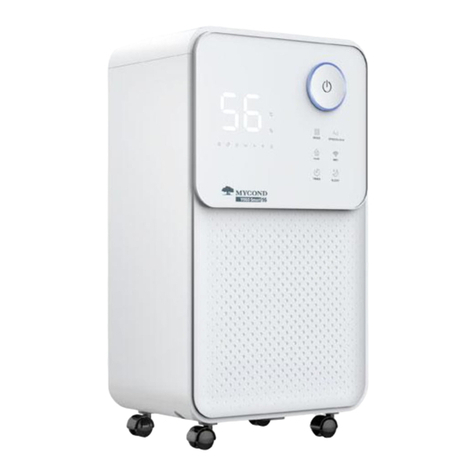
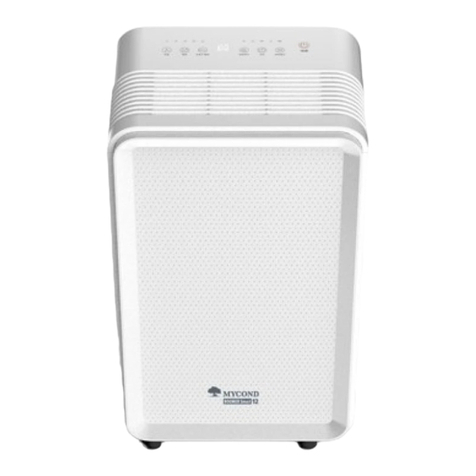
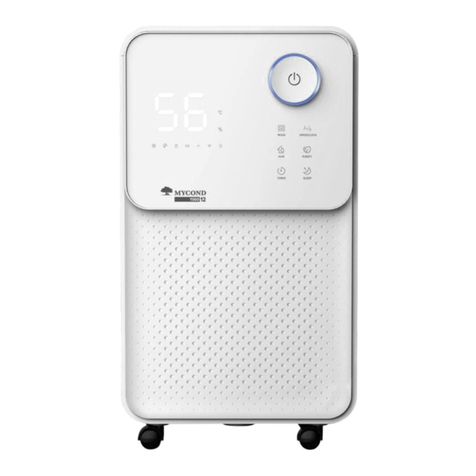
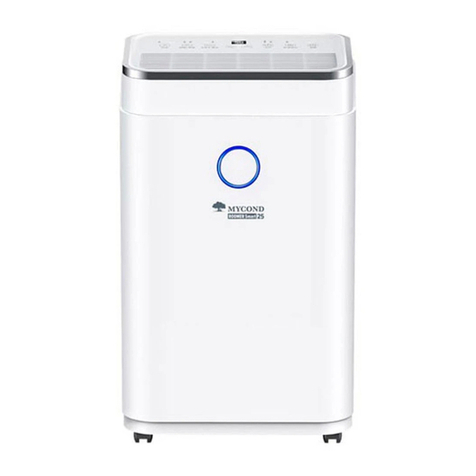
Mycond BERG 25 User manual

user's manual
■
посібник
користувача
■
руководство
пользователя
1
AIR DEHUMIDIFIER
BERG 25


3
AIR DEHUMIDIFIER
USER’S MANUAL
BERG 25

eng 4
USER’S MANUAL
PLEASE KEEP THIS MANUAL FOR FURTHER REFERENCE!
Thank you for selecting our super quality dehumidifier. Please be sure to read this manual
carefully before using it. If you have any questions, please contact the professional service for
help. Keep the manual for further reference.
The dehumidifier will remove excess moisture from the air, creating a comfortable
environment for your home and oce. Its compact design allows you to easily move it to any
room.

5
CONTENTS
PRECAUTIONS ■■■■■■■■■■■■■■■■■■■■■■■■■■■■■■■■■■■■■■■■■■■■■■■■ 6
SPECIFICATIONS ■■■■■■■■■■■■■■■■■■■■■■■■■■■■■■■■■■■■■■■■■■■■■■■■7
APPEARANCE ■■■■■■■■■■■■■■■■■■■■■■■■■■■■■■■■■■■■■■■■■■■■■■■■■ 8
OPERATION ■■■■■■■■■■■■■■■■■■■■■■■■■■■■■■■■■■■■■■■■■■■■■■■■■■10
MAINTENANCE ■■■■■■■■■■■■■■■■■■■■■■■■■■■■■■■■■■■■■■■■■■■■■■■■ 16
DECOMMISSIONING ■■■■■■■■■■■■■■■■■■■■■■■■■■■■■■■■■■■■■■■■■■■■ 18

eng 6
PRECAUTIONS
Read the following notices carefully before operating this dehumidifier.
The warnings and notices must be observed effectively to ensure the safety of the operation.
1. Please read the manual carefully before the first time using this product, and storage the unit in safe place to avoid
electricity leakage, flaming or person injure.
2. Do not put this product in the water or any other liquids.
3. Stop using this appliance in below situations, or the product might be damaged: power cord and wire is broken, the unit
is dropped or break down.
4. Please ask professional service agent to repair the product. Improper repair might cause damage to users.
5. Disconnect the appliance from power supply before moving or cleaning the product, and also when the product is not in
used.
6. Please operate the product with specified electricity voltage.
7. Please use this product only for household appliance and follow the designed purpose.
8. Do not put any stuff on the product.
9. In order to avoid water leakage, please clean the water tank before moving the product.
10. Do not incline the product, or leaking water may damage the product.
11. This appliance is not intended for use by persons (including children) with reduced physical, sensory or mental
capabilities, or lack of experience and knowledge, unless they have been supervised or given instruction concerning
use of the appliance by a person responsible for their safety. Children should be supervised to ensure that they do not
play with the appliance.
12. Please keep the product from the wall or other barriers in a minimum distance of 50 cm.
13. Please install the appliance following the country wiring laws.

7
SPECIFICATIONS
MODEL BERG 25
Dehumification Capacity 25 L/D (30 °C, RH 80%)
Power Supply 220-240V~50Hz
Power Input 425 W
Rated Current 2.2 A
Net Weight 14.9 Kg
Applicable temperature 5 °C – 35 °C
Water Tank Capacity 6,5 L
Dimension 414 x 279 x 638 mm
Note: The above technical specifications are subject to change without notice.

eng 8
APPEARANCE
Control panel
Front panel
Air outlet
Caster

9
APPEARANCE
Water level gauge
Filter
HandleAir inlet
Power cable
Water tank
Back shell
Continuous outlet

eng 10
OPERATION
Air purification
Defrosting
Full tank
Low level
High level

11
POWER
Press this key to turn “on”or “o”corresponding indicating light on or o .
FUNCTION
The function keys have 3 modes: dehumidification, drying, air supply.
1. The power-on defaults to the “dehumidification” function: in the dehumidification function, the device starts to dehumidify.
2. Press the function key once to switch to the “dry clothes” function: in the dry clothes function, the machine enters a
continuous working state, the humidity is not adjustable, and the wind speed is high and not adjustable.
3. Press the function key again to switch to the “air supply” function, the compressor stops working, and the fan works
normally.
AIR PURIFICATION
The air purification button controls the on/o of the air purification function. (
The indicator light is on to indicate that the air purification is in progress.)
OPERATION

eng 12
HUMIDITY
(Humidity setting) key: Set the required humidity.
1. The humidity settings are: 30%→35%→40%→45%→50%→55%→60%→65%→70%→75%→80% cycle. At the
first power-on, the default mode is “30%”.
2. When the indoor humidity is 3% lower than the set humidity, the compressor stops and enters the three-minute
protection state, and the fan continues to run for 2 minutes before stopping.
3. When the indoor humidity rises to 3% higher than the set humidity, the fan starts to work, and the compressor
(protection state after three minutes) starts to work.
4. According to the above cycle operation, the indoor humidity can be maintained at about the set humidity.
SPEED / LOCK
УThere are three settings: high speed, low speed, and child lock.
1. Press the wind speed key to control the fan to switch between high speed and low speed.
2. The first power-on defaults to high wind..
3. When the machine is running, press and hold the wind speed key for 2 seconds, the “LOCK” indicator will be on,
and enter the child lock state, and the rest of the keys can not be operated; press and hold the wind speed key
for 2 seconds, the “LOCK” indicator will be o, and the child lock state will be released. The keys can be operated
normally.
OPERATION

13
TIMER
Press the key to set the desired time (1-24 hours).
1. Set the time in the standby state to turn on regularly; in the on state, it is to turn o regularly.
2. In the power-on state, press the power button before the set time is reached, the machine will shut down and the set time
will be cancelled; in the standby state, when the set time is pressed before the set time is reached, the machine will be
turned on and the set time will be cancelled.
3. When there is a timing operation, the timing light is on, and when there is no timing operation, the timing light is o.
4. ЧAbout five seconds after the timing setting is completed, the dual 8 display will jump back to the display of ambient
humidity.
FULL WATER WARNING
When the water tank is full, the full water indicator light will be on, the buzzer will beep 15 times (press any key to contact
the alarm), the compressor will stop running, and the fan will stop working after running for 2 minutes; after the water
tank is empty, the full water indicator will be indicated the light is o, press the power button to turn on, and the machine
resumes normal operation.
OPERATION

eng 14
WIFI INDICATOR
1. Download the “MYCOND” APP on your mobile phone.
2. Open the “MYCOND” APP and click “Register” to register an account.
3. Turn on the power, press the “Function” button and the “Humidity” button at the same time
when the power is o, the WIFI indicator flashes.
4. Click to log in to the APP account, and click “Add Device” on the interface.
5. Click “Auto Discovery”, and when the APP finds the device, click “Next”.
6. Fill in the WIFI user name and password in the pop-up dialog box, and click “OK” to connect.
7. Wait for the machine to connect.
8. If the connection is successful, click “Finish” to enter the operation interface.
Note. Before using a mobile phone to connect to the WIFI of the machine, the mobile phone must be connected
to WIFI first.
DEFROST INDICATOR
When the defrost indicator light is on, it means that the defrost action has started, the compressor stops running,
and the fan continues to run; after 10 minutes of defrost, the defrost indicator light is o, the defrost action ends,
and the compressor restarts.
POWER OFF MEMORY FUNCTION
When the machine is running, cut o the power supply and then turn it on again, and the machine will
automatically run according to the function set last time.
OPERATION

15
PROTECTIVE FUNCTION
1. Full water protection
A water level switch is used to realize the water level protection, the water level switch is normally open, and the full water
action is closed. When the water is full, the full water indicator will light up and beep.
2. Compressor protection
The compressor starts every time you turn it on; when the compressor stops, there is a 3-minute interval protection for
restarting.
WARNING
1. When operating the dehumidifier, please do not set the humidity higher than ambient humidity.
2. When indicating light illuminates, please pour the water out of the tank and put it back. Then the product will resume
working.
3. When the product shut down, please wait at least 3 minutes before restarting the unit to prevent damaging the compressor.
4. The applicable operating temperature range for this unit is 5-32 °C.
5. If the dehumidifier can’t start (the indicating light does not illuminate) or the dehumidifier shut down unreasonably, please
make sure whether the plug is connected firmly to power supply. If the plug and power supply are in normal condition,
please wait for 10 minutes before restart the unit (because it takes 10 minutes to reposition). If the unit still does not start
after 10 minutes, please ask your local distributor service station to repair.
6. When the dehumidifier is operating, it’s a normal situation that the working compressor may cause some heat and bring the
ambient temperature up.
7. When the product is defrosting, the related indicating light will illuminate.
8. The unit shows the ambient humidity when it’s operating. If the ambient humidity is higher than RH80%, the display shows
“HI”; if the ambient humidity is lower than RH30%, the display shows “LO”.
OPERATION

eng 16
MAINTENANCE
DRAINAGE INSTRUCTIONS
This machine has two drainage methods: manual drainage and continuous drainage.
1. Manual drainage
The dehumidified and condensed water flows into the water tank through the drain;
when the water tank is full, the full water indicator light will be on, a buzzer will sound,
and the equipment will stop working; as shown in figure, take out the water tank and
drain the water tank. Empty, then reinstall the water tank, and then press the power
button, the machine restarts.
2. Automatic drainage
Before continuous draining water, please take out the water tank and plug a draining
tube to draining hole (See figure) Then put the water tank back. Draining tube should
place lower than the draining hole to let water flow out.

17
WARNING
Please turn o the power and pull out the power plug before maintenance and maintenance of the body.
Surface cleaning
Clean the surface of the machine with a damp soft cloth.
Do not use chemical solvents such as alcohol or gasoline, otherwise
the surface of the machine will be damaged.
Filtercleaning
Wash twice a week: Take out the filter, wash it in clean water (below
40degrees) that has been added with neutral detergent, clean it and place
it in a cool place to dry (Note: Do not use a brush to brush the net cloth when
washing, So as not to damage the mesh cloth of the filter); After drying, put
the filter back into the machine.
1. The unit is not allowed to be placed on surface which is soft or not flat to avoid
the unit cause noise, vibration, and water or electricity leakage when operating.
2. Never insert any slim rod or hard stu into the unit to avoid the damage
of the unit.
3. Please disconnect the power cord to the power supply when you turn
o the unit or intend to stop using for long time..
4. In order to improve the performance of dehumidifier, please keep the unit
in open place away from barriers which may block the air.
5. Please wash the filter with cool water (cooler than 40 °C) every two weeks, and put filter
back after it air-dried naturally.
Note. Never use gasoline or alcohol to wash the filter.
MAINTENANCE
Filter
Alcohol
Gasoline

eng 18
DECOMMISSIONING
CAUTIONS:
Switch o the unit and unplug it immediately if you notice something
abnormal in the operation of the device.
Then contact a qualified electrician.
Do not dispose of electrical appliances as unsorted municipal waste, use
special collection facilities.
Contact your local authorities for information
on available collection facilities.
R134a is a kind of fluorinated greenhouse gases covered by the Kyoto
Protocol. Its total global warming potential (GWP) is 1300.
STORAGE
Long-term storage: If you will not be using the unit for an extended period of time (more than a few weeks) it is
best to clean the unit and dry it out completely. Please store the unit per the following steps:
1. Press power button to switch o and unplug the unit.
2. Drain the remaining water from the unit.
3. Clean the filter and let the filter dry completely in a shaded area.
4. Collect the power cord at the water tank.
5. Re-install the filter at its position.
6. The unit must be kept in upright position when in storage.
7. Preserving the machine in ventilating, dry, non- corrosive gas and safe place indoor.


Table of contents
Languages:
Other Mycond Dehumidifier manuals

Mycond
Mycond TIBO Smart 12 User manual

Mycond
Mycond GIANT Eco 70 User manual

Mycond
Mycond WORKER 50 User manual

Mycond
Mycond ABS 7A Service manual

Mycond
Mycond TIBO 12 User manual

Mycond
Mycond ROOMER Smart 25 User manual

Mycond
Mycond TIBO 10 User manual

Mycond
Mycond YUGO 12 User manual

Mycond
Mycond GIANT Eco 50 User manual

Mycond
Mycond ROOMER 12 User manual