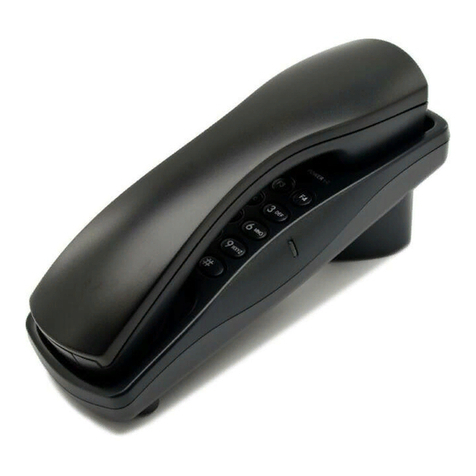
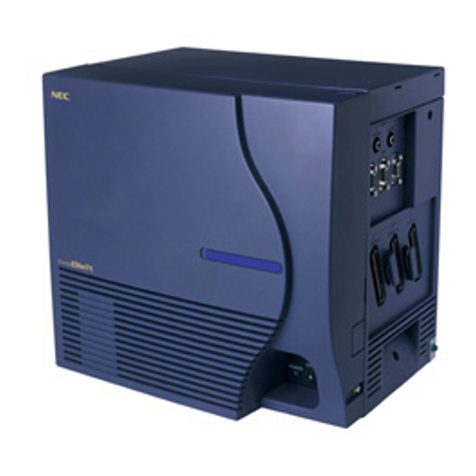
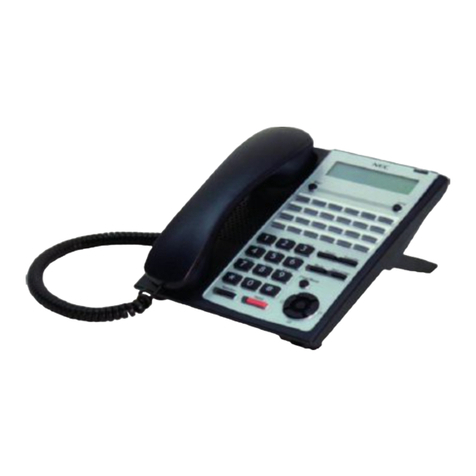
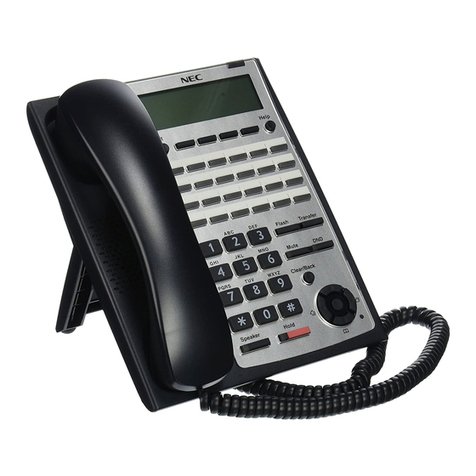
NEC SV8100 WITH ACD Instruction Manual

Page 1 of 9
SV8100 WITH ACD &SV8000UM VOICEMAIL
ADMINISTRATION GUIDE
/&1HWZRUNV,QF_ZZZOFQHWZRUNVFRP_408.226.9999 | [email protected]

Page 2 of 9
Table of Contents
Phone System Programming ............................................................................... 3
Phone Outline .................................................................................................. 3
Clock Setting .................................................................................................... 4
Program Set Name ........................................................................................... 4
Program One-Touch Keys with Functions ........................................................ 4
System Speed Dial ........................................................................................... 5
Voicemail Programming ...................................................................................... 6
To Set Up Off-Premise Notification ................................................................... 6
Group Lists ....................................................................................................... 6
Record Company Greetings ............................................................................. 7
Record Delay Message .................................................................................... 7
Record Any Sub-Menus ................................................................................... 8
Add/Delete/ or Change Mailboxes .................................................................... 8
The extension and mailbox numbers referenced in this guide are the most commonly
used configuration. It does not guarantee that your company will use the same extension and
mailbox numbers due to each systems customized configuration. If you are unsure of what
numbers were used in your configuration, please call or email /&1HWZRUNV.
** Important Note:
/&1HWZRUNV,QF_ZZZOFQHWZRUNVFRP_408.226.9999 | [email protected]

Page 3 of 9
Phone System Programming
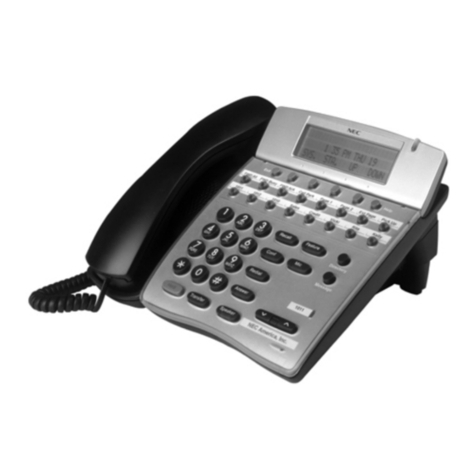
Phone Outline
Exit Exit’s out of various programming
Security Locks the phone for security purposes (If applicable, IP Phones only)
Message Indicator Flashes when you have a voicemail (or a message waiting)
Soft Keys Corresponds with what the display says
Help Tells how a one touch key is programmed
Function One Touch Keys Used for various features, line keys, intercoms and one touch speed dials
Recall Same as Flash key for various features
Feature Used for programming
Answer Answers the First incoming call to a specific phone
Mic Mutes the microphone while on speakerphone
Menu Access to Company Directory, Call History and Ring Settings
Directory Speed Dials
Up Adjusts the volume on the ringer, handset and speaker
Down Adjusts the volume on the ringer, handset and speaker
Redial Review the last numbers dialed
Speaker Speakerphone
Transfer Transfer a call to another extension
Hold Holds the call
/&1HWZRUNV,QF_ZZZOFQHWZRUNVFRP_408.226.9999 | [email protected]

Page 4 of 9
Clock Setting
To set the Time:
1. Press SPEAKER key, enter 728
2. Dial 2 digits for the hour (must be in 24 hour clock time)
3. Dial 2 digits for the minutes
4. Press SPEAKER
Program Set Name
1. Press SPEAKER key, enter 700
2. Enter the extension number
3. Spell out name; press HOLD
NOTE
4. Press SPEAKER
: # moves cursor to right: FEATURE key moves cursor to left
Program One-Touch Keys with Functions
1. Press SPEAKER
2. Enter 751
3. Press the key you would like to program
4. Enter 2 digit code from below
5. Press SPEAKER
Code
Function
Brief Explanation
00
Not Defined
Clears the button and leaves it blank
01
DSS/One Touch
Extension number or a phone number
03
DND Key
Do Not Disturb
05
Headset
Needed if you are using a corded headset
10 Call Fwd Immediate
Forwards all calls immediately to desired
destination
13 Call Fwd B/NA
Forwards calls if you are busy or do not
answer the call in time to desired destination
37
DND / Call Fwd Override
Access to a phone in DND or Call Fwd
78
Record
Records conversation into a mailbox
Message Waiting
1. Call the extension
To Set
2. Press 0
3. Press SPEAKER
1. Press SPEAKER
To Clear
2. Enter 773
3. Press SPEAKER
/&1HWZRUNV,QF_ZZZOFQHWZRUNVFRP_408.226.9999 | [email protected]

Page 5 of 9
System Speed Dial
1. Press SPEAKER key
Program a new Speed Dial
2. Enter 753
3. Enter a speed dial code: 000-999
4. Enter the desired telephone number you want to store (up to 24 digits); NOTE: do
NOT enter a 9 before the telephone number
5. Press HOLD key
6. Spell out the name using the dial pad
NOTE
7. Press HOLD key
: press # to move cursor to right or FEATURE key to move cursor to left
8. Press SPEAKER key
Use this keypad digit . . . When you want to. . .
1
Enter characters:
1 @ [ ¥ ] ^ _ ` { | } Æ ¨ Á À Â Ã Ç É Ê ì ó
2
Enter characters:
A-C, a-c, 2.
3
Enter characters:
D-F, d-f, 3.
4
Enter characters:
G-I, g-i, 4.
5
Enter characters:
J-L, j-l, 5.
6
Enter characters:
M-O, m-o, 6.
7
Enter characters:
P-S, p-s, 7.
8
Enter characters:
T-V, t-v, 8.
9
Enter characters:
W-Z, w-z, 9.
0
Enter characters:
0 ! “ # $ % & ’ ( ) ô Õ ú ä ö ü α ε .
*
Enter characters:
*
+ , - . / : ; < = > ?
B E
σ
S
8 ¢ £
#
# = Accepts an entry (only required if two letters on the same key are
needed – ex: TOM). Pressing # again = Space. (In system programming
mode, use the right arrow Soft key instead to accept and/or add a space.)
FEATURE
Clear the character entry one character at a time.
HOLD
Clear all the entries from the point of the flashing cursor and to the right.
1. Lift handset or press speaker key
To Use Speed Dial
2. Press REDIAL key
3. Enter desired code
OR: press DIR, then SPD, use arrow keys to scroll OR press a letter on the dial pad then use
arrow keys to scroll
1. Press SPEAKER Key
Delete a Speed Dial
2. Enter 753
3. Enter the Code you would like to delete: 000-999
4. When the name and number appear, press EXIT (Top left key)
5. Press SPEAKER key
/&1HWZRUNV,QF_ZZZOFQHWZRUNVFRP_408.226.9999 | [email protected]

Page 6 of 9
Voicemail Programming
To Set Up Off-Premise Notification
1. Press VOICEMAIL key, then enter your security code
2. Press MORE>
3. Press MORE> again
4. Press DELIV, then WORK
5. Press ON/OFF, then PH #
6. Enter your cell number or whatever number you want voicemail to call when there
are messages
7. Press SCHED and follow prompts to set up a time for Notification to being/end
Group Lists
1. Press your VOICEMAIL key, then enter your security code
How to Create
2. Press MORE>,SETUP, MORE>, GRPS then CREATE
3. When it asks for the first 3 letters of the group name just enter a group number you
want to use Ex.) 001 or 002
4. It will repeat the numbers then ask do you want to change them: press 2 for NO
5. At the tone record the name of the group and press * when you are done eg. Sales
group
6. It will repeat it back and ask if you want to change it: press 2 for NO
7. Then it will ask can others send messages to this group: press 1 for YES
8. Then it will say OPEN GROUP created: then ask to enter mailboxes/exts to the
group
9. Add members and press * when done
1 Press your VOICEMAIL key, then enter your code
Edit a Group
2 Press MORE>, SETUP, MORE>, GRPS then EDIT
3 Follow prompts from there
1. Press your VOICEMAIL key, then enter your code
Send a Message to a Group
2. Press LVMSG
3. Enter # # then the group number eg ##001
4. Press 1 to confirm
5. Follow prompts from there
/&1HWZRUNV,QF_ZZZOFQHWZRUNVFRP_408.226.9999 | [email protected]

Page 7 of 9
Record Company Greetings
1. From Ext 101
2. When prompted, enter your security code:
press VOICEMAIL (**see note on Table of Contents)
3. On the display you will see MORE>on the display, press key below it
4. On display see MGR.. press key
5. On display see GREET.. press key
6. It will say system is in DAY mode, do you want to change to alternate greeting mode:
press 2 for no
7. Then press 1 to change the greetings for opening box
8. The current day greeting will play and at the end the prompt will say ask you it you want
to re-record it... Press 1 for YES and start speaking after the tone and press the * when
you are done…..
NOTE
9. The current NIGHT greeting will then play. You will be given the same prompts to
re-record it
: after you are done pause a few seconds BEFORE you press the * key
10. Hang up when you are done
NOTE: to put the system on HOLIDAY mode you must press 1 for yes in step 6 and then
follow the instructions to then record a alternate/holiday greeting. When the holiday is over you
must do steps 1-6 to turn OFF holiday mode
Example:
• Thank you for calling ….
• If you know the extension number of the party you wish to reach, please enter it now.
• For the Company Directory, please press 4
• To speak to the Receptionist, please press 0. Thank you.
Record Delay Message
1. Press SPEAKER key
2. Enter 616
3. Press R (7) to Record, L (5) to Listen, or E (3) to Erase
4. Enter which greeting you would like to record (01 or 02)
/&1HWZRUNV,QF_ZZZOFQHWZRUNVFRP_408.226.9999 | [email protected]

Page 8 of 9
Record Any Sub-Menus
1. From Ext 101
2. When Prompted, enter security code
press VOICEMAIL (**see note on Table of Contents)
3. Press LVMSG key on display
4. Press # # to enter by mailbox number
5. Enter the mailbox # for the greeting:
•
•
6. Follow prompts: it will say Press yes (1) to confirm
7. You will have to record it twice; once for the day message and once for the night
message
Add/Delete/ or Change Mailboxes
1. From Ext 101
2. When prompted enter your security code
press VOICEMAIL (**see note on Table of Contents)
3. On the display see MORE> press the soft key under that
4. On the display see MGR press key
5. On the display see SUBS … press key
6. The system will ask you to enter the mailbox… enter the box you want to add, delete or
change
7. At this point listen to the prompts to be guided through deleting the security code for the
box or deleting the box.
NOTE:
8. Press SPEAKER key when all done
if there is no mailbox the system will say:
“There is no mailbox.. would you like to add one?” Press 1 for Yes or 2 for No
Note: When you reset a security code for a mailbox, it will reset it back to 9155
/&1HWZRUNV,QF_ZZZOFQHWZRUNVFRP_408.226.9999 | [email protected]

Page 9 of 9
San Jose Office
LC Networks, Inc.
1011 Timothy Drive
San Jose, CA 95133
Office:408.226.9999
LC Networks, Inc.
1011 Timothy Drive
San Jose, CA 95133
Office:408.226.9999
sales@lc
www.lcnetworks.com
This manual suits for next models
2
Table of contents
Other NEC Telephone Accessories manuals

NEC
NEC ElectraElite IPK Manual

NEC
NEC Univerge SV8100 User manual

NEC
NEC SL1100 User manual

NEC
NEC Electra Elite 48/192 User manual

NEC
NEC DS1000 Technical specifications

NEC
NEC ElectraElite IPK Manual

NEC
NEC Xen IPK II User manual

NEC
NEC ELECTRA ELITE User manual

NEC
NEC SL1100 User manual

NEC
NEC XN120 Vision User manual

NEC
NEC Aspire User manual

NEC
NEC Univerge SV9100 User manual

NEC
NEC NEAX 2400 IPX User manual

NEC
NEC InfoSet 408 User manual

NEC
NEC UTR-1W-1(BK) User manual

NEC
NEC ElectraElite IPK User manual

NEC
NEC UTR-1-1 (BK) User manual

NEC
NEC Inaset NEAX 2000 IPS User manual

NEC
NEC 48/192/IPK Instruction Manual

NEC
NEC SL1000 Owner's manual