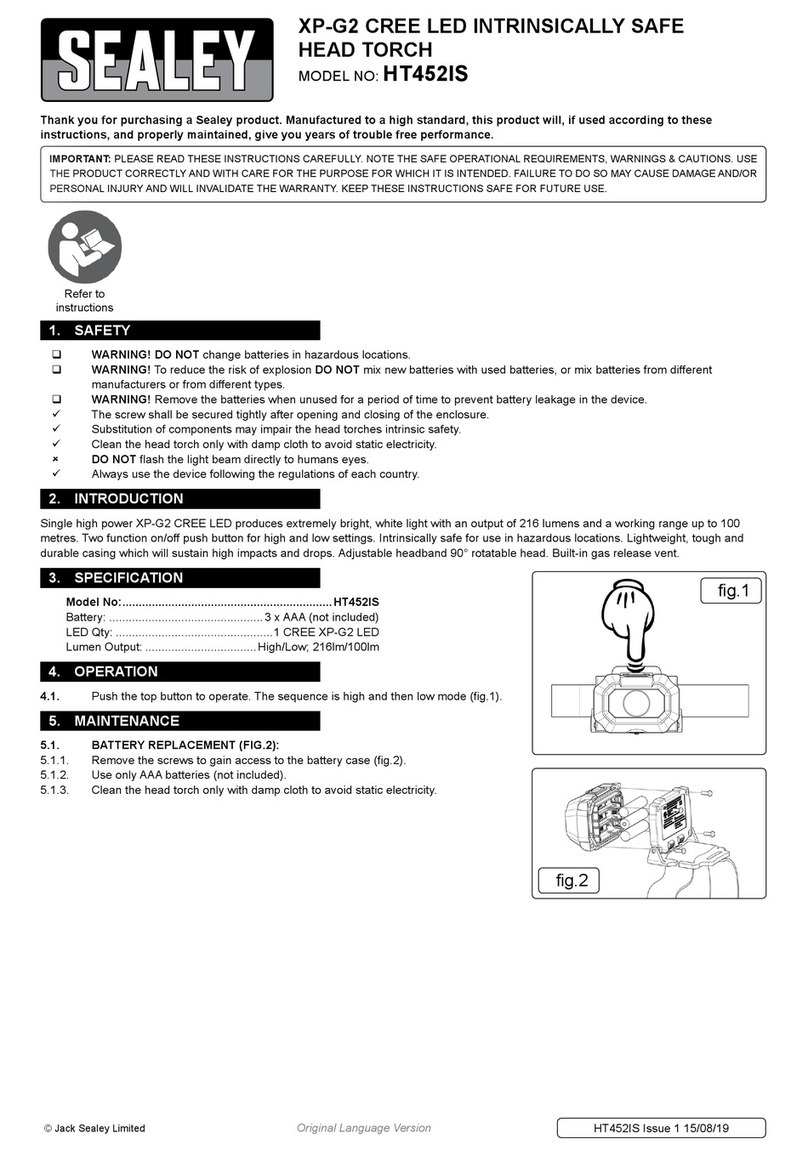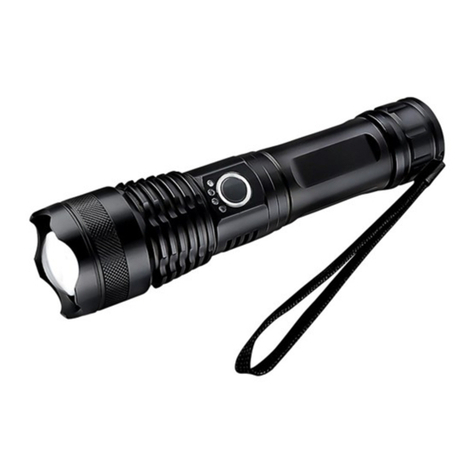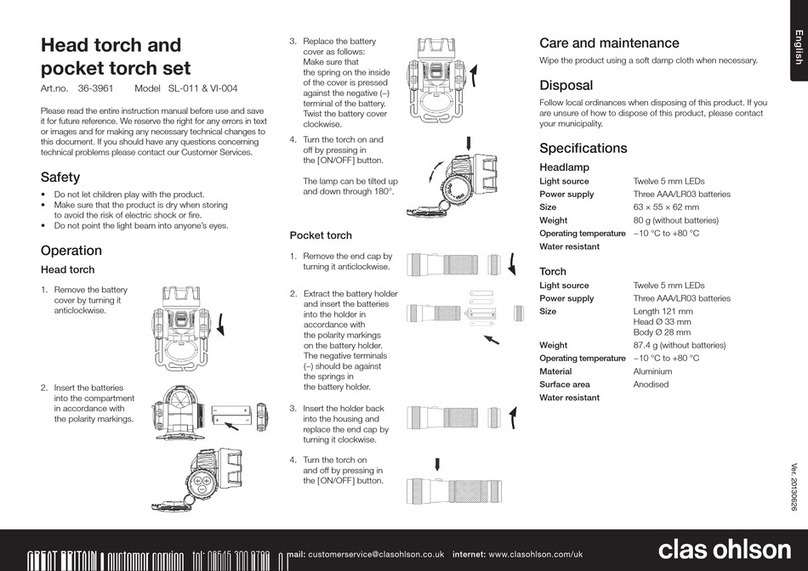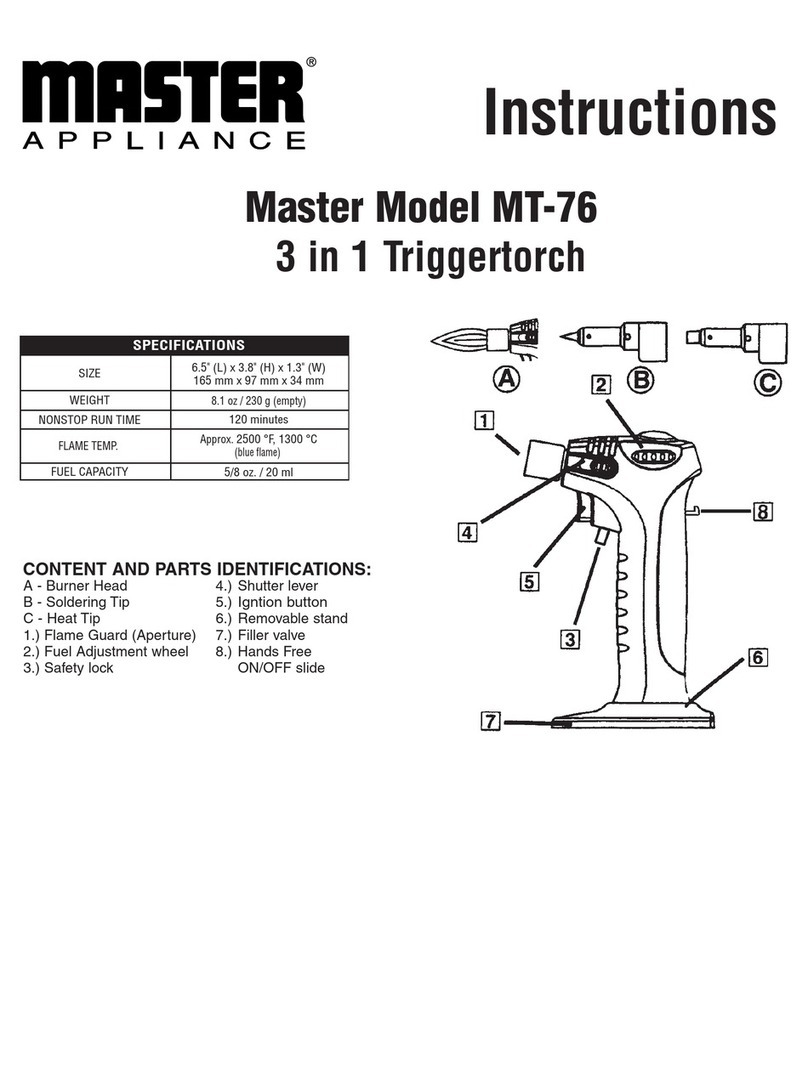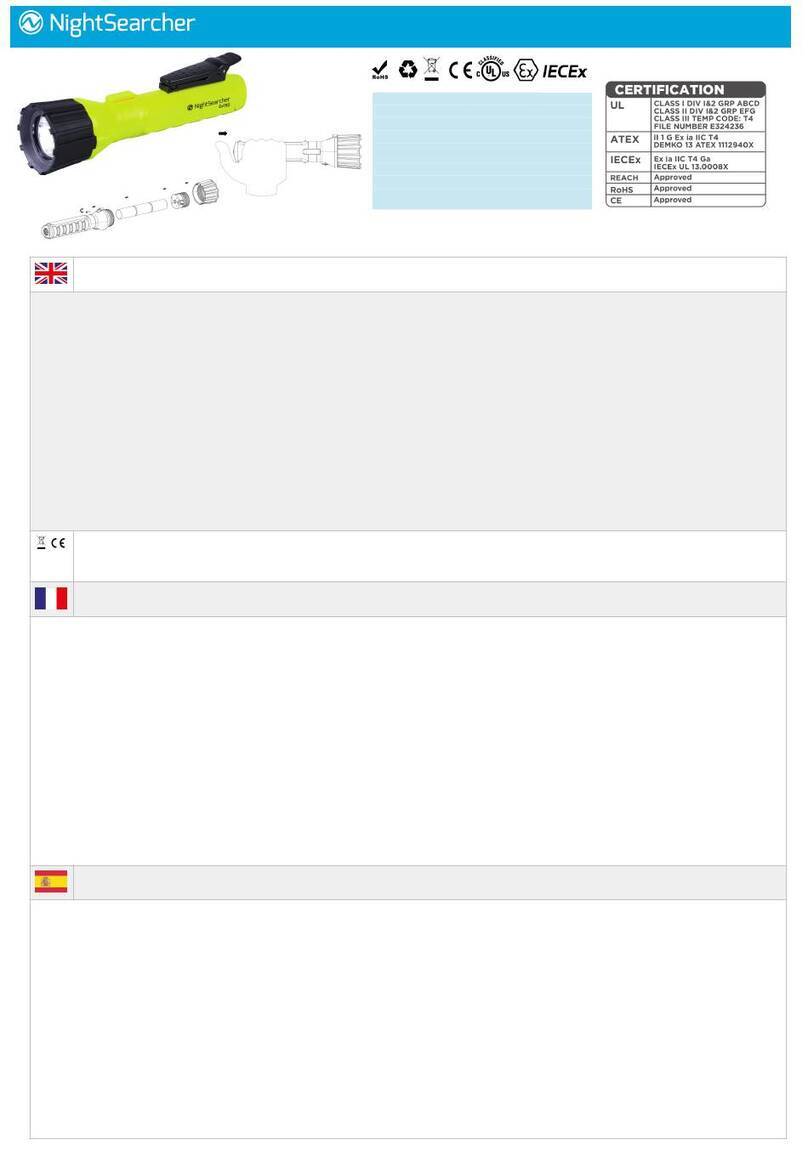
Modalità operativa:
Interruttore A:premere brevemente g LED “1” acceso> spento
Premere a lungo (quando la luce è accesa) g LED “1” Dimmer Su <-> Giù
Premere a lungo per 3 secondi (la luce lampeggerà due volte) g Modalità blocco, Sblocco
(quando la luce è spenta)
Interruttore B:Pressione breve g LED “2” Acceso> Spento
Pressione lunga (quando la spia è accesa) LED “2” Regolazione luminosità <-> Giù
Premere a lungo per 3 secondi (la luce lampeggerà due volte) g Modalità blocco, sblocco
(quando la luce è spenta)
A+ BSwitch: Pressione breve LED “1” + “2” Acceso> Spento
Interruttore C:1a pressione breve g Modalità messa a fuoco automatica (il sensore aiuterà a
decidere se la luce di messa a fuoco a LED “1” o la luce di inondazione a LED “2” deve essere
accesa)
2a breve pressione g Entrambe le spie “3” si accenderanno.
3a breve pressione g Il LED si spegne
Premere a lungo per 3 secondi (la luce lampeggerà due volte) g Modalità blocco, Sblocco
(quando la luce è spenta)
Interruttore D:1 Pressione breve La spia di stato della batteria si illumina
2 Premere breve “4” Luce posteriore Lampeggiante WHITE> Off.
3 Premere breve “4” Luce posteriore ON <-> Constant-On.
4 LED della breve pressione si spengono.
Caratteristiche speciali
Memoria luminosità: la luce memorizzerà e ripristinerà il livello di luminosità sintonizzato.
Blocco interruttore: la luce non può essere accesa accidentalmente quando è bloccata.
Informazioni sulla batteria:
- Sollevare l’apertura aperta sul vano batterie.
- Rimuovere le vecchie batterie e inserire nuove batterie secondo le etichette delle polarità.
- Chiudere il vano batterie.
- Rimuovere le batterie se non si utilizza la torcia per un lungo periodo / prima di riporla.
- Utilizzare solo batterie alcaline AA
NOTA: per proteggere l’unità, assicurarsi che la polarità della batteria
corrisponde all’etichetta di polarità. L’inversione di polarità può danneggiare il circuito.
Manutenzione:
- Per pulire la torcia frontale, pulire l’obiettivo con un panno morbido e un prodotto non corrosivo
detergente
- Mantenere puliti la spina del cavo e la plastica interna del portabatteria
- Se la lampada viene riposta, per evitare il degrado delle batterie è necessario rimuovere le
batterie.
Avvertimento:
- NON guardare direttamente nel LED. Ciò potrebbe danneggiare la vista.
- Non tentare di riparare l’unità da soli. Si prega di contattare NightSearcher o un
distributore autorizzato.
- Non esporre la batteria a fuoco / alte temperature o condizioni estreme di bagnato / freddo
condizioni.
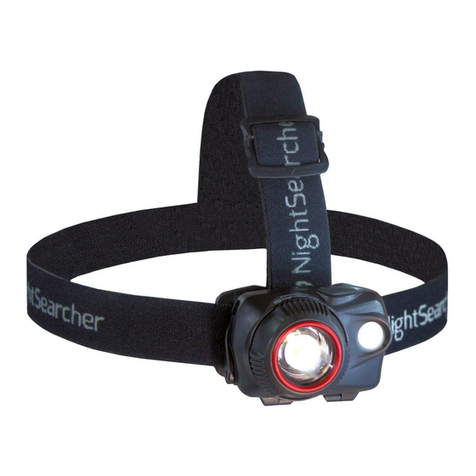
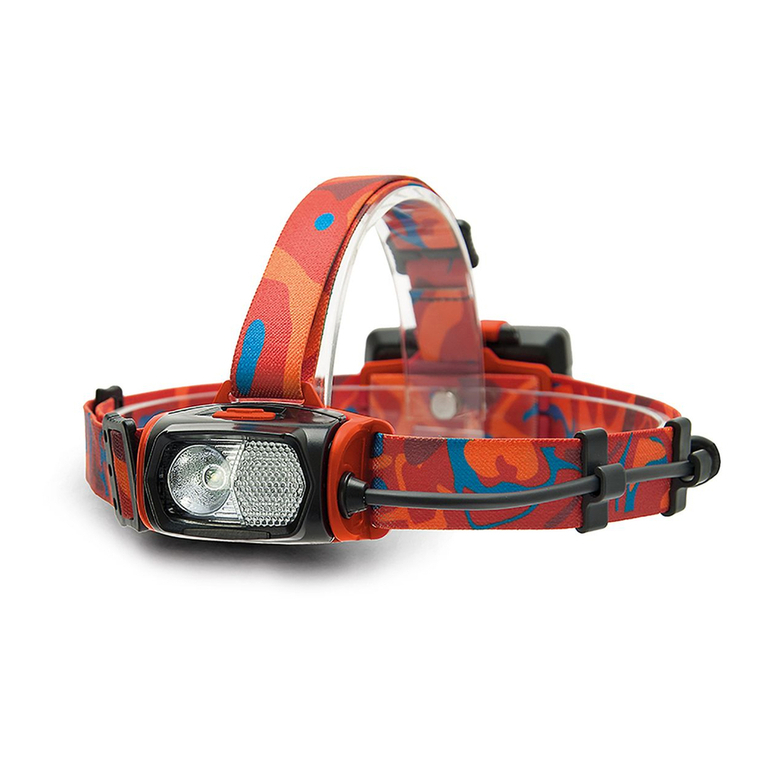
Informazioni LED: (come da immagine)
1fascio stretto a lunga distanza (Spot) 2Ampia trave di alluvione (alluvione)
3luci laterali Nichia 5mm 4luci posteriori: rosso, blu e verde
12
3
AB
C
Mode de fonctionnement:
Commutateur A: appui bref g LED “1” allumée / éteinte
Appuyez longuement (lorsque la lumière est allumée) g DEL «1» Dimming Up <-> Down
Appuyez longuement pendant 3 secondes (le voyant clignote deux fois) g Mode verrouillage,
déverrouillage (lorsque le voyant est éteint)
Commutateur B:appui bref g LED «2» allumée - éteinte
Appuyez longuement (lorsque la lumière est allumée) g DEL «2» Dimming Up <-> Down
Appuyez longuement pendant 3 secondes (le voyant clignote deux fois) g Mode verrouillage,
déverrouillage (lorsque le voyant est éteint)
Commutateur A+ B: appuyez brièvement sur la LED g «1» + «2» allumée - éteinte
Commutateur C:1ère pression courte sur le mode de mise au point automatique (le capteur
vous aidera à déterminer si le voyant de mise au point DEL «1» ou le voyant DEL «2» doit
être allumé)
2ème appui bref g Les deux voyants “3” s’allument.
3ème pression courte g LED s’éteindra
Appuyez longuement pendant 3 secondes (le voyant clignote deux fois) g Mode verrouillage,
déverrouillage (lorsque le voyant est éteint).
Commutateur D: appui bref g Commutateur arrière g “4” clignotant rouge> vert> bleu> éteint.
Appuyez longuement sur g TailSwitch g Clignotant <-> Constant-On.
Appuyez brièvement sur g Les voyants s’éteignent.
Caractéristiques spéciales
Mémoire de luminosité: La lumière mémorisera et reprendra le niveau de luminosité réglé.
Verrouillage de l’interrupteur: le voyant ne peut pas être allumé accidentellement
lorsqu’il est verrouillé.
Informations sur la batterie:
- Soulever la rampe d’ouverture du compartiment à piles.
- Retirez les piles usagées et insérez des piles neuves en respectant les étiquettes de polarités.
- Fermer le compartiment à piles.
- Retirez les piles si vous n’utilisez pas la lampe frontale pendant une longue période / avant de
la ranger.
- Utilisez uniquement des piles alcalines AA
REMARQUE: An de protéger l’appareil, veuillez vous assurer que la polarité de la batterie
correspond à l’étiquette de polarité. Une polarité inversée peut endommager le circuit.
Entretien:
- Pour nettoyer la lampe frontale, essuyez l’objectif avec un chiffon doux et un chiffon doux non
corrosif. détergent
- Gardez la che du câble et le plastique interne du support de la batterie propres
- Si la lampe est rangée, il convient de retirer les piles pour éviter la dégradation des piles.
Attention:
- NE PAS regarder directement dans la LED. Cela peut endommager la vue.
- N’essayez pas de réparer l’appareil vous-même. S’il vous plaît contacter NightSearcher ou un
distributeur autorisé.
- N’exposez pas la batterie au feu / à des températures élevées ni à l’humidité / le froid extrême
conditions.
Informations sur le voyant: (selon l’image)
1faisceau longue distance étroit (spot) 2faisceau large (Flood)
3lumière latérale Nichia 5mm 4feux arrière - rouge, bleu et vert
Modo de operación:
Interruptor A:presione brevemente el LED g “1” Encendido> Apagado
Pulsación larga (cuando la luz está encendida) g LED “1” Atenuación Arriba <-> Abajo
Mantenga presionado durante 3 segundos (la luz parpadeará dos veces) g Modo de bloqueo,
desbloqueo (cuando la luz está apagada)
Interruptor B:presione brevemente el LED g “2” Encendido> Apagado
Mantenga pulsado (cuando la luz está encendida) g LED “2” Atenuación Arriba <-> Abajo
Mantenga presionado durante 3 segundos (la luz parpadeará dos veces) g Modo de bloqueo,
desbloqueo (cuando la luz está apagada)
Interruptor A+ B: Presione brevemente g LED “1” + “2” Encendido> Apagado
Interruptor C:primera pulsación corta g Modo de enfoque automático (el sensor ayudará a
decidir si la luz de enfoque LED “1” o la luz de inundación LED “2” debe estar encendida)
Segunda pulsación corta g Ambas luces “3” se encenderán.
Tercera pulsación corta g El LED se apagará
Mantenga presionado durante 3 segundos (la luz parpadeará dos veces) g Modo de bloqueo,
desbloqueo (cuando la luz está apagada)
Interruptor D:
presione brevemente g Interruptor de cola g “4” parpadeando Rojo> Verde> Azul> Apagado.
Mantenga presionado g Interruptor de cola g Intermitente <-> Encendido constante.
Pulsación breve g Los LED se apagarán
Características especiales
Memoria de brillo: a luz memorizará y reanudará el nivel de brillo sintonizado.
Bloqueo del interruptor: Interruptor de bloqueo: la luz no se puede encender accidental-
mente cuando está bloqueado.
Información de la batería:
- Levante el lanzamiento abierto en el compartimento de la batería.
- Retire las baterías viejas e inserte baterías nuevas de acuerdo con las etiquetas de polaridad.
- Cerrar el compartimento de la batería.
- Retire las baterías si no está usando la antorcha de cabeza por un período prolongado / antes
de almacenarla.
- Utilice solo pilas alcalinas AA
NOTA: Para proteger la unidad, asegúrese de que la polaridad de la batería coincida con la
etiqueta de polaridad. La polaridad inversa puede dañar el circuito.
Mantenimiento:
- Para limpiar la antorcha, limpie la lente con un paño suave y un detergente no corrosivo.
- Mantenga limpios el enchufe del cable y el plástico interior del soporte de la batería
- Si la lámpara está almacenada, para evitar la degradación de las baterías, las baterías deben
retirarse.
Advertencia:
- NO mire directamente al LED. Esto puede dañar la vista.
- No intente reparar la unidad usted mismo. Póngase en contacto con NightSearcher o un
distribuidor autorizado.
- No exponga la batería al fuego / altas temperaturas o condiciones extremas de humedad / frío
Información LED: (según imagen)
1haz estrecho de larga distancia (Spot) 2haz ancho de inundación (inundación)
3luces laterales Nichia 5 mm 4luces traseras: rojo, azul y verde
Modus Betrieb:
Schalter A:g LED “1” kurz drücken Ein> Aus
Lang drücken (wenn das Licht an ist) g LED “1“ Dimmen nach oben <-> unten
3 Sekunden lang drücken (die LED blinkt zweimal) g Sperrmodus, Entsperren (wenn die LED
nicht leuchtet)
Schalter B:g LED “2” kurz drücken Ein> Aus
Lang drücken (wenn das Licht an ist) g LED „2“ Dimmen nach oben <-> unten
3 Sekunden lang drücken (die LED blinkt zweimal) g Sperrmodus, Entsperren (wenn die LED
nicht leuchtet)
A+ B-Schalter: Drücken Sie kurz g LED „1“ + „2“ Ein> Aus
Schalter C:1. Drücken Sie kurz g Autofokus-Modus (Sensor hilft bei der Entscheidung, ob das
LED-Fokuslicht „1“ oder das LED-Flutlicht „2“ eingeschaltet sein soll.)
2. Drücken Sie kurz g. Beide „3“ -Lampen leuchten auf.
3. Kurzes Drücken von g LED erlischt
3 Sekunden lang drücken (die LED blinkt zweimal) g Sperrmodus, Entsperren (wenn die LED
nicht leuchtet)
Schalter D:Drücken Sie kurz g Schwanzschalter g „4“. Blinkt rot> grün> blau> aus.
Langes Drücken g Schwanzschalter g Blinkt <-> Dauerlicht.
Durch kurzes Drücken von g erlöschen die LEDs
Besondere Merkmale
Helligkeitsspeicher: Helligkeitsspeicher: Das Licht speichert die eingestellte Helligkeitsstufe
und nimmt sie wieder auf.
Tastensperre: Das Licht kann nicht versehentlich eingeschaltet werden, wenn es gesperrt ist.
Batterieinformationen:
- Öffnen Sie das Batteriefach.
- Entfernen Sie die alten Batterien und legen Sie neue Batterien gemäß den Polaritätsangaben
ein. - Batteriefach schließen.
- Entfernen Sie die Batterien, wenn Sie die Stirnlampe längere Zeit / vor der Lagerung nicht
benutzen.
- Verwenden Sie nur Alkalibatterien der Größe AA
HINWEIS: Um das Gerät zu schützen, achten Sie bitte darauf, dass die Polarität der Batterie mit
dem Polaritätsetikett übereinstimmt. Verpolung kann die Schaltung beschädigen.
Instandhaltung:
- Um die Stirnlampe zu reinigen, wischen Sie die Linse mit einem weichen Tuch und einem nicht
korrosiven Reinigungsmittel ab
- Halten Sie den Kabelstecker und den inneren Kunststoff des Batteriehalters sauber
- Wenn die Lampe gelagert wird, sollten die Batterien herausgenommen werden, um eine
Beschädigung der Batterien zu vermeiden.
Warnung:
- NICHT direkt in die LED schauen. Dies kann das Sehvermögen beeinträchtigen.
- Versuchen Sie nicht, das Gerät selbst zu reparieren. Bitte wenden Sie sich an NightSearcher
oder einen autorisierten Händler.
- Setzen Sie den Akku keinen Feuer / hohen Temperaturen oder extremen Nässe / Kältebedin
gungen aus.
LED-Informationen: (wie im Bild)
1schmaler Fernlichtstrahl (Spot) 2breiter Flutstrahl (Flood)
3Nichia Seitenlicht 5mm 4Rücklichter - Rot, Blau und Grün
D4


