5
Operation
See Figure 1.
NOTE: The break-in period for the valve seat is the
first 10-24 hours of operation. If the dot size
increases, refer to Dot Size Adjustment.
Startup
1. Open the air shut-off valve (21).
2. Set the air pressure regulator (20) to
0.4-0.7 bar (5-10 psi).
3. Turn on the Ink-Dot controller power switch (9).
4. Turn on the driver power switch (7).
5. Set the RUN/OFF/TEST switch (6) to RUN.
6. If desired, adjust the dot size. Refer to Dot Size
Adjustment
Changing Materials
1. Close the air shut-off valve (21)
2. Set the air pressure regulator (20) to 0 bar/psi.
Pull the relief valve (19) lanyard to relieve system
air pressure.
3. Place a waste container under the drain valve
(17) and open the drain valve. Allow the ink to
drain from the reservoir (18) into the container.
When the ink has drained from the reservoir close
the drain valve.
4. See Figure 2. Unscrew the cap from the
reservoir (1) and fill with a 1/2quart of compatible
solvent. Install the cap (2).
5. Perform a solvent flush. Refer to Initial Startup
and perform steps 6–12.
6. Fill the rervoir with ink. Refer to Filling the
Reservoir.
Shutdown
CAUTION: Failure to turn off the
RUN/OFF/TEST switch can cause damage
to the gun nozzle and ball and seat
assembly.
See Figure 1.
1. Set the RUN/OFF/TEST switch (6) to OFF.
2. Turn off the driver power switch (7).
3. Turn off the controller power switch (9).
4. Turn off the air supply link to the reservoir by
closing the air shut-off valve (21).
5. Set the air pressure regulator (20) to 0 bar/psi.
Pull on the relief valve (19) lanyard to relive
system air pressure.
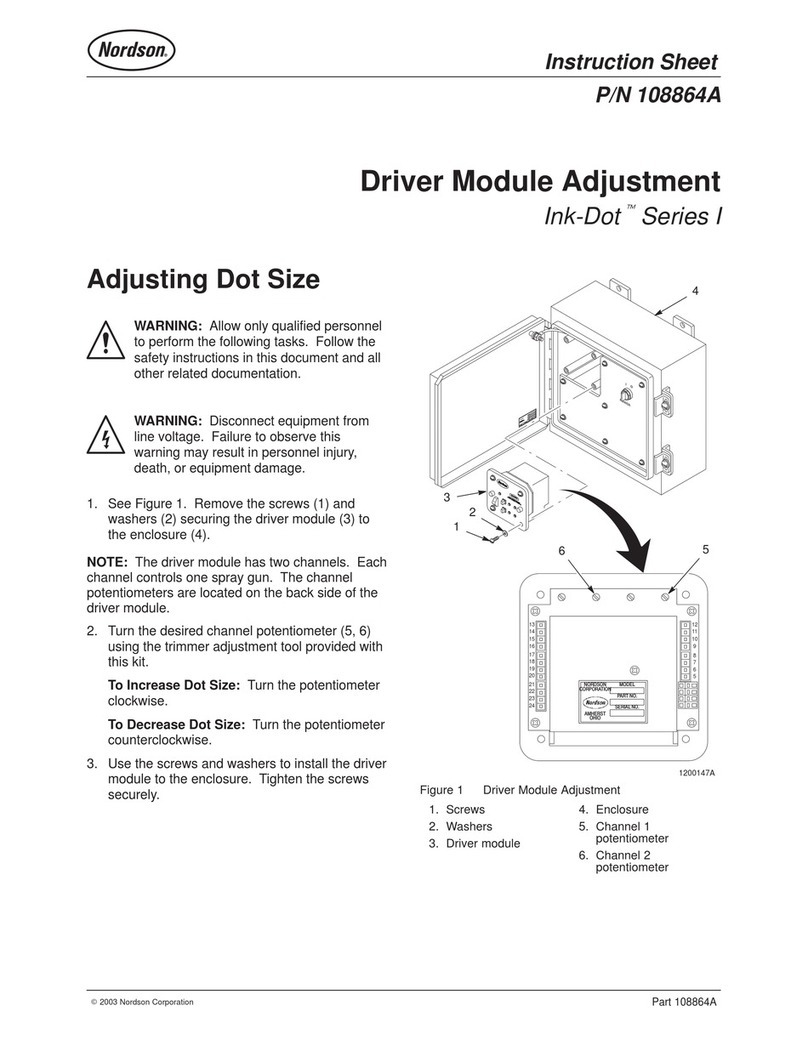
Dot Size Adjustment
See Figure 1. Follow these steps to adjust the dot
size from the Ink-Dot electric spray gun.
1. Set the RUN/OFF/TEST switch (6) in the Ink-Dot
control unit to OFF.
2. Set the air pressure regulator (20) to
0.5 bar (7 psi) at the ink reservoir.
3. Loosen the locknut (13).
4. Carefully screw in the armature sleeve (12) until it
stops or bottoms out.
5. Unscrew the armature sleeve approximately 1/12
of a turn or 30_.
6. Hold a piece of paper by the bottom of the can
and in line with the nozzle (11).
7. Set the RUN/OFF/TEST switch (6) in the
Ink-Dot control unit to TEST. Adjust the
armature sleeve (12) until the dot is the desired
size, typically 2–3 mm.
NOTE: Do not hold the armature sleeve screw with
the screwdriver while you are tightening the locknut.
8. Use a 1/2-in. wrench to tighten the locknut.
NOTE: The dot size will become slightly larger when
tightening the locknut.
9. If desired, change the fluid pressure to make fine
adjustments to the dot size:
SIncrease the pressure for a larger dot.
SDecrease the pressure for a smaller dot.
NOTE: Refer to the Ink-Dot Series II Driver manual
to make additional adjustments to the dot size using
the dip switches.
