1
INTRODUCTION
• Antigua™
INTRODUCTION
INTRODUCTION
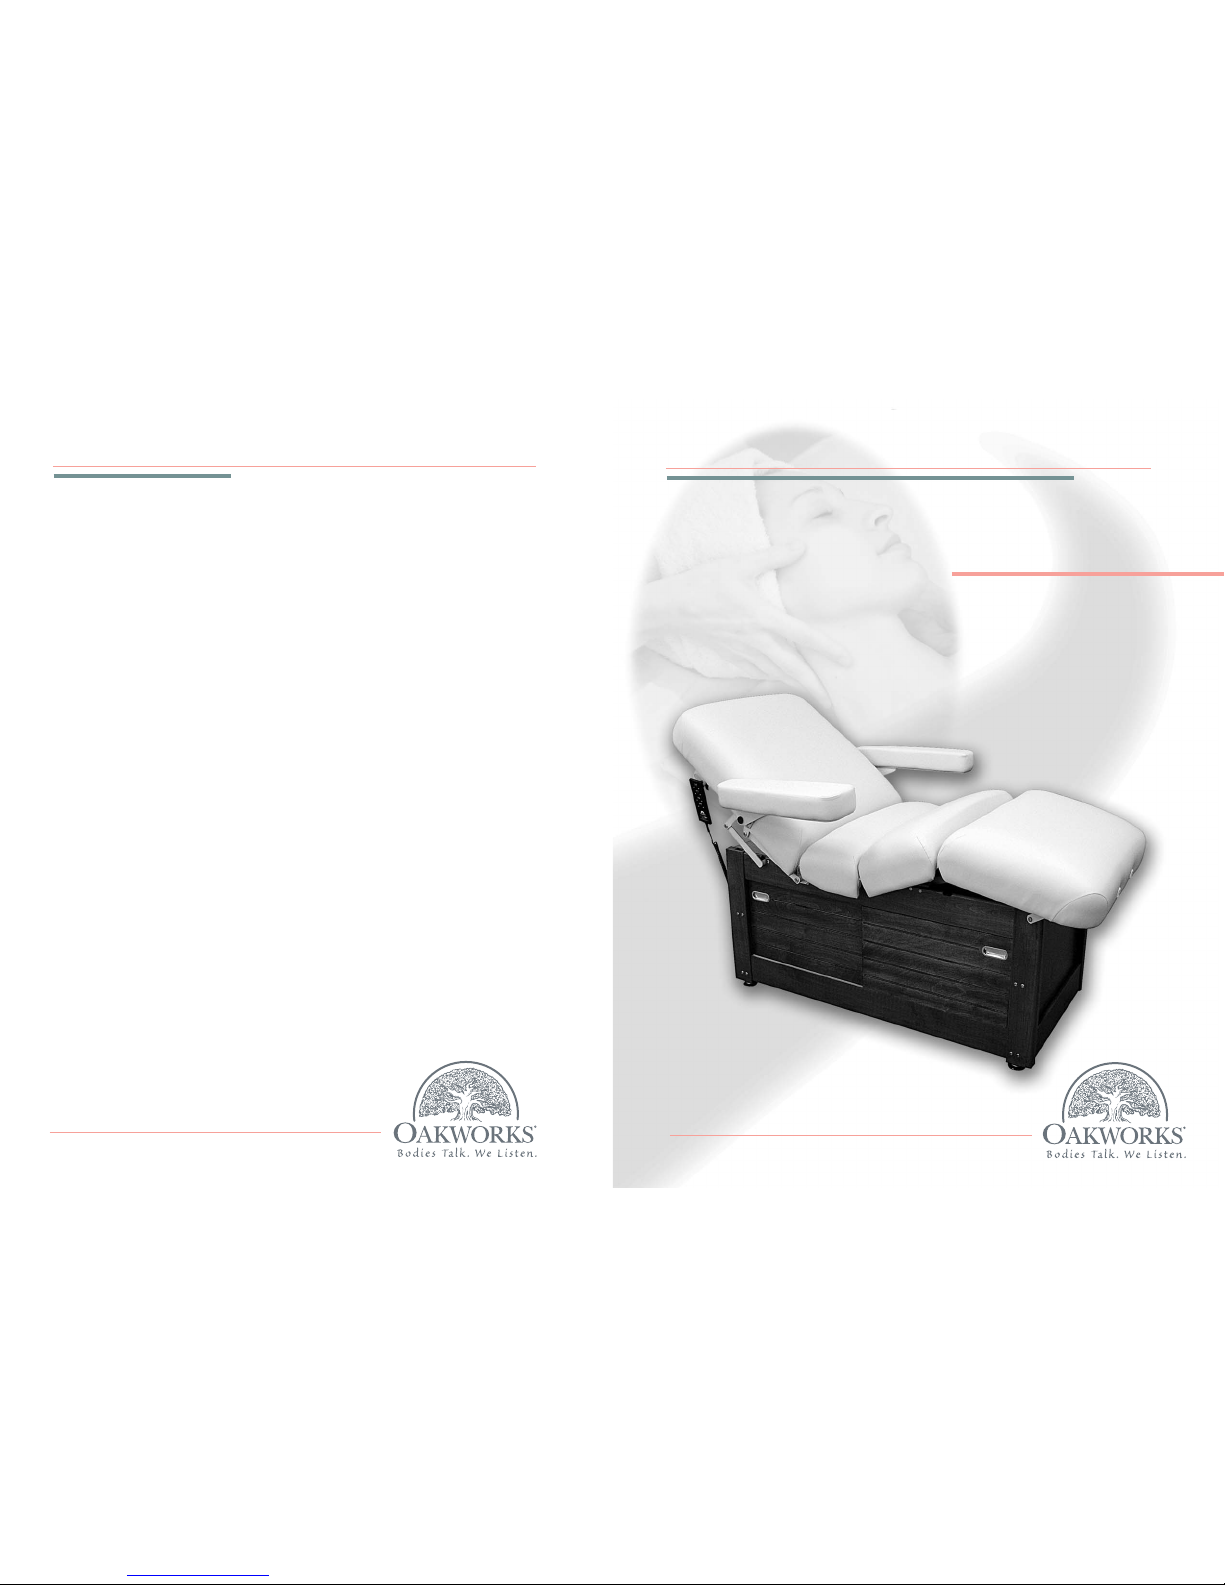
Antigua™
OAKWORKS®Antigua™offers a variety of positioning capabilities for massage
therapists and skincare professionals of all specialties. On this multifunctional
professional model table the practitioner can perform numerous protocols
with ease and comfort. The fully electric Antigua™is especially effective
when professional protocols require specific positioning for the client,
guest or patient. While the client receives comfortable, relaxing support,
the comfort level of the therapeutic professional is enhanced by superior
ergonomics.
The Antigua™ should not be used in any other manner than that described
within this manual. Use of any unnecessary force or unauthorized procedures
could result in injury to practitioner, client or equipment.
Antigua™ / Model ANRCMP & ANF3MP
The Antigua™raises, lowers and tilts your clients to the optimal working
height easily with added features provided by an electronically adjustable
flextop. The variety of height and reclining positions align the Antigua™
top so your client’s body is at the optimum level for any number of
treatments. It features a single hand control and a foot control to make
the precise adjustments to height, back and knee rest positions to really
make it a custom fit to each client and practitioner.
The cabinet offers an in-cabinet plug-in option to accommodate hot towel
cabinets, placing them right at your fingertips. The large cabinet holds stacks
of towels and other equipment without interfering with the lifts. The doors
slide handily to a fully-open position for ease of access.
The Antigua™’s bed is built on a solid hardwood frame for optimum
strength. The beautiful wood surround makes the Antigua™look like cus-
tom-designed, high-end furniture. You will rely on the strength, but
all you will see is the beauty. We’ve gone to great lengths to hide the
wiring on the Antigua™, for a streamlined glamour that will accentuate
your decor as well as provide ergonomic benefits and comfort to serve
you and your client.
16
CARE & CLEANING
• How to Care for Your Upholstery & other components
CARE & CLEANING
HOW TO CARE FOR YOUR UPHOLSTERY:
In order to maintain the quality and ensure the life of the Antigua™, here
are some preventative steps that can be taken to protect the upholstery on the
chair and accessories.
IF T• Protect your Antigua™and accessories with sheets and
fleeces. We offer both fitted sheets and thick fleeces that
protect your upholstery fabric against oil stains while offering
comfortable 100% cotton flannel softness to your clients.
You can also preserve your face rest and bolsters with 100%
cotton flannel covers and fleeces.
• Clean your upholstered items only when needed with a mild
detergent or Green Windex. A diluted 1/100 bleach solution for
disinfecting can be used. Dry the table immediately after cleaning
to remove excess cleaning solution. Using strong cleaners, such as
alcohol, acetone, higher concentrations of bleach or other products
that contain high concentrations of these substances, can shorten
the life of your fabric, or discolor it. Note: Damage caused by these
cleansers will not be covered under the warranty.
• Avoid extremes in heat. Very cold temperatures can make your
fabric prone to cracking. Very high temperatures can cause the
fabric to stretch permanently.
• Avoid exposing your products to direct sunlight for extended
periods of time. This can lead to fading and cracking of the fabric.
• Use an anti-slip pad to prevent oil from reaching the upholstery
and to keep your sheets from slipping.
Caring for your Antigua™upholstery fabric involves more than just
protecting it from general abrasions, cuts and punctures. We offer most
of the products mentioned above in our therapeutic equipment catalog.
Therapeutic equipment may be reupholstered for a charge, but you can
lengthen the life of the upholstery fabric on your table by following these
quick and easy suggestions.
GENERAL CARE OF EQUIPMENT COMPONENTS:
• Use only a mild solution of 4:1 diluted non-alcohol cleaner such
as 409®, Fantastik®or some other non-abrasive cleaner to wipe
down the metal and wooden surfaces. Apply with a damp (not
wet) lint-free cloth. Be sure excess liquid does not drip onto, or
into, any of the electrical controls or mechanisms. Be sure that
the unit is unplugged before cleaning these areas. Wipe these
areas carefully with a lint free cloth.
• The electronic powering mechanism of your Antigua™requires
no general maintenance or lubrication.
• The wooden cabinetry of the equipment can be polished with any
polish approved for wooden surfaces. Spray, or pour, the polish
onto a soft cloth and be careful not to get it onto other surfaces.
IMPORTANT
CAUTION
Before cleaning with any
liquid cleaner be sure to un-
plug the power cord from the
power outlet. Do not operate
the table in standing water.
CARE & CLEANING
• Upholstery
• Base
& Controls
Be sure to read all
cautions, warnings
and instructions given
in the manual to prevent
injury to both operator
and client.