9
- GB -
Pos: 73 /Alle Produk te/Überschrif ten/H2 Vorschrif tsmäßigee lektrische Inst allation @ 7\mod_120401 9051664_121.doc @ 44619 @
Correct electrical installation
Pos: 74 /Alle Produk te/Sicherheit/Vorsc hriftsmäßig elektri sche Installation/SIC BAS E- Inst @ 10\mod_1248349362194_ 121.doc @ 65183 @
−Electrical installations must meet the national regulations and may only be carried out by a qualified electrician.
−A person is regarded as a qualified electrician, if, due to his/her vocational education, knowledge and experience, he
or she is capable of and authorised to judge and carry out the work commissioned to him/her. Working as a qualified
person also includes the recognition of possible hazards and the adherence to the pertinent regional and national
standards, rules and regulations.
−For your own safety, please consult a qualified electrician.
−The unit may only be connected when the electrical data of the unit and the power supply coincide. The unit data is
to be found on the unit type plate or on the packaging, or in this manual.
−Ensure that the unit is fused for a rated fault current of max. 30 mA by means of a fault current protection device.
Pos: 75 /Alle Produk te/Sicherheit/ Vorschriftsmäßig elek trische Installa tion/SIC ERW Elektr. I nstallation - Stecker fertiges Gerät @ 11\mod_12507 62467114_121.doc @ 70100 @
−A unit ready to be plugged in may only be connected to a properly installed outlet.
Pos: 76 /Alle Produk te/Sicherheit/V orschriftsmäßig elek trische Installa tion/SIC ERW Elektr. Insta llation - Für außen geeign ete Leitungen @ 11\ mod_1250762600052_121. doc @ 70127 @
−Extension cables and power distributors (e.g. outlet strips) must be suitable for outdoor use.
Pos: 77 /Alle Produk te/Überschrif ten/H2 Sicherer Betr ieb @ 7\mod_1204022429287_121. doc @ 44671 @
Safe operation
Pos: 78 /Alle Produk te/Sicherheit/S icherer Betrieb/ SIC ERW Sich. Betrieb - Nic ht im Regen verwenden @ 10\mod_124903 6170418_121.doc @ 67583 @
−Do not operate or leave the unit in the rain.
Pos: 79 /Alle Produk te/Bestimmungsge mäße Verwendung/Best. Verwendung 2m Abstand vom Wasser @ 10\mod_124 8276541602_121. doc @ 64907 @
−Minimum safety distance between the unit and the water: 2 m.
Pos: 80 /Alle Produk te/Sicherheit/S icherer Betrieb/ SIC ERW Sich. Betrieb - Kei ne Personen im Wasser @ 10\mod_1248351 236831_121.doc @ 65210 @
−Only operate the unit if no persons are in the water!
Pos: 81 /Alle Produk te/Sicherheit/Sic herer Betrieb/SIC BAS Sic h. Betrieb @ 11\mod_12505074060 44_121.doc @ 69397 @
−Never operate the unit if either the electrical cables or the housing are defective!
−Do not carry or pull the unit by its electrical cable.
−Route all cables such that damage is excluded and nobody can trip over them.
−Never open the unit housing or its attendant components, unless this is explicitly required in the operating
instructions.
−Only use original spare parts and accessories for the unit.
−Never carry out technical modifications to the unit.
−Only have repairs carried out by customer service points authorised by OASE.
Pos: 82 /Alle Produk te/Dummy_module/Abs tand 6 pt @ 7\mod_119662799 7106_0.doc @ 41651 @
Pos: 83 /Alle Produk te/Überschrif ten/H1 Montage @ 7\mod_120290 7725390_121.doc @ 43908 @
Installation
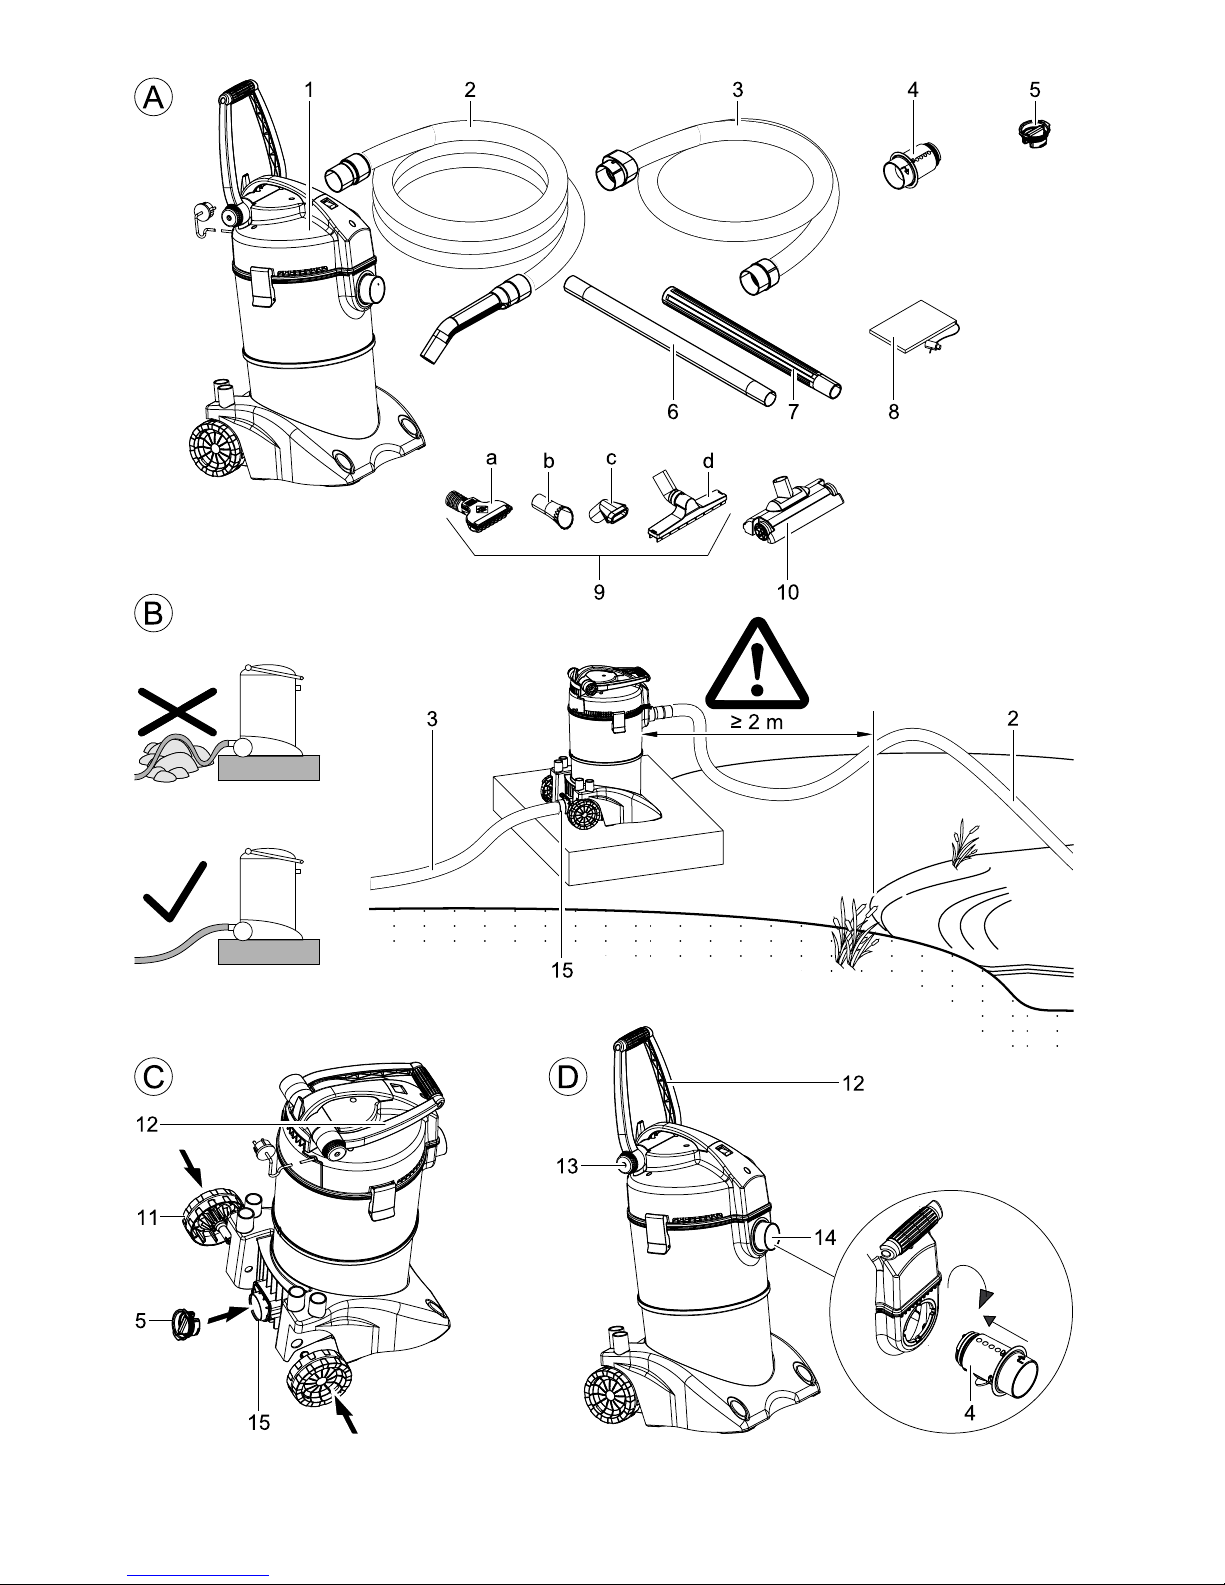
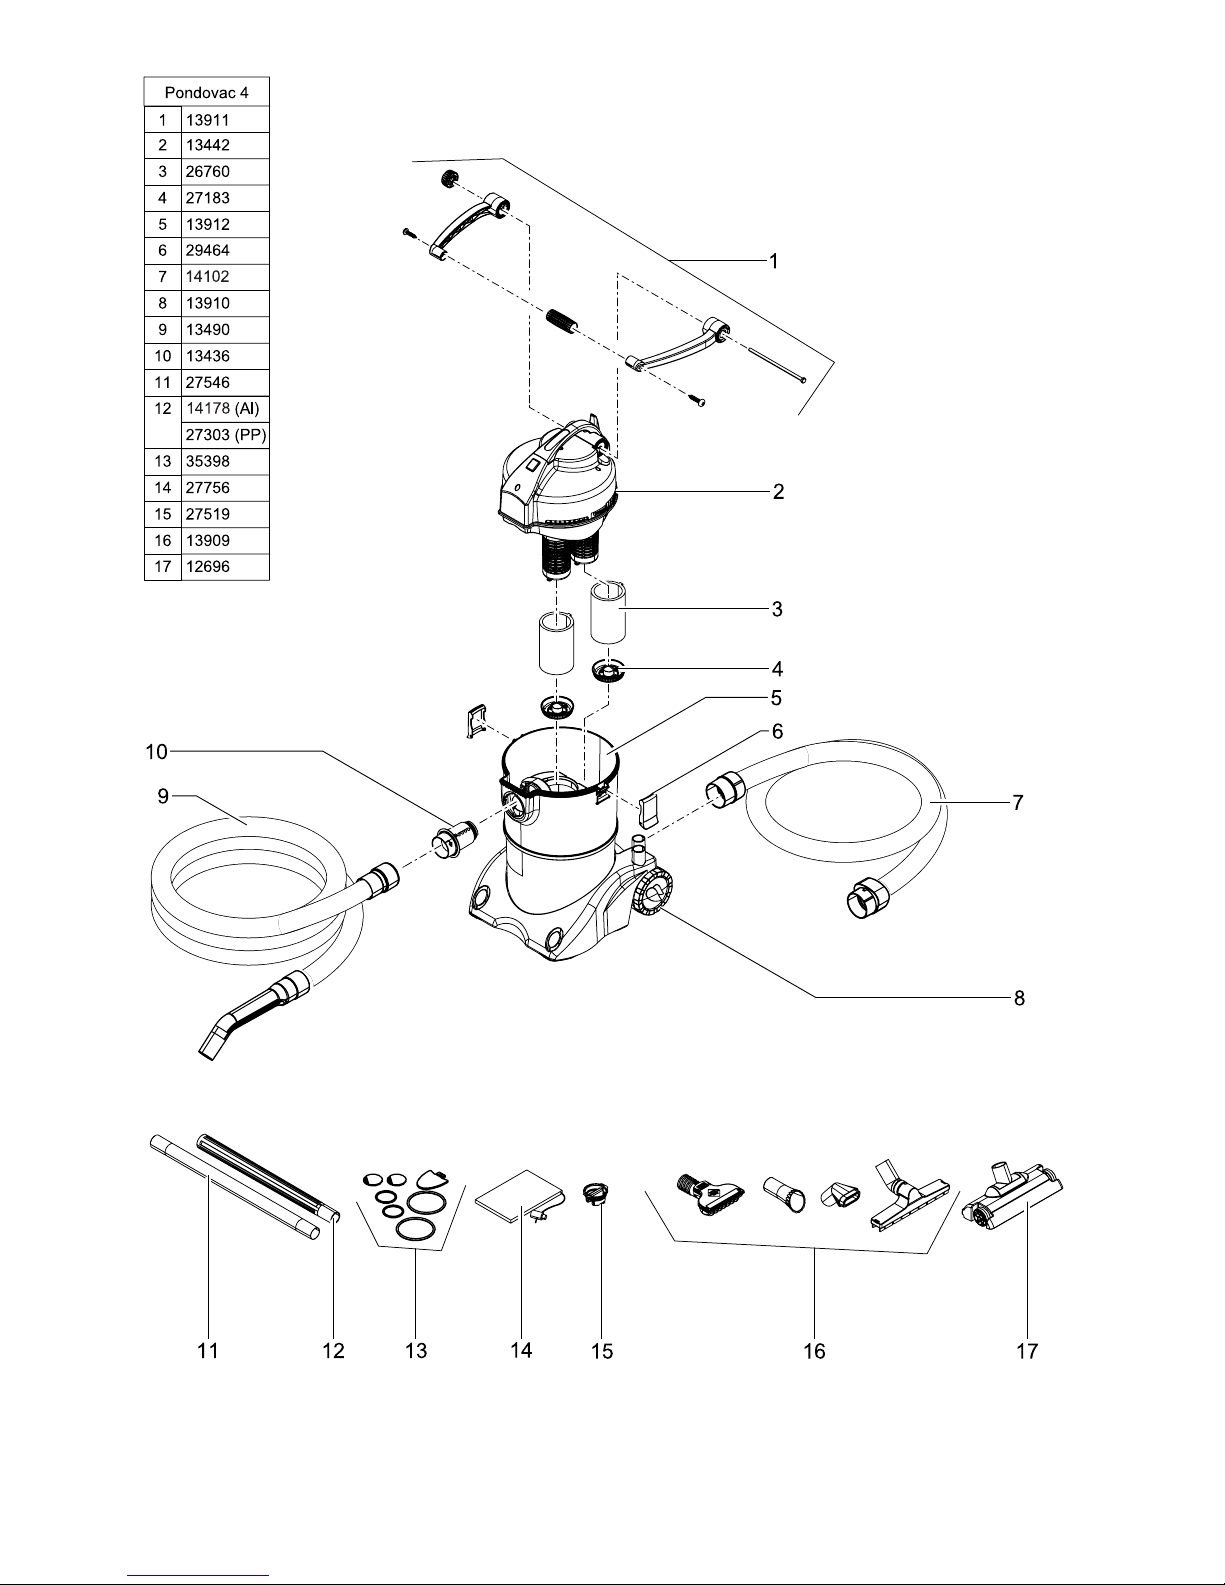
Pos: 84 /Pumpen/Sc hlammsauger/Pondo vac 4/Montage und Aufstel len Pondovac 4 @ 10\mod_12482 77176075_121.doc @ 64935 @
Preparation (Fig. C, D, E):
−Fit the wheels (11) on the housing.
−Bring the transport brace (12) into the desired position. For this purpose, loosen and retighten the hand screw (13).
−Fit the intake distributor (4) into the inlet (14) by performing a plug-turn movement (bayonet closure).
−Connect the suction hose (2) to the intake distributor (4).
−Fit the extension tube (Fig. A, 6, 7) at the hand-held nozzle of the tube (2). The transparent tube (6) allows a flow
control to be able to detect blockages earlier.
−Slide on the tool (9, 10) appropriate for the task.
Note: The higher the number of tubes used, the higher the tube frictional resistance. This leads to a reduction of the
suction capacity.
Operation as a sludge suction unit (Fig. B, E)
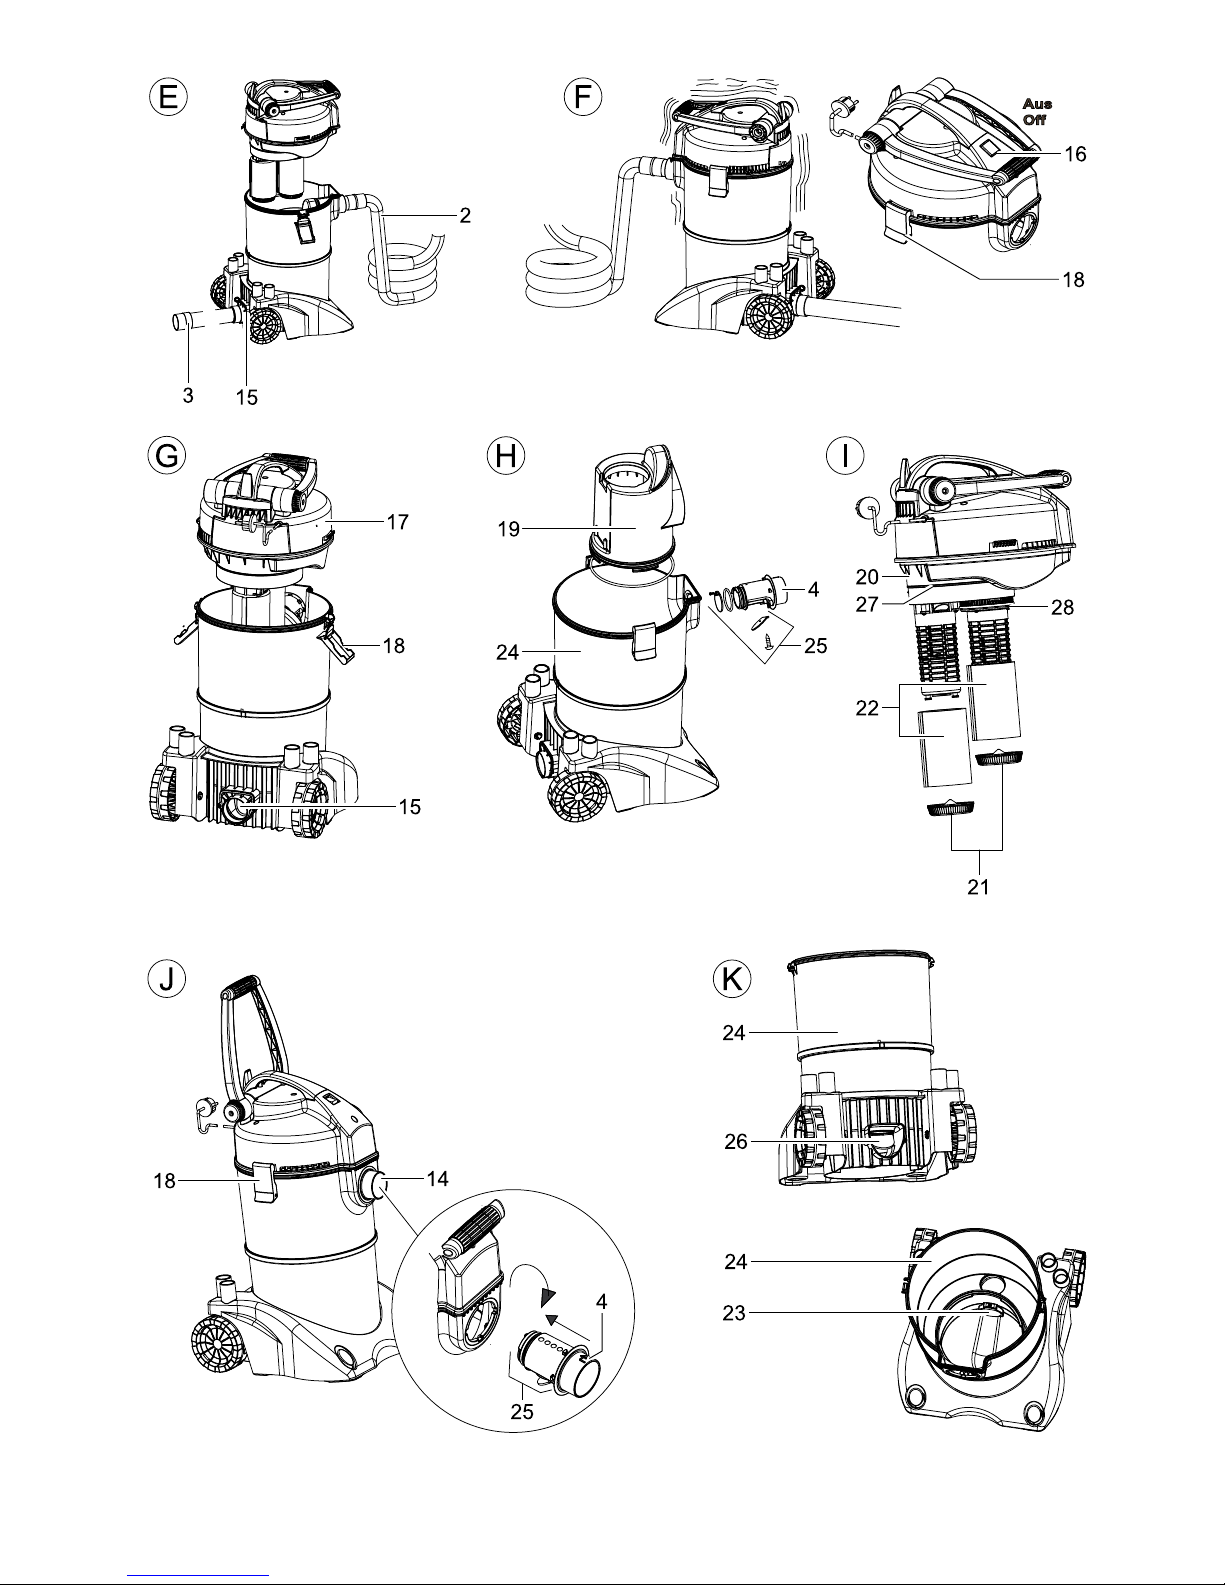
Attention! Never operate the unit without foam filter (Fig. I, 22) or float body! Both are fitted when delivered.
−Place the unit at a minimum distance of 2 m from the water.
−Route the drain hose (3) with a slight gravity: Places the unit slightly higher. Ensure a safe and stable position.
Ensure that the drain opening (15) is above the water level.
−Plug the drain hose (3) into the drain opening (15) of the collection container.
−Ensure that the hose lies straight: Avoid kinks or bends caused by unevenness of the ground. Allow unrestricted
draining of the water, which has to be disposed of in accordance with the local conditions.
Note: When you pull the dirt catcher bag (Fig. A, 8) over the free end of the drain hose (3), you can return the water,
then free from coarse particles, such as dead leaves or algae, into the pond. As an alternative, the removed pond
sludge can be used as plant fertiliser. In this case, lay the drain hose directly on a plant bed. Otherwise dispose of in
accordance with the local conditions.
Use as a wet vacuum cleaner
Attention! Never operate the unit without foam filter (Fig. I, 22) or float body! Never vacuum dust or dirt!
−Place the unit at a minimum distance of 2 m from the water (Fig. B).
−Seal the drain opening (15) of the collection container by means of the plug (Fig. C, 5).
Note: A maximal of 10 l of fluid can be taken in.