manuals.online logo
Brands
  1. Home
  2. •
  3. Brands
  4. •
  5. Octane Fitness
  6. •
  7. Elliptical Trainer
  8. •
  9. Octane Fitness Pro 370 User manual

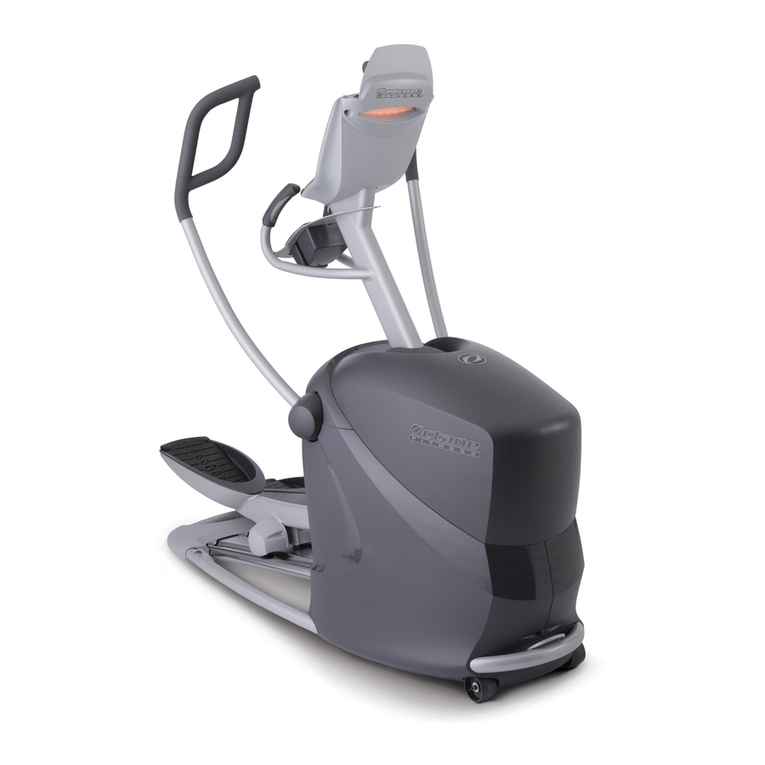
Octane Fitness Pro 370 User manual

2
3
PRO370 ASSEMBLY INSTRUCTIONS
PERSONAL RECORD KEEPING
Tip: Record the serial numbers of your Octane Fitness®elliptical in the spaces below. This will make it easier
for you to obtain accurate and timely response should any service issues occur with your elliptical machine.
ATTENTION – All serial numbers begin with a letter.
Base Serial Number – located below front right chrome rail above the CSAFE and video inputs
__ __ __ __ __ __ __ __ __ __ __ __ __ __
Console Serial Number – located on the lower edge of the console
__ __ __ __ __ __ __ __ __ __ __ __ __ __
If you have any additional questions or need additional assistance in assembly, please contact your local
service provider or Octane Fitness Customer Service at 1.888.OCTANE4 ext. 1, You may also send an email to
[email protected], or visit us on the web at www.octanefitness.com.
WARNING: Machine contains moving parts. Use caution when assembling and operating this machine.
This product is intended for commercial use.
4
A
PRO370 Contents
The Octane Fitness base box contains the following: Tools required:
 A) 1-OctaneFitnesscrosstrainerbase • Phillipsscrewdriver
 B) 1-Consolemast • 17mmwrenchoradjustablewrench
 C) 1-Topcover • 17mmsocketandratchet
D) 1 - Access panel • 6mmhexkeywrench
E) 1 - Detached right pedal lever
F) 1 - Left moving handlebar
G) 1 - Right moving handlebar
H) 2 - Handlebar covers
I) 1 - Mast boot
J) 1 - Hardware pack (see opposite page)
Box Contents
D
HI
B
C
EFG
5
Hardware Pack (J) includes:
 K) 8-6mmhexkeychamferedbolt(formovinghandlebars)
 L) 2-Phillipsscrews(formountingaccesspanel)
 M) 2-Phillipsscrewswithwashers(formountingtopcover)
N) 1 - Cable tie (for securing loose wires)
KL M
N
The PRO370 console box contains the following:
1) 1 - Console
2) 1 - Keypad
3) 2 - Console back arcs (left and right)
4) 1 - Information packet
 5) 4-Phillips18mmscrews(notpictured)
 6) 4-Phillips12mmscrewswithwashers(notpictured)
3
4
2
1
6
2. Attach moving handlebars—Moving handlebars are
labeled left and right, be sure to install accordingly.
a. Align the bottom of the handlebar (F or G) with the four holes
inthepivotshaftandattachwithfour6mmhexkeybolts
(K)—make sure these bolts are very tight; torque to 30
ft-lbs.
b. Reaching inside from the front of the machine, carefully
connect the heart rate cable coming from the base of the
handlebar (F or G) to the cable by the pivot shaft of the
cross trainer base (A). Gently tug the cable to ensure the
connector is completely seated.
c. Position the handlebar cover (H) over the handlebar pivot
point and press firmly at top and bottom to attach.
d. Repeat for the other side.
Pivot shaft
Cable from
handlebar
Cable on
frame
3. Install access panel
a. Loosen the screws on the left and right sides of the lower
shroud near the front of the unit. (These screws secure the
side of the shroud and the access panel to the frame.)
b. Slide the metal plate of the access panel (D) behind the
back shroud. Fit the tabs on each side of the access panel
into the slots between the side of the main shroud and the
frame, over the top of the screws.
c. Tighten the screws on each side, then secure the back of
theaccesspanelwith2Phillipsscrews(L).
Tab
Back
Screws
Screw to
loosen on
both sides
Slot for
Tab
1. Attach pedal lever
a. Remove bolt from 3-pivot link.
b. Placerightpedallever(E)throughlegslotinrearshroudof
the cross trainer base (A) and attach it to the 3-pivot link.
Check to see that the rollers are seated and properly
aligned on the rails before securing the pedal lever.
c. Tightenthe boltand nutsecurely using17mm socketand
wrench.
7
4. Install console mast
a. Attach the console mast (B) by placing the keyhole slots in
the mast plate over the bolts on the cross trainer base (A)
and sliding the console mast toward the pedals.
b. Tightenthefour6mmhexkeyboltsattachingconsolemast
to frame.
c. Connect the black cable connector coming from the mast
to the black cable connector on the base frame. Tug
the cables gently to ensure the connectors are
completely seated.
d. Use the cable tie (N) to secure any loose cable to the bottom
of the mast; cut off any excess cable tie.
5. Mount the keypad to the console mast
a. Remove the two screws securing the console back piece
to the mast plate.
b. Connect the green grounding wire from the heart rate
board to the tab mounted on the frame (next to the green
console grounding wire).
c. Connect the contact heart rate cables from the top of the
consolemasttube(twograycablesjoinedatonewhite
connector) to the open connector on the heart rate board.
d. Route the cable from the other end of the heart rate board
down through the top of the mast tube and out of the hole
beneath the console plate.
e. Connect the ribbon cable from the top of the keypad (2) to
the black cable connector from the top of the mast tube.
f. Refertothediagramat rightto seeallthe connections
and the action required. Tug each cable gently to
ensure each connector is completely seated.
g. Position the keypad (2) on the mast (B) and insert each
of the four 12mm screws with washers (6) through the
mast holes and into the keypad back. Tighten screws to
secure.
Console/Keypad
(connect)
Heart Rate
(route)
Contact Heart Rate
(connect)
Keypad Ground
(no action
required)
Heart Rate
Ground
(connect)
CSAFE
(no action
required)
Note: If you are using the optional LCD Mounting Arm, skip step 6 of these instructions and
instead follow the instructions included with the LCD Mounting Arm. Once you have
completed those instructions, resume assembly of your PRO370 with step 7 of these
instructions.
8
6. Mount the console to the console mast
Note: Record the serial number of your console, located on the lower edge of the console, before
attaching the console to the console mast. (If you have installed the optional LCD Mounting Arm,
and mounted the console to the mast according to those instructions, skip to Step 7.)
a. Position the console (1) on the plate at the top of the
mast (B) and place the left back arc (3) behind it. Holding
bothinplace,inserttwoofthe18mmPhillipsscrews(5)
partially through the back arc (3) and the mast plate into
the console back. Repeat on the right side. Tighten all
screws to secure.
b. Attach the white 14-pin main connector to its connection
on the back of the console.
c. Attach the black keypad connector to its connection on
the back of the console.
d. Attach the metal connector on the green ground wire
that is connected to the back of the mast plate to its
connection on the back of the console.
e. Attach the white 3-pin heart rate connector to its
connection on the back of the console.
f. If applicable for your installation, attach the white 5-pin
CSAFE connector to its connection on the back of the
console.
g. PedaltheunitandverifythattheconsoleLEDslightand
that a heart rate reading is displayed when you grasp
the contact handgrips on the moving handlebars. If
any issues are detected, recheck the connections, then
contact Octane Fitness Customer Service for assistance.
Once you have verified these functions, proceed with
remaining steps.
h. Tug each cable gently to ensure each connector is
completely seated.
i. Make sure excess cable is pushed into the mast
tube.
j. Repositiontheconsolebackpieceandreattachitusing
the two screws provided.
Keypad
(black)
Console to Base
(white, 14-pin)
Heart Rate
(white, 3-pin)
Console Ground
(metal; green wire)
Software Update
(black)
CSAFE Audio
(white, 6-pin)
9
7. Adjust arms (optional)
Note: Before completing this step, plug in and ride your elliptical cross trainer for a few
moments to get a feel for the arm motion. If the reach of the arm motion feels right (as it will for
most users), proceed to step 8. If the reach is too long or too short, carefully follow these steps
to shorten or extend the reach by approximately 1.5 inches:
a. Locate the rod end link that connects to the black bar (pivot)
inside the machine. The black bar has three holes in it with
therodendlinkattachedthroughthecenterholewitha6mm
hex key bolt and a 13mm nut. A spacer separates the black
bar and the rod end link.
b. While supporting the arm, remove the 13mm nut from
the6mmhexkeyboltandcarefullyeasetheboltfromthe
center hole in the black bar. To extend the reach of the arm,
re-insert the bolt in the hole closest to the front of your
elliptical trainer. To shorten the reach, re-insert the bolt in the
hole closest to the user end of the machine. Make sure that
the spacer remains in place between the rod end link
and the black bar, with the pocket side of the spacer
toward the rod end link.
c. Replace the nut and tighten. This connection must be
very tight.
d. Repeat for the other arm.
 Shouldyouhaveanyquestionsorconcernsinmakingthisadjustment,pleasecontactyourlocalservice
provider or contact Octane Fitness Customer Service at 1.888.OCTANE4, ext. 1.
8. Place top cover
a Align top cover (C) on top of main housing. Hold the back
edge (near the mast) in place and shift the front edge
forward until it settles into position.
b. While still holding the back edge in place, press firmly on
the bottom edge of the front of the cover until it snaps into
place. You will feel and hear it snap into place as
the plastic bracket on the inside of the front bottom
edge clips onto the steel tube at the front of the main
frame.
c. Securethetopcovertotheframeusing2Phillipsscrews
with washers (M).
Steel tube
Press here
Hold here
Secure with
screws
10
9. Install mast boot
a. Placetherubbermastboot(I)aroundthemast(B),covering
the open ends of the stationary handlebars.
b. Tuck the ends of the mast boot (I) into the channels in the
accesspanel(D)justbelowthestationaryhandlebars.
10. (Optional) CSAFE Connection
a.If your facility is using CSAFE, connect the CSAFE
RJ-45 cable to the CSAFE port at the base of the machine.
Tug the cable gently to ensure the connector is
completely seated.
11. Adjust levelers
a. Adjustallfourlevelerstomakesuretheproductsitsflaton
the floor. For a lower step up height, screw the rear levelers
into the rear stabilizer bracket. Then level the machine
using the front levelers.
b. Tighten the leveler nut against the frame for each
leveler.
Note: If you move your PRO370, you may need to
adjust the levelers to make sure your product
is level with the floor.
CAUTION:If the unit is not level, it may not function
properly.
11
12. Set user preferences
a. Pressandholdboth the Up Arrow () and Down Arrow ()
keys for three seconds, or until you hear a double-beep.
Working with the owner of the unit, use the Up Arrow ()
or Down Arrow () key to step through the customizable
functions: Warm-up (On/Off), Clock Direction (Up/Down),
Max Workout Time, Unit Type (English/Metric), Beep (On/
Off), and Brightness. Use the Enter key to toggle through
the available options for each function, and press the Up
Arrow () or Down Arrow () key to select a setting and
move to the next function. To exit without changing any
values,pressPauseCleartwice.
More detailed User Set-up information can be found in the
PRO370 Operations Manual.
Moving the Product
It is safest to move the product to its installation location in its shipping carton. It may be easier to move the
product into your home after you remove it from the packaging, but be careful not to hit any walls or doors.
ThePRO370 features transport wheels on the front of the unit.Be careful whenmoving from one surface to
another, such as hardwood floor to carpet.
Note: If you need to pick up your elliptical there are hand placement slots under the front shroud. Please take
caution when lifting. The elliptical weighs 280 lbs. when fully assembled.
Tip: When using the front transport wheels, it is easier to pull the unit rather than push it.
FUEL YOUR LIFE™
9200WyomingAvenueNorth,Suite380
BrooklynPark,MN55445
1.888.OCTANE4
www.octanefitness.com
©2008OctaneFitness,LLC™. All rights reserved. Octane Fitness, DedicatedLogic, Fuel Your Life, HeartLogic, Now-Zone and X-Mode are registered
trademarks of Octane Fitness. Any use of these trademarks, without the express written consent of Octane Fitness, is forbidden.
102960-001REVA
Are you passionate about your workout and the results?
Share your story with others on the Octane Fitness web site.
Go to: www.octanefitness.com/testimonials
Then click on “Share My Story” and
show the world how fueled you are.

Other manuals for Pro 370

1

This manual suits for next models

1

Other Octane Fitness Elliptical Trainer manuals
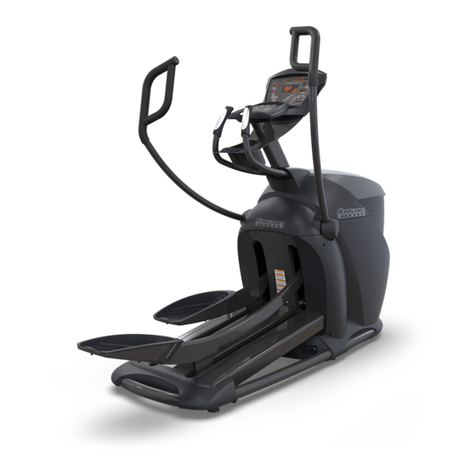
Octane Fitness Q47 User manual

Octane Fitness

Octane Fitness Q47 User manual

Octane Fitness XT User manual

Octane Fitness

Octane Fitness XT User manual

Octane Fitness zr8000 Troubleshooting guide

Octane Fitness

Octane Fitness zr8000 Troubleshooting guide

Octane Fitness PRO3700 Original instructions

Octane Fitness

Octane Fitness PRO3700 Original instructions

Octane Fitness Q35 User manual

Octane Fitness

Octane Fitness Q35 User manual

Octane Fitness Q47e User manual

Octane Fitness

Octane Fitness Q47e User manual

Octane Fitness ZR8 User manual

Octane Fitness

Octane Fitness ZR8 User manual

Octane Fitness Q35 User manual

Octane Fitness

Octane Fitness Q35 User manual

Octane Fitness PRO3700 User manual

Octane Fitness

Octane Fitness PRO3700 User manual
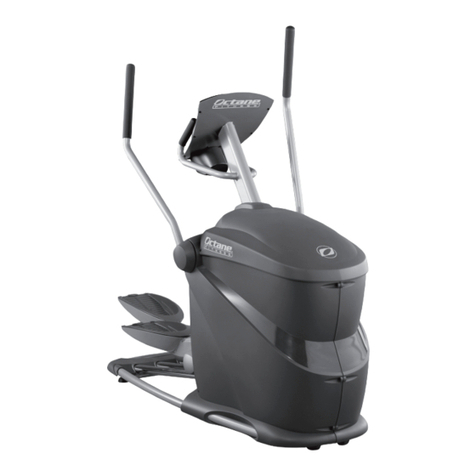
Octane Fitness Pro 370 User manual

Octane Fitness

Octane Fitness Pro 370 User manual

Octane Fitness Q35 User manual

Octane Fitness

Octane Fitness Q35 User manual
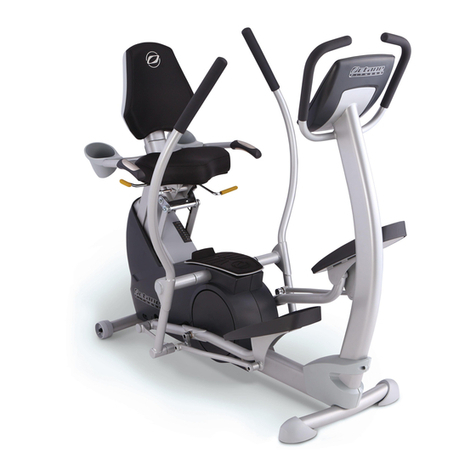
Octane Fitness Q45 User manual

Octane Fitness

Octane Fitness Q45 User manual

Octane Fitness Q47e User manual

Octane Fitness

Octane Fitness Q47e User manual

Octane Fitness PRO4700 User manual

Octane Fitness

Octane Fitness PRO4700 User manual

Octane Fitness PRO350 Installation and operating instructions

Octane Fitness

Octane Fitness PRO350 Installation and operating instructions

Octane Fitness Q37x User manual

Octane Fitness

Octane Fitness Q37x User manual

Octane Fitness PRO3700 User manual

Octane Fitness

Octane Fitness PRO3700 User manual

Octane Fitness Q35c User manual

Octane Fitness

Octane Fitness Q35c User manual

Octane Fitness CROSS CiRCUIT PRO KIT Parts list manual

Octane Fitness

Octane Fitness CROSS CiRCUIT PRO KIT Parts list manual

Octane Fitness xR6000 User manual

Octane Fitness

Octane Fitness xR6000 User manual

Octane Fitness ZERO RUNNER ZR7000 User manual

Octane Fitness

Octane Fitness ZERO RUNNER ZR7000 User manual

Octane Fitness Q45 User manual

Octane Fitness

Octane Fitness Q45 User manual

Octane Fitness PRO 310 User manual

Octane Fitness

Octane Fitness PRO 310 User manual

Octane Fitness q47c User manual

Octane Fitness

Octane Fitness q47c User manual

Popular Elliptical Trainer manuals by other brands
AFG 7.2 AI owner's manual

AFG

AFG 7.2 AI owner's manual

Weslo Momentum 615 Elliptical Manuale d'istruzioni

Weslo

Weslo Momentum 615 Elliptical Manuale d'istruzioni

Batavus X3 owner's manual

Batavus

Batavus X3 owner's manual

Weslo Momentum Ct5.8 Elliptical user manual

Weslo

Weslo Momentum Ct5.8 Elliptical user manual

Weslo MOMENTUM CT 5.0 user manual

Weslo

Weslo MOMENTUM CT 5.0 user manual

NordicTrack Audiostrider 990 Pro Elliptical Manuel de l'utilisateur

NordicTrack

NordicTrack Audiostrider 990 Pro Elliptical Manuel de l'utilisateur

Precor 5.21i Service manual

Precor

Precor 5.21i Service manual

Ultrasport 331100000011 user manual

Ultrasport

Ultrasport 331100000011 user manual

Insportline ATLANTA BLACK user manual

Insportline

Insportline ATLANTA BLACK user manual

Reebok JET 100 SERIES Assembly guide

Reebok

Reebok JET 100 SERIES Assembly guide

Vision Fitness S7100 Service manual

Vision Fitness

Vision Fitness S7100 Service manual

Kettler OPTIMA 800 Assembly instructions

Kettler

Kettler OPTIMA 800 Assembly instructions

NordicTrack 831.23954.0 user manual

NordicTrack

NordicTrack 831.23954.0 user manual

Horizon Fitness EX-76 user guide

Horizon Fitness

Horizon Fitness EX-76 user guide

Spokey Lunar user guide

Spokey

Spokey Lunar user guide

Kettler 07648000 Assembly instructions

Kettler

Kettler 07648000 Assembly instructions

Gazelle GAZELLE FREESTYLE owner's manual

Gazelle

Gazelle GAZELLE FREESTYLE owner's manual

Treo Fitness E101 owner's manual

Treo Fitness

Treo Fitness E101 owner's manual

manuals.online logo
manuals.online logoBrands
  • About & Mission
  • Contact us
  • Privacy Policy
  • Terms and Conditions

Copyright 2025 Manuals.Online. All Rights Reserved.