4
Operating Instructions and Parts Manual 24843
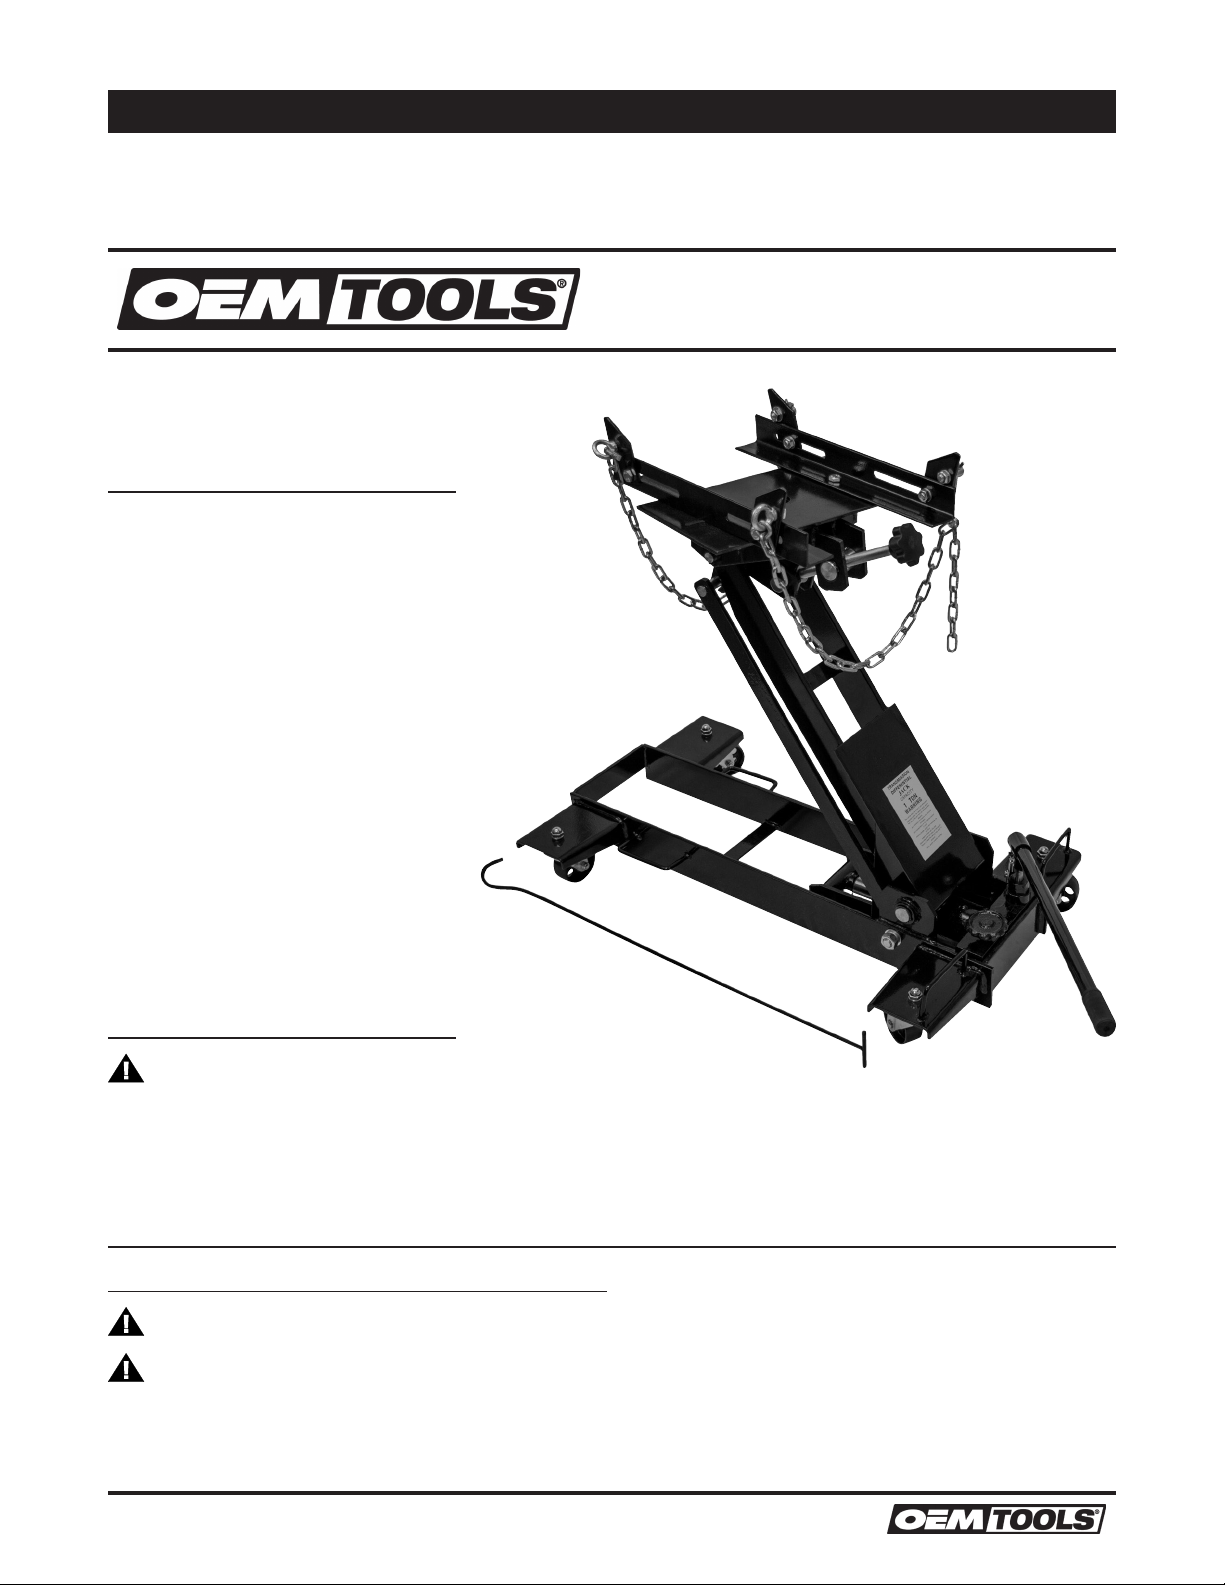
FLOOR TRANSMISSION JACK
08/14
2014 ©OEM-TOOLS
3. Wear appropriate safety gear, including heavy-duty
work gloves and ANSI-approved safety goggles
during use.
4. Ensure that jack rolls freely. Raise and lower the
unloaded jack throughout the lifting range before
putting into service to ensure the pump operates
smoothly. Replace worn or damaged parts.
5. Do not exceed the weight capacity of the jack.
Make sure weight is evenly distributed. Be aware
of dynamic loading! Sudden load movement may
briefly create excess load causing product failure.
Exceeding the maximum capacity for this product
is dangerous and can lead to serious injury or
property damage.
6. Never use this device as a work/repair station.
Transfer the load immediately to a suitable work
station.
7. Always evaluate your task before using this jack.
This jack is designed to support a transmission
or a differential as individual components. Use as
intended only.
8. Assemblies such as differential with axle, or
transmission with bell housing, can be bulky and
difficult to balance. Lifting or supporting such
assemblies, even within weight limit, can create an
off-balance situation, causing Jack to tip over and
MAY lead to serious personal injury or property
damage.
9. The load should be evenly distributed on the jack,
and should not extend beyond the area of the
caster wheelbase. Always use the chains provided
to secure the load. If extra support is required,
safety straps (not included) can also be used to
secure the work piece.
10. Use only on a hard, level and flat surface
capable of bearing the combined weight of the
Transmission Jack, the load being lifted, the
operator and any tools being used.
11. If loaded jack must be moved, make certain that
load is secured by appropriate means, is stable,
is in the lowest possible position, is moved over
a smooth, hard level surface and that the lifting
platform is level.
If you are working and the load becomes off-
balance and/or the jack begins to tip over, DO
NOT ATTEMPT TO CATCH OR LIFT THE LOAD
WHEN FALLING. SERIOUS PERSONAL INJURY
CAN RESULT! In this event, clear the area as
quickly and safely as possible in order to avoid
injury from the falling load, including getting hit
with flying fragments.
12. Before each use, inspect the general condition
of the Transmission Jack. Check for oil leaks,
jack operation, loose components, free rotation
and pivoting of saddle adjustment components.
If a problem occurs, have the problem corrected
before further use.
TO PREVENT SERIOUS INJURY: DO NOT USE A
DAMAGED OR MALFUNCTIONING JACK
13. The Transmission Jack is not designed to lift or
lower a vehicle.
14. If in doubt about the safety of your project,
we advise you to have the work done by a
professional familiar with applicable safety
practices.
OPERATION
Follow the instruction for removal and installation of
transmission, transfer case or transaxle according to
the vehicle manufacturer’s service manual.
1. Prior to initial use, jack up the Saddle and, using
the Release Knob, attempt to lower it. Doing so
will familiarize the user with the control functions
and Jack.
2. Once the vehicle is safely and properly secured,
position the Transmission Jack underneath the
vehicle.
3. Remove the Chain and set aside.
4. Move the Transmission Jack underneath the
transmission.
5. Close the Release Valve.
6. Pump the Handle to raise the Transmission Jack.
7. Stop just below the transmission and align the
Saddle to the Transmission with the Tilt Knobs.
8. Continue raising the Saddle up to the transmission
to determine where you will need to adjust the
Supports. All four Supports need to grip and make
contact with the transmission.
9. After determining where they need to be set,
loosen the threaded bolts on each Support, and
adjust it to the proper setting for the transmission.
Tighten the bolts.
10. Raise the unit again to make contact with the
transmission, making sure all of the supports are in
firm contact.