manuals.online logo
Brands
  1. Home
  2. •
  3. Brands
  4. •
  5. Ojmar
  6. •
  7. Lock
  8. •
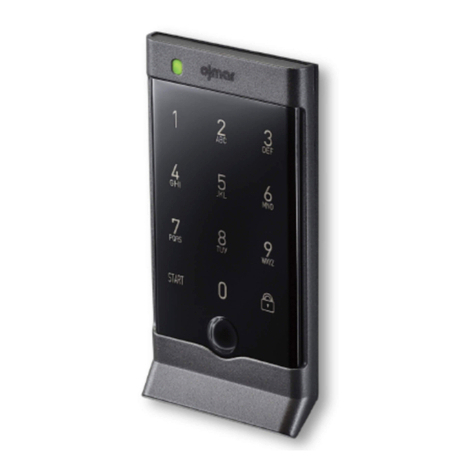
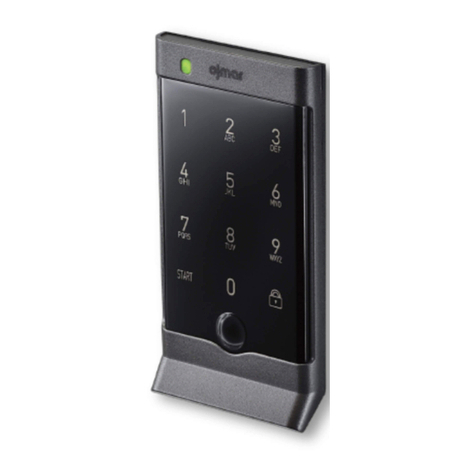
  9. Ojmar Nexo NLX1 User manual

Ojmar Nexo NLX1 User manual

NEXO®NLX1
ASSEMBLY INSTRUCTIONS
TAQUILLA
PUERTA TAQUILLA
NEXO NLX1
NEXO NLX1
CERRADURA DERECHA CERRADURA IZQUIERDA
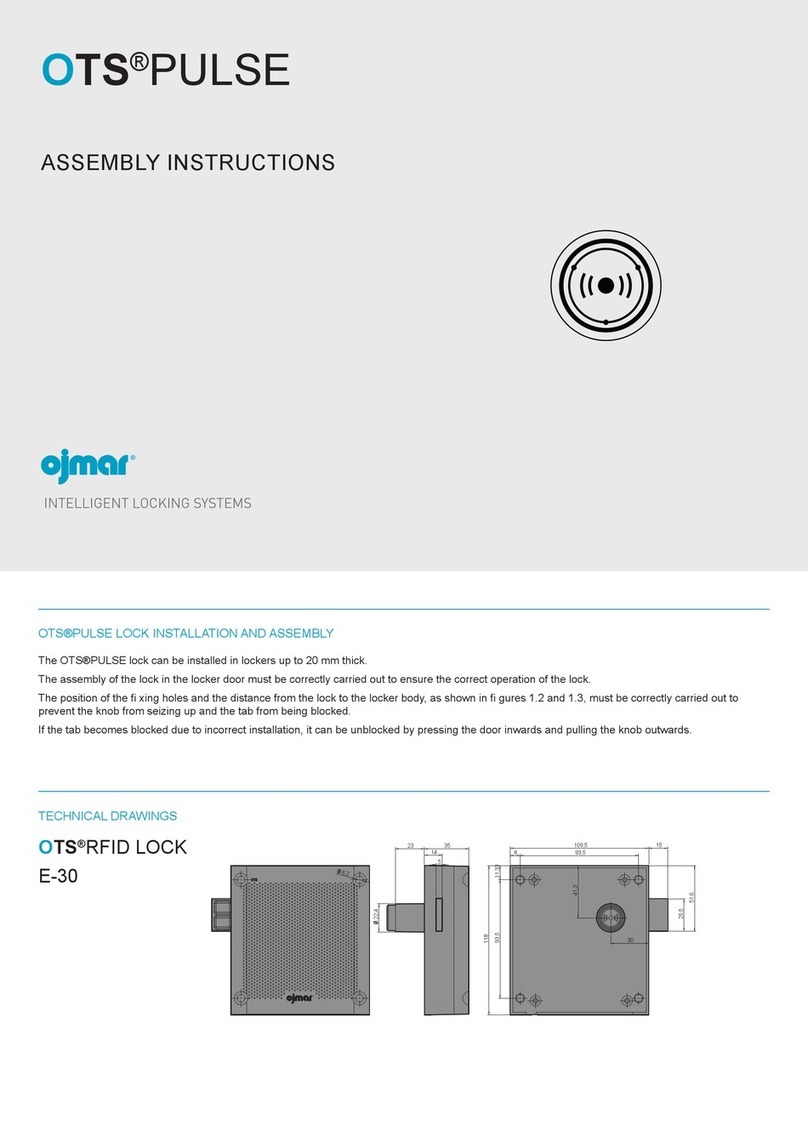
The NEXO NLX1 lock can be installed on doors with thicknesses between 9 mm and 20 mm.
The assembly of the lock in the locker door must be correctly carried out to ensure the correct operation of the lock.
The positioning of the holes, the distance of the lock on the locker body and the distance of the lock to the locking device, as shown in designs 1.2 and
1.3, must be correctly measured to prevent any subsequent problems when locking.
NEXO NLX1 LOCK INSTALLATION AND ASSEMBLY
Lock installation must be carried
out with screws in four drilled
holes.
Lock assembly depending on if
it is right handed or left handed
is as follows.
LOCK DIRECTION
min. 240 mm.
(9.449) Al pivote de la puerta Al pivote de la puerta
max. 20 mm.
(0.787)
Figura 1.2.-Medidas en mm. (Pulgadas)
Cerradero
Cerradero
Visor de led Visor de led
max. 20 mm.
(0.787) min. 240 mm.
(9.449)
15
(0.591 )
15
(0.591 )
Cuerpo taquilla
Cuerpo taquilla
Puerta taquilla Puerta taquilla
93.5 ±0.1
( 3.681" ±0.004 )
109.5
( 4.311" )
93.5
( 3.681" )
129.5
( 5.098" )
21.6
( 0.852" )
22
( 0.866" )
30
( 1.181" )
30
( 1.181" )
9
( 0.354" )
9
( 0.354" )
93.5 ±0.1
( 3.681" ±0.004 )
109.5
( 4.311" )
93.5 ±0.1
( 3.681" ±0.004 )
129.5
( 5.098" )
21.6
( 0.852" )
22
( 0.866" )
30
( 1.181" )
30
( 1.181" )
20
( 0.787" )
15
( 0.591" )
15
( 0.591" )
5
( 0,197 )
15
( 0.591" )
15
( 0.591" ) 20
( 0.787" )
5
( 0,197" )
15
( 0.591" ) 15
( 0.591" )
14,5
( 0,571" )
14,5
( 0,571" )
CERRADURA DERECHA CERRADURA IZQUIERDA
CERRADERO
CERRADERO
Figura 1.2.- Medidas en mm. (Pulgadas)
CERRADURA DERECHA CERRADURA IZQUIERDA
CERRADERO
CERRADERO
93.5±0.1
(3.681"±0.004)
109.5
(4.311")
93.5
(3.681")
129.5
(5.098")
21.6
(0.852")
22
(0.866")
30
(1.181")
30
(1.181")
9
(0.354")
9
(0.354")
93.5±0.1
(3.681"±0.004)
109.5
(4.311")
93.5±0.1
(3.681"±0.004)
129.5
(5.098")
21.6
(0.852")
22
(0.866")
30
(1.181")
30
(1.181")
4.5
(0.177")
46
(1.811")
5
(0.197")
2.5
(0.098")
4.5
(0.177")
46
(1.811")
5
(0,197")
2.5
(0.098")
11
(0.433")
11
(0.433")
Cerradero Cerradero
Cuerpo taquilla
Cuerpo taquilla
min. 240 mm.
(9.449) Al pivote de la puerta
max. 20 mm.
(0.787)
Al pivote de la puerta
Visor de led
max. 20 mm.
(0.787) min. 240 mm.
(9.449)
Visor de led
2.5
(0.098)2.5
(0.098)
The NEXO NLX1 lock is
attached to the locker door with
four screws.
• Recommended screws:
- Conglomerate doors: Pan
head wood screw 4.5 x 35 DIN
7996 stainless steel (depending
on the thickness of the door)
- Phenolic or metal doors: Pan
head screw M5 x 25 DIN 7985
stainless steel (depending on
the thickness of the door)
• The maximum tightening
torque to apply to the tightening
of each screw or coach nut will
be 200 Ncm.
• The diameter of the central
hole should be 23 mm (+1/0
mm). Bevelling the hole on
the inner area of the door is
recommended.
During installation, ensure that
the lock does not collide with
the locker body with the door
open (see design 1.2).
The dimensions and location
of the anchorage points are
shown in the following designs
(the dimensions depend on the
design of the lock and the type
of lock used with the locking
device:
• Striking plate with
reinforcement
Design 1.2 - Measurements
given in mm (inches)
• Flat Striking plate (with
channel on the locker body)
Design 1.3 - Measurements
given in mm (inches)
1.2 ASSEMBLY
INSTRUCTIONS
1.2 Design
Measurements given in mm (inches)
1.3 Design
Measurements given in mm (inches)
6.c
6.b
6.d
6.e 7
5.b
5.a 5.a
30
93,5
93,5
22
23
+1
0
93,5
93,5
22
30
93,5
93,5
93,5
93,5
23
+1
0
1.4 Design
Measurements given in mm (inches)
The procedure for assembling a NEXO NLX1 lock on a
support or furnishing should be performed in this order:
1. Mark the holes as shown in designs 1.2 and 1.3
2. Drill the central hole with a diameter of Ø23(+0.1/0).
3. If necessary, drill the holes to fasten the lock.
4. Screw the lock with four xing screws.
5. Mount the rear cover:
a. Insert the two tabs on the cover into the upper part of the
lock.
b. Press the lower part of the cover to snap the cover into
the lock.
6. Assembly of the front part:
a. Clean the surface of the door and make sure that it is dry.
b. Remove the plastic lm on the front part.
c. Insert the ange of the front part into the ange hole in
the lock and make sure that the front part is in line with the
locker door.
d. Press the front part rmly so that it is correctly attached on
the door.
e. Remove the protective lm from the front part.
7. Remove plastic strip from the bottom side of the lock.
8. Fastening the locking device onto the side of the locker.
Depending on the locking device to be used, check the
measurements shown in designs 1.2 and 1.3. Checking the
correct position of the locking device:
a. Once the locking device has been tightened, check
that the lock can be opened and closed correctly with a
user card. Once the locker door is closed, check that the
mechanical lock error alarm is not triggered.
1.3 PROCEDURE FOR
ASSEMBLY
1.4 PROCEDURE TO
UNMOUNT THE LOCK
To unmount the lock from the
locker door see NEXO NLX1
system manual.
INTELLIGENT LOCKING SYSTEMS
®
CONTACT
sales@ojmar.com
+34.943.748.484
OJMAR HQ
Polígono Industrial de Lerun
20870 Elgoibar - SPAIN
OJMAR USA
17155 Von Karman Ave, S111
Irvine CA. 92614 - USA
www.ojmar.com

Other manuals for Nexo NLX1

2

Other Ojmar Lock manuals

Ojmar OCS PRO User manual

Ojmar

Ojmar OCS PRO User manual

Ojmar LOCKR 75 Operating instructions

Ojmar

Ojmar LOCKR 75 Operating instructions

Ojmar OTS ADVANCE E-30 User manual

Ojmar

Ojmar OTS ADVANCE E-30 User manual

Ojmar OCS SMART User manual

Ojmar

Ojmar OCS SMART User manual

Ojmar Nexo NLX1 Guide

Ojmar

Ojmar Nexo NLX1 Guide

Ojmar OCS SMART User manual

Ojmar

Ojmar OCS SMART User manual

Ojmar OTS BASIC User manual

Ojmar

Ojmar OTS BASIC User manual

Ojmar LOCKR COMBI User manual

Ojmar

Ojmar LOCKR COMBI User manual

Ojmar OTS ADVANCE User manual

Ojmar

Ojmar OTS ADVANCE User manual

Ojmar Nexo NLX1 User manual

Ojmar

Ojmar Nexo NLX1 User manual

Ojmar OCS SMART User manual

Ojmar

Ojmar OCS SMART User manual

Ojmar LOCKR COMBI 8001 Guide

Ojmar

Ojmar LOCKR COMBI 8001 Guide

Ojmar OTS ADVANCE User manual

Ojmar

Ojmar OTS ADVANCE User manual

Ojmar OTS PULSE User manual

Ojmar

Ojmar OTS PULSE User manual

Ojmar OCS User manual

Ojmar

Ojmar OCS User manual

Ojmar LOCKR COMBI 8001 User manual

Ojmar

Ojmar LOCKR COMBI 8001 User manual

Ojmar INFOTERMINAL User manual

Ojmar

Ojmar INFOTERMINAL User manual

Ojmar NEXO NL1 Guide

Ojmar

Ojmar NEXO NL1 Guide

Ojmar OCS SMART User manual

Ojmar

Ojmar OCS SMART User manual

Ojmar OTS ADVANCE User manual

Ojmar

Ojmar OTS ADVANCE User manual

Popular Lock manuals by other brands

XLOCK MifareFlex 40 instruction manual

XLOCK

XLOCK MifareFlex 40 instruction manual

Taymor Centinel 3 installation instructions

Taymor

Taymor Centinel 3 installation instructions

Reer 51010 instruction manual

Reer

Reer 51010 instruction manual

Schlage AD-402 user guide

Schlage

Schlage AD-402 user guide

FA Parkes 60117 instruction manual

FA Parkes

FA Parkes 60117 instruction manual

Siegenia KFV BS 230 Series Assembly instructions

Siegenia

Siegenia KFV BS 230 Series Assembly instructions

Tecnosicurezza TechMaster User instructions

Tecnosicurezza

Tecnosicurezza TechMaster User instructions

Schlage AD-200 installation instructions

Schlage

Schlage AD-200 installation instructions

Lockwood ES150 Series installation instructions

Lockwood

Lockwood ES150 Series installation instructions

TTI KR-120M user guide

TTI

TTI KR-120M user guide

SISO 14.60.290-0 user manual

SISO

SISO 14.60.290-0 user manual

Alarm Lock Trilogy PDL3500 datasheet

Alarm Lock

Alarm Lock Trilogy PDL3500 datasheet

Turbolock TurboSafe user manual

Turbolock

Turbolock TurboSafe user manual

National Cabinet Lock C8704 Dimensional drawing

National Cabinet Lock

National Cabinet Lock C8704 Dimensional drawing

Paxton PaxLock Pro APN-1173-AE Installation and commissioning guide

Paxton

Paxton PaxLock Pro APN-1173-AE Installation and commissioning guide

TEEHO TE009 installation guide

TEEHO

TEEHO TE009 installation guide

I.H.T DDL - 909 user manual

I.H.T

I.H.T DDL - 909 user manual

Clavis SECU S1000 Mounting instructions

Clavis

Clavis SECU S1000 Mounting instructions

manuals.online logo
manuals.online logoBrands
  • About & Mission
  • Contact us
  • Privacy Policy
  • Terms and Conditions

Copyright 2025 Manuals.Online. All Rights Reserved.