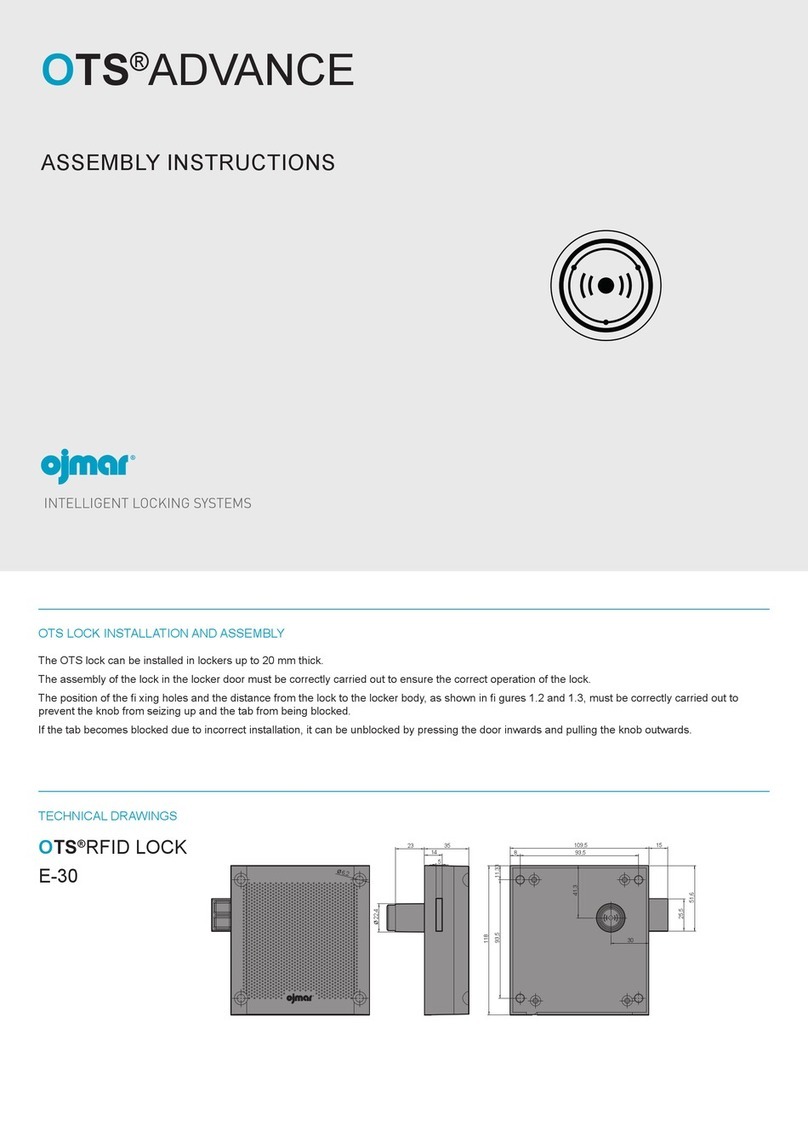
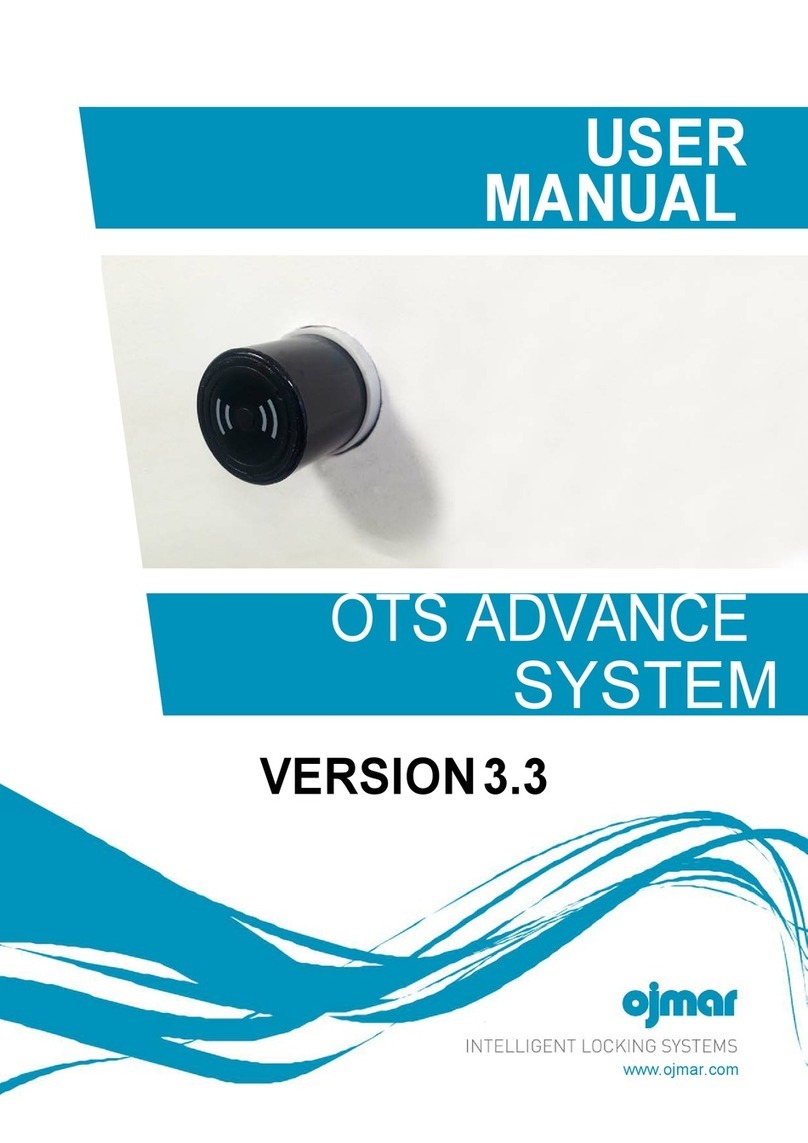
Ojmar OTS ADVANCE User manual

OTS®ADVANCE
QUICK GUIDE
V. 3.1
ENG


OTS®ADVANCE
QUICK GUIDE
V. 3.1

This document is for information only
and is not contractually binding. The
information may have undergone changes
that have not yet been incorporated in
the present document and we therefore
suggest that if in doubt you please contact
Ojmar to obtain updated information.
© Ojmar, S.A.

OTS ADVANCE _ QUICK GUIDE _ VERSION 3.1

6
OTS ADVANCE _ QUICK GUIDE _ VERSION 3.1
1 _ OTS LOCKS
CONTENTS
1. OTS LOCKS.......................................................................... 6
1.1. TYPES OF KEY ...................................................................................................................6
1.1.1. Dedicated Key.............................................................................................................................6
1.1.2. Free Key......................................................................................................................................6
1.1.3. Multifunction Key.......................................................................................................................6
1.1.4. Master Key..................................................................................................................................6
1.1.5. Service Key.................................................................................................................................6
1.1.6. Reset Key....................................................................................................................................6
1.1.7. Test Key......................................................................................................................................7
1.2. DESCRIPTION OF FLASHING LEDS....................................................................................7
2. PORTABLE PROGRAMMER ................................................. 8
2.1. OJMAR NFC MODEL PROGRAMMER..................................................................................8
2.1.1. Main Screen................................................................................................................................9
2.1.2. Operations with Keys................................................................................................................10
3. OTS MANAGEMENT SOFTWARE........................................ 12
3.1. ACCESSING THE APPLICATION, CONFIGURATION, START-UP AND GENERAL OPTIONS.12
3.2. PROGRAMMER TYPE .......................................................................................................14
3.3. ESTABLISH COMMUNICATIONS WITH THE PROGRAMMER .............................................15
3.4. RECORD USER KEYS .......................................................................................................16
3.4.1. Write Free Key..........................................................................................................................16
3.4.2. Write Dedicated Key.................................................................................................................17
3.5. INITIALISATION...............................................................................................................18
3.5.1. Set up with keys........................................................................................................................18
3.5.2. Initialisation with NFC Programmer.........................................................................................20
3.6. EVENTS ...........................................................................................................................22
4. MAINTENANCE AND FAQs .................................................... 25
4.1. MAINTENANCE ...............................................................................................................25
4.1.1. Perform a test on the lock..........................................................................................................26
4.2. FAQs .......................................................................................................................................27
OJMAR 5
1. OTS LOCKS
1.1. TYPES OF KEY
There is a total of 15 types of different keys. 7 of them are mostly used.
1.1.1. Dedicated Key
This can only be used in a Dedicated Lock that has been programmed with the same
number as the key.
1.1.2. Free Key
This can be used in any free lock that is not in use.
It can be configured to use up to 3 locks of the same type.
•EXAMPLE: A member with one key programmed for 3 locks can use up to 3 lockers atthe
same time.
1.1.3. Multifunction Key
A dedicated lock and up to three free locks not in use can be used.
1.1.4. Master Key
This is used to open any type of lock in the same system. You can only open the lock. Lock
will not be occupied once the master key opens it.
•EXAMPLE: If lock no. 1 is closed by a user card and we use the master key on lock no. 1,
the locker will open keeping the lock released. The user that is using locker no. 1 shall not
be able to operate on another lock. They must contact the maintenance staff so that they
can format their user key. Any other user may use locker no.1.
•NOTE: This user, in particular, with their key may only operate on this lock number 1.
1.1.5. Service Key
They are used to open and close any type of lock in the same system without modifying the
status of the lock. Lock will stay occupied if it was before.
•EXAMPLE: If we use the service lock to open a lock closed by a user, the lock shall remain
open but internally it will continue being used by the user key that closed it originally. In
this way, only the user key that closed it originally and the service key can close this lock.
IT IS UNADVISABLE TO USE THE SERVICE KEY TO LEAVE THE LOCKS OPEN.
•EXAMPLE: If we use the service key to open and close a lock closed by a user key, the
lock shall remain in that state, with it only being able to be opened by the same user key
that closed it originally.
1.1.6. Reset Key
This key deletes all the configuration from the lock and resets it to its factory
configuration. Therefore, a set-up key must be used to restart it.
1.1.7. Test Key
This key allows a lock to be opened and closed when it is factory configured.

8
OTS ADVANCE _ QUICK GUIDE _ VERSION 3.1
2 _ PORTABLE PROGRAMMER
1.2. DESCRIPTION OF FLASHING LEDS
The OTS lock includes a LED on the knob. This LED lights up whenever an action is
performed on it.
The colour codes are indicated in the following table:
GREEN
LED
RED
LED
YELLOW
LED
DURATION
DURATION
(TIME)
DESCRIPTION
1
Long
1 sec
Communications
Flash
fault.
3
3
Very Short
100 ms
Mechanical error.
Flashes
Flashes
(First)
3
Regular
400 ms
Low battery
Flashes
detection. Replace
batteries.
3
Very Long
2 sec
Battery used up.
Flashes
Replace batteries.
Lock cannot be
used until battery
replacement.
2
5
Regular
400 ms
Correct
Flashes
Flashes
initialisation with
(First)
keys.
2
1
Regular
400 ms
Key deleted OK.
Flashes
Flash
(First and
long)
1
Very Long
2 sec
Date and time
Flash
recorded correctly
on lock.
1
Very Long
2 sec
Winter/summer
Flash
time changes
recorded correctly
on lock.

OJMAR 7
1 _ OTS LOCKS
4
2. PORTABLE PROGRAMMER
2.1. OJMAR NFC MODEL PROGRAMMER
1Touch screen.
2Key reading area: The keys must be placed in this area so that they can be read/
recorded by the programmer.
Screen On/Off.
On: Press the button quickly (a beep will be heard).
Off: Keep the button pressed down for 4 seconds.
PC Connection: USB socket used to connect the programmer to the Computer to
download data collected by it.
•NOTE: A USB cable is supplied with the programmer.
5Jack Connection.
6NFC reader: Allows for the programmer to connect to the lock. To do so: Bring the
programmer reader towards the knob of the lock and press it inwards.
1
2
5
4
3
6
3
FRONT VIEW
RIGHT-HAND SIDE VIEW
FRONT VIEW

10
OTS ADVANCE _ QUICK GUIDE _ VERSION 3.1
2 _ PORTABLE PROGRAMMER
2.1.1. Main Screen
The main screen of the Ojmar NFC programmer displays the following information:
1Operations with keys: See Section 2.1.2.
2Operations with locks: See Section 4.1.1.
3Configuration.
4Date and time: Displays the date and time of the programmer. This information will be
used when recording the locks and keys.
•
NOTE: The date and time is configured automatically when establishingcommunication
between the programmer and OTS management software (see Section 3.3).
Battery level: Displays the programmer battery level.
1
2
3
4
5
4
5

OJMAR 9
2 _ PORTABLE PROGRAMMER
2.1.2. Operations with Keys
1 Read Key: Reads the information associated to the key. To do so:
1Click on “Operations with keys”.
2Click on “Read key”.
3Attach key. By placing the key over the key reading area of the programmer, the
information associated to it is displayed.
•EXAMPLE: In this case, a service key has been read and the reading is correct.
1
2
3

12
OTS ADVANCE _ QUICK GUIDE _ VERSION 3.1
3 _ OTS MANAGEMENT SOFTWARE
2
Write Key: Records the configuration recorded in the programmer on the key. A “Free”
type key is recorded by default for 1 lock and within Subgroup 0. To do so:
1Click on “Operations with keys”.
2Click on “Write key”.
3Attach key. By placing the key over the key reading zone of the programmer, the key will
be read.
•
EXAMPLE: In this case, a “Free” key has been read and the reading is correct.
1
2
3

OJMAR 11
2 _ PORTABLE PROGRAMMER
3. OTS MANAGEMENT SOFTWARE
3.1. ACCESSING THE APPLICATION, CONFIGURATION, START-UP
AND GENERAL OPTIONS
A user name and password are requested on accessing the application.
The “Licence” folder of the installation CD contains a file called “default user” that includes
the operator name and password.


OJMAR 13
3 _ OTS MANAGEMENT SOFTWARE
Once inside the application, the following main screen is displayed:
•
NOTE: The main screen displays the locks screen bydefault.
17
18
1 2 3 4 5 6 7 8 9 10 11 12 13
14
15 16
3

14
OTS ADVANCE _ QUICK GUIDE _ VERSION 3.1
3 _ OTS MANAGEMENT SOFTWARE
2
3.2. PROGRAMMER TYPE
One programmer and one communications port can be predetermined so that
communications do not have to be established with the programmer whenever the keys are
to be used.
Access this screen via the “Communications / Programmer Type” menu or by clicking on
the following button on the main screen:
The main programmer type screen displays the following information:
Programmer type: Select between Ojmar NFC or CNReader model.
COM port number: Select the communications port where the programmer is
connected.
•NOTE: See Section 3.3 for information on the communications port (COM) that is
connected to the programmer.
1
2
1

OJMAR 15
3 _ OTS MANAGEMENT SOFTWARE
3.3. ESTABLISH COMMUNICATIONS WITH THEPROGRAMMER
Communications must be established with the programmer before you can use the keys.
To do so:
1Select programmer type: Select between the Ojmar NFC or CNReader programmer
2COM port number: Click on the following icon for the communications port (COM)
to be automatically detected and press save button.
•
NOTE: The port resulting from the automatic search (COM1, COM2, etc.) may be usedto
configure the “Programmer Type” (see Section3.2).
2
1

16
OTS ADVANCE _ QUICK GUIDE _ VERSION 3.1
3 _ OTS MANAGEMENT SOFTWARE
3.4. RECORD USER KEYS
3.4.1. Write Free Key
•NOTE: In order to write a free key, at least a subgroup and a lock must be created in
the SW.
To write free user keys, access this screen through the “Keys/User keys” menu or by
pressing the following icon on the main screen:
FOLLOW THE STEPS BELOW:
1. Select in Card Type the “free” box.
2. Select no. of locks to open with the same key in the “No. of locks” box (with a free key 1
to 3 locks can be opened).
3. Select the subgroup to which the key belongs (more than one subgroup can be selected).
4. Press write card.
•NOTE: The rest of the fields are optional.

OJMAR 17
3 _ OTS MANAGEMENT SOFTWARE
3.4.2. Write Dedicated Key
To write dedicated user keys, access this screen through the “Keys/User keys” menu or by
pressing the following icon on the main screen:
FOLLOW THE STEPS BELOW:
1. Select in Card Type the “Dedicated” box.
2. Select the merged lock by clicking on the drop-down menu. A list of locks that can be
merged is displayed.
3. Repeat dedicated lock (optional): Allows for a duplicate dedicated key to be created. In this
case, a list will be displayed with the lock numbers and an *above the lock number with a
dedicated key already created.
4. Press write card.
•
NOTE: The rest of the fields are optional.

18
OTS ADVANCE _ QUICK GUIDE _ VERSION 3.1
3 _ OTS MANAGEMENT SOFTWARE
3.5. INITIALISATION
The initialisation operation can be carried out either with cards or with NFC programmer.
3.5.1. Set up with keys
Set-up keys allow for a lock to be configured, leaving it operational (if the lock was
previously factory configured) or changing their properties.
SET-UP KEYS CAN:
•
Configure one or several “Free” type locks.
•
Configure one or several “Dedicated” type locks.
•
Assign an automatic opening time to the lock.
•
Change the time zone of the lock.
•
Set the time on the lock.
Access this screen via the “Keys / Set-up keys” menu or by clicking on the following button
on the main screen:
TO EXECUTE A CORRECT INITIALISATION OF THE LOCKS IT IS NECESSARY TO TAKE THE
FOLLOWING STEPS:
1. Assign the time to the lock: This is carried out with the time set key.
2. Assign the time change to the lock: This is carried out with the time change key and it
assigns the winter-summer time change to the lock for 5 years.
3. Assign the lock type and the numbering of it: This is carried out with the initialisation
key and it configures the locks in dedicated or free mode by assigning it the relevant
numbering.
To read the initialisation keys communication with the programmer has to be established
(see Section 3.3).
WRITE A TIME SET KEY:
1. Place a blank card on top of the programmer.
2. Click on set time.
3. Press write card.
Other manuals for OTS ADVANCE
2
Table of contents
Other Ojmar Lock manuals

Ojmar
Ojmar OCS SMART User manual

Ojmar
Ojmar Nexo NLX1 Guide

Ojmar
Ojmar OCS PRO User manual

Ojmar
Ojmar OTS PULSE User manual

Ojmar
Ojmar OCS User manual

Ojmar
Ojmar LOCKR 75 Operating instructions

Ojmar
Ojmar NEXO NL1 Guide

Ojmar
Ojmar LOCKR COMBI 8001 User manual

Ojmar
Ojmar OTS ADVANCE User manual

Ojmar
Ojmar Nexo NLX1 User manual

Ojmar
Ojmar LOCKR COMBI User manual

Ojmar
Ojmar LOCKR COMBI 8001 Guide

Ojmar
Ojmar OCS SMART User manual

Ojmar
Ojmar OCS SMART User manual

Ojmar
Ojmar OCS SMART User manual

Ojmar
Ojmar OTS ADVANCE User manual

Ojmar
Ojmar OTS ADVANCE E-30 User manual

Ojmar
Ojmar INFOTERMINAL User manual

Ojmar
Ojmar Nexo NLX1 User manual

Ojmar
Ojmar OTS BASIC User manual