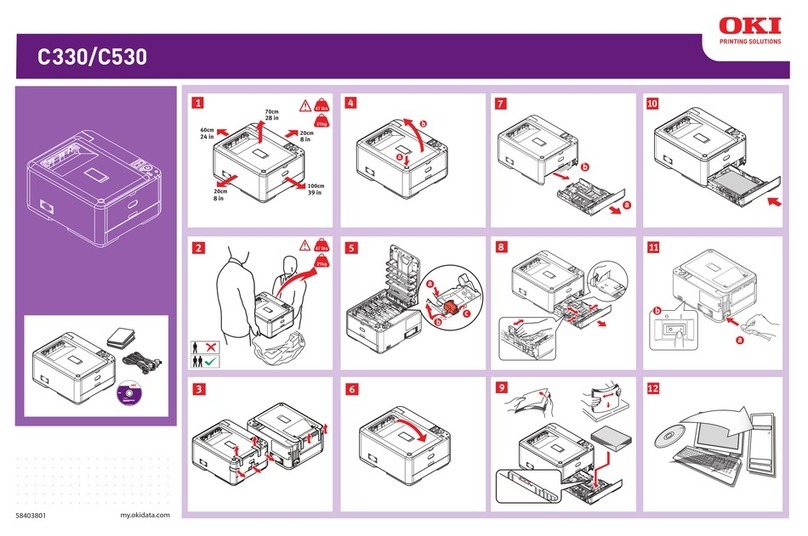
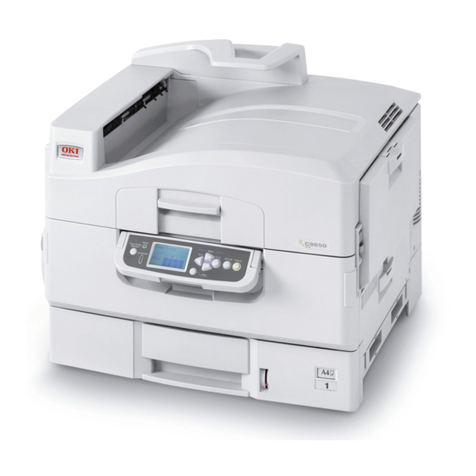
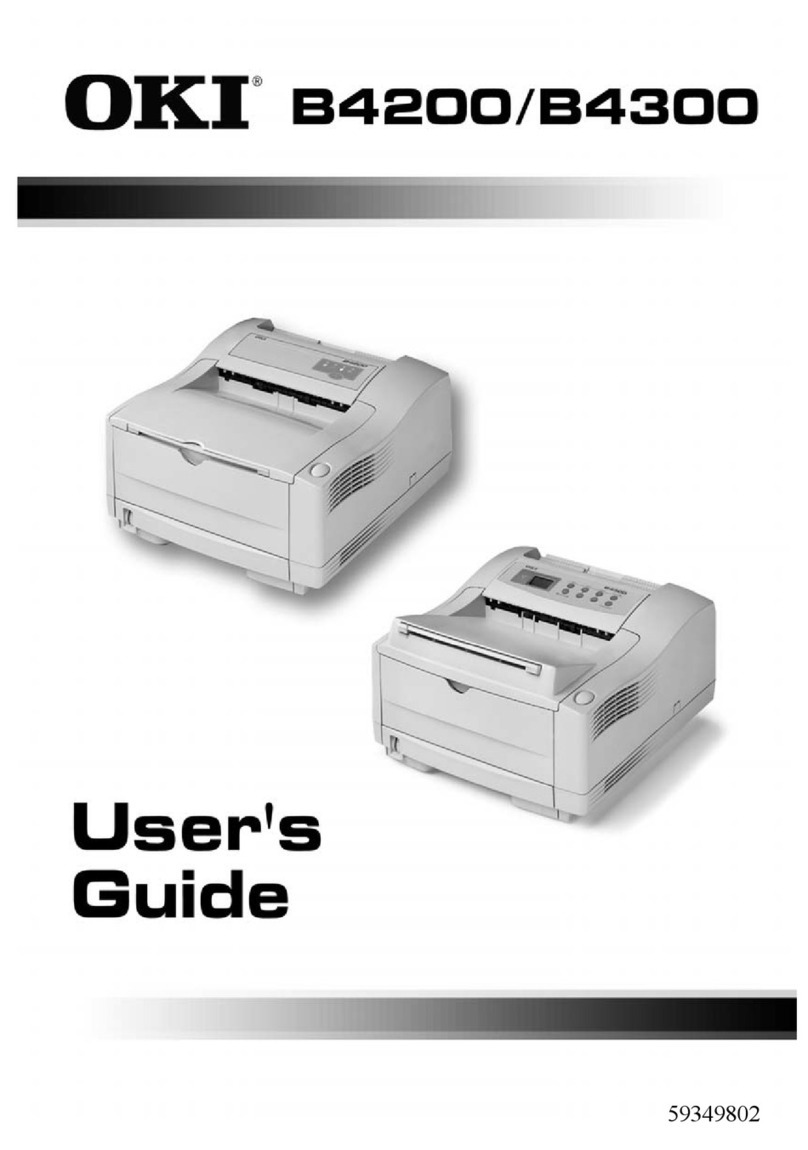
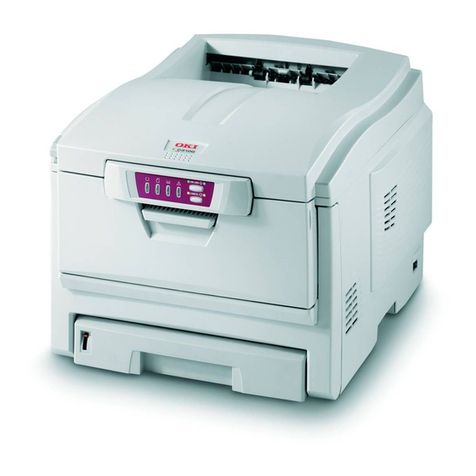
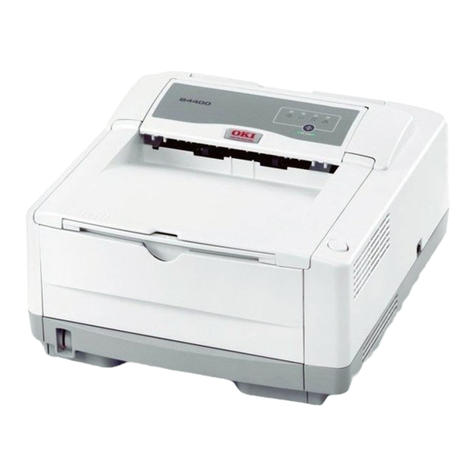
Oki C650/ES6450 Assembly instructions

C650/ES6450
Basic Operation Guide

Table of Contents
- 2 -
Table of Contents
1. Getting started.................................... 4
Safety precautions............................................. 5
General cautions ............................................... 6
Preface .............................................................. 8
Trademarks ....................................................... 9
About this manual............................................ 10
About the description......................................... 10
Features of this machine................................. 12
2. Connecting to the PC after preparing
this machine ..................................... 13
Installation ....................................................... 14
Installation environment..................................... 14
Installation space............................................... 14
Unpacking ....................................................... 16
Checking accessories ..................................... 18
Installing the starter toner cartridge................. 19
Installing options.............................................. 20
Installing the wireless LAN module.................... 20
Installing the expansion tray unit ....................... 22
Installing the dedicated caster stand ................. 25
Connecting the power cord ............................. 31
About the power supply..................................... 31
Loading paper in the tray ................................ 32
Connecting via a wired LAN............................ 34
Connecting the LAN cable................................. 34
Setting the IP address, etc. ............................... 34
Connecting via a wireless LAN ....................... 39
Connection form ................................................ 39
Connecting via an access point (Infrastructure) 40
Connecting directly with this machine (AP mode)
.......................................................................... 51
Connecting via USB ........................................ 56
Installing software on a PC ............................. 57
For Windows ..................................................... 57
For macOS ........................................................ 61
Setting the printer driver .................................... 62
3. Basic operations............................... 65
Parts identification ........................................... 66
Front.................................................................. 66
Inside the main unit ........................................... 67
Back .................................................................. 68
Turning the power on/off ................................. 69
Turning the power on ........................................ 69
Turning the power off ........................................ 69
Loading paper ..................................................70
Procedure for loading paper .............................. 70
Applicable paper................................................ 70
Inapplicable paper ............................................. 72
Paper precautions by type................................. 72
Paper applicable to each tray ............................ 74
Loading paper in Tray 1..................................... 74
Loading paper in Tray 2/3/4 (Optional).............. 76
Loading paper in the MP tray ............................ 78
Setting paper information on the operator panel 79
Storing paper..................................................... 81
Setting the output bin .......................................82
Output tray......................................................... 82
Rear output tray................................................. 83
Checking the configuration ..............................84
Printing the menu map (configuration)............... 84
Confirming on the operator panel...................... 85
How to use levers L1 and L2 ...........................86
4. Changing settings from the operator
panel.................................................88
Parts identification of the operator panel .........89
Adjusting the display orientation ......................90
Inputting text.....................................................91
Changing settings ............................................92
Setting menu display ......................................... 92
Setting with the short menu (Fn key)................. 92
Adjusting the buzzer volume............................95
Setting the power save function.......................96
Setting the time that elapses before entering the
power save mode .............................................. 96
Setting the time that elapses before entering the
sleep mode........................................................ 96
Restrictions of the power save function............. 97
Turning off the power automatically (Auto Power
Off) .................................................................... 97
Setting the time that elapses before entering the
auto power off mode.......................................... 99
5. Printing ...........................................100
Printing from a PC..........................................101
For Windows PCL printer driver ...................... 101
For Windows PS printer driver......................... 102
For macOS ...................................................... 102
Screens and functions of the printer driver ....103
Windows PCL printer driver............................. 103
Windows PS printer driver............................... 105
macOS printer driver ....................................... 107
How to open the printer folder ......................... 112

Table of Contents
- 3 -
6. Management of this machine ......... 113
Admin password............................................ 114
Checking the factory default admin passwords114
Inputting the factory default admin passwords 116
Changing the admin password ........................ 117
7. Maintenance................................... 119
Precautions for replacing consumables ........ 120
Service life and replacement cycle of
consumables ................................................. 121
Toner cartridge ................................................ 121
Image drum ..................................................... 121
Replacing the black(K) toner cartridge and the
waste toner box ............................................. 123
Replacing the toner cartridge (C/M/Y)........... 126
Replacing the image drum ............................ 128
Service life and replacement cycle of
maintenance parts......................................... 131
Belt unit ........................................................... 131
Fuser unit ........................................................ 132
Replacing the belt unit................................... 133
Replacing the fuser unit ................................ 135
Cleaning the main unit and the parts ............ 137
Cleaning the LED head ................................... 137
Cleaning the surface of the main unit.............. 138
Cleaning paper feed rollers (Trays 1-4)........... 139
Cleaning the paper feed roller (MP tray).......... 140
Cleaning the light-shielding film....................... 144
Cleaning the resist roller.................................. 145
8. Troubleshooting.............................. 146
When an error message appears on the display
....................................................................... 147
When paper is jammed ................................. 148
For the error code 370 or 371.......................... 148
For the error code 372..................................... 151
For the error code 380..................................... 153
For the error code 381..................................... 154
For the error code 382 or 385.......................... 155
For the error code 390..................................... 159
For the error code 391, 392, 393 or 394.......... 159
For the error code 638..................................... 161
9. Appendix ........................................ 166
Specifications ................................................ 167
Regulatory wireless LAN statements............... 169
Dimensions.................................................... 171
Menu tree ...................................................... 173

Getting started
- 4 -
Getting started
Safety precautions...................................................................................... 5
General cautions ........................................................................................ 6
Preface ....................................................................................................... 8
Trademarks ................................................................................................ 9
About this manual..................................................................................... 10
Features of this machine .......................................................................... 12

Getting started
- 5 -
Safety precautions
Read this manual for your safety before using the product.
Mishandling due to ignoring this display may cause death or serious injury.
Mishandling due to ignoring this display may cause personal injury.

Getting started
- 6 -
General cautions
Do not touch the safety switch inside the machine. Doing so may cause electric shock when high voltage occurs.
In addition, gears can rotate, which may result in personal injury.
Do not use an inflammable spray near the machine. Doing so may cause a fire since there is an area heating up
within the machine.
Unplug the power cord from the outlet and contact your dealer if the cover becomes abnormally hot, emits
smoke, smells strange, or makes an abnormal noise.
Failure to do so may cause fire.
Unplug the power cord from the outlet and contact your dealer if water or other liquid gets into the machine.
Failure to do so may cause fire.
If paper clips or other foreign objects enter the machine, disconnect the power plug from the outlet and remove
foreign objects if any.
Failure to do so may cause electric shock, fire or injury.
Do not disassemble the machine or perform operations other than those specified in the User's Manual.
Doing so may cause electric shock, fire or injury.
Unplug the power cord from the outlet and contact your dealer if the machine is dropped or the cover is
damaged.
Failure to do so may cause electric shock, fire or injury.
Periodically disconnect the power plug from the outlet and clean the base of the prongs and between the prongs.
Leaving the power plug inside the outlet for a long period of time may cause a fire due to short circuit caused by
collection of dust at the base of the prongs.
Do not clean up spilled toner using an electric vacuum cleaner. When spilled toner is cleaned up using an electric
vacuum cleaner, a fire may be caused due to sparks from electrical contacts.
If toner is spilled on the floor, wipe the toner up carefully using a damp cloth to prevent toner scattering.
Do not insert objects into the air vents.
Doing so may cause electric shock, fire or injury.
Do not place any containers like cups containing water on the machine. Doing so may cause electric shock or
fire.
Make sure that no urine from pets on top of the printer wet or enter this machine. Failure to do so may cause
electric shock or fire.
Take care when touching the fuser unit. Failure to do so may cause burns.
Do not throw the image drum, toner cartridge or waste toner box into fire.
Doing so may cause burns due to dust
explosion.
Do not connect the power cord, cables and ground wire other than those specified in the User's Manual.
Doing so may cause a fire.
Operations using an uninterruptible power supply (UPS) or an inverter are not guaranteed. Do not use an
uninterruptible power supply or inverter.
Doing so may cause a fire.

Getting started
- 7 -
Do not approach the paper discharger when the power is on or during printing. Doing so may cause injury.
Do not touch a broken display. Doing so may cause injury. If any liquid (liquid crystal) leaking from the display
gets into the eyes or mouth, wash it off promptly with a large quantity of water. Consult a physician as necessary.
Do not disassemble or forcibly open the image drum, toner cartridge or waste toner box. Doing so may scatter
the toner, which may be inhaled by people or may stain clothes or hands.
NOTE!
This product is not intended for use in the immediate visual field on the display work place. To avoid disturbing
reflections on the display work place, this product shall not be placed in the immediate field of vision.

Getting started
- 8 -
Preface
• EMERGENCY FIRST AID
Take care with toner powder:
If swallowed, give small amounts of cold water and seek medical attention. DO NOT attempt to induce
vomiting.
If inhaled, move the person to an open area for fresh air. Seek medical attention.
If it gets into the eyes, flush with large amounts of water for at least 15 minutes keeping eyelids open. Seek
medical attention.
Spillages should be treated with cold water and soap to help reduce risk of staining skin or clothing.
• ENVIRONMENTAL INFORMATION

Getting started
-9 -
Trademarks
OKI is a registered trademark of Oki Electric Industry Co., Ltd.
ENERGY STAR®is a trademark of the United States Environmental Protection Agency.
Microsoft, Windows, Windows Server and Internet Explorer are registered trademarks or trademarks of
Microsoft Corporation in the United States and other countries.
Apple, Mac, macOS, iPad, iPhone, iPod, iPod Touch and Safari are registered trademarks of Apple Inc. in the
United States and other countries.
AirPrint and the AirPrint logo are trademarks of Apple Inc.
Google, Google Chrome, Android and Gmail are trademarks or registered trademarks of Google LLC.
iOS is a trademark of Cisco.
Adobe, Illustrator, Photoshop, PostScript and Reader are registered trademarks or trademarks of Adobe
Systems Incorporated in the United States and other countries.
Wi-Fi is a registered trademark of Wi-Fi Alliance.
Other product names and brand names are registered trademarks or trademarks of their proprietors.
As an ENERGY STAR®Program Participant, the manufacturer has determined that this product meets the
ENERGY STAR®guidelines for energy efficiency.
Target countries of the ENERGY STAR®program are the United States, Canada and Japan.
It is not applicable to other countries.
This product complies with the requirements of the Council Directives 2014/30/EU (EMC),
2014/35/EU(LVD), 2014/53/EU (RED), 2009/125/EC (ErP) and 2011/65/EU(RoHS), as amended where
applicable, on the approximation of the laws of the member states relating to Electromagnetic Compatibility,
Low Voltage, Radio Equipment, Energy related Products and Restriction on the use of certain Hazardous
Substances in electrical and electronic equipment.
The following cables were used to evaluate this product for EMC directive 2014/30/EU compliance, and
configurations other than this may affect that compliance.
CABLE TYPE
LENGTH (METER)
CORE
SHIELD
Power 1.8
USB 5.0
LAN 10.0
The simplified EU declaration of conformity
Hereby, Oki Electric Industry Co., Ltd. declares that the radio equipment type "AW-CM382" is in compliance
with Directive 2014/53/EU.
The full text of the EU declaration of conformity is available at the following internet address:
https://www.oki.com/eu/printing/support/declaration-of-conformity

Getting started
- 10 -
About this manual
This section lists a variety of information about this manual. Please read this manual before using the machine.
The China-oriented machine does not support the NFC function, optional wireless LAN module or AirPrint.
Manual structure
Basic Operation Guide (PDF)...included on the DVD enclosed with this machine.
User's Manual (PDF)...available on the website.
Online Manual...available on the website.
About this manual
The reproduction of this manual, in whole or in part, without permission is strictly prohibited.
The content of this manual may be changed without a prior notice in the future.
Efforts have been exerted to make the content of this manual as complete as possible. However, should
you notice any errors, omissions or other problems, contact the retail store where you made the purchase.
Notwithstanding the foregoing, we shall not have any liability in regard to any operational effect related to
the instructions contained in this manual.
Copyrights
All rights belong to Oki Electric Industry Co., Ltd. This manual may not be reproduced, transcribed or translated
without permission. Be sure to obtain the written approval from Oki Electric Industry Co., Ltd.
© 2020 Oki Electric Industry Co., Ltd.
About the description
This section describes the marks, symbols, abbreviations and illustrations used in this manual.
This manual uses screens of the following operating systems unless otherwise specified.
For Windows: Windows 10
For macOS: macOS 10.15
Sometimes, the model name is written as [OKI Printer].
Depending on the used OS, model and version, the description in this manual may differ.
About marks
This manual uses the following marks.
Mark
Meaning
Indicates cautions and restrictions for the correct operation of this machine. Be sure to read them to
avoid misoperation.
Indicates useful tips and references on how to use this machine. We recommend you read them.
Indicates reference items. Please read them to learn the detailed information.
Indicates the related items. Please read them to learn the relevant information.

Getting started
- 11 -
About symbols
This section describes the symbols used in this manual and their meanings.
Symbol Meaning
« » Indicates buttons/keys on the operator panel of this machine.
Indicates keys on the PC keyboard.
[ ] Indicates menu names, item names, options, etc. displayed on the display.
Indicates menus, windows and dialog box names displayed on the PC screen.
They can be clearly distinguished in the description and procedure illustration.
" " Indicates messages and input texts displayed on the display.
Indicates file names on the PC.
Indicates item titles of link destinations.
-
Indicates the menu path of this machine or the PC.

Getting started
- 12 -
Features of this machine
Installable in restrained space
As the machine is compact, the space between both sides of this machine and the wall can be as small as
20 mm. (When the optional caster stand is not installed)
Easy maintenance with full front access
You can replace consumables and maintenance parts, and clear a paper jam from the front side.
An increased service life of the machine and consumables
The service life of this machine and the image drum has been extended in comparison with existing
models.
Immediate start of printing thanks to short warm-up time
The warm-up time of this machine has been shortened in comparison with conventional models.
Massive printing possible with the extension tray
Up to three extension trays can be installed.
Easy troubleshooting by watching the display
The troubleshooting hint is displayed together with illustrations on the display. You can solve problems by
following the on-screen instructions.
Easy setting change by shortcut menus
Menu items can be displayed easily by pressing the «Fn» key and then inputting a number.
Setting with the short menu (Fn key)(P.92)
Easy update by using the Monitoring Tool
You can update the firmware and the software easily by using the Monitoring Tool.
Easy mobile printing and initialization with the NFC and app
You can print and initialize this machine by using the specialized application from your smartphone, tablet
or other mobile devices.
Applications for mobile devices (User's Manual)

Connecting to the PC after preparing this machine
- 13 -
Connecting to the PC after
preparing this machine
Installation ................................................................................................ 14
Unpacking ................................................................................................ 16
Checking accessories .............................................................................. 18
Installing the starter toner cartridge.......................................................... 19
Installing options....................................................................................... 20
Connecting the power cord ...................................................................... 31
Loading paper in the tray ......................................................................... 32
Connecting via a wired LAN..................................................................... 34
Connecting via a wireless LAN ................................................................ 39
Connecting via USB ................................................................................. 56
Installing software on a PC ...................................................................... 57

Connecting to the PC after preparing this machine
- 14 -
Installation
Installation environment
Install this machine in the following environment.
Ambient temperature: 10°C to 32°C
Ambient humidity: 20% to 80% RH (relative humidity)
Maximum wet-bulb temperature: 25°C
Make sure there is no condensation. Failure to do so may cause a malfunction.
To install this machine in a location where the ambient humidity is 30% RH or less, use a humidifier or static
prevention mat.
Depending on the installation environment, the operating noise of this machine may cause concern. If you are
concerned about the operating noise, we recommend that you install this machine in an isolated location or a separate
room.
Do not install this machine near any devices in which combustion takes place. Doing so may cause lighter printing.
Do not install this machine close to high-temperature locations or naked flames.
Do not install in locations where chemical reactions occur (e.g. laboratories).
Do not install this machine close to combustible solutions such as alcohol and thinners.
Do not install this machine within the reach of children or infants.
Do not install this machine in an unstable location (e.g. unsteady table or sloping surface).
Do not install this machine in a humid or dusty location, or in a location exposed to direct sunlight.
Do not install this machine in an environment with salt air, corrosive gas, NOx, or SOx.
Do not install this machine in locations with major vibration.
Do not install this machine in locations where its air vents are blocked.
Do not directly install this machine on shaggy rugs or carpets.
Do not install this machine in locations with poor air circulation or ventilation like in a sealed room.
Ensure proper ventilation when it is used for a long time in a small room.
Keep this machine away from strong magnetic fields and sources of noise.
Keep this machine away from monitors and TVs.
When moving this machine, stand at the front and back and hold the handle at the bottom of the machine.
Installation space
Install this machine on a flat desk which is larger than the bottom of the machine.
Allow sufficient space around this machine as shown in the following figures.
Plan view (When the optional caster stand is not installed)

Connecting to the PC after preparing this machine
- 15 -
Side view (When the rear output tray is used)
Depending on the installation environment, the temperature inside this machine may rise and the printing speed
may slow down.
Side view (When the rear output tray is closed and a cable with angled connector is used)
Depending on the installation environment, the temperature inside this machine may rise and the printing speed
may slow down.
Do not place curtains, paper or other flammable objects on the back of this machine.

Connecting to the PC after preparing this machine
- 16 -
Unpacking
Doing so may cause injury.
This machine weighs approx. 30 kg, so be sure to have it lifted by at least 2 personals.
Be sure to use the consumables/maintenance items supplied with this machine first. If you install the
consumables/maintenance items other than those supplied first, the lifespan may not be displayed correctly or the
accessories may not be usable later.
Because image drums (green parts) can easily get damaged, handle with adequate care.
Do not expose the image drum to direct sunlight or strong light exceeding approx. 1,500 lux. Do not leave it for more
than 5 minutes even under room lighting.
Do not expose the removed fuser unit to direct sunlight or strong light exceeding approx. 1,500 lux. Do not leave it
uncovered for more than 5 minutes even under room lighting.
The packing box and buffer material are required when shipping this machine. Do not discard them, but store them
safely.
1
Open the packing box and take out the accessories and buffer material.
2
Remove the packing case and take out this machine from the plastic bag.

Connecting to the PC after preparing this machine
- 18 -
Checking accessories
Make sure that you have all the following accessories.
Doing so may cause injury.
This machine weighs approx. 30 kg, so be sure to have it lifted by at least 2 personals.
See "Unpacking(P.16)" for the unpacking method.
Be sure to use the consumables enclosed with this machine first. If you install consumables other than the
accessories first, the service life may not be displayed correctly, or the accessories may not be usable later.
Main unit
By default, an image drum and a waste toner box are installed in the main unit.
4 starter toner cartridges (black, cyan, magenta, and yellow)
Setup Guide
DVD
Power cord
The LAN cable and USB cable are not included. Please prepare a cable separately according to the connection
environment.
Connecting via a wired LAN(P.34)
Connecting via USB(P.56)

Connecting to the PC after preparing this machine
- 19 -
Installing the starter toner cartridge
When you use this machine for the first time, install the included starter toner cartridge. If an optional toner cartridge is
installed and used first, you may not be able to use the starter cartridge later.
Do not install a starter toner cartridge that has been used in another machine. The remaining toner may not be
displayed correctly.
1
Pull the front cover open lever (blue) to open the front cover.
2
Take the black(K) starter toner cartridge out of the bag, and shake it several times vertically or
horizontally.
3
Install the black(K) starter toner cartridge in the machine.
4
Install the starter toner cartridge (C/M/Y) in the same way as the black(K) starter toner cartridge.
5
Close the front cover firmly with both hands.

Connecting to the PC after preparing this machine
- 20 -
Installing options
This section explains the installation of options. If no option is installed, proceed to "Connecting the power
cord(P.31)".
The following options are available.
Be sure to turn off the power and unplug the power cord and cables before installing any options. If an option is
installed with the power on, the main unit and the option may be damaged.
Wireless LAN module
Description
Install it when you want to use this machine via a wireless LAN.
Expansion tray unit
Description
Install it to increase the quantity of paper that can be loaded in this
machine. Up to 3 levels can be expanded.
Dedicated caster stand
Description
With it installed, the machine is easier to move. After moving, fix with
a stopper.
After mounting the optional expansion tray unit, install the software on your PC, and set the options from the printer
driver. See "Setting the printer driver(P.62)".
Installing the wireless LAN module
Install it when you want to use this machine via a wireless LAN. After installation, it is required to follow the
procedure to enable the wireless LAN module.
This section describes the procedure of installing the wireless LAN module and enabling it from the operator
panel.
Table of contents
Other Oki Printer manuals

Oki
Oki B6250dn Installation instructions

Oki
Oki C6000n User manual

Oki
Oki B710dn Operating and maintenance instructions

Oki
Oki B4500 Series User manual

Oki
Oki PT330 User manual

Oki
Oki LP441b User manual

Oki
Oki IP-6620 User manual

Oki
Oki C3300 User manual

Oki
Oki C9300 Series User manual

Oki
Oki B4200 Firmware update