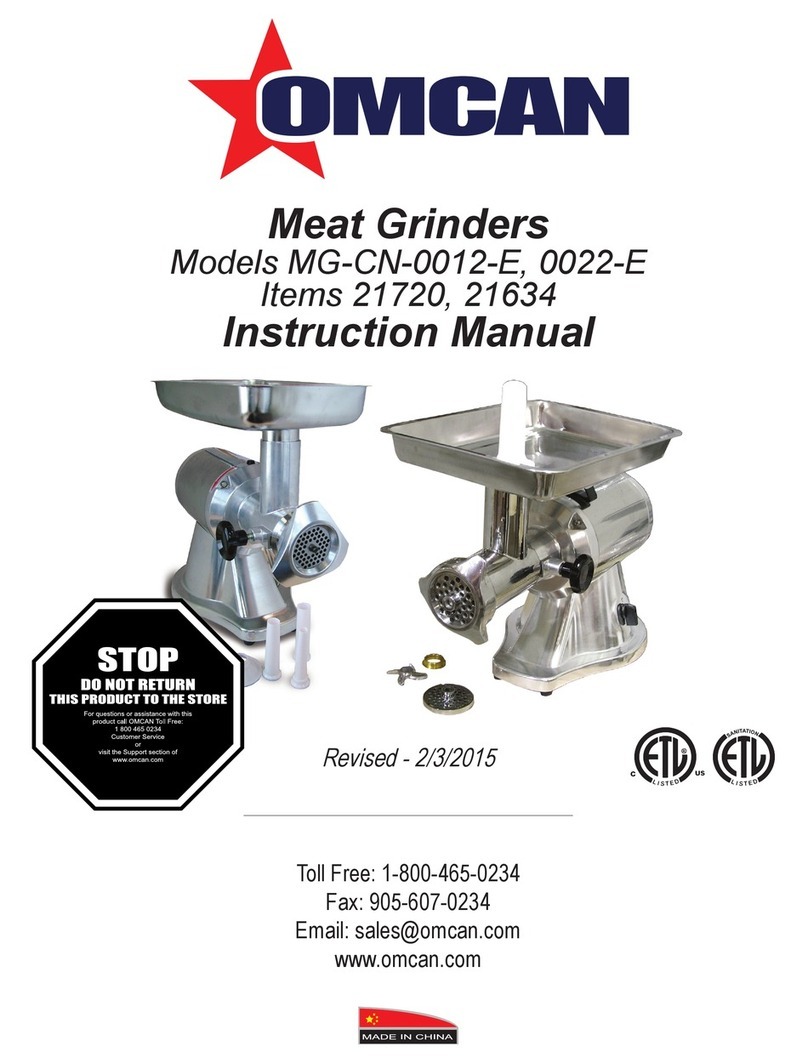
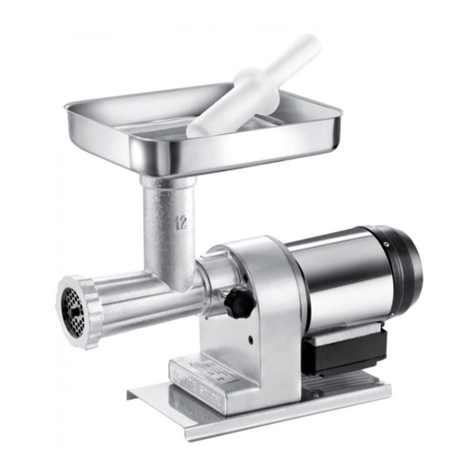
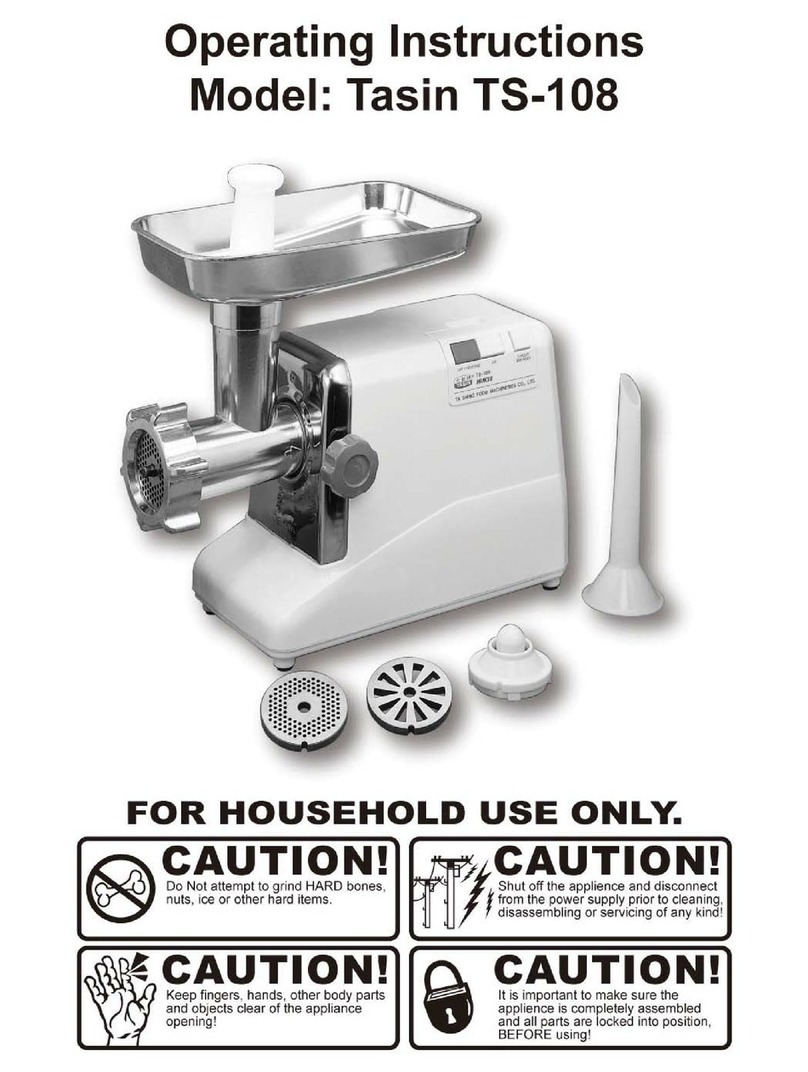
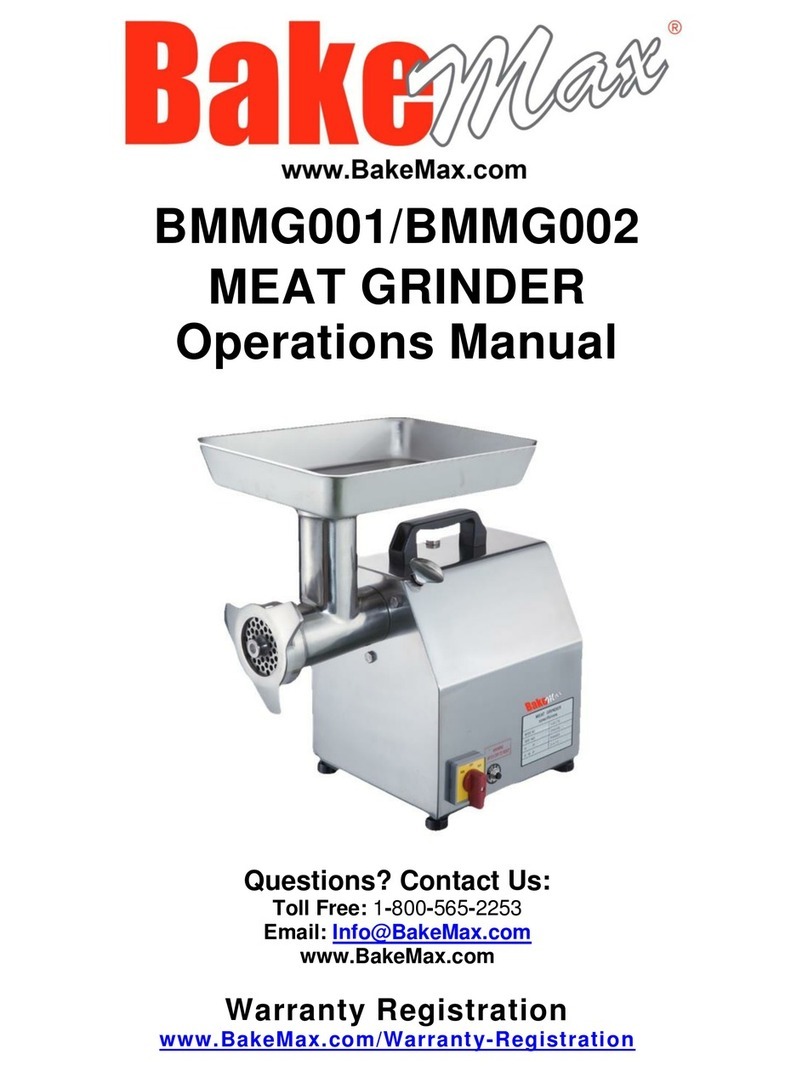
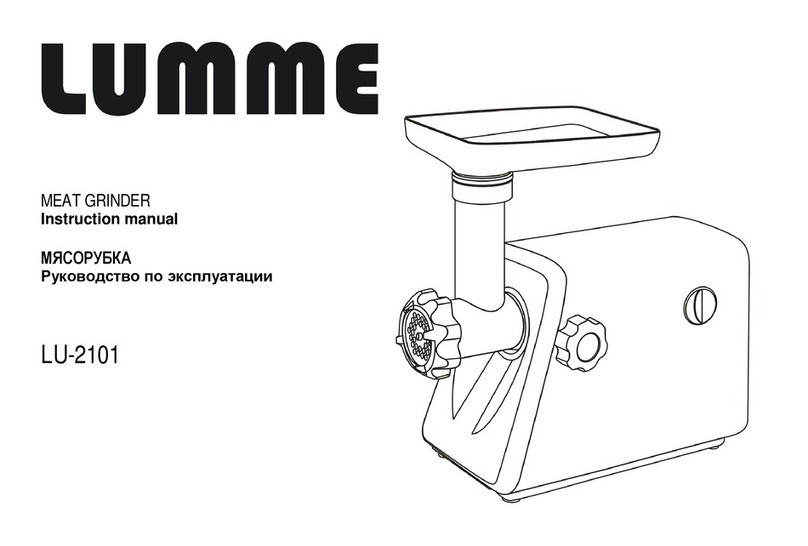
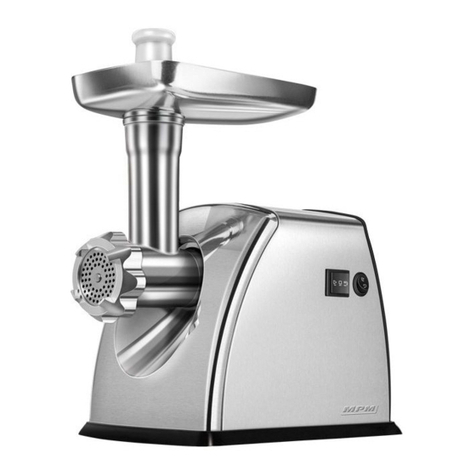
Omcan FA12 User manual

Version 1
1-800-465-0234
www.omcan.com
3115 Pepper Mill Court, Mississauga, ON, L5L 4X5
1889 Maryland Avenue, Niagara Falls, NY, 14305
Meat Grinder
Models FA12 - FA22
Instruction Manual

Page
-------------------------------------------------------------------------------- 3
-------------------------------------------------------------------------------------------------- 3
------------------------------------------------------------------------------ 4
--------------------------------------------------------------------- 5 - 6
----------------------------------------------------------------------------------------- 6
---------------------------------------------------------------------------- 7 - 10
---------------------------------------------------------------------------- 11
---------------------------------------------------------------------------- 13
Table of Contents
Section
General Information
Safety
Technical Information
Assembly and Operation
Maintenance
Parts Breakdowns
Electrical Schematics
Warranty Registration
Model FA12 / Model FA22

3
General Information
Omcan Manufacturing and Distributing Company Inc. and Food Machinery Of America, Inc. dba Omcan
are not responsible for any harm or injury caused due to any person’s improper or negligent use of
this equipment. The product shall only be operated by someone over the age of 18, of sound mind, and
not under the inuence of any drugs or alcohol, who has been trained in the correct operation of this
machine, and is wearing authorized, proper safety clothing. Any modication to the machine voids any
warranty, and may cause harm to individuals using the machine or in the vicinity of the machine while
in operation.
Safety
IMPORTANT SAFEGUARDS
When using electrical appliances, basic safety precautions should always be followed including the following:
• Read all instructions.
• To protect against risk of electrical shock do not put meat grinder in water or other liquid.
• Close supervision is necessary when any appliance is used by or near children.
• Unplug from outlet when not in use, before putting on or taking off parts, and before cleaning.
• Avoid contacting moving parts. Never feed meat by hand. Always use the pusher.
• Do not operate any appliance with a damaged cord or plug or after the appliance malfunctions, or is
dropped or damaged in any manner. Return appliance to the nearest authorized service facility for
examination, repair or electrical or mechanical adjustment.
• Theuseofattachmentsnotrecommendedorsoldbythemanufacturermaycausere,electricshockor
injury.
• Do not use outdoors.
• Do not let cord hang over edge of table or counter.
• Do not let cord contact hot surface, including the stove.
• Donotusengerstoscrapefoodawayfromdischargediscwhileapplianceisoperating.
• SAVE THESE INSTRUCTIONS.
CAUTIONS
• When carrying the unit, be sure to hold Motor Housing with both hands, not to hold only Hopper Plate. Be
careful to carry the unit because it is very heavy.
• Do not grind hard foods such as bones, nuts, or vegetables.
• Donotgrindgingerandothermaterialswithhardber.
• To avoid jamming, do not force to operate the unit with excessive pressure.
• If the unit jams, switch off immediately and clean the unit. (See “Jamming” on page 6)
• Always connect your device to a grounded outlet.
• Do not unplug the appliance by pulling on cord. To unplug, grasp the plug not the cord.
• The appliance should be used strictly in accordance with these instructions as no liability can be accepted
for any damage caused by non-compliance with these instructions, or any other improper or handling.


4
Technical Information
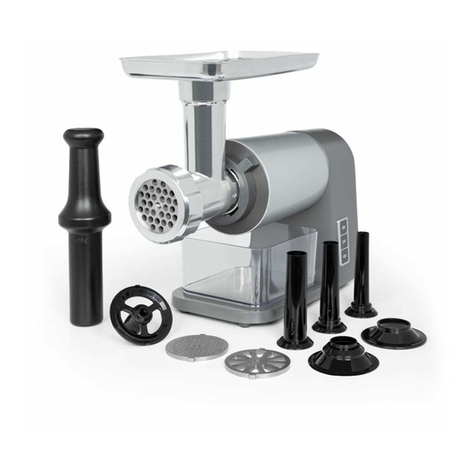
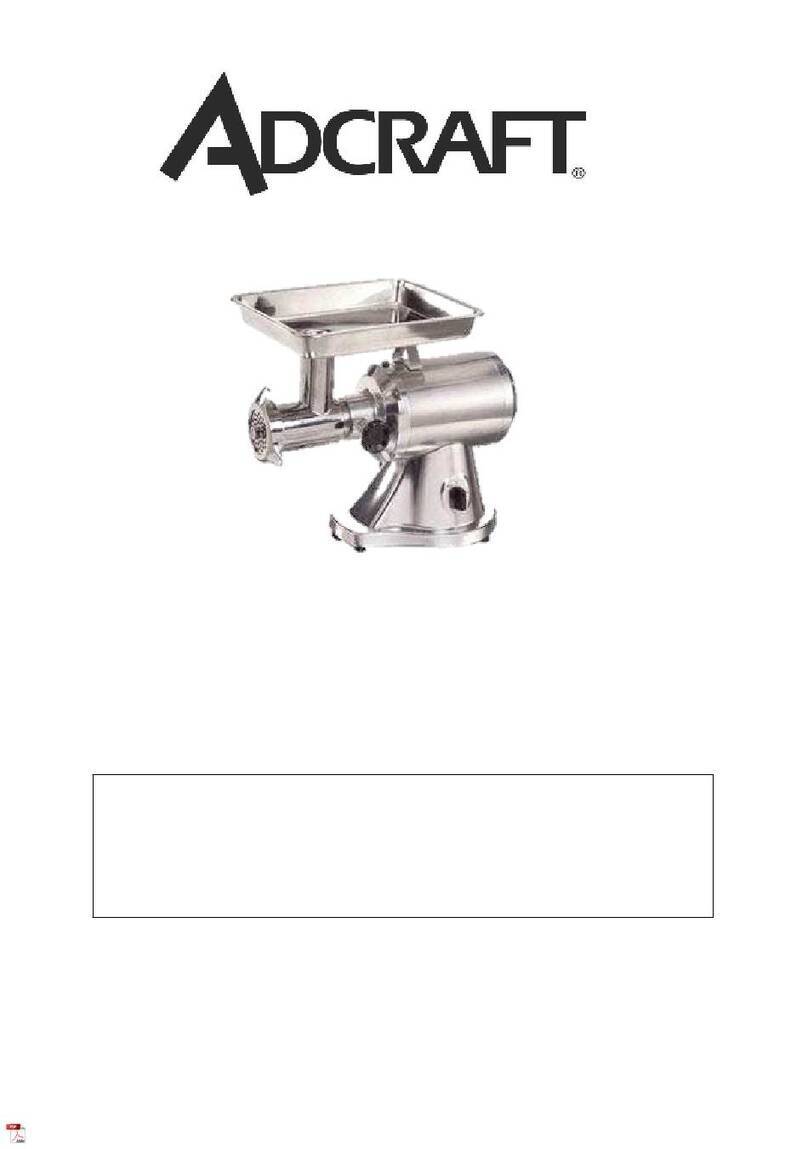
PARTS IDENTIFICATION
(a) Switch.
(b) Locking knob.
(c) Motor housing.
(d) Opening.
(e) Food pusher.
(f) Hopper plate.
(g) Head.
(h) Feed screw.
(i) Cutting blade.
(j) Cutting plate (coarse).
(k) Cutting plate (medium).
(l) Screw Cap.
(m) Circuit breaker.
(n) Stuffer tubes
BEFORE USE
Make sure that the voltage and frequency indicated on the rated plate are the same as your local supply, and
that the mains are properly ground. Wash all the parts (except those that do not touch meat) in warm soapy
water. Before plugging in, ensure switch is off.

5
Assembly and Operation
TO MINCE MEAT
Assembling
1. Place auger tube tightly onto opening of motor housing.
2. Holding tube with one hand, tighten locking knob clockwise.
3. Placeaugerintothetube,longendrst,byturningaugerslightlyuntilitissetintomotorhousingandcover
the transmission shaft.
4. Place cutting blade onto auger with the blade facing the front as illustrated.
•Ifitisnotttedproperly,meatwillnotbeground.
5. Place the desired cutting plate next to cutting blade, and align the pin with the plate.
6. Screw the locking ring onto the auger tube.
7. Donotovertighten.Placehopperplateonheadandxintoposition.
8. Positiontheunitonarmplace.
•Theairpassageatthebottomandthesideofmotorhousingshouldbekeptfreeandnotblocked.
Mincing meat
Cutallbonelessmeatintopiecessothattheyteasilyintohopperopening.Plugin,thenswitchon.
9. Use the pusher to feed the meat into the grinder.
•Afteruse,switchoffandunplug.

6
Assembly and Operation
Maintenance
NOTE:
If the minced meat is not discharged smoothly or in the form of paste, the causes and remedies could be:
• Screw cap is tightened too much thus, the cutting blade does not contact properly with the cutting plate.
Readjust it.
• The cutting plate is blocked. Clean it.
• Cutting blade edges is dull. Sharpen or replace it.
JAMMING
When the circuit breaker automatically stops the motor, or when the motor continues to function but no meat
comes out of cutting plate, due to jamming, switch off.
• Do not switch on. Press CIRCUIT BREAKER to reset. Turn switch to REVERSE to clear the jam.
• Reverse operation will continue for as long as REVERSE is held. Clean the unit. (See “To clean” below)
TO CLEAN
Disassembling
Make sure that the motor has stopped completely. Disconnect the plug from the power outlet.
Lockingringhas3atsides,convenientforunscrewing.Iflockingringistootight,pleaseknockattheat
sides with a soft-handle, then locking ring will be unscrewed easily.
Unscrew the locking knob, and take out the auger tube (with cutting plate, cutting blade and feed screw), then
point the auger tube mouth downward in order to take out cutting plate, cutting blade and feed screw.
Cleaning
Remove meat, etc. wash each part in warm soapy water.
• A bleaching solution containing chlorine will discolor aluminum surfaces.
• Do not immerse motor housing in water, but only wipe it with a damp cloth.
A little salad oil on the plate & knife after washing and drying will keep them lubricated.

7
Parts Breakdown
Model FA12 21720

8
Parts Breakdown
Model FA12 21720
Description Position Description Position Description Position
Gear box assembly 1 FP0 wire presser 19 Big bevel gear 37
Screw (with washer) M4*12 2 Turn switch 20 Pin 3×12 38
CJ2 padding block 3 Sunken screw M4*10 21 Warding ring 40 39
Initiation capacitor 75uf 250VAC 4 Screw M4*12 22 Flat shaft 40
New stainless steel decoration 5 Switch panel 23 Flat shaft 41
Nut M4 6 Switch 24 Stuff hopper 42
Bottom plate 7 Motor base 25 Gear box cover 43
Wire xer 8 Power wire protection ring 26 Short handle 44
Screw M4*10 9 Power wire 27 Flat spacer 5×10×1 45
Operation capacitor 16uf 450VAC 10 Nickel hexagon screw M4×8 28 Nickel hexagon screw M5×25 46
Hexagon screw M8*24 11 Chromed back cover 29 Meat chopping cylinder 47
Spring gasket 8 12 Motor assembly 30 Aluminum screw 48
Gasket 8*1 13 Gang bevel gear 31 Big chopping blade 49
Double sealed bearing 6203-2RZ 14 Stainless steel gasket 14×0 32 Steel-made big screen plate 50
Seal ring B24×40×7 15 High-temperature resisted gasket 33 Steel-made big screen plate 51
Screw M4*10 16 Small POM gasket 34 Screw cap 52
Spring gasket 4 17 Small bevel gear 35
Flat spacer 4 18 Pin 3×16 36

9
Parts Breakdown
Model FA22 21634

10
Parts Breakdown
Model FA22 21634
Description Position Description Position Description Position
Screw cap 1 Sunk self tapping screw PT4×8 23 Bolt M4×12 45
Cutting plate 5 2 Bolt M4×16 24 Feed screw assembly 100
Cutting plate 8 3 Switch keysets 25 Feed screw terminal 101
Cutting blade 4 Switch 26 Feed screw 102
Hopper plate 5 Base seat 27 Anti friction and air proof
washer 103
Food pusher 6 Washer 8 28 Transmission case cover
assembly 200
Socket head cap screw M5×25 7 Spring washer 8 29 Transmission case cover 201
Spring washer 5 8 Socket head cap screw M8×25 30 Square hole shaft 202
Washer 5 9 Supply cord holder 31 Seal ring B30×40×7 203
Locking knob 10 Washer 4×0.8 32 Both sides sealed bearing
6203-2RZ 204
Stainless steel washer 22×14.2×0.8 11 Spring washer 4 33 Anti extrusion ring 205
Two fold gang bevel wheel 12 Bolt M4×10 34 Pin 3×11 206
Stainless steel plate 13 Socket head cap screw M4×8 35 Big bevel wheel 207
Motor assembly 14 Bolt M4×8 36 Pin 3×15 208
Back cover 15 Base board 37 Small bevel wheel 209
Socket head cap screw M4×8 16 Nut 38 Head assembly 300
Supply cord 17 Capacitor holder 39 39 Bross tube 301
Supply cord back up ring 18 Capacitor holder 42 40 Stainless steel pin 302
Nickel plating screw M4×6 19 Running capacitor 41 Head 303
Overcurrent protection fuse 20 Starting capacitor 42 Locking pin 304
Bolt M3×10 21 Washer 4×1.2 43
Switch knob 22 Rubber underlay 44

11
Electrical Schematics
Model FA12 21720
Model FA22 21634

12

13
Warranty Registration
Thank you for purchasing an Omcan product. To register your warranty for this product, complete the information below, tear off the card at
theperforationandthensendtotheaddressspeciedbelow.Youcanalsoregisteronlinebyvisiting:
OMCAN INC.
PRODUCTWARRANTYREGISTRATION
3115 Pepper Mill Court,
Mississauga, Ontario
Canada, L5L 4X5
OMCAN
PRODUCTWARRANTYREGISTRATION
1889 Maryland Avenue,
NiagaraFalls,NewYork
USA, 14305
www.omcan.com/warrantyregistration.html
Thank you for choosing Omcan
Purchaser’s Information
Name: Company Name:
Address:
Telephone:
City: Province or State: Postal or Zip: Email Address:
Country: Type of Company:
Restaurant Bakery Deli
Dealer from which Purchased: Butcher Supermarket Caterer
Dealer City: Dealer Province or State: Institution (specify):
Invoice: Other (specify):
Model Name: Model Number: Serial Number:
Machine Description:
DateofPurchase(MM/DD/YYYY): DateofInstallation(MM/DD/YYYY):
For mailing in Canada For mailing in the US


Over the last 60 years, Omcan has grown to become a leading supplier to the food
service industry in Canada and the USA. Our success over these many years is
directly attributed to our established relationships with all of our valued customers
and through providing them with Diverse, Dependable and Proven products.
Omcan continues to help our customers remain competitive.
With associates in North America, Europe, and Asia, our global footprint continues
to expand as we hold to the principle that clients benet from the accessibility
and familiarity of our sales team. In 2013 as our geography and brand recognition
continued to grow, we changed to one name Omcan Food Machinery.
In over 200,000 sq ft of warehouse space we stock over 2,500 quality food
equipment and supplies for the food preparation market.
This manual suits for next models
1
Table of contents
Other Omcan Meat Grinder manuals

Omcan
Omcan MG-BR-0022 User manual

Omcan
Omcan MG-IT-0022 User manual

Omcan
Omcan MG-CN-0012-S User manual

Omcan
Omcan MG-IT-0012-C User manual

Omcan
Omcan MG-CN-0008-E User manual

Omcan
Omcan MG-CN-0012-C User manual

Omcan
Omcan MG-IT-0008 User manual

Omcan
Omcan MG-IT-0012-C User manual

Omcan
Omcan MG-CN-0032-E User manual

Omcan
Omcan 11003 User manual