manuals.online logo
Brands
  1. Home
  2. •
  3. Brands
  4. •
  5. Optex
  6. •
  7. Accessories
  8. •
  9. Optex VIBRO User manual

Optex VIBRO User manual

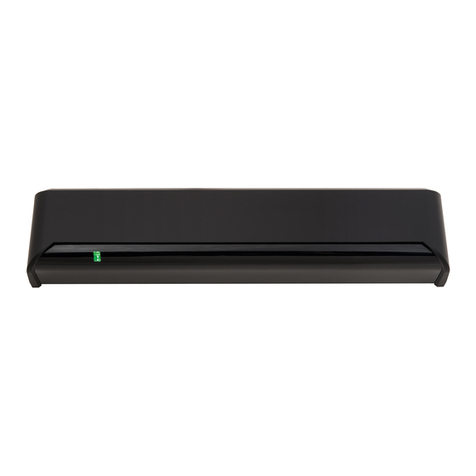
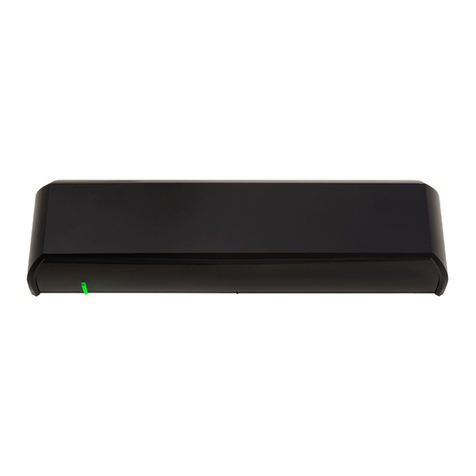
Shock Sensor
INST ALLA TI O N INSTR U CTI O NS
~
JNTRQ!DUCTI10N; ; " , ; c c;;;;;;;;;";;;;;;;;;;;;;;;;;;;;;;;;;;;;";";";";;;;;;;;;";";;;;;;;;;;;;;;;;;;;;";";;;;;;;;;;;
VIBRO is an inte1ligent Microprocessor controlled shock sensor.
The sensitivity is autornatica11yset in Leam Mode by the level of a
recognised impact made to the protected area. The number of
impacts i.e. Pu1seCOWltrequjred to generate an a1armis determined
by the number of recognised impacts made in Leam Mode.
Test Mode
A.fter power up the VIBRO goes through a self test for 2 seconds.
Test result indication by LED are as follows:
.Test satisfactory -Several flashes of green light.
.Test fail -No light or constant Red light or short flashes of
Red light.
If test fails -check all connections and power. Repeat power up 3
times. If test still fails replace the wút.
I. Learn Mode
2. 1. Instal1the VIBRO according to instal1ation procedure.
2. Power up the VIBRO. Wait 2 seconds for se1f test.
3. Choose sensitivity mode (switch 4) before ca1ibrating.
4. Make sure the a1annsystem is in Unset mode.
5. Turn ON switch 1(learn switch) -Red LED will1ight.
6. When the learn switch is turned on, the VIBRO will
automatica11yrecognise polarity of the latch voltage.
Wait 2 se-coh~d "stm tapping the area of coverage for
number of pu1sesrequired -Whi1e red LED is on.
Each va1id tap will change LED colour to Green and then
return to Red (the LED should go to Red before the next pulse
count is registered).
The sensitivity and pulse count are automatica11ydetermined
by the number and level of impacts made to the area to be
protected at the furthest point from the detector.
10. If a Green 1ight doesn't appear, that area is out of coverage
range at the impact level entered and the tap was "not
counted" -try using high sensitivity or instal1more VIBROs.
11. Each tap is added to the pulse count, so at the end, the number
of va1idtaps will be the pu1secount of the unit.
12. After 15 seconds the Red LED will extinguish and the LED
will flash Green confinning the number of pu1secounts.
13. It is recommended that the learn switch is not returned to the
OFF position until the red LED goes off, and the number of
pulses setis indicated by the number of Green LED flashes.
14. lf you switch off the learn switch before the Red LED goes
off, additiona1 pu1sesmay be entered (there is a safety feature
which deletes the last pu1semade, if the time that elapses is
less than 2 seconds).
15. If in the future reca1ibration is needed and the learn switch
has been left in the ON position, switch to OFF for lO
seconds and then turn to ON and proceed to set-up asnorma1.
16. To restore default va1uesjust move the learn switch to ON for
15 seconds, do not enter any impacts after 15 seconds, the Red
LED will go out and the number of pu1seswill be indicated by
the green LED flashes.
7
6.
78
9
9.
10.
Remove the sensor from its packaging and retain the two
screws and gronunet.
Remove the cover by removing the screw cap, then
unscrewing the single captive screw.
Carefully release the printed circuit board from the base.
Select the intended position for insta11ation, ensuring the
sU1"faceis clear of any irregularities.
Move the base to the mounting position and mark the desired
fixing holes, then by using the two self tapping screws fix the
base (ensU1"ethe baseis in complete contact with the mounting
surfaces~Jc ~--"~~",,---~~,.~,~~
Carefully push the printedCircilit board onto the base.'. .c
Make the electrica1 connections to the VIBRO as per
connection diagran1 and details. Make sU1"eno power is
applied to the VIBRO while making the connections.
Cable entry to the VIBRO can be gained:-
(i) through the hole in the basemounting plate,
(ii) at the end ofthe cover using single cable knock-out,
(iii) using gronunet knockout.
Proceed to TEST/LEARN MODE (see under Ca1ibration
section)
After the unit is ca1ibrated to your satisfaction, select the
required latch mode, replace the cover of the sensor, tighten
the fixing screw. (Do not over tighten) replace screw cap and
check its response to the desired impact.
GrossAttack
The gross attack feature enables fue VIBRO to createan alarm frorn
a single impacto This feature bypasses fue pulse coW1ting in cases
of gross impact detection.
~
Multiple VIBRO Connection
Mode Switches
I 2 3 4 Screw Post
~
J~/I
TemlÍnal Bk>ck
~g~!
On
Off
12V
OV
Relay LED
@
~,-
Terminals
+-l2V 12V po'Yer connection, reverse po1arity protected.
TAMP N.C. anti-tamper switc~ Q~ when cover is removed. COM
MEM Latchingconnection.Connectto Set/Unsettemrinalof
fuealarmsystem. Six to Eight wire Connection
RELA y N.C. opens when alarm occurs. Six wires: 2 Power, 2 Anti-Tamper, 2 Alann.
COM Commwricationsbetweenwrits. Connectsto all other
writs in thesamezone.(Usedin f1fstto alannand
sequentiallatchonly).
VIBRO sensorshave a non-volatile memory and will retain the
5ettings you have made. even if the 5upply voltage is removed
and sub5equentlyrestored.
Seven wires: Add the above and MEM Set/Unset for normal latch
-also used for all other types of latching.
Eigbt wires: All fue above and COM used for fust to alann and
sequentiallatch. Ensure that fue supply to fue VIBRO is
disconnected before connecting fue communications link.
~
Sensitivity
Use low sensitivity in a noisy environment -near roads, airports,
factories, etc.
Use high sensitivity in a quiet environment -when you need a large
coverage area.
Walk Test
Use this mode to test the installation.
A green light indicates that the VIBRO recognises an impact.
A red light indicates that enough impacts have been received to
generate an alarm condition, according to the nwnber of impacts and
current calibration of the sensors.
With this feature you can test if the VIBRO is calibrated to your
satisfaction.
Sequential
After an alann occurs in Set mode all coIUlected VIBROs wilI save
their order in the alann sequence. The flfSt 8 w1its will f1ashthe red
LED a number of times, according to their alann sequencenumber.
The rest of the w1its will t1ash the green LED according to their
number as follows: w1it 9 will f1ashthe green LED once; w1it lO will
f1ashthe green LED twice, etc.
.Factory setting Reset
All LED alarnl indications will clear 011setting fue alarnl.
Approx 2.0sec
NC ~ ~en cover removed .
,~~ Peric)d
-?00 r tn +~00 r
9QO/0 Max
I Supply Voltage
CUITent -Quiescent I-Alarm
93 x 25 x 24mm
128
16
9V -16V DC
16.5 mA
15.8 mA
Automatic from learn mode impact
1to 8 ProRl'am1nedin learn mode
Two colour LED
Any -First to a1arm-Sequenti81
NC 24VDC 150mA Resistive

Other Optex Accessories manuals

Optex OVS-01GT User manual

Optex

Optex OVS-01GT User manual

Optex OAM-DUAL II User manual

Optex

Optex OAM-DUAL II User manual

Optex OVS-01CC User manual

Optex

Optex OVS-01CC User manual

Optex Pro Swing Elite ST User manual

Optex

Optex Pro Swing Elite ST User manual

Optex OA-4500S(E) User manual

Optex

Optex OA-4500S(E) User manual

Optex V2 Series User manual

Optex

Optex V2 Series User manual

Optex OA AXIS T User manual

Optex

Optex OA AXIS T User manual

Optex OAM-DUAL TE User manual

Optex

Optex OAM-DUAL TE User manual

Optex RC-20U User manual

Optex

Optex RC-20U User manual

Optex OA-PRESENCE T Installation manual

Optex

Optex OA-PRESENCE T Installation manual

Optex OA-FLEX LITE User manual

Optex

Optex OA-FLEX LITE User manual

Optex Prosafe OA-1V User manual

Optex

Optex Prosafe OA-1V User manual

Optex OVS-01GT User manual

Optex

Optex OVS-01GT User manual

Optex GEN-DC User manual

Optex

Optex GEN-DC User manual

Optex EZ User manual

Optex

Optex EZ User manual

Optex TS-1000-D User manual

Optex

Optex TS-1000-D User manual

Optex X-ZONE User manual

Optex

Optex X-ZONE User manual

Optex CVS2 User manual

Optex

Optex CVS2 User manual

Optex OA-FLEX T User manual

Optex

Optex OA-FLEX T User manual

Optex BS Series User manual

Optex

Optex BS Series User manual

Optex HX-80N User manual

Optex

Optex HX-80N User manual

Optex Elite OA-603 User manual

Optex

Optex Elite OA-603 User manual

Optex Accurance-3D A3001CB Manual

Optex

Optex Accurance-3D A3001CB Manual

Optex i-OneX T User manual

Optex

Optex i-OneX T User manual

Popular Accessories manuals by other brands

Kaiser Baas Pocket Charge 6K quick start

Kaiser Baas

Kaiser Baas Pocket Charge 6K quick start

Radio Bridge RBS306-TILT-HP-US user guide

Radio Bridge

Radio Bridge RBS306-TILT-HP-US user guide

IBM CP20 - Workstation Connection Device KVM installation instructions

IBM

IBM CP20 - Workstation Connection Device KVM installation instructions

INNOBIZ neolia Instructions for use

INNOBIZ

INNOBIZ neolia Instructions for use

Calex PyroUSB Series Operator's guide

Calex

Calex PyroUSB Series Operator's guide

Manitowoc K00341 installation instructions

Manitowoc

Manitowoc K00341 installation instructions

ring VIDEO DOORBELL Setup and installation guide

ring

ring VIDEO DOORBELL Setup and installation guide

Geemarc Doorbell595 U.L.E Quick user guide

Geemarc

Geemarc Doorbell595 U.L.E Quick user guide

X4-Life Video Ski Goggles HD1 user manual

X4-Life

X4-Life Video Ski Goggles HD1 user manual

Logitech Folio i5 Setup guide

Logitech

Logitech Folio i5 Setup guide

Dome Mouser manual

Dome

Dome Mouser manual

AEMC JM850A user manual

AEMC

AEMC JM850A user manual

Philips 22PP3000 brochure

Philips

Philips 22PP3000 brochure

Hornbach 6145082 Installation and user manual

Hornbach

Hornbach 6145082 Installation and user manual

Balluff BCS F01 Series manual

Balluff

Balluff BCS F01 Series manual

Omron SYSMAC C200H-IDS01-V1 Operation manual

Omron

Omron SYSMAC C200H-IDS01-V1 Operation manual

SkyBound 2 ARCH TRAMPOLINE NET Assembly and installation manual

SkyBound

SkyBound 2 ARCH TRAMPOLINE NET Assembly and installation manual

POSIFLEX SD400 Series user manual

POSIFLEX

POSIFLEX SD400 Series user manual

manuals.online logo
manuals.online logoBrands
  • About & Mission
  • Contact us
  • Privacy Policy
  • Terms and Conditions

Copyright 2025 Manuals.Online. All Rights Reserved.