English-9
4. Make sure to place two cups or a small pitcher under the porta-lter.
5. Plug in the unit and turn it on “I” by pressing the button located in the back of the unit.
6. The control panel lights (4 lights in the center) will start
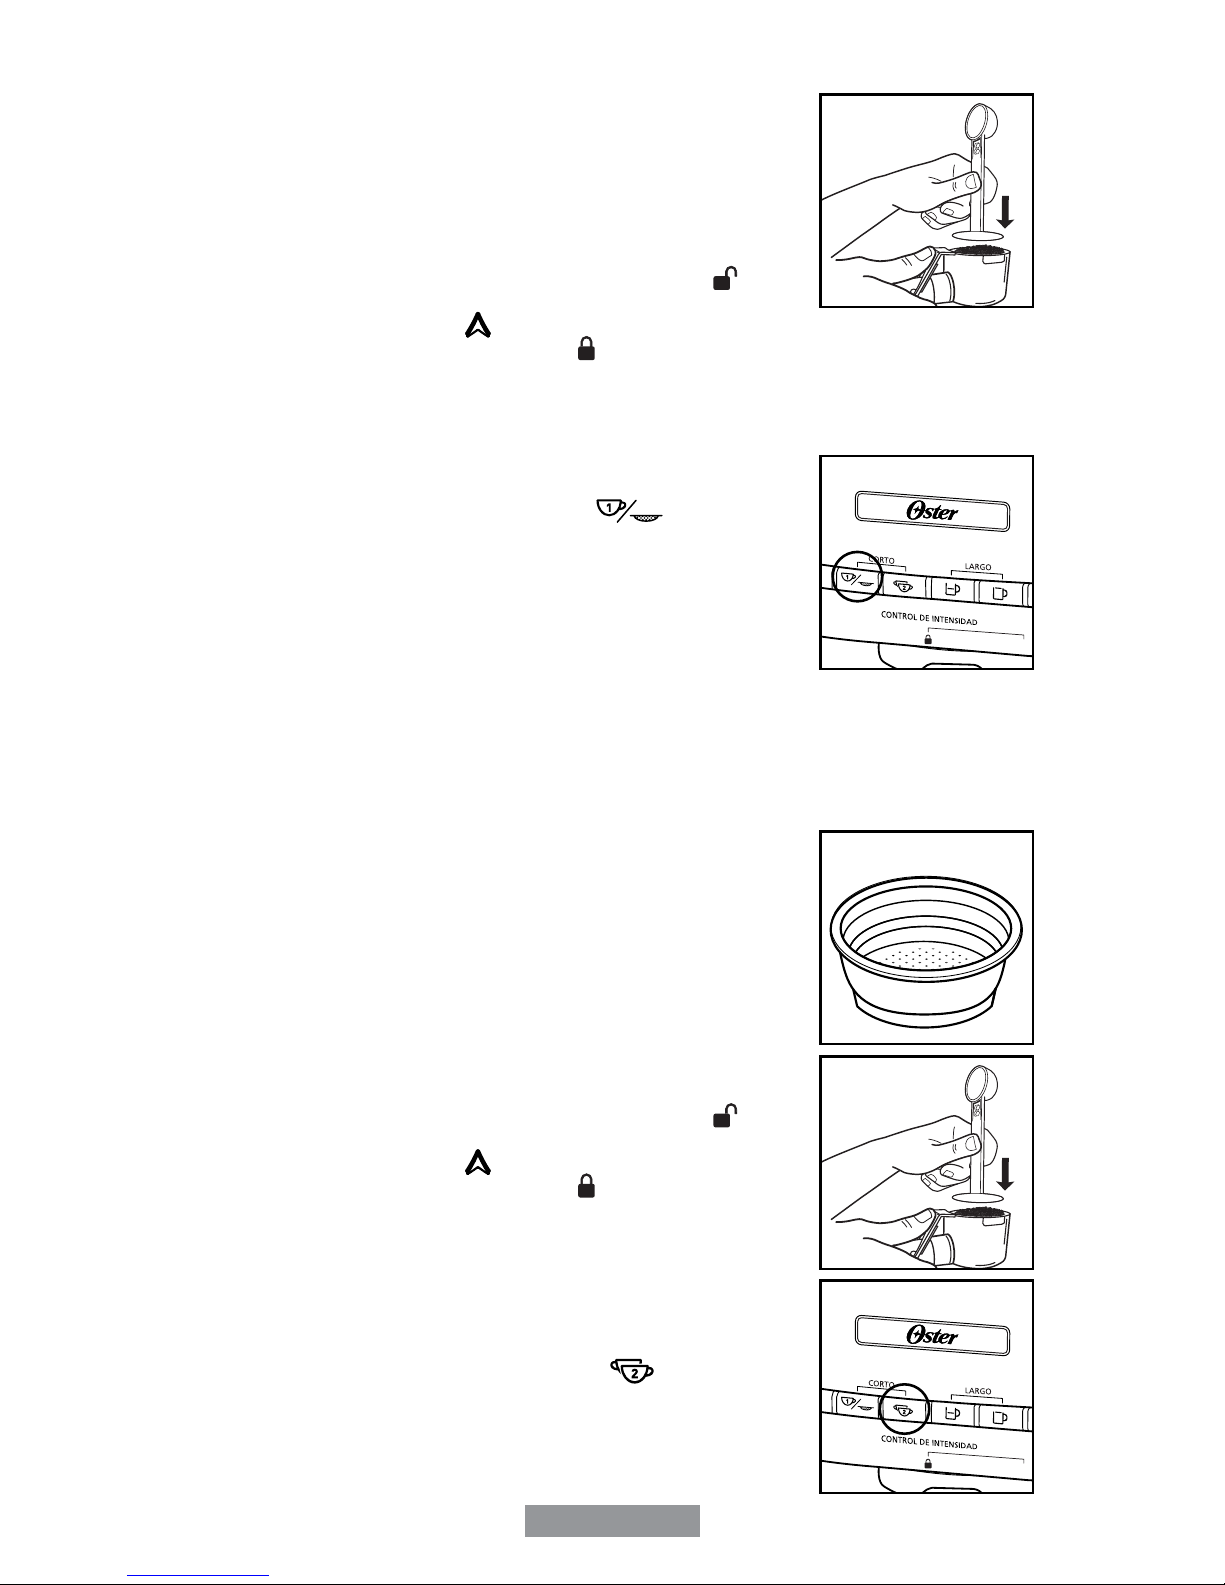
blinking. Once these lights become solid blue, press the double
long espresso (Lungo Doppio) button “ ” (see gure 13).
7. The unit will start brewing a double long espresso (Lungo
Doppio). The unit will sound three times once the cycle is
completed indicating the delicious double long espress (Lungo
Doppio) will be ready to be enjoyed.
NOTE: To brew less coffee than the preset serving, press the
function button to stop the brewing process when the amount
of coffee desired is reached. The unit will beep three times
indicating the customized process has been completed.
8. Turn the unit off “O” by pressing the button on the back of the unit. Let it cool down
before you clean it. See the “Cleaning Your Espresso Maker” section for details.
HOW TO USE THE
STEAMING/FROTHING FUNCTION
This function conveniently helps you prepare delicious beverages such as:
Cappuccino, Latte, Macchiato, Mocha and more.
The instructions below illustrate how to prepare Cappuccino, which is the most
popular use for this function. Please refer to the recipes at the end of this manual
for directions on how to prepare other hot beverages using the steaming/ frothing
function.
Cappuccino is espresso topped with steamed and frothed milk. Frothing milk for
cappuccino takes practice. Do not be discouraged if it is not perfect the first time. The
milk should be half steamed (bottom of pitcher) and half froth (top of pitcher). It may
take a few times before you perfect this process.
For best results, we recommend frothing the milk in a separate pitcher and pouring
the milk into your coffee. The milk and pitcher should be cold. Do not use a pitcher,
which has just been washed in warm water. We also recommend a stainless steel
frothing pitcher and a beverage thermometer, if you own one, for preparing the best
froth and steamed milk.
1. The rst step in making cappuccino is to make espresso.
2. Follow the instructions in the “How to Use the Espresso Function” section to prepare
the espresso.
3. Fill a small stainless steel or ceramic pitcher 1/2 full with cold
milk and set next to machine. Skim or 2% milk will be the
easiest to froth.
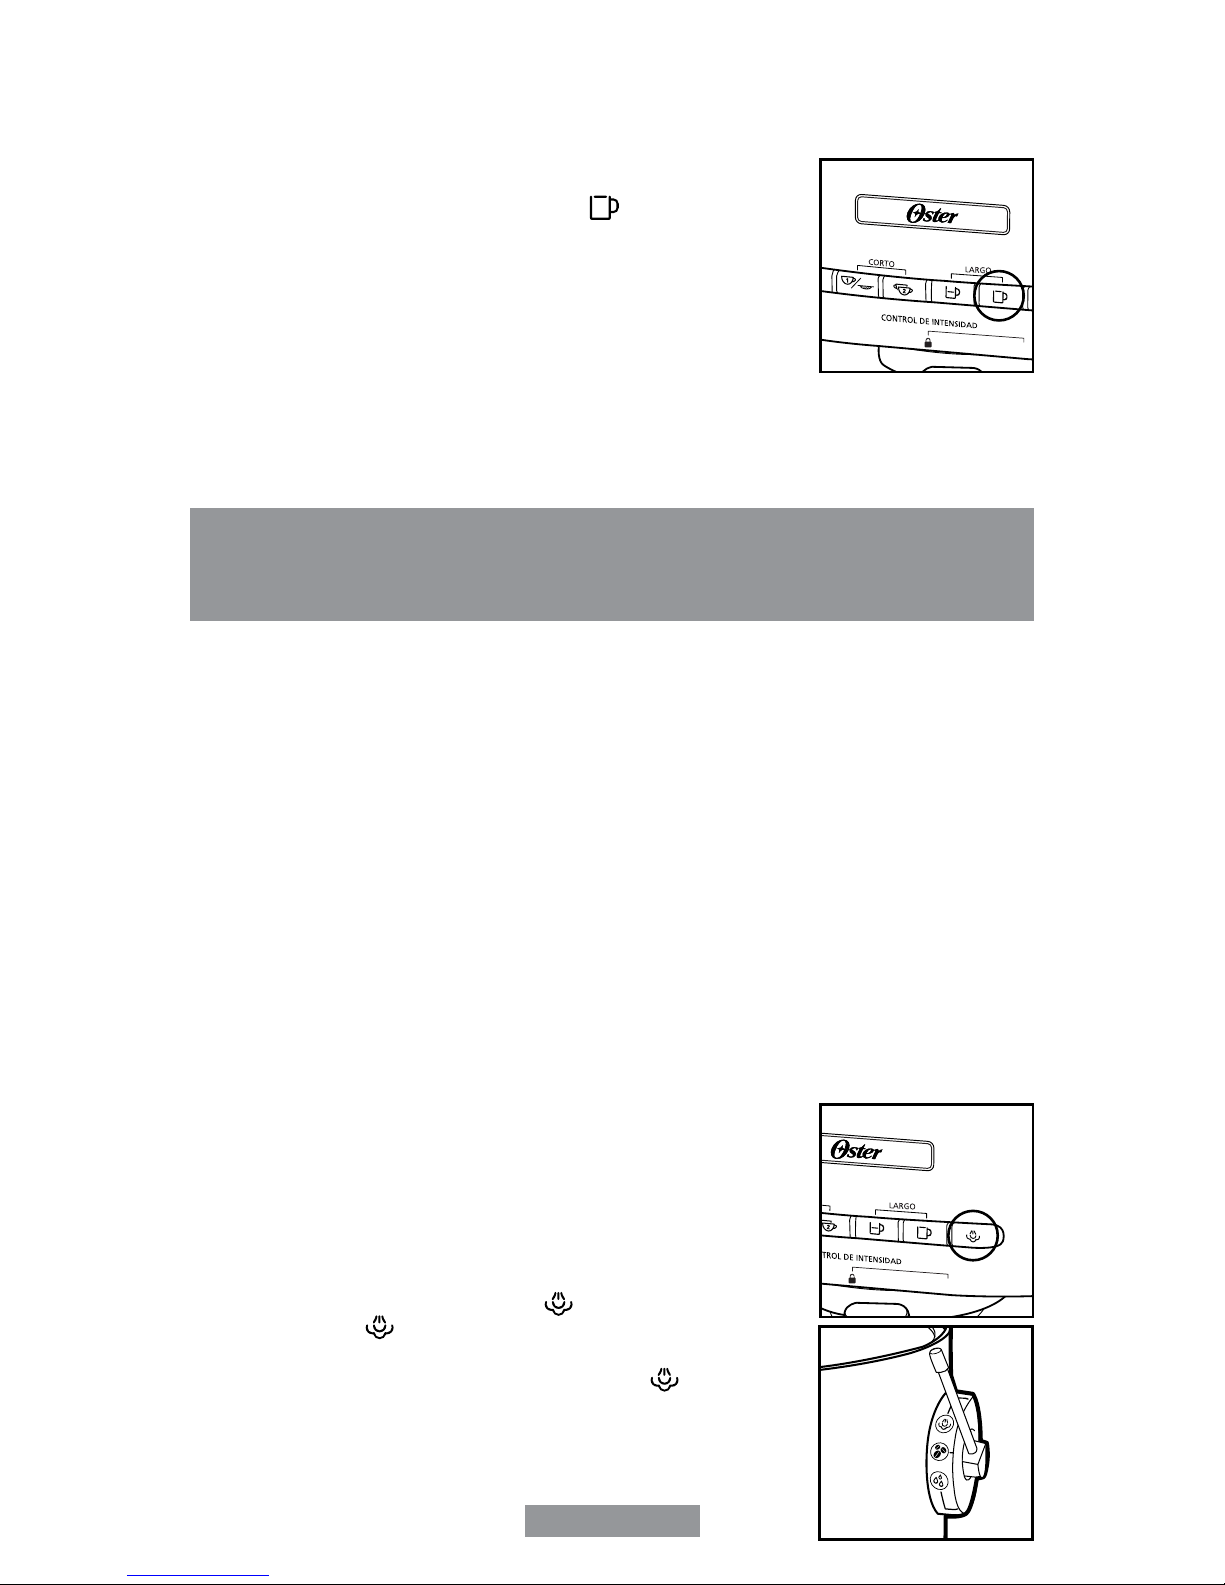
4. You are now ready to froth and steam your milk after brewing
your coffee. The control panel lights (4 lights in the center)
should be solid blue, hold the pitcher under the frothing tube
ensuring the tip of the frothing tube is slightly immersed in
the milk, press the steam button “ ” (see gure 14) (the
steam button “ ” light blinks and then become solid blue
indicating it is ready to us).
5. Turn the side knob up to the steam position “ ” (see gure
15). Gently move the pitcher in a circular motion around the
steam nozzle for about 50 seconds (for 120 mL/ 4 oz., of
milk) or longer if warmer milk is desired. REMEMBER: The
milk and the pitcher should be very cold prior to frothing.
Figure 14
Figure 15
Figure 13