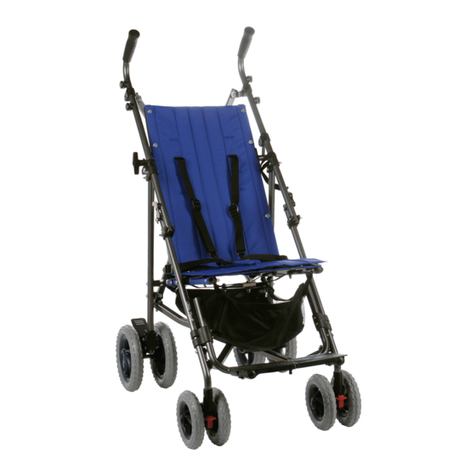
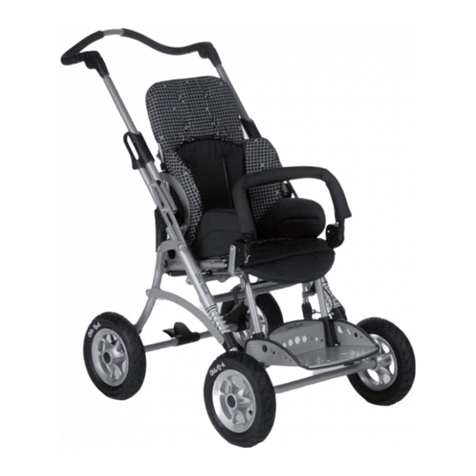
Otto Bock ECO BUGGY User manual

Q U ALITY FOR LIFE
Eco Buggy Instructions for Use ..................8

4
3
5 6
9
10 11 12
13 14
1 2
15
7 8
➙

16 17

8
Eco Buggy – Instructions for Use
Table of Contents Page
Preface ..................................................................................................................................................................9
Intended Use.........................................................................................................................................................9
Declaration of Conformity ...................................................................................................................................9
Safety Tips ............................................................................................................................................................9
Unpacking and Preparing the Buggy for Use..................................................................................................10
Adjustment and Adaptation Possibilities ........................................................................................................10
Accessories:
Storage Bag .........................................................................................................................................................10
Lap Belt ................................................................................................................................................................10
Servicing and Cleaning ..................................................................................................................................... 11
Technical Data ....................................................................................................................................................11

9
Preface
With the Eco Buggy you have purchased a high-quality Otto Bock product that contributes to facilitate everyday
life.
TheseInstructionsforUseshowyouthecorrectmethodandeasyhandling of the Eco Buggy and gives instructions
for the required cleaning and servicing.
Toavoid damagecausedby improper handling and to allowoptimaluse of the Eco Buggy,please read the following
instructions thoroughly.
If you have further questions or problems, please contact your healthcare provider.
We hope that our products will meet your expectations and offer efficient support to you.
Intended Use – Recommendations
(Source: Catalogue and index for orthopedic appliances of the health insurance companies, FRG)
Rehab buggies are indicated for the transport of patients with severe disabilities – mainly children and adolescents
– who are unable to walk and or to move independently in a wheelchair.
Typical use would be for patients with walking inability or severe walking impediments due to:
• palsies
• paralysis
• loss of limbs
• defected / deformed limbs
• joint contractures
• joint defects
• other diseases
Declaration of Conformity
Otto Bock as manufacturer with sole responsibility declares that this product conforms to the requirements of the
93 / 42 / EEC Guidelines.
Safety Tips
Before using the Eco Buggy you should become familiar with the handling and functions of this product:
➜The Eco Buggy may be used only on solid level ground .
➜For safety reasons, ascending/descending stairs and lifting the buggy should be done by two persons.
➜For clearing obstacles like steps, curbs and stairs, tilt the buggy onto the rear wheels
(for ascending: pull the buggy backwards; for descending: slowly lower the buggy in forward direction).
➜Lift the buggy only by components which are firmly attached (by welding or screw connection).
- Front frame tube above the front wheels
- Rear axle
- Push handles / pushbar
➜Firmly hold the buggy at the push handles on slopes and inclines. Otherwise, the buggy might tip over to the
side when pushing horizontally on gradients or roll away when pushing down hills.
➜Avoid leaving the buggy on inclines; if required however, please position it in backward direction and engage
the wheel locks.
➜Before leaving the buggy and before getting into or out of the buggy, always engage the wheel locks.
➜The footplate must not be used for getting into or out of the buggy.
➜The maximum total load of the Eco Buggy is 50 kg.
➜Before using the rehab buggy, firmly engage both folding guards.
➜Firmly close and engage the footrest before using the rehab buggy to avoid bending of the front frame.
➜Attaching heavy bags or similar to the buggy can have an adverse effect on the stability of the buggy.
➜Never leave your child alone in the rehab buggy, not even with safety belts and wheel locks applied.

10
Unpacking and Preparing the Buggy for Use
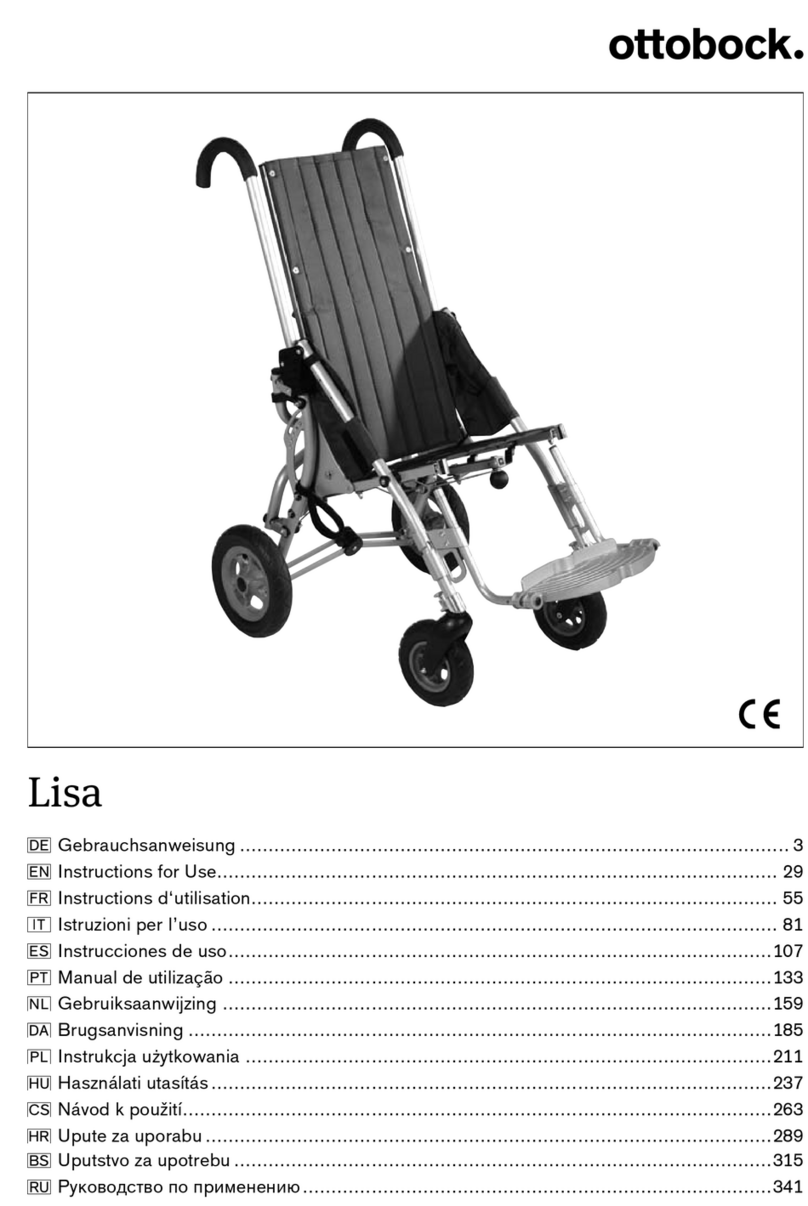
The original package contains the following components (see picture on the front page)
• Buggy, folded, with footrest mounted
• Instructions for use and necessary tools
• Accessories as ordered
For unfolding the buggy please proceed as follows:
• Remove any transport straps or transport guards (fig. 1).
• Grasp the buggy at the push handles (fig. 2) and unfold it as far as possible (fig. 3 and 4).
• Engagethe foldingguardson theright and leftby grasping thebuggy at thepush handleandat thecorresponding
front frame (fig. 5) and slightly pressing towards the ground.
•Make sure that both folding guards are closed (fig. 6).
• Press the folding lever (fig. 7) up to the stop to unfold the scissor construction.
• Turn the footrests (fig. 8) from the outer to the inner side and flip down the footplates.
• Insert the holding bracket with the tip first into the long hole and laterally bring the footplates together until you
hear the ratchet bolt engage.
Before using the rehab buggy, the footrest must be closed and engaged, otherwise it will cause the front
frame to strain / bend.
Attention, danger:
Do not grasp the buggy at other point other than the described components. Especially, do not grasp the
components of the scissor mechanism.
For folding the buggy please proceed as follows:
• Bring the backrest in the most anterior position (fig. 9).
• Release the locking bar below the footrest (fig. 10) and pull the footplates apart.
• Swing the footplates to the outside beside the front wheels (fig. 11).
• Pull open the folding scissor below the seat (fig. 12).
• Open the folding guards on the right and left at the front frame (fig. 13).
• Now proceed as described under "Unfolding", but in reverse order.
Adjustment and Adaptation Possibilities
Swivel Lock (fig. 11)
To engage the swivel lock, push the red locking slide upwards. For opening, push the locking slide downwards.
Adjusting the Back Inclination (fig. 9)
After loosening the thumb nuts, the back inclination is continuously adjustable.
Retighten the thumb nuts.
When making adjustments under load unscrew the thumb nuts to a certain degree only and make sure to
make controlled adjustments, for example by supporting the backrest with your thigh.
Sudden adjustments of the back inclination under load can cause the buggy to tip over.
Please ensure after any adjustments made all thumb nuts should be retightened.
Adjusting the Footrest Height (fig. 14).
After opening the screws the footrest height can be adjusted using the different holes at 2 cm distance.
Activating the Wheel Locks (fig. 15)
To close the wheel locks, press the release lever downwards with your foot.
To open the wheel locks, press the release lever upwards with your foot.
Always ensure both wheel locks are engaged.
Accessories
All accessories which have not yet been installed by the manufacturer must be installed by skilled staff.
Storage Bag (fig. 16) max. 5 kg
The storage bag is attached to the anterior frame on the left and right by means of screws and to the posterior
frame by means of push buttons. It can be filled from the both the front and rear beneath the seat.
Lap Belt (fig. 17 and 18)
To open press together the plastic tongues of the snap lock und pull out of the housing. To close, push the plastic
tongues into the housing until you hear the lock engage.
11
Servicing and Cleaning
➜Use only a standard mild detergent for cleaning all frame and plastic components.
➜Do not use the buggy in salt water. If possible, keep sand or other particles from damaging the wheel bearings.
➜After all adjustments are made retighten all screw connections.
➜Check the screw connections on a regular basis.
Technical Data
Dimensions and weight Model 3210
Seat depth 30 cm
Seat width 35 cm
Seat inclination 15°
Seat angle 90° - 110°
Backrest height 55 cm
Backrest inclination by approx. 20 °
Distance between seat edge and footplate adjustable from 20 cm – 30 cm
(34 cm with locked front wheels)
Weight (standard equipment) approx. 9 kg
Max. total load 50 kg
Folding dimensions (LxWxH) approx. 115 cm x 42 cm x 29 cm
Front wheel diameter 17 cm
Rear wheel diameter 21 cm
Other manuals for ECO BUGGY
4
Table of contents
Other Otto Bock Stroller manuals

Otto Bock
Otto Bock Kimba neo User manual

Otto Bock
Otto Bock Kimba Home User manual

Otto Bock
Otto Bock ECO User manual

Otto Bock
Otto Bock Kimba Spring User manual

Otto Bock
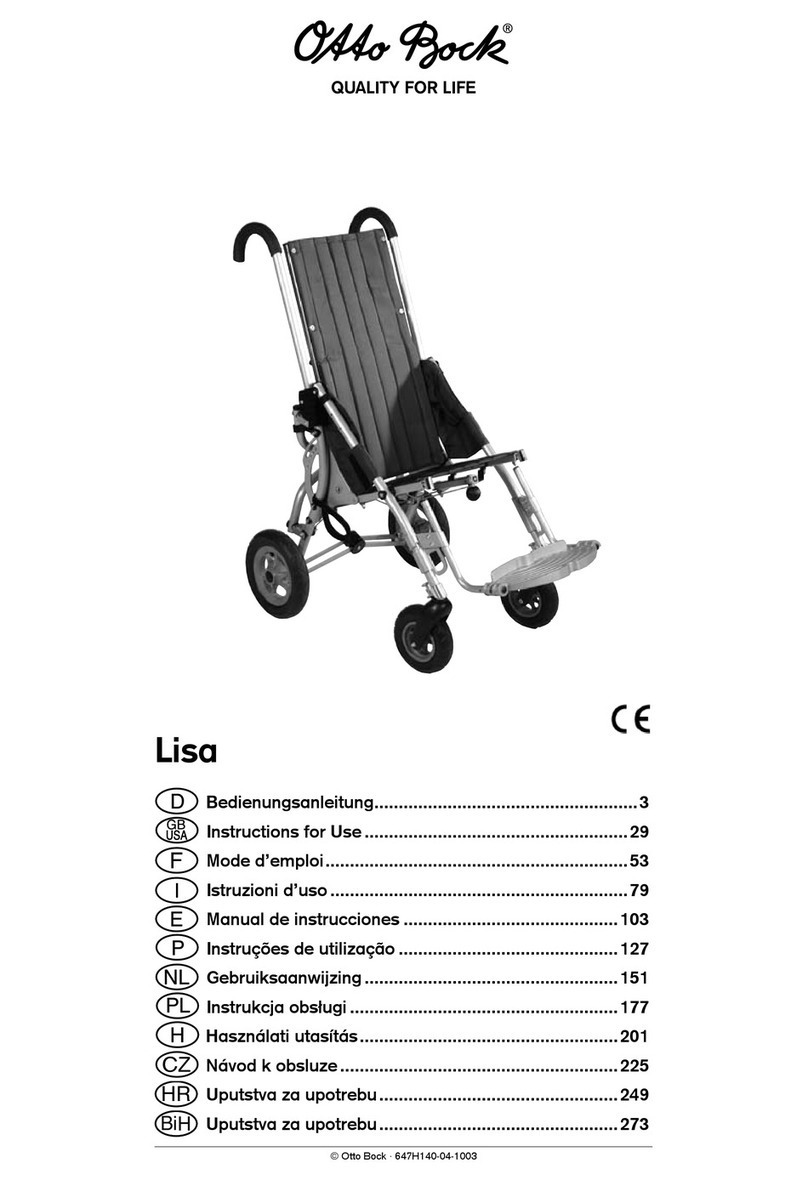
Otto Bock Lisa User manual

Otto Bock
Otto Bock ECO BUGGY User manual

Otto Bock
Otto Bock ECO BUGGY User manual

Otto Bock
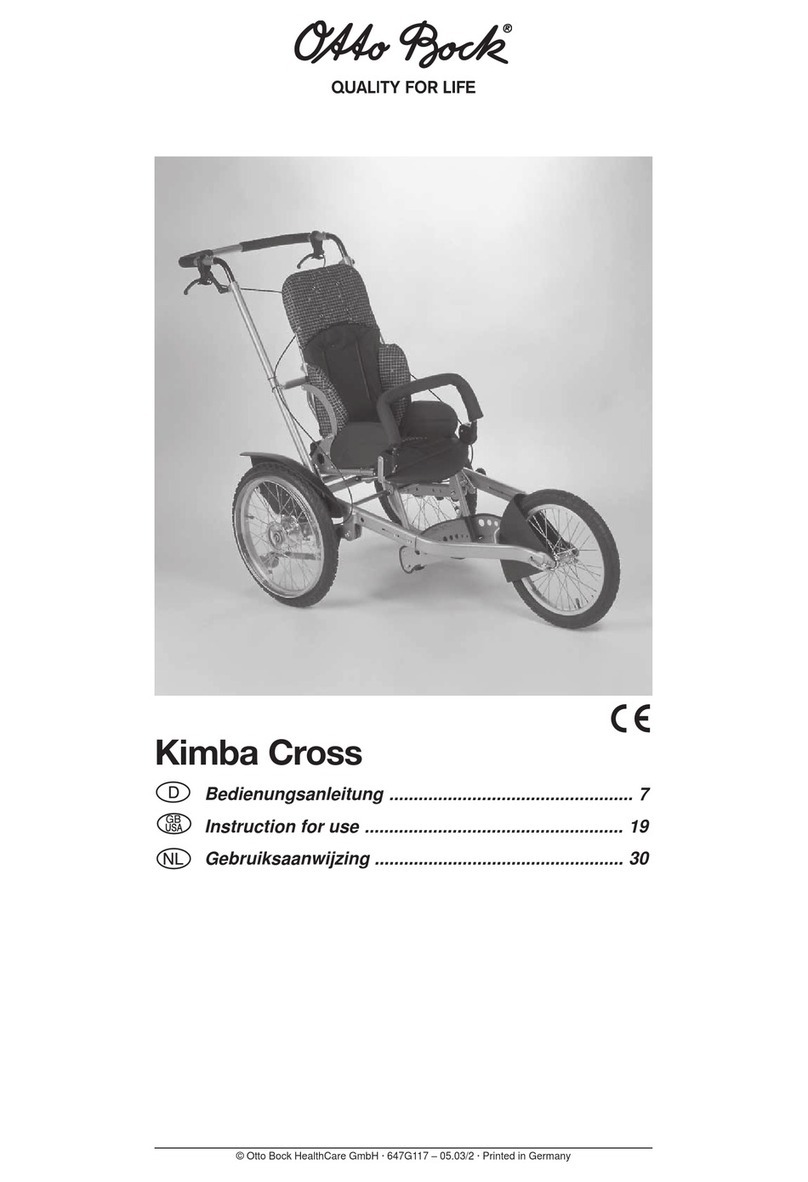
Otto Bock Kimba Cross User manual

Otto Bock
Otto Bock ECO BUGGY User manual

Otto Bock
Otto Bock Kimba Operating instructions