manuals.online logo
Brands
  1. Home
  2. •
  3. Brands
  4. •
  5. Overland Storage
  6. •
  7. Storage
  8. •
  9. Overland Storage LTO-4 User manual

Overland Storage LTO-4 User manual

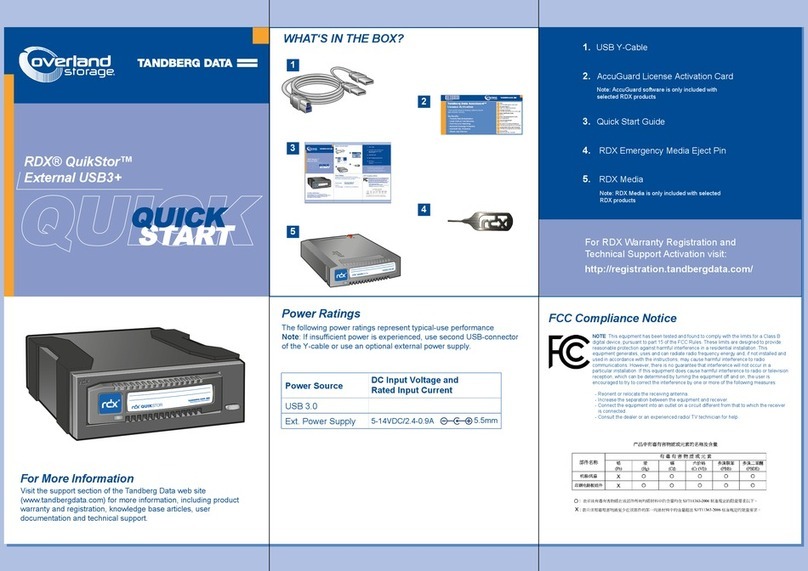
10400302-001 06/2010 ©2010 Overland Storage, Inc. Page 1 of 4
LTO Half-Height SCSI
External Tape Drive
Quick Start Guide
Overview
This document describes how to unpack and install an
Overland LTO Half-Height SCSI External Tape Drive to
an external host bus adapter (HBA) port using a
purchased cable.
WARNING: To reduce the risk of electric shock or damage
to equipment, always remove any power cords while
working with the unit.
AVERTISSEMENT: pour réduire le risque de choc
électrique ou endommagement de l'équipement, retirez
toujours les cordons électriques en travaillant avec l'appareil.
CAUTION: While working with the unit, observe standard
Electrostatic Discharge (ESD) precautions to prevent
damage to micro-circuitry or static-sensitive devices.
NOTE: Cables are not supplied in the External Tape Drive
product kits. These cables must be purchased separately.
Register First
Before starting, it is essential that you activate your
Overland warranty. Technical and warranty support are
not available until this is done:
1. Go to the Overland Storage web site
(http://www.overlandstorage.com/).
2. Select Service & Support > My Products.
3. At the Site Login, enter your e-mail address and
password, and click GO.
NOTE: If you are not yet a member, click “New member?”
and follow the instructions given. It’s free and easy!
4. Click the Register New Product button.
5. Fill in the information and click Submit.
IMPORTANT: Within three business days, you will receive
an e-mail from Overland with your warranty certificate.
Follow the instructions included to complete the process.
Introduction
Before you install your tape drive, make sure that:
•You are connecting to an Ultra320 SCSI HBA for an
LTO-4/LTO-3 drive or an Ultra160 SCSI HBA (or
higher) for an LTO-2 drive using a supported cable.
•You are using the correct driver.
Preparing The Host
SCSI Cable and Termination
Use a 68-pin, wide, supported SCSI cable (1) to connect to
the drive. The tape drive provides active termination (it
does not require a terminator) if it is the only device on
the SCSI bus.
Daisy-chaining multiple devices is not recommended. If
you do so, do not mix drive families (only daisy-chain
with other Ultrium tape drives) and attach no more than
two devices to the same SCSI bus. The last device on the
SCSI chain must be terminated correctly.
SCSI HBA Card
If you do not already have a SCSI HBA card installed,
you must purchase a supported HBA card along with a
matching cable. You need a spare PCI slot for the card.
Your tape drive will work with lower-rated LVDS SCSI
but performance may be degraded. Single-ended SCSI
will degrade performance and limit cable length. Do not
attach to narrow or HVD SCSI.
Drivers
For Windows systems, download the latest drivers from
the HP tape drive drivers web site. For other operating
systems, patch to the latest version of the operating
system, following the instructions in the patch
documentation.
Backup software
It is recommended to upgrade your backup software
application to ensure it works correctly with the new
external tape drive. We do NOT recommend native
backup applications, such as Windows Backup, because
they do not support the full features of the tape drive and
may cause performance problems.
NOTE: Some backup applications require you to use their own
drivers. Refer to the documentation of your software
application to ensure you are using the recommended driver.
*10400302001*
10400302-001 06/2010 ©2010 Overland Storage, Inc. Page 2 of 4
Checking the SCSI ID
Your LTO Half-Height tape drive is shipped with a
default SCSI ID of 2, but it can be assigned any unused
ID between 0 and 15. Do not use SCSI ID 7, which is
reserved for the SCSI controller, or SCSI ID 0, which is
typically assigned to the boot disk.
Connecting the Tape Drive
CAUTION: Turn off and remove the power cords from the
server.
1. Connect the SCSI cable to the server HBA card.
The cable connector may be different than the one
pictured depending on the HBA card used.
2. Connect the SCSI cable (1) and power cord (2) to the
tape drive.
3. Power up the tape drive and server.
a. Power on the tape drive using the power button
located at the front of the tape drive.
b. Check the Ready LED on the front panel to make
sure the tape drive is ready for use.
c. Plug in and turn on the host server.
Watch the boot screen carefully during the boot
process. Check to see that the new tape drive is
listed in the boot sequence.
NOTE: If there are any error or unexpected messages, go
back and check the SAS cabling carefully.
Checking Product Performance
If performance is not meeting expectations and you are
not meeting your backup window, check for bottlenecks
in your system architecture.
What causes bottlenecks? Review the numbered items
that follow which match the graphic numbering below.
1. We recommend direct connection for LTO-4 and
LTO-3 tape drives. If you back up over a network,
anything less than Gigabit Ethernet may limit
performance.
2. A single disk may limit backup performance. Have
disks in parallel (for example, RAID 5) if possible or, if
your backup application supports interleaving of data,
back up streams from multiple sources.
1. SCSI ID Switch
1. SCSI Cable 2. SCSI Connector
1. SCSI Cable 2. Power Cord
1. Power Button
10400302-001 06/2010 ©2010 Overland Storage, Inc. Page 3 of 4
3. Use the latest version of your backup application.
Native backup applications, such as Windows backup,
may limit performance.
4. Connect the tape drive to a dedicated SCSI bus. Use a
PCI-express or a 64-bit PCI expansion slot for your
SCSI card. Use an Ultra320 SCSI HBA in a 64-bit/
66MHz or better expansion slot for LTO-4/LTO-3. Use
an Ultra160 or higher for LTO-2.
5. For optimum performance, use LTO-4 R/W and
WORM cartridges with LTO-4 tape drives, LTO-3 R/W
and WORM cartridges with LTO-3 tape drives, and
LTO-2 R/W cartridges with LTO-2 tape drives.
LTO-4 Hardware Encryption
Your LTO-4 tape drive provides the ability to hardware
encrypt your data, applying the strongest level of AES
industry-standard encryption and protecting the data
from unauthorized access and use. Encryption is
supported only on LTO-4 media (1.6 TB); media
encrypted on a LTO-4 drive can only be read on a
compatible Ultrium tape drive that supports hardware
encryption.
Hardware encryption can be used with or without
compression and without speed or capacity penalties.
IMPORTANT: Hardware encryption is a powerful feature, but
should be used with care. If you need to import your media
onto another machine or to recover after disaster you will be
required to enter an encryption key.
•Hardware encryption is turned off by default and is
switched on by settings in your backup application,
where you also generate and supply the encryption
key.
•Your backup application must support hardware
encryption for it to work.
•You should keep a record or backup of your encryption
keys and store them in a secure place separate from
the computer running the backup software.
•If you are unable to supply the key when requested to
do so, neither you nor Overland Storage will be able to
access the encrypted data.
Understanding LEDs
Media Choice and Care
Your high-performance tape drive works best with high-
performance LTO media. For optimum performance,
always use a data cartridge that matches the
specification of your tape drive (see Table 1).
The recommended cleaning cartridge is the LTO
universal cleaning cartridge. This cartridge is designed to
work with any Ultrium drive and may be used for up to
50 cleans.
1. Clean – amber
•On: cleaning cartridge in
use.
•Off: the drive does not
require cleaning.
•Flashing: the drive needs
cleaning.
2. Tape – amber
•Off: no fault has been
detected.
•Flashing: the cartridge
currently in the drive is faulty
(damaged / unsupported).
Discard the cartridge.
3. Drive – amber
•Off: no fault has been
detected.
•Flashing: the drive
mechanism has detected a
hardware error.
4. Ready – green
•On: the drive is ready for
use.
•Off: the drive power is off or
there was a failure during
self-test.
•Flashing: the drive is busy.
Table 1: LTO SCSI Data Cartridge Compatibility
LTO-4 HH LTO-3 HH LTO-2 HH
LTO-4
1.6 TB*
* Capacity assumes 2:1 compression.
Read/Write
(Recommended) No No
LTO-4
1.6 TB*
WORM
Write Once
Read Many
(Recommended)
No No
LTO-3
800 GB*Read/Write Read/Write
(Recommended) No
LTO-3
800 GB*
WORM
Write Once
Read Many
Write Once
Read Many
(Recommended)
No
LTO-2
400 GB*Read only Read/Write Read/Write
(Recommended)
LTO-1
200 GB*No Read only Read/Write
10400302-001 06/2010 ©2010 Overland Storage, Inc. Page 4 of 4
It Pays to Look After Your Media
Many tape drive and backup failures are caused by
damaged or badly handled tape media.
•Keep media in the case provided.
•Follow the temperature, humidity, and
acclimatization guidelines on the media packaging.
•Avoid dropping it or rough handling, as this is likely to
damage the cartridge.
•Inspect it regularly for damage.
•Do not exceed normal cartridge life (260 full volume
backup or restore operations).
For detailed information on media care and best practice
and to order online, refer to Overland's web site.
More Information
Access Product Information
For detailed information about your products including
entitlement, click the Service & Support tab and select
My Products > View Products. Log in if you haven’t
already done so.
For the answers to the most commonly asked questions,
select the appropriate product family page under
Downloads and FAQ’s tab.
To search our extensive knowledge base for more
answers, select Get Help > Search Knowledgebase.
NOTE: If you want to be notified whenever a change is made,
click Watch Category in the Tools box on the upper right on the
Knowledgebase sub-category pages.
Detailed Warranty Information
To view detailed warranty information for Overland
products, click Service > Warranty or follow this link:
•http://support.overlandstorage.com/support/service-
coverage.html
Troubleshooting
1. Write-Protect Switch
You can get additional technical support on the Internet at http://support.overlandstorage.com, or by contacting
Overland Storage using the information found on the Contact Us page on our web site.

This manual suits for next models

3

Other Overland Storage Storage manuals

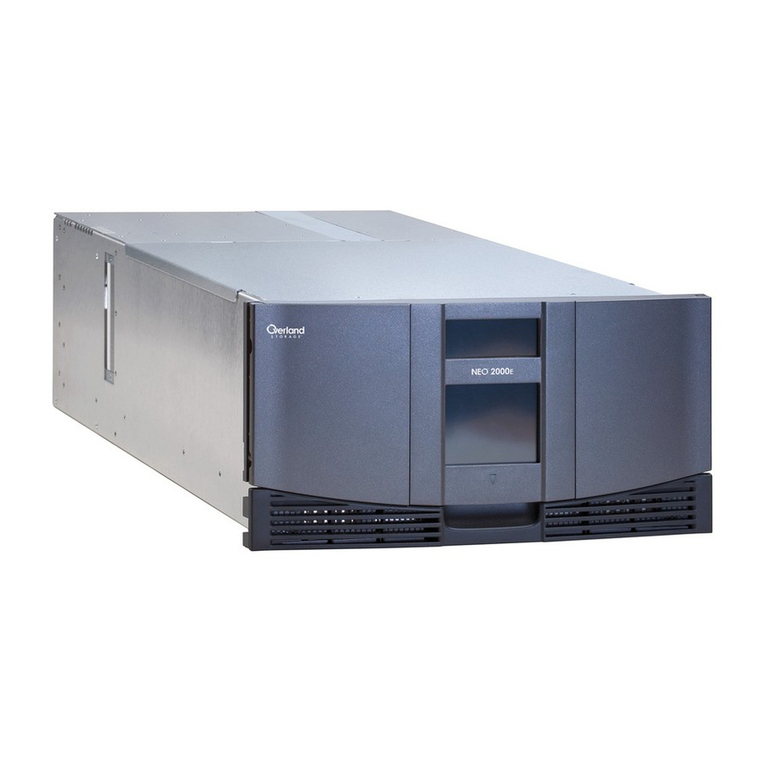
Overland Storage NEO 2000e User manual

Overland Storage

Overland Storage NEO 2000e User manual

Overland Storage REO Series User manual

Overland Storage

Overland Storage REO Series User manual

Overland Storage NEO 8000 User manual

Overland Storage

Overland Storage NEO 8000 User manual

Overland Storage NEO 8000E User manual

Overland Storage

Overland Storage NEO 8000E User manual

Overland Storage REO 9000 User manual

Overland Storage

Overland Storage REO 9000 User manual

Overland Storage NEO 2000e User manual

Overland Storage

Overland Storage NEO 2000e User manual

Overland Storage Ultamus Raid 1200 User manual

Overland Storage

Overland Storage Ultamus Raid 1200 User manual

Overland Storage NEO 8000 User manual

Overland Storage

Overland Storage NEO 8000 User manual

Overland Storage NEO 4000e User manual

Overland Storage

Overland Storage NEO 4000e User manual

Overland Storage NEO 8000 User manual

Overland Storage

Overland Storage NEO 8000 User manual

Overland Storage SnapServer DX1 User manual

Overland Storage

Overland Storage SnapServer DX1 User manual

Overland Storage REO 9100 How to use

Overland Storage

Overland Storage REO 9100 How to use

Overland Storage ARCvault 48 User manual

Overland Storage

Overland Storage ARCvault 48 User manual

Overland Storage NEO 2000e Parts list manual

Overland Storage

Overland Storage NEO 2000e Parts list manual

Overland Storage NEO S-Series User manual

Overland Storage

Overland Storage NEO S-Series User manual

Overland Storage LTO-5 User manual

Overland Storage

Overland Storage LTO-5 User manual

Overland Storage SnapServer XSD 40 User manual

Overland Storage

Overland Storage SnapServer XSD 40 User manual

Overland Storage SnapServer XSD 40 User manual

Overland Storage

Overland Storage SnapServer XSD 40 User manual

Overland Storage ARCvault 12 User manual

Overland Storage

Overland Storage ARCvault 12 User manual

Overland Storage NEO 8000 User manual

Overland Storage

Overland Storage NEO 8000 User manual

Overland Storage SnapServer User manual

Overland Storage

Overland Storage SnapServer User manual

Overland Storage ARCvault 2U Series User manual

Overland Storage

Overland Storage ARCvault 2U Series User manual

Overland Storage SnapScale X2 User manual

Overland Storage

Overland Storage SnapScale X2 User manual

Overland Storage Neo Series Library User manual

Overland Storage

Overland Storage Neo Series Library User manual

Popular Storage manuals by other brands

Glyph Companion-120 Brochure & specs

Glyph

Glyph Companion-120 Brochure & specs

Lexar JUMPDRIVE S50 datasheet

Lexar

Lexar JUMPDRIVE S50 datasheet

Comdial DX-80 manual

Comdial

Comdial DX-80 manual

Cavalry CAUP25160 user manual

Cavalry

Cavalry CAUP25160 user manual

HP c350b quick guide

HP

HP c350b quick guide

Apricorn EZ-BUS-DTS 1TB user guide

Apricorn

Apricorn EZ-BUS-DTS 1TB user guide

Samsung M2 Portable Series user manual

Samsung

Samsung M2 Portable Series user manual

HP StoreAll Series installation guide

HP

HP StoreAll Series installation guide

HP 3PAR StoreServ 7200 2-node Installation and setup guide

HP

HP 3PAR StoreServ 7200 2-node Installation and setup guide

Sermatec SMT-100kWh user manual

Sermatec

Sermatec SMT-100kWh user manual

Lenovo ThinkSystem DM5100F Hardware installation and maintenance guide

Lenovo

Lenovo ThinkSystem DM5100F Hardware installation and maintenance guide

Logicube F-FALCON-SA user manual

Logicube

Logicube F-FALCON-SA user manual

Stardom iTANK MT1-B31BP user manual

Stardom

Stardom iTANK MT1-B31BP user manual

Dell FS7500 manual

Dell

Dell FS7500 manual

Seagate ST3620N product manual

Seagate

Seagate ST3620N product manual

Seagate IRONWOLF ST6000VN001 product manual

Seagate

Seagate IRONWOLF ST6000VN001 product manual

DANE-ELEC SO EXTREME SSD MIGRATION KIT Getting started guide

DANE-ELEC

DANE-ELEC SO EXTREME SSD MIGRATION KIT Getting started guide

HyLoft TireLoft 01030 Assembly instructions

HyLoft

HyLoft TireLoft 01030 Assembly instructions

manuals.online logo
manuals.online logoBrands
  • About & Mission
  • Contact us
  • Privacy Policy
  • Terms and Conditions

Copyright 2025 Manuals.Online. All Rights Reserved.