manuals.online logo
Brands
  1. Home
  2. •
  3. Brands
  4. •
  5. Overland Storage
  6. •
  7. Storage
  8. •
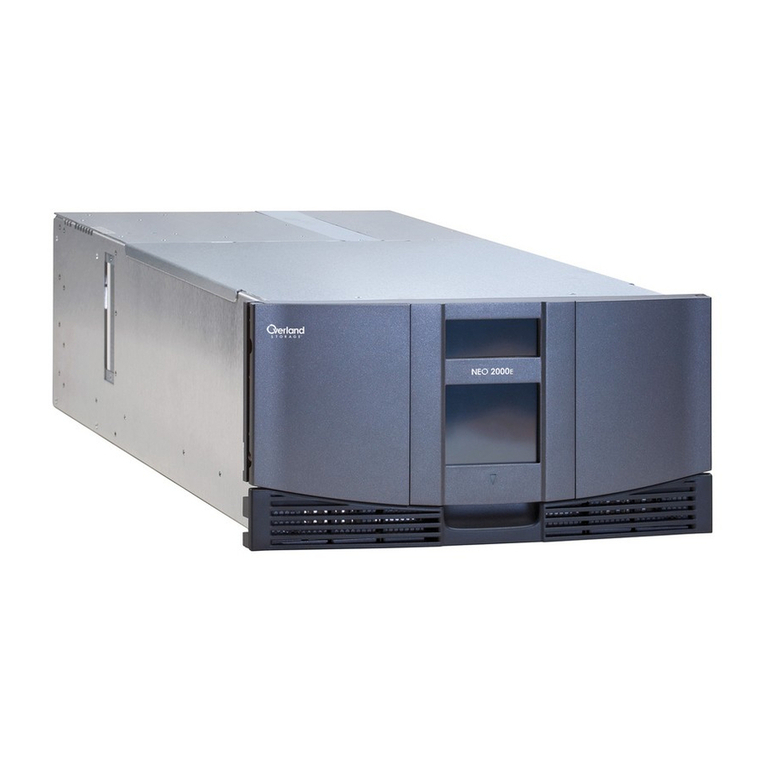
  9. Overland Storage E Series User manual

Overland Storage E Series User manual

10400232-003 ©2010 Overland Storage, Inc. Page 1 of 4
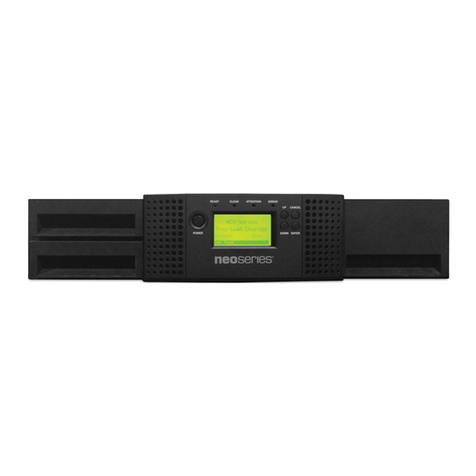
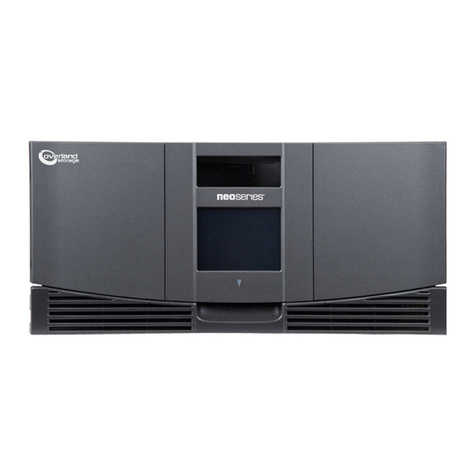
NEO®2000/4000
E-Series Upgrade Kit Instructions
This document describes how to upgrade a legacy NEO
2000 or NEO 4000 library to include some E-Series
features such as use of an ADI (Automation/Drive
Interface).
IMPORTANT: Only libraries with LTO-4 drives can be converted
to an E-Series system using ADI.
It is required that the work be done by an Authorized
Service Provider. Improper installation may result in
damage which voids existing warranties.
WARNING: To reduce the risk of electric shock or damage to
equipment, always remove the power cords.
CAUTION: While working with the unit, observe standard
Electrostatic Discharge (ESD) precautions to prevent damage
to micro-circuitry or static-sensitive devices.
NOTE: Depending on the model, different parts may need to
be transferred from the old appliance to the new appliance.
Re-Register Your Library
It is essential that you re-register your library showing
the upgrade to an E-Series unit to receive appropriate
technical and warranty support. Help is not available
until this is done:
1. Go to the Overland Storage web site
(http://www.overlandstorage.com/).
2. Click the Service & Support tab.
3. At the Site Login, enter your e-mail address and
password and click GO.
NOTE: If you are not yet a member, click “New member?”
and follow the instructions given. It’s free and easy!
4. At the Support Home page, click Manage Products.
5. From Product Selector, select your NEO library.
6. From Actions, click Add a Component.
7. From the component drop-down list, select
KIT,UPGRAGE E-SERIES,LXN.
8. Fill in the information requested.
9. Click Save & Exit (or Save & Add Another).
The E-Series Upgrade is shown on your list.
Update the Drive Firmware
CAUTION: The drive firmware MUST be upgraded to the latest
version to work with the E-series controller being installed.
Tape drive firmware is stored on the Overland FTP site
in specific directories for each tape drive model (LTO-4)
and interface type (SCSI, FC, or SAS). The file naming
convention is the same for all firmware files:
•M##H.E
•M##H.FRM
where:
M= Model Designator
## = Version Number
“H” = Overland Personality Code
“E” = Code for firmware file version used to update
using the NEO library web interface, the Remote
Management Interface (RMI)
“FRM” = Code for firmware file version used to
update using the HP Library and Tape Tools
application.
1. For each tape drive, using the front GUI, press
Status > Drive n LTO > Drive Identification and
note the Product Revision Level.
2. Check the Overland Storage FTP site to determine
the latest version of firmware for your tape drive:
ftp://ftp.overlandstorage.com/Firmware/
Using your drive model and interface type, locate the
proper subfolder, and inside, note the file with the
highest version number.
•If the FTP version is higher than those on the
drives, continue with Step 3.
•Otherwise, skip to Step 6
IMPORTANT: The following examples outlines the steps to
upgrade the firmware in an LTO-4 Fibre Channel drive to
version H43H. Other drive types would use the same
procedure with different firmware names.
NEO-0155
*10400232002*
10400232-003 ©2010 Overland Storage, Inc. Page 2 of 4
3. Using your preferred browser or FTP client,
download the drive firmware to your local computer,
saving it in a easy-to-find location:
ftp://ftp.overlandstorage.com/Firmware/
HP_LTO4_Drive/Fibre/H43H.E
NOTE: If blocked by a firewall, you need to obtain access
elsewhere and then load the file on a local computer.
4. Using your preferred browser or FTP client, upload
the tape drive firmware to the NEO library.
NOTE: To FTP into the NEO library, you must use the
Level 1 password that has been set for the library (the
default password = 1).
•If using a browser, use this address:
ftp://<user_name>:<L1_password>
@<neo_ip_address>/upload
and follow the prompts.
•If using the DOS command line FTP client on a
Windows system, follow this procedure:
ftp <neo_ip_address>
(Login:) guest
(Password:) 1 (or new_password)
cd /upload
bin
put H43H.E
bye
5. Using your preferred browser, update the drive
flash:
a. Using a Level 2 password (default password = 2),
log into the RMI.
b. Click Functions.
c. From the Drive Flash Operation drop-down
menu, select Flash Drive n(<drive_type>) from
Local File.
d. Click Start the Flash, select the file name, and
click OK.
When the flash operation is finished, the GUI
displays a successful completion message.
6. It is recommended for a Master module, to have a
record of the current settings of the library:
a. Log into the RMI and click History > Display
Trace.
b. Print (or save) the first few pages up to the
Factory Area heading.
Replacing the Old Components
Upgrade the Tape Magazines
IMPORTANT: If your serial number is 2B64600001 or
larger, you already have the newer single-piece tape
magazines in your library and can skip this step and continue
with “Power Down the Library.”
1. Using the GUI, remove all your old tape magazines,
number them based on their position, and set them
aside laying them on their backs (tapes up).
CAUTION: The numbering is critical for partitioned libraries
to maintain tapes within a partition.
2. Number the new tape magazines.
3. Place a new magazine on its back next to an old
magazine with the same number.
4. Move the tapes from the old magazine slots to the
same slots in the new magazine.
5. Repeat Steps 3–4 for the remaining magazines.
6. Reinsert the tape magazines into the matching
slots.
Power Down the Library
1. Press the Power button and confirm the shut down.
2. Set the power supply switches to OFF (O).
3. Remove and retain the power cords.
4. Remove all cables from the Controller card.
Remove the Old Controller
1. Using a Phillips screwdriver, loosen the retaining
screws at the top and bottom of the old card.
2. Push the top ejector handle up and the bottom
ejector handle down to release the card.
3. Slide the card out of the bay.
Insert the New Controller
CAUTION: The Library Controller card only functions in the
right-most slot of the Primary card cage.
NEO-0158
NEO-0159
1 2
1 2
3 4
10400232-003 ©2010 Overland Storage, Inc. Page 3 of 4
1. Carefully insert the new Library Controller card
into the right-most slot and slide the card into the
bay until resistance is felt.
2. Using the card handles, apply just enough force to
seat the card snugly into the library backplane.
3. Tighten the hold-down screws on the card handles.
Cabling Changes
The following figures show some common cabling
configurations. Refer to your new NEO 2000e/4000e
User Guide for more information on cabling your library.
SCSI
The new Controller card for the E-Series doesn’t have
SCSI connections since it uses ADI. Use the standard
connections under the drives following recommended
SCSI wiring protocols of one drive per bus for LTO-4 or
higher drives.
FC
Fibre cables connect directly to the FC sockets on the
drive assemblies.
FC with SCSI Drives
Fibre systems using a FCO V.I.A. card to run SCSI
drives, leave the Fibre connection on the card and
connect the card directly to the drives.
NOTE: Follow the same process for a system using a GEO
V.I.A. card.
SAS
SAS cables connect directly to the SAS sockets on the
drive assemblies.
NEO-0130
NEO 4000
VIA-0105
VIA-0105
NEO 2000
NEO-0127
NEO-0128
NEO-0180
NEO-0176
10400232-003 ©2010 Overland Storage, Inc. Page 4 of 4
Partitioning Considerations
For library systems using partitioning, the Partitioning
V.I.A. card is not necessary in the converted library.
Instead, a special Partitioning feature key (available for
purchase separately) is used to activate the partitioning
of the library.
The previously configured partitions are lost when the
new Controller card is installed. They must be
reconfigured using the information in the log printout
and the partitioning chapter in the user guide.
IMPORTANT: To preserve the tapes used by the
partitions being reconfigured, be sure to follow the steps
shown in “Upgrade the Tape Magazines” on page 2.
Completing the Upgrade
Power Up the Library
1. Reconnect any data cables to the Controller card.
2. Reattach the power cords.
3. Set the power supply switches to ON (|).
4. Touch the GUI to power the library ON.
NOTE: During power up, a Fault Code 3031, Chassis S/N
Mismatch, appears. This is normal and is only displayed
the first time the new Library Controller card is activated.
5. Press the Resume button to clear Fault Code 3031.
Configure the Library
The new Library Controller card comes pre-configured.
If it becomes necessary, reenter the code (Step 1);
otherwise, continue with Step 2.
1. Enter the full 32-digit key through the GUI using:
Menu > Library > Feature Keys.
Hyphens and spaces are ignored.
NOTE: A Master or Standalone module can also be
configured through the RMI (Setup > Feature Key).
2. Enter any other key codes (such as partitioning):
a. Log into the RMI and click Setup.
NOTE:
The new Controller card comes configured to
DHCP and the default Administrator password (“2”).
b. Click Feature Key, then click Confirm.
c. Enter the full 32-digit key code in the field.
d. Click Submit.
3. Using the previously printed Trace Log, reconfigure
the library to match its previous configuration.
4. Using the GUI, open the left door and attach the
upgrade code sticker inside the door. Close the
door.
Return the Old Card
NOTE: It is not necessary to return the old magazines.
1. Place the old card in the anti-static bag, and put it
in the replacement part’s box.
2. Return the old part to Overland Storage.
For return shipping details, go to:
http://http://support.overlandstorage.com/support/
support-return-instructions.html
You can get additional technical support on the Internet at http://support.overlandstorage.com, or by contacting
Overland Storage using the information found on the Contact Us page on our web site.

This manual suits for next models

2

Other Overland Storage Storage manuals

Overland Storage SnapServer DX1 User manual

Overland Storage

Overland Storage SnapServer DX1 User manual

Overland Storage NEO 8000E User manual

Overland Storage

Overland Storage NEO 8000E User manual

Overland Storage SnapExpansion XSR User manual

Overland Storage

Overland Storage SnapExpansion XSR User manual

Overland Storage NEO Series User manual

Overland Storage

Overland Storage NEO Series User manual

Overland Storage NEO 2000e User manual

Overland Storage

Overland Storage NEO 2000e User manual

Overland Storage Ultamus Raid 1200 User manual

Overland Storage

Overland Storage Ultamus Raid 1200 User manual

Overland Storage REO 4500x User manual

Overland Storage

Overland Storage REO 4500x User manual

Overland Storage NEO S-Series User manual

Overland Storage

Overland Storage NEO S-Series User manual

Overland Storage ARCvault 48 User manual

Overland Storage

Overland Storage ARCvault 48 User manual

Overland Storage NEO Series User manual

Overland Storage

Overland Storage NEO Series User manual

Overland Storage NEO 8000 Guide

Overland Storage

Overland Storage NEO 8000 Guide

Overland Storage NEO 8000 User manual

Overland Storage

Overland Storage NEO 8000 User manual

Overland Storage Snap Server 210 User manual

Overland Storage

Overland Storage Snap Server 210 User manual

Overland Storage SnapScale X2 Node User manual

Overland Storage

Overland Storage SnapScale X2 Node User manual

Overland Storage NEOs StorageLoader User manual

Overland Storage

Overland Storage NEOs StorageLoader User manual

Overland Storage ARCvault 12 User manual

Overland Storage

Overland Storage ARCvault 12 User manual

Overland Storage SnapServer DX1 User manual

Overland Storage

Overland Storage SnapServer DX1 User manual

Overland Storage NEO 8000 User manual

Overland Storage

Overland Storage NEO 8000 User manual

Overland Storage SnapSAN S2000 User manual

Overland Storage

Overland Storage SnapSAN S2000 User manual

Overland Storage NEO Series User manual

Overland Storage

Overland Storage NEO Series User manual

Overland Storage LoaderXpress Guide

Overland Storage

Overland Storage LoaderXpress Guide

Overland Storage NEO 2000e User manual

Overland Storage

Overland Storage NEO 2000e User manual

Overland Storage NEO 8000 User manual

Overland Storage

Overland Storage NEO 8000 User manual

Overland Storage SnapServer XSD 40 User manual

Overland Storage

Overland Storage SnapServer XSD 40 User manual

Popular Storage manuals by other brands

IronKey Enterprise S1000 user guide

IronKey

IronKey Enterprise S1000 user guide

Philips FM FD05B Series manual

Philips

Philips FM FD05B Series manual

LaCie Porsche Design P 9230 Quick install guide

LaCie

LaCie Porsche Design P 9230 Quick install guide

CEStronics OMEGA FLEX Destop Writer DTW operating instructions

CEStronics

CEStronics OMEGA FLEX Destop Writer DTW operating instructions

Philips FM02FD20B/00 Specifications

Philips

Philips FM02FD20B/00 Specifications

Huawei FusionModule1000A40 ICT Solution installation guide

Huawei

Huawei FusionModule1000A40 ICT Solution installation guide

Teac HDU1000/KIT datasheet

Teac

Teac HDU1000/KIT datasheet

Glyph Companion-120 Brochure & specs

Glyph

Glyph Companion-120 Brochure & specs

Pegasus J4 user manual

Pegasus

Pegasus J4 user manual

HP StorageWorks 6100 - Enterprise Virtual Array user guide

HP

HP StorageWorks 6100 - Enterprise Virtual Array user guide

HPE StoreVirtual 3200 installation guide

HPE

HPE StoreVirtual 3200 installation guide

Follett ITS500-31 Installation, operation, and parts manual

Follett

Follett ITS500-31 Installation, operation, and parts manual

Brainzsquare SECUDRIVE USB CAD user guide

Brainzsquare

Brainzsquare SECUDRIVE USB CAD user guide

Seagate ST300MP0004 product manual

Seagate

Seagate ST300MP0004 product manual

Samsung M2 Portable Series user manual

Samsung

Samsung M2 Portable Series user manual

VERITAS NetBackup 5240 Replacement

VERITAS

VERITAS NetBackup 5240 Replacement

SanDisk Cruzer Profile brochure

SanDisk

SanDisk Cruzer Profile brochure

IBM BladeCenter Management Module installation guide

IBM

IBM BladeCenter Management Module installation guide

manuals.online logo
manuals.online logoBrands
  • About & Mission
  • Contact us
  • Privacy Policy
  • Terms and Conditions

Copyright 2025 Manuals.Online. All Rights Reserved.