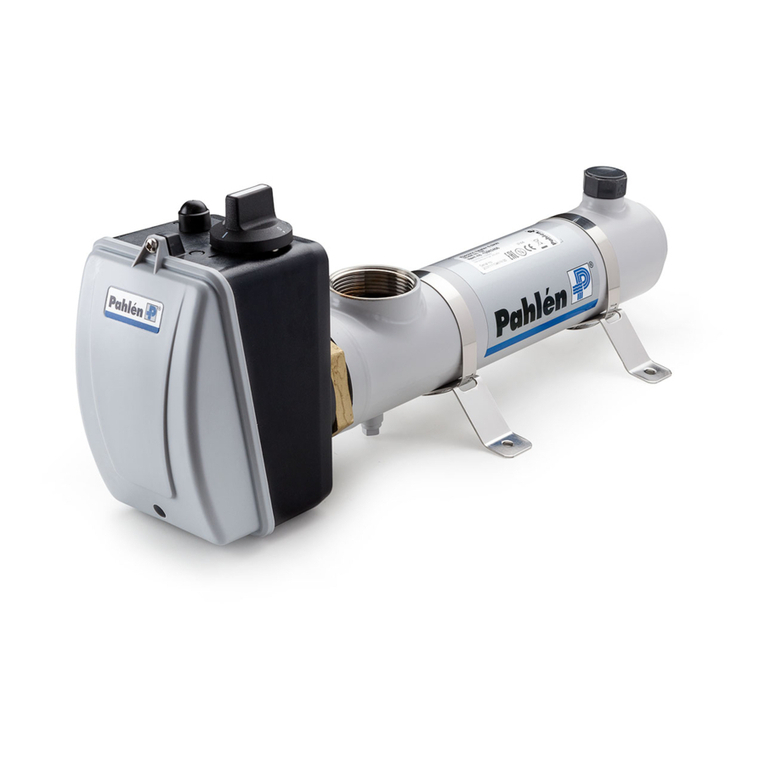
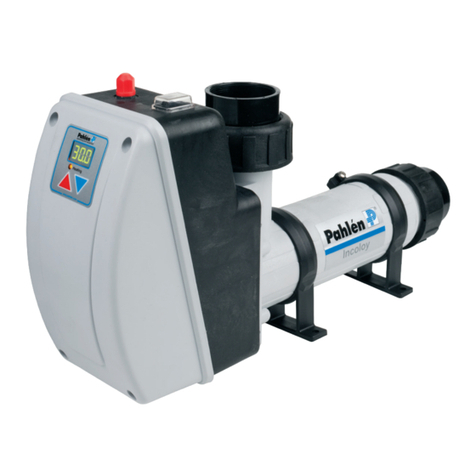
Pahlen Aqua Spa User manual

3
Elvärmare Aqua spa
MA45-27S
SVENSKA
187
120
163
Ø50 200
Ø50
L>200
Ø50
L>200
min 200
Ø50
L>200
8
7
6
5
4
3
2
1
3
Produktbeskrivning
För små pooler och bubbelbad.
Art.nr 141650 1,5kW, 141651 2kW, 141652 3kW.
Värmaren levereras med ställbar termostat med temperaturområdet 0-45°C, överhettningsskydd med maximal brytnings-
temperatur på 60°C samt en ödesvakt som bryter spänningen när vattenödet understiger 90 l/min.
Manteln är av plast och elpatronen av Incoloy 825. Anslutningarna är av PVC för invändig limning mot PVC-rör Ø50 mm.
Värmaren får EJ användas i aggressivt vatten, saltvatten eller i pooler med klormaskin/saltklorinator.
Tekniska data Dimensioner
Min. öde 90 l/min
Max. öde 300 l/min
Spänning: 220-240V, 1-fas
Max. övertryck: 1 bar
Max. temperatur: 45°C
Allmän info
För att säkerställa god funktion och lång livslängd på
elvärmaren är det viktigt att nedanstående rekommenderade
värden beträffande vattenkvalitén följs.
Klorhalt: max 3,5 mg/l (ppm)
Klorid(salt)halt: max 250 mg/l (ppm)
pH-värde: 7,2 - 7,6
Alkalinitet: 60-120 mg/l (ppm)
Kalciumhårdhet: 100-300 mg/l (ppm)
Järn: max 0,1 mg/l *
Koppar: max 0,2 mg/l *
Mangan: max 0,05 mg/l *
Fosfor: max 0,01 mg/l *
Nitrat: max 50 mg/l *
* Enligt EN 16713-3
Utanför dessa värden gäller ej produktgarantin.
Installation
Värmaren skall installeras minst 200 mm under normal vattennivå i poolen, se exempel.
Anslutning skall göras med PVC-rör Ø50mm (inv. Ø42mm) med minst 200 mm rak längd före och efter värmaren.
Obs! Värmarens kopplingsdosa skall vara vänd uppåt.
Om installationsanvisningen inte följs gäller ej produktgarantin.
Installationen skall vara så utförd att värmaren inte kan självdräneras vid utebliven poolcirkulation. Ventiler får ej installeras så
att vattenödet genom värmaren helt kan stängas av.
Om ventil mellan poolen och värmaren erfordras, skall detta vara en backventil.
Installera gärna en nivåvakt på poolen, så att värmaren automatiskt slår ifrån vid låg vattennivå.
Installationsexempel 1: Liten pool
OBS!
Elvärmaren skall
alltid vara placerad
minst 200 mm
under vattenytan.
1. Bräddavlopp
2. Inlopp
3. Belysning
4. Pump
5. Filter
6. Elvärmare
7. Backventil
8. Avlopp

4
Elvärmare Aqua spa
MA45-27S
SVENSKA
Ø50
L>200
Ø50
L>200
Ø50
L>200
Ø50
L>200
Ø50
L>200
min 200
L>200
7
6
5
4
3
2
1
Belysning
Ø50
L>200
Ø50
L>200
L>200
Ø50
L>200
9
8
7
6
5
4
3
1
2
Installationsexempel 2: Bubbelpool
Alt 1:Pahléns rekommendation.
Alt 2:
Vid utrymmesbrist.
Installationsexempel 3: Badtunna
OBS!
Elvärmaren skall
alltid vara placerad
minst 200 mm
under vattenytan.
OBS!
Elvärmaren skall
alltid vara placerad
minst 200 mm
under vattenytan.
1. Överloppsränna
2. Expansionskärl
3. Bottenavlopp
4. Inlopp
5. Pump
6. Filter
7. Elvärmare
8. Backventil
9. Avlopp
1. Botttenavlopp
2. Inlopp
3. Pump
4. Filter
5. Elvärmare
6. Backventil
7. Avlopp

5
Elvärmare Aqua spa
MA45-27S
SVENSKA
LN
2
1
2
1
1
3
Cap
1
Cap
Reset button
2
Elinstallation
Den elektriska installationenen får endast utföras av behörig elinstallatör.
Elvärmaren skall anslutas elektriskt med fas, nolla och skyddsjordledare.
Elinstallationen skall göras via en allpolig arbetsbrytare samt jordfelsbrytare indirekt via kontaktor som styrs från poolpumpens
elanslutning. Detta för att värmaren ej skall kunna startas utan att vattnet cirkulerar i poolen.
Elschema
Felsökning
Av säkerhetsskäl löser värmarens överhettningsskydd ut vid brist på vatten eller dålig cirkulation. Detta är den vanligaste
orsaken till att värmaren “slutat fungera”.
Undersök orsaken till att överhettningsskyddet har löst ut.
Efter att orsaken är klarlagd och åtgärdad återställs överhettningsskyddet genom att:
1. Tag bort skyddshuven, se bild 1 nedan.
2. Tryck in återställningsknappen på kopplingsboxen, se bild 2 nedan.
3. Sätt på skyddshuven igen.
Skyddshuv
Skyddshuv
Återställningsknapp
Start
1. Fyll vatten i poolen till rätt nivå.
2. Starta poolpumpen.
3. Först när systemet tömts på all luft skall värmaren startas.
4. Ställ in termostaten genom att vrida ratten till önskad temperatur.
5. Vattnet värms nu upp till inställd temperatur.
Handhavande
Vid backspolning av ltret skall strömmen till värmaren slås ifrån.
Vid frysrisk skall strömmen slås av och värmaren tömmas på allt vatten.
Elvärmare
Överhettnings-
skydd
Termostat
Flödes-
vakt
Av/På
1~230V


7
MA45-27E
187
120
163
Ø50 200
Ø50
L>200
Ø50
L>200
min 200
Ø50
L>200
8
7
6
5
4
3
2
1
3
Electric heater Aqua spa ENGLISH
Product description
For small pools and bubble baths.
Art. nr 141650 1,5kW, 141651 2kW, 141652 3kW.
The heater comes with an adjustable thermostat with a temperature range 0-45° C, overheating protection with a maximum
refractive temperature of 60° C and a ow switch that breaks voltage when the water ow is less than 90 l/min.
Casing is made of plastic and the electric cartridge of Incoloy 825. Connections are made of PVC for internal attachments to
PVC pipes Ø50 mm.
The heater must NOT be used in aggressive water, salt water or in pools with chlorine machine/salt chlorinator.
Technical data Dimensions
Minimum ow: 90 l/min
Maximum ow: 300 l/min
Voltage: 220-240V, single phase
Max. overpressure: 1 bar
Max. temperature: 45°C
General information
To ensure good operation and long life of the electric heater,
it is important to follow the recommended values for water quality.
Total chlorine content: max 3,5 mg/l (ppm)
Chloride (salt) content: max 250 mg/l (ppm)
pH-value: 7,2 - 7,6
Alkalinity: 60-120 mg/l (ppm)
Calcium hardness: 100-300 mg/l (ppm)
Iron: max 0,1 mg/l *
Copper: max 0,2 mg/l *
Manganese: max 0,05 mg/l *
Phosphorus: max 0,01 mg/l *
Nitrate: max 50 mg/l *
* Complies with EN 16713-3
Outside these values the product warranty does not apply.
Installation
The heater should be installed at least 200 mm below normal water level in the pool, see example.
Connection must be made with PVC tube Ø50mm (int. Ø42mm) with at least 200 mm straight length before and after the heater.
Note! The heater junction box should be facing upwards.
If the installation instructions are not followed, the product warranty is not valid.
Installation must be the kind that the heater cannot be self-drained if there is no pool circulation. Valves may not be installed so
that water ow through the heater can be completely switched off.
If a valve between the pool and the heater is required, this should be a check valve.
Please install a level guard in the pool so that the heater automatically switches off at low water level.
Installation example 1: Small pool
NOTE!
Electric heater must
always be positioned
at least 200 mm below
the water level.
1. Skimmer
2. Inlet
3. Light
4. Pump
5. Filter
6. Electric heater
7. Check valve
8. Drain

8
MA45-27E
Ø50
L>200
Ø50
L>200
min 200
L>200
7
6
5
4
3
2
1
Belysning
Ø50
L>200
Ø50
L>200
L>200
Ø50
L>200
9
8
7
6
5
4
3
1
Ø50
L>200
Ø50
L>200
Ø50
L>200
Electric heater Aqua spa ENGLISH
IInstallation example 2: Bubble pool
Ver. 1: Pahlén’s recommendation.
Installation example 3: Hot tub
NOTE!
Electric heater must
always be positioned at
least 200 mm below the
water level.
NOTE!
Electric heater must
always be positioned at
least 200 mm below the
water level.
1. Overow run
2. Expansion tank
3. Bottom drain outlet
4. Inlet
5. Pump
6. Filter
7. Electric heater
8. Check valve
9. Drain
1. Bottom drain outlet
2. Inlet
3. Pump
4. Filter
5. Electric heater
6. Check valve
7. Drain
Ver. 2:
In case of space shortage

9
MA45-27E
LN
2
1
2
1
1
3
Cap
1
Cap
Reset button
2
Electric heater Aqua spa ENGLISH
Electric installations
Electric installation may be performed only by a qualied electrician.
Electric heater must be connected electrically to phase, neutral and protective earth conductors.
Electric installation must be done via an all-pole work switch and ground fault switch indirectly via contactor controlled from
the pool pump electric connections. This is because the heater cannot be started without the water circulating in the pool.
Diagram
Felsökning
For safety reasons, the heater’s overheat protection will dissolve in case of lack of water or poor circulation. This is the most
common reason why the heater “stopped working”.
Find the cause of the lost overheating protection.
After the cause has been found and corrected, the overheating protection must be reset:
1. Remove protective cover, see Fig. 1 below.
2. Press the reset button on the junction box, see Fig. 2 below.
3. Install protective cover again.
Protective cap
Protective cap
Reset button
Start
1. Fill water into the pool up to the right level.
2. Start the pool pump.
3. The heater will start only when the system is emptied of all air.
4. Set the desired pool temperature by turning the knob to the desired temperature.
5. Water is now heated to the set temperature.
Operation
When ushing and cleaning the lter, turn off the power to the heater.
In case of freezing, switch off the power and drain the heater of all water.
Electric heater
Overheating
protection
Thermostate
Flow
switch
On/Off
1~230V
Other manuals for Aqua Spa
3
This manual suits for next models
3
Table of contents
Languages:
Other Pahlen Electric Heater manuals

Pahlen
Pahlen Aqua Compact Standart User manual

Pahlen
Pahlen Aqua HL User manual

Pahlen
Pahlen Aqua compact User manual

Pahlen
Pahlen Maxi Heat User manual

Pahlen
Pahlen Aqua Spa User manual

Pahlen
Pahlen Aqua compact Incoloy 141600 User manual

Pahlen
Pahlen Compact Operator's manual

Pahlen
Pahlen Aqua SPA 141650 User manual

Pahlen
Pahlen Aqua HL Series User manual

Pahlen
Pahlen MidiHeat EHA User manual