Panasonic ET-RFE300C User manual
Other Panasonic Water Filtration System manuals

Panasonic
Panasonic ET-EMF330 User manual

Panasonic
Panasonic TK-CJ21 User manual
Panasonic
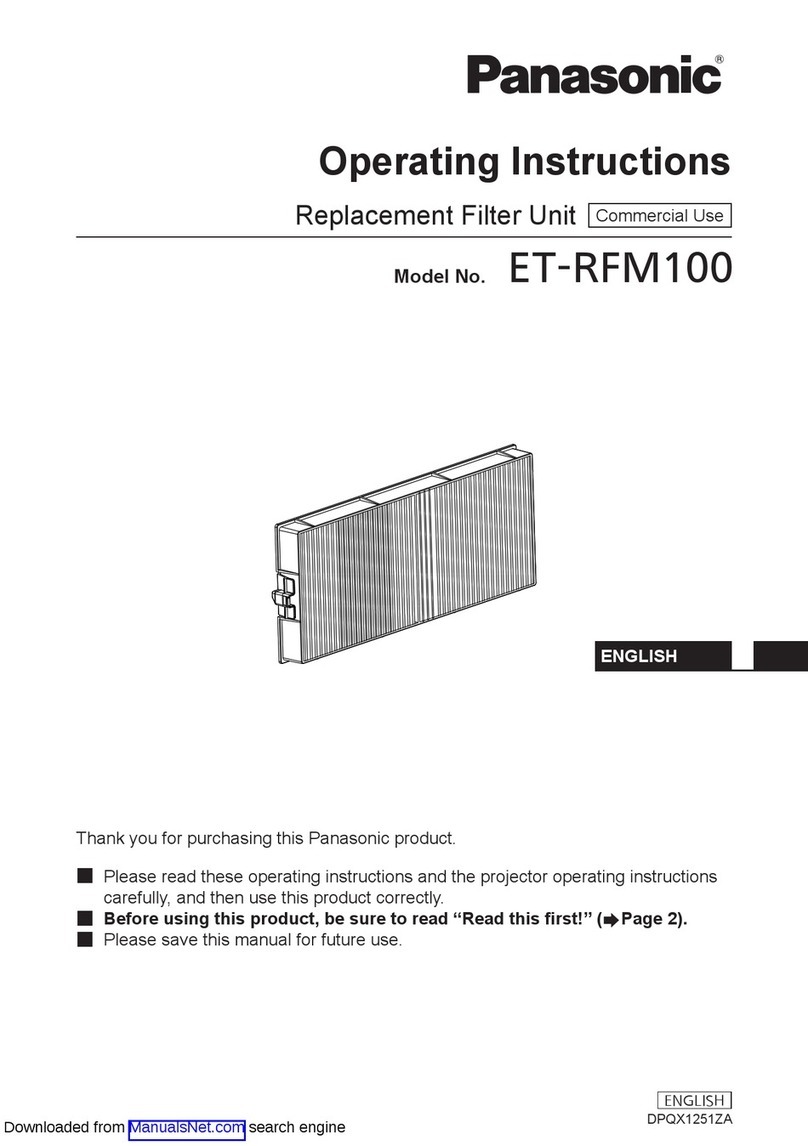
Panasonic ET-RFM100 User manual

Panasonic
Panasonic ET-RFV200 User manual

Panasonic
Panasonic ET-RFL300 User manual
Panasonic
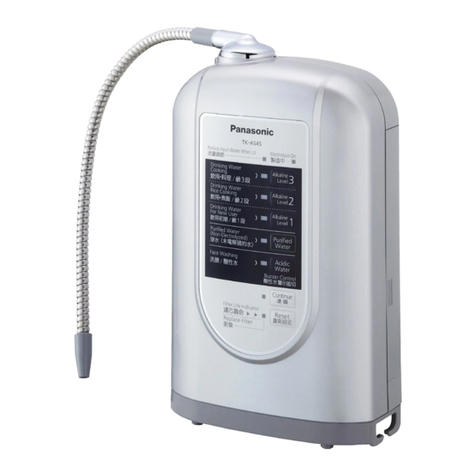
Panasonic TK-AS45 User manual
Panasonic
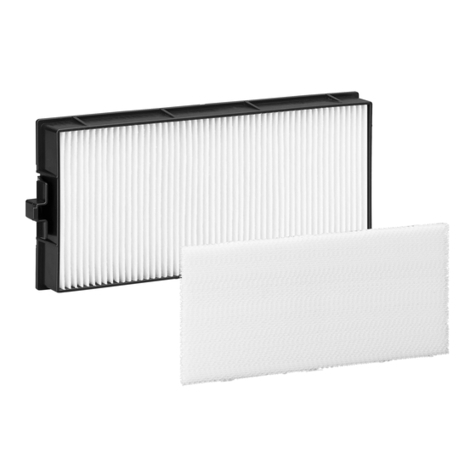
Panasonic ET-RFF200 User manual
Panasonic
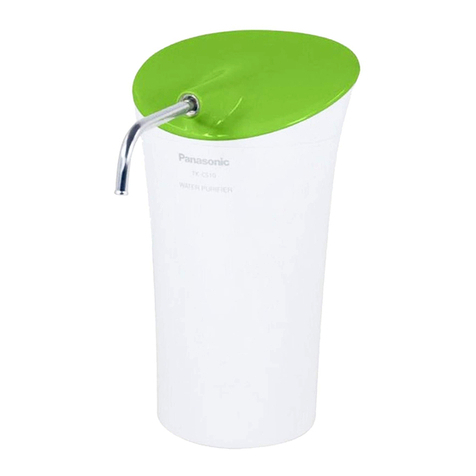
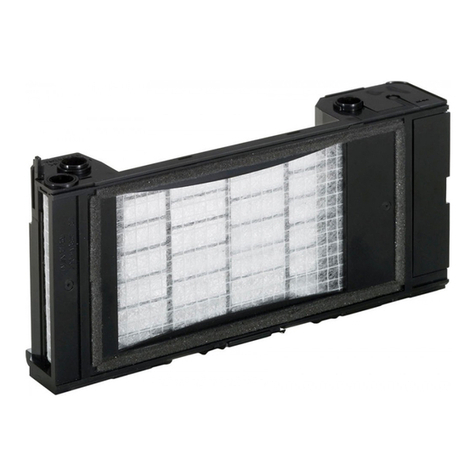
Panasonic TK-CS10 User manual
Panasonic
Panasonic ET-ACF100 Guide
Panasonic
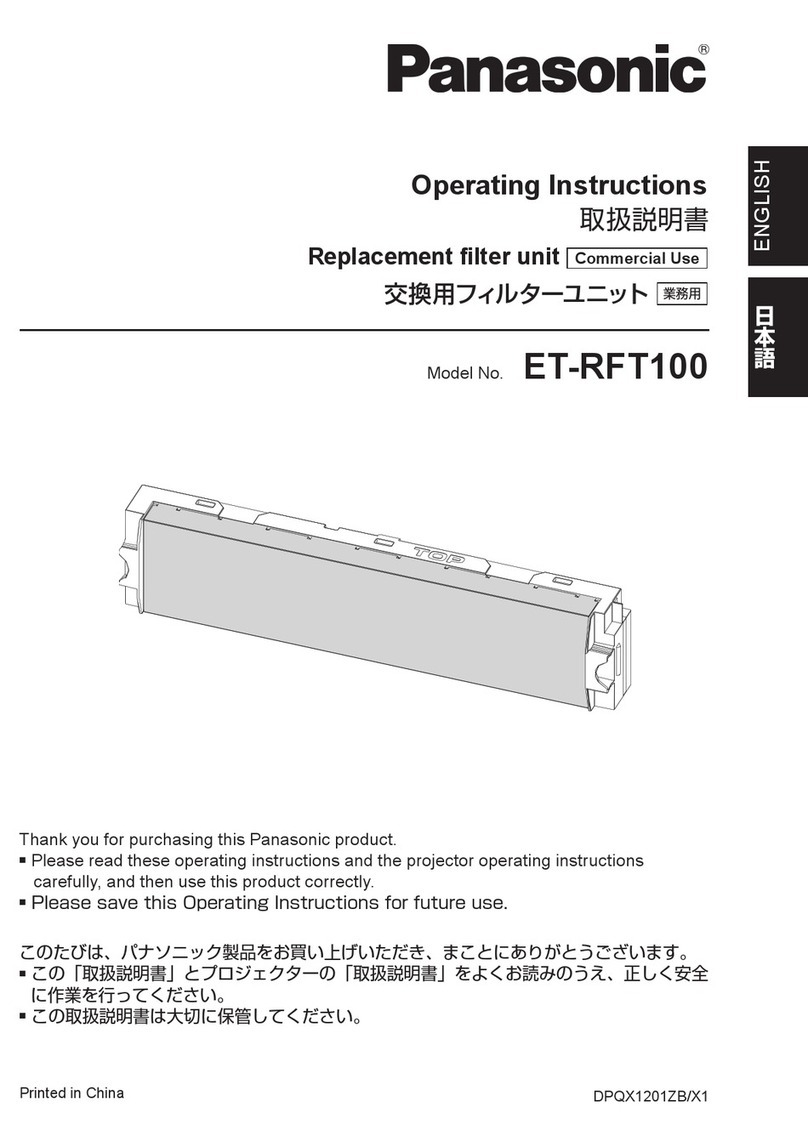
Panasonic ET-RFT100 User manual

Panasonic
Panasonic ET-EMF100 User manual
Panasonic
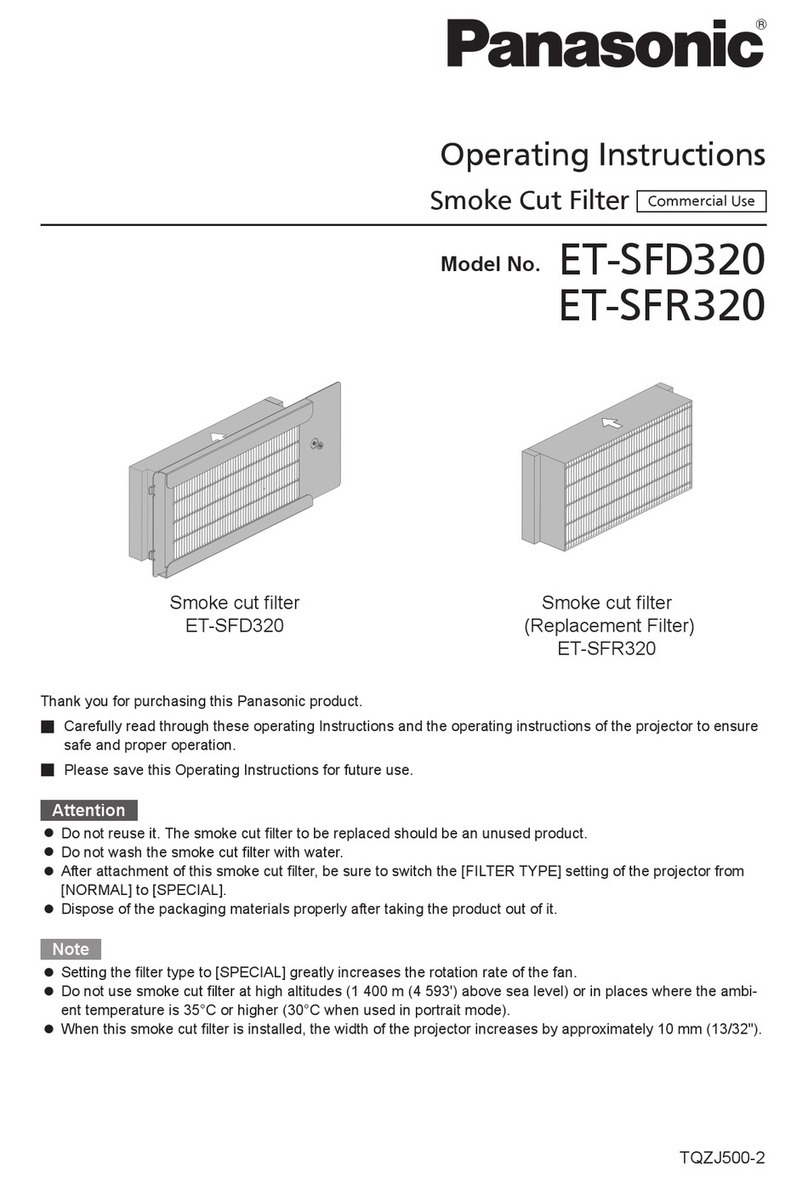
Panasonic ET-SFD320 User manual
Panasonic
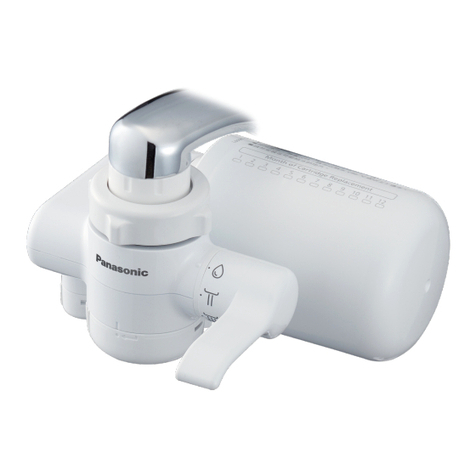
Panasonic TK-CJ300-WTH User manual
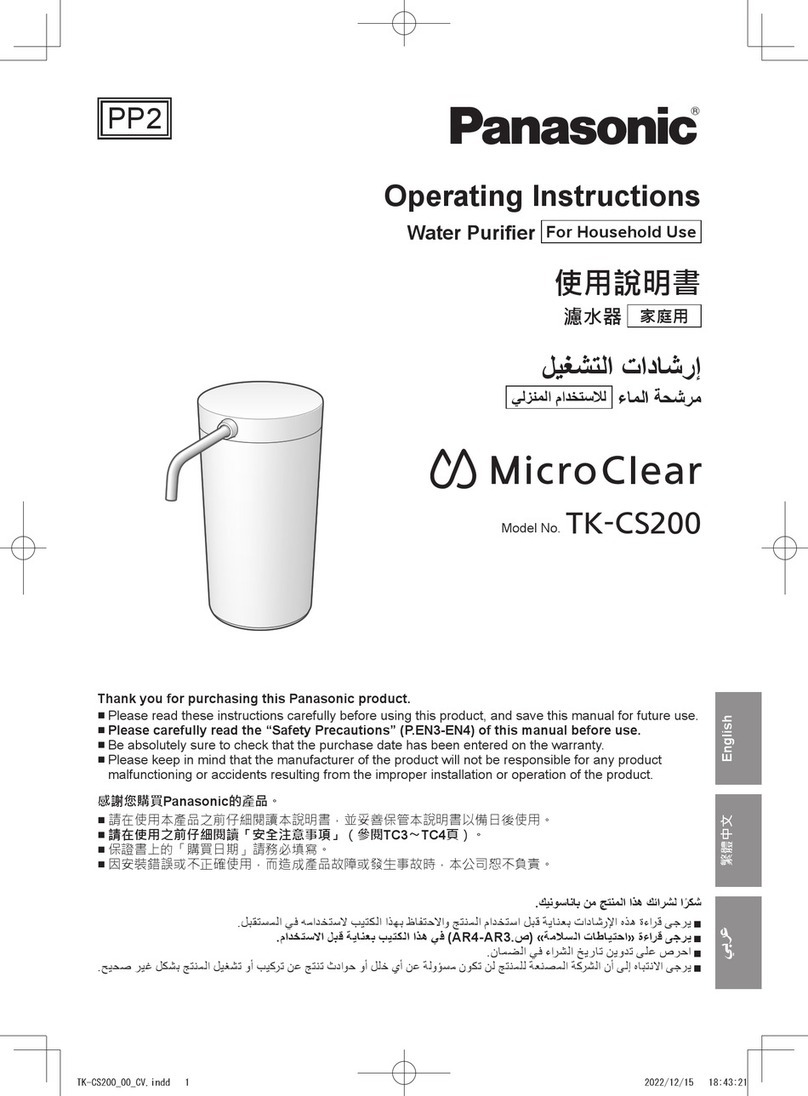
Panasonic
Panasonic MicroClear TK-CS200 User manual

Panasonic
Panasonic ET-RFV100 User manual
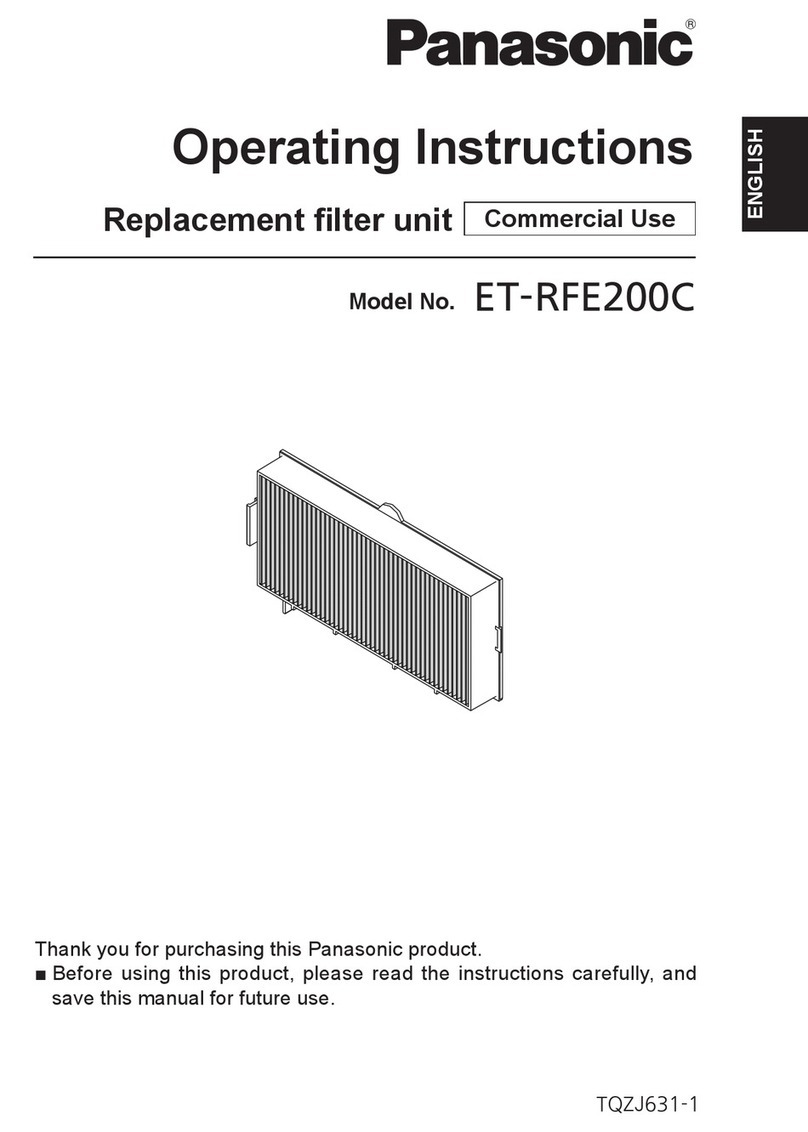
Panasonic
Panasonic ET-RFE200C User manual

Panasonic
Panasonic TK-CS10 User manual
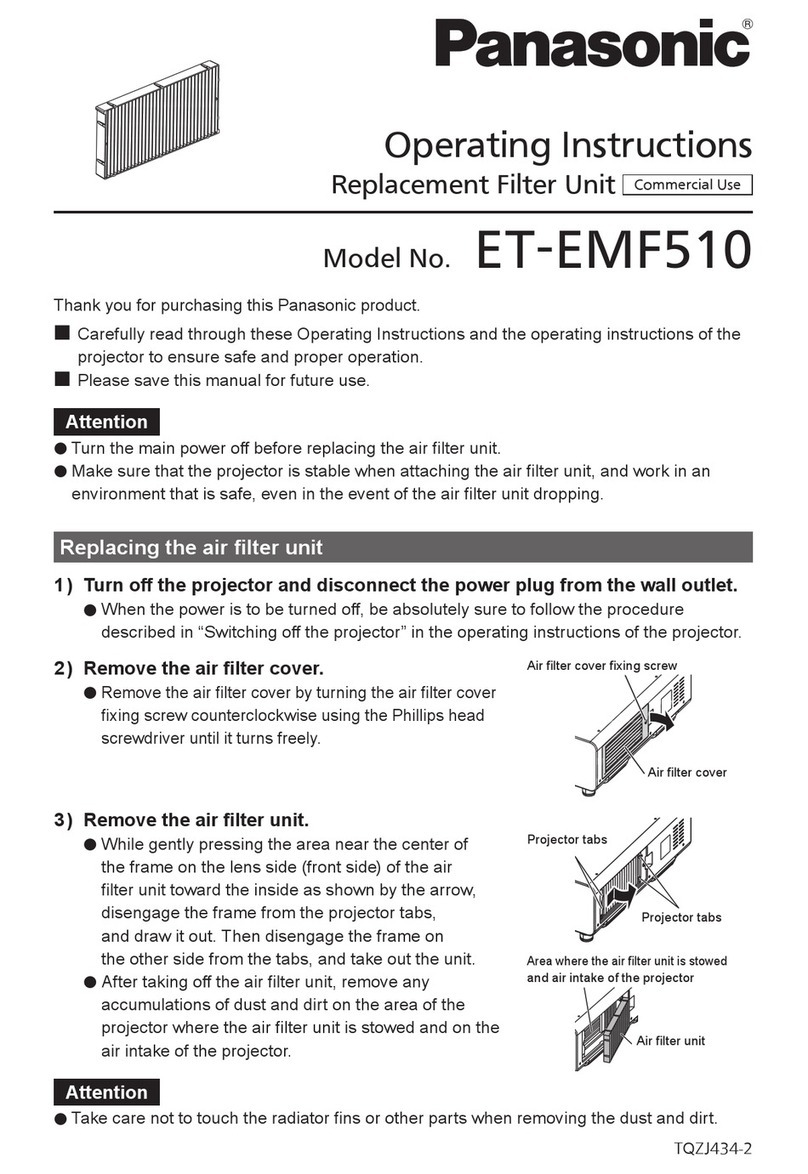
Panasonic
Panasonic ET-EMF510 User manual
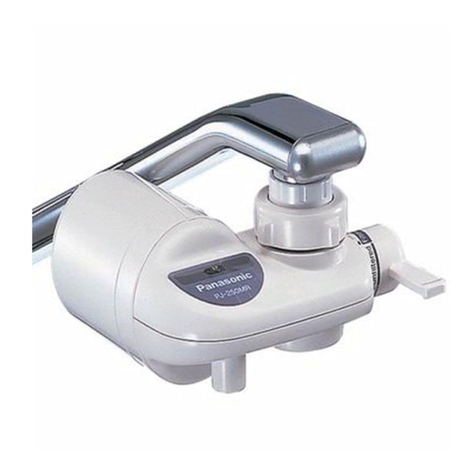
Panasonic
Panasonic PJ-225R User manual
Panasonic
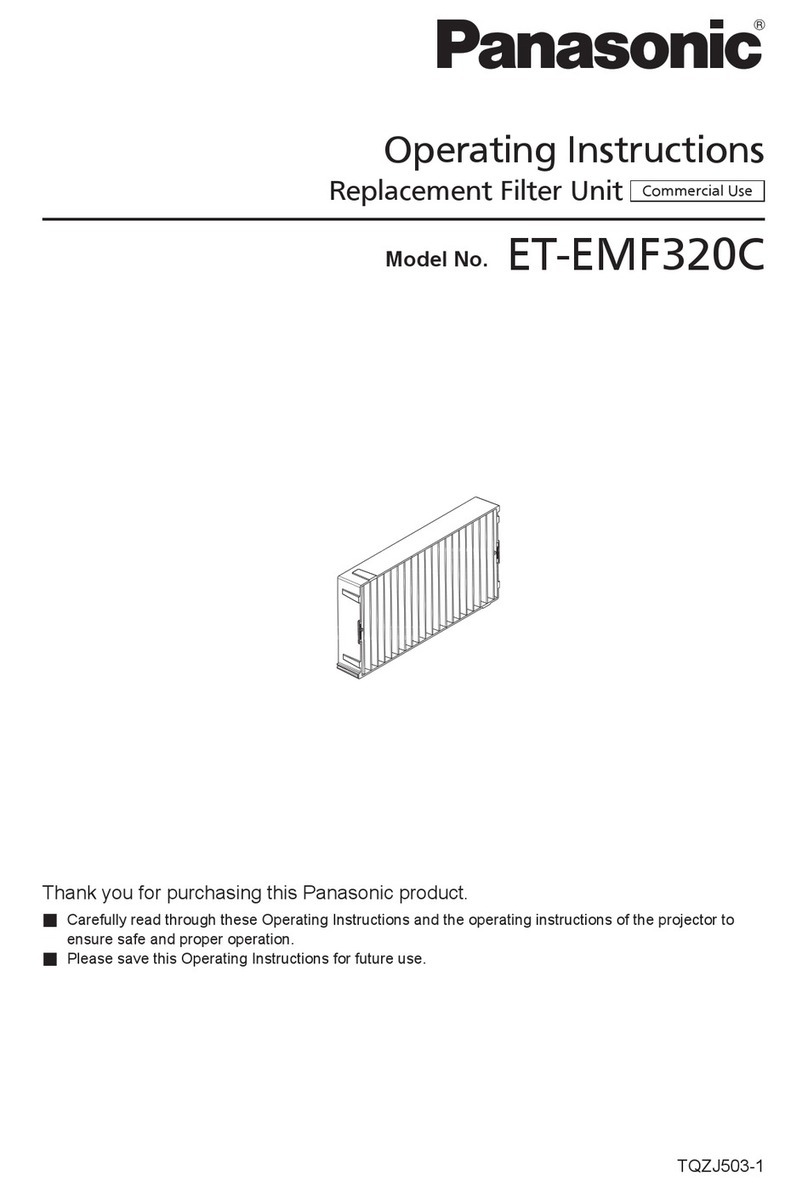
Panasonic ET-EMF320C User manual
Popular Water Filtration System manuals by other brands

Wisy
Wisy LineAir 100 Installation and operating instructions

Schaffner
Schaffner Ecosine FN3446 Series User and installation manual

Pentair
Pentair FLECK 4600 SXT Installer manual

H2O International
H2O International H20-500 product manual

Renkforce
Renkforce 2306241 operating instructions

Neo-Pure
Neo-Pure TL3-A502 manual
