manuals.online logo
Brands
  1. Home
  2. •
  3. Brands
  4. •
  5. Parrot
  6. •
  7. Automobile Accessories
  8. •
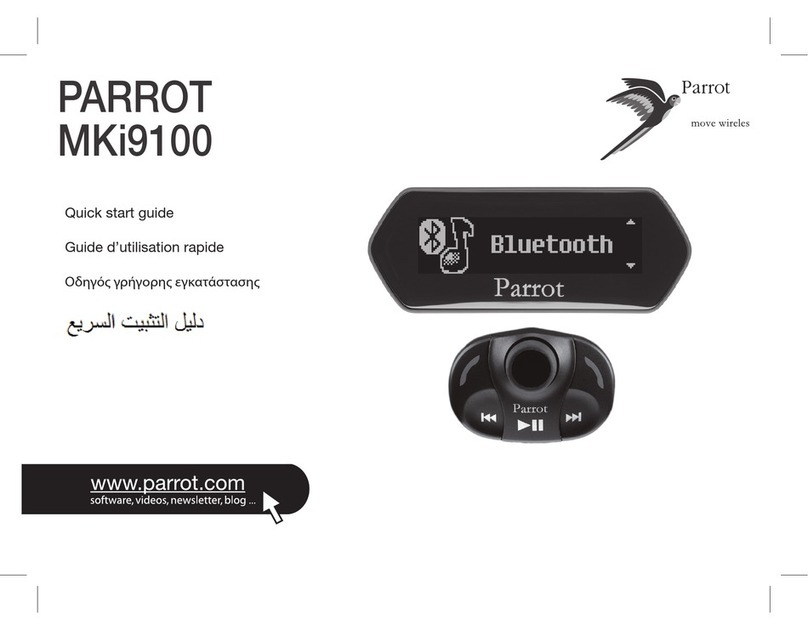
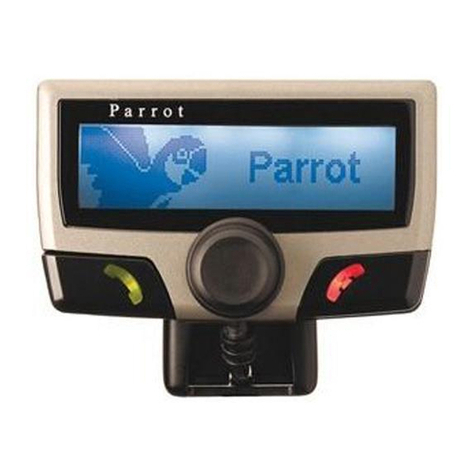
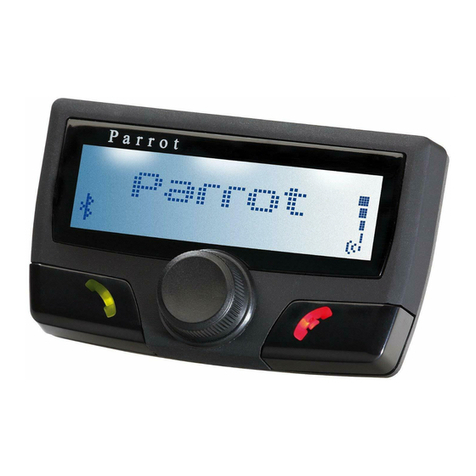
  9. Parrot CK3100 LCD User manual

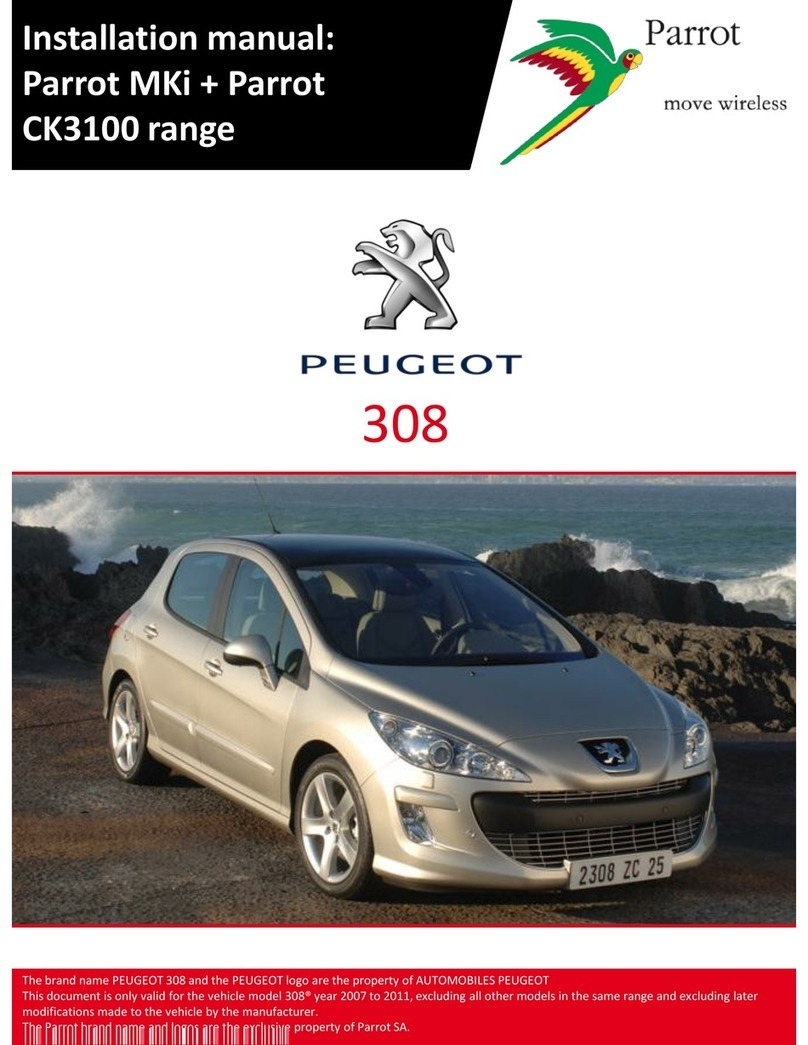
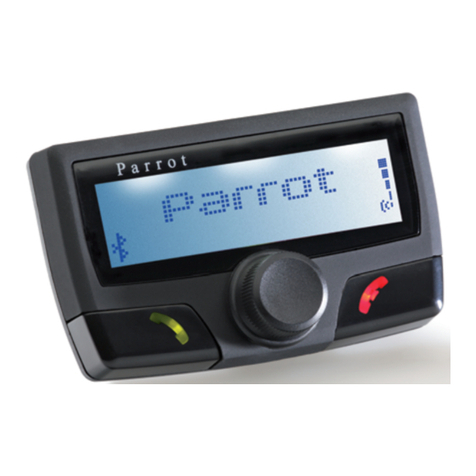
Parrot CK3100 LCD User manual

This sheet is designed to help you with the installation of a Parrot product and is purely for information. Any installation performed in
compliance with the instructions appearing in this document is done under the sole responsibility of the installer, who is entirely responsible
for the quality of the installation. All rights reserved © Copyright 2011 PARROT SA RCS PARIS 394 149 496. May not be reproduced without the
authorisation of Parrot SA. Pictures for information only.
PASSAT 2011
The VOLKSWAGEN PASSAT marque and VOLKSWAGEN logo are the property of the VOLKSWAGEN France Group s.a or VOLKSWAGEN AG.
This document is only valid for the vehicle model PASSAT® year 2011, excluding all other models in the same range and excluding later
modifications made to the vehicle by the manufacturer.
The Parrot brand name and logos are the exclusive property of Parrot SA.
PASSAT 2011
Schéma d’installation :
Gamme Parrot MKi +
Parrot CK3100
This sheet is designed to help you with the installation of a Parrot product and is purely for information. Any installation performed in
compliance with the instructions appearing in this document is done under the sole responsibility of the installer, who is entirely responsible
for the quality of the installation. All rights reserved © Copyright 2011 PARROT SA RCS PARIS 394 149 496. May not be reproduced without the
authorisation of Parrot SA. Pictures for information only.
PASSAT 2011
Disassembly
30 min
Kit installation
30 min
Refitting
30 min
Testing
15 min
Total
1 hour 45 minutes
NO
ACC wire
NO
ISO
YES
UNIKA
FRONT SPEAKER
TEL mode
ALL
MUSIC mode
Fitting time / Main features
Tools
-TORX screwdriver
- Cutting pliers
- Crimping pliers
- Multimeter or Test lamp
- Pull through cord
- Electrical/amalgamation tape
- Soldering Iron
Plastic Trim Removal tools
FACOM / BERNER
Accessories required
Updating
Kram ref.
Dealer ref.
CK range
86 200
YY 138 CABL 1
MKi range
84 942
YY 138 CABL 2
Photos for illustration purposes
CK range MKi range
To get the most out of your hands-free kit we recommend that you update your
software regularly. The update procedure can be found at
www.parrot.com/usa/support/downloads
“Quick Connect harness references available at
http://certified.parrot.com/faisceaux_US.php"
This sheet is designed to help you with the installation of a Parrot product and is purely for information. Any installation performed in
compliance with the instructions appearing in this document is done under the sole responsibility of the installer, who is entirely responsible
for the quality of the installation. All rights reserved © Copyright 2011 PARROT SA RCS PARIS 394 149 496. May not be reproduced without the
authorisation of Parrot SA. Pictures for information only.
PASSAT 2011
Disassembly
This sheet is designed to help you with the installation of a Parrot product and is purely for information. Any installation performed in
compliance with the instructions appearing in this document is done under the sole responsibility of the installer, who is entirely responsible
for the quality of the installation. All rights reserved © Copyright 2011 PARROT SA RCS PARIS 394 149 496. May not be reproduced without the
authorisation of Parrot SA. Pictures for information only.
PASSAT 2011
5 6
1 2
3
4
5
6
1
3
2
4
Disassembly 1 / 3
Release the panel by inserting the
plastic trim tools underneath. Remove screws 1 and 2.
Unclip the cabin light and
disconnect it.
Using the plastic trim tools,
unclip the vanity light from the
left-hand side.
Using the plastic trim tools,
unclip the car stereo and air
conditioning surround.
Remove screws 3, 4, 5 and 6
around the car stereo.
Disconnect the connector and
the aerial cables.
This sheet is designed to help you with the installation of a Parrot product and is purely for information. Any installation performed in
compliance with the instructions appearing in this document is done under the sole responsibility of the installer, who is entirely responsible
for the quality of the installation. All rights reserved © Copyright 2011 PARROT SA RCS PARIS 394 149 496. May not be reproduced without the
authorisation of Parrot SA. Pictures for information only.
PASSAT 2011
7
9
8
10
11 12
7
8 9
10
Disassembly 2 / 3
Remove screws 7, 8, 9 and 10
around the air conditioning
control unit, then remove it
without disconnecting it.
Open the storage compartment
under the steering wheel.
Press down on the tabs inside to
release the box. Pull up to unclip it.
Using the plastic trim tools,
unclip the side panel of the
dashboard on the driver's side.
Unclip the cover plate running
up the side of the door.
This sheet is designed to help you with the installation of a Parrot product and is purely for information. Any installation performed in
compliance with the instructions appearing in this document is done under the sole responsibility of the installer, who is entirely responsible
for the quality of the installation. All rights reserved © Copyright 2011 PARROT SA RCS PARIS 394 149 496. May not be reproduced without the
authorisation of Parrot SA. Pictures for information only.
PASSAT 2011
13
9 10
Disassembly 3 / 3
Remove the ‘A’ Pillar trim.
This sheet is designed to help you with the installation of a Parrot product and is purely for information. Any installation performed in
compliance with the instructions appearing in this document is done under the sole responsibility of the installer, who is entirely responsible
for the quality of the installation. All rights reserved © Copyright 2011 PARROT SA RCS PARIS 394 149 496. May not be reproduced without the
authorisation of Parrot SA. Pictures for information only.
PASSAT 2011
Using a guide, feed an electric
wire from under the steering
wheel to the car stereo housing.
Feed the wire to the left into the
fuse box housing.
Reconnect the ACC wire using a
round male connector to the
blue wire of the adaptor in front
of the fuse holder.
1 2
Attach a 1.5mm lug and insert it
into one of the slots at the top of
the fuse box. Using the
multimeter, check that the ‘+’ is
connected to the ignition.
3 4
Finding an ACC wire
This sheet is designed to help you with the installation of a Parrot product and is purely for information. Any installation performed in
compliance with the instructions appearing in this document is done under the sole responsibility of the installer, who is entirely responsible
for the quality of the installation. All rights reserved © Copyright 2011 PARROT SA RCS PARIS 394 149 496. May not be reproduced without the
authorisation of Parrot SA. Pictures for information only.
PASSAT 2011
4
5 6
1
3
2
Microphone feeding 1 / 2
Using a guide, feed the cable from
the windscreen to the cabin light.
Using a guide, feed the cable
from the cabin light to the vanity
light.
Using a guide, feed the cable
from the vanity light to the
driver's side door.
Pass the cable through the fuse
box.
After cleaning the centre of the panel
where the rain sensor is connected,
attach the cradle supplied.
Slide the cable along the driver's
side door whilst re-fitting the
door seal.
This sheet is designed to help you with the installation of a Parrot product and is purely for information. Any installation performed in
compliance with the instructions appearing in this document is done under the sole responsibility of the installer, who is entirely responsible
for the quality of the installation. All rights reserved © Copyright 2011 PARROT SA RCS PARIS 394 149 496. May not be reproduced without the
authorisation of Parrot SA. Pictures for information only.
PASSAT 2011
7
Microphone feeding 2 / 2
Using a guide, feed the cable under
the steering wheel towards the car
stereo housing.
This sheet is designed to help you with the installation of a Parrot product and is purely for information. Any installation performed in
compliance with the instructions appearing in this document is done under the sole responsibility of the installer, who is entirely responsible
for the quality of the installation. All rights reserved © Copyright 2011 PARROT SA RCS PARIS 394 149 496. May not be reproduced without the
authorisation of Parrot SA. Pictures for information only.
PASSAT 2011
Open the top storage
compartment in the glovebox.
Use the pull-through cord to feed
the cable through the top of the
glovebox to the car stereo housing.
1 2
WARNING: Make sure that the
compartment can be closed
without causing damage.
3 4
Feeding the accessory cable
Make sure that the cable is long
enough.
This sheet is designed to help you with the installation of a Parrot product and is purely for information. Any installation performed in
compliance with the instructions appearing in this document is done under the sole responsibility of the installer, who is entirely responsible
for the quality of the installation. All rights reserved © Copyright 2011 PARROT SA RCS PARIS 394 149 496. May not be reproduced without the
authorisation of Parrot SA. Pictures for information only.
PASSAT 2011
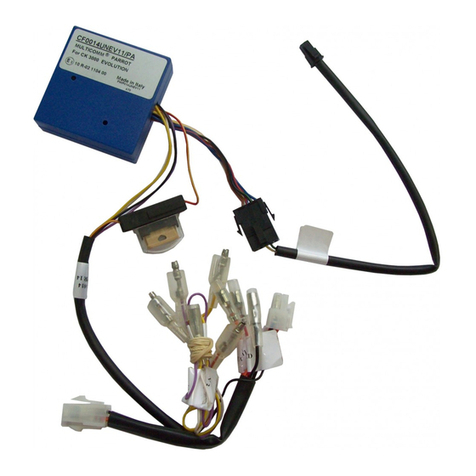
Connect the adaptor to the original connector.
Connect all of the wires to the blue box as
shown in the diagram below. Test the assembly
before re-fitting.
1
Fitting the hands-free system 1 / 2
Direct adaptor cable
This sheet is designed to help you with the installation of a Parrot product and is purely for information. Any installation performed in
compliance with the instructions appearing in this document is done under the sole responsibility of the installer, who is entirely responsible
for the quality of the installation. All rights reserved © Copyright 2011 PARROT SA RCS PARIS 394 149 496. May not be reproduced without the
authorisation of Parrot SA. Pictures for information only.
PASSAT 2011
Using the plastic trim tools, unclip
the panel to the right of the
instrument cluster without
removing it.
Feed the cable through the top
and clip the panel back into place,
being careful not to cut the cable.
2 3
12
Clean the right-hand side of the
instrument cluster panel and
glue on the (included) joint.
3
Fitting the hands-free system 2 / 2
This sheet is designed to help you with the installation of a Parrot product and is purely for information. Any installation performed in
compliance with the instructions appearing in this document is done under the sole responsibility of the installer, who is entirely responsible
for the quality of the installation. All rights reserved © Copyright 2011 PARROT SA RCS PARIS 394 149 496. May not be reproduced without the
authorisation of Parrot SA. Pictures for information only.
PASSAT 2011
Testing
Before refitting the system, switch the kit on using the
ignition (or by starting the car). By pushing the central knob
of the remote control, check:
1 - That the menu is displayed on the screen. (Language or
iPod etc.)
2 - That the radio system is muted when the kit is in use.
3 - That there is sound through all speakers for music.
4 - That there is sound through the front speakers for spoken
menus and handsfree calls.
5 - Pair a telephone with the kit to make a call. (Check that
both the microphone and the kit are working.)
6 - Then turn off the ignition, check that the kit switches off
and that the "goodbye" message appears on the screen. (If
this fails, reverse the fuses on the kit's wiring harness.)
This sheet is designed to help you with the installation of a Parrot product and is purely for information. Any installation performed in
compliance with the instructions appearing in this document is done under the sole responsibility of the installer, who is entirely responsible
for the quality of the installation. All rights reserved © Copyright 2011 PARROT SA RCS PARIS 394 149 496. May not be reproduced without the
authorisation of Parrot SA. Pictures for information only.
PASSAT 2011
Refitting
Refit the system using the following procedure:
1 –Re-fit the panel next to the dashboard.
2 –Re-fit the panel on the left-hand side of the dashboard.
3 –Re-fit the storage compartment under the steering wheel.
4 –Re-connect and refit the cabin light. (screws 1 and 2)
5 –Re-fit the cabin light panel.
6 –Re-fit the vanity light.
7 –Re-fit the 4 screws (7, 8, 9 and 10) for the air conditioning control unit.
8 - Put the air conditioning control unit panel back in to place.
9 –Re-connect the adaptor and the aerials behind the car stereo and slip them
inside the housing. (Make sure that you do not trap and cut any screen wires.)
10 –Re-fit the 4 screws (3, 4, 5 and 6) for the car stereo.
11 - Put the car stereo surround back in to place.
12 –Re-test to check that the system is working correctly.

Other manuals for CK3100 LCD

22

Other Parrot Automobile Accessories manuals
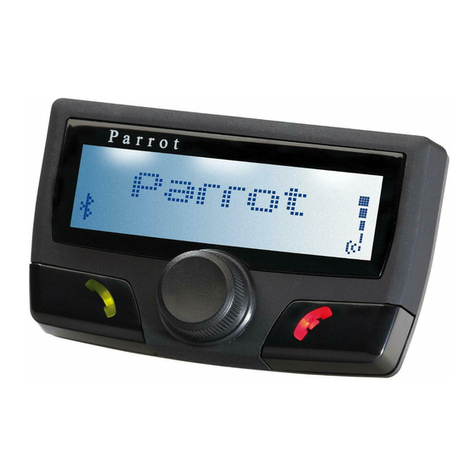
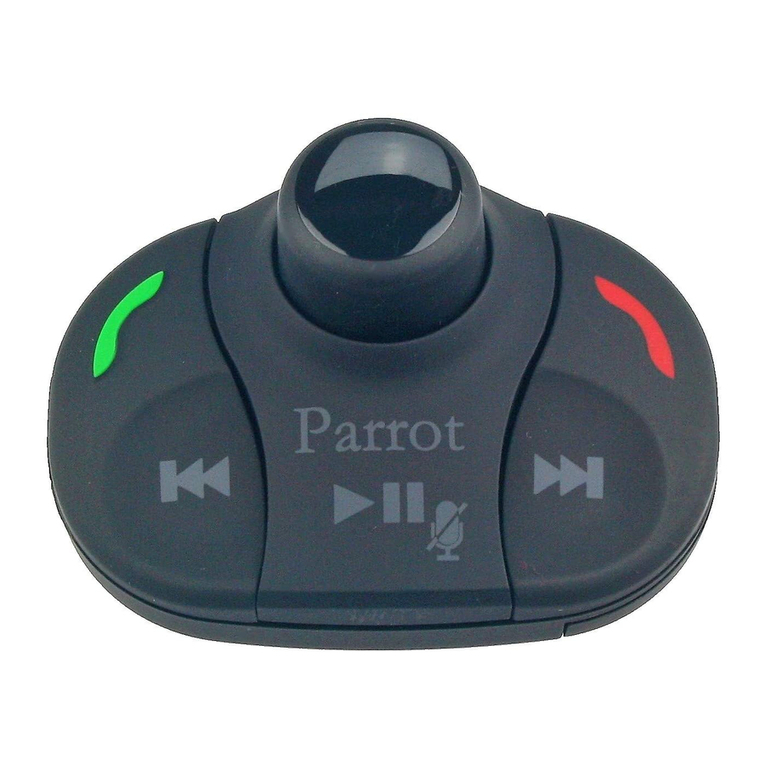
Parrot MINIKIT SLIM User manual

Parrot

Parrot MINIKIT SLIM User manual

Parrot 3200 LS-COLOR LUS User manual

Parrot

Parrot 3200 LS-COLOR LUS User manual

Parrot 3200 LS-Color User manual

Parrot

Parrot 3200 LS-Color User manual

Parrot MULTICAN User manual

Parrot

Parrot MULTICAN User manual

Parrot CK3100 LCD User manual

Parrot

Parrot CK3100 LCD User manual

Parrot 3400 LS-GPS Manual

Parrot

Parrot 3400 LS-GPS Manual

Parrot MKi9100 User manual

Parrot

Parrot MKi9100 User manual

Parrot Minikit+ User manual

Parrot

Parrot Minikit+ User manual

Parrot MKi9100 User manual

Parrot

Parrot MKi9100 User manual

Parrot CK 3000 Evolution User manual

Parrot

Parrot CK 3000 Evolution User manual

Parrot CK 3000 Evolution User manual

Parrot

Parrot CK 3000 Evolution User manual

Parrot CK3100 LCD User manual

Parrot

Parrot CK3100 LCD User manual

Parrot CK3100 Series User manual

Parrot

Parrot CK3100 Series User manual

Parrot ASTEROID MINI User manual

Parrot

Parrot ASTEROID MINI User manual

Parrot Easydrive User manual

Parrot

Parrot Easydrive User manual

Parrot ASTEROID Tablet User manual

Parrot

Parrot ASTEROID Tablet User manual

Parrot Easydrive User manual

Parrot

Parrot Easydrive User manual

Parrot PMK5800 User manual

Parrot

Parrot PMK5800 User manual

Parrot MKi9200 RU User manual

Parrot

Parrot MKi9200 RU User manual

Parrot Easydrive User manual

Parrot

Parrot Easydrive User manual

Parrot MKi9100 User manual

Parrot

Parrot MKi9100 User manual

Parrot CK3100 Series User manual

Parrot

Parrot CK3100 Series User manual

Parrot SAT-3500 User manual

Parrot

Parrot SAT-3500 User manual
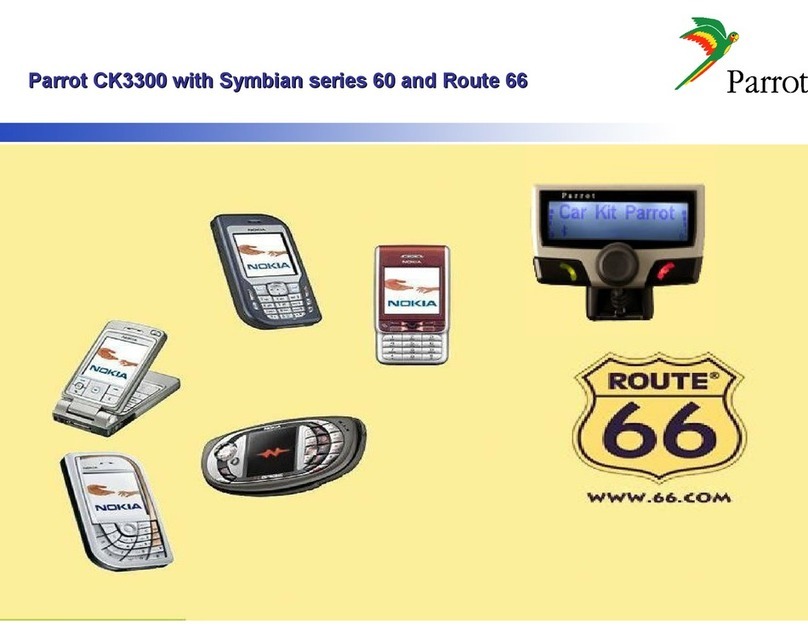
Parrot CK3300 User manual

Parrot

Parrot CK3300 User manual

Popular Automobile Accessories manuals by other brands

Metra Electronics 99-9305 installation instructions

Metra Electronics

Metra Electronics 99-9305 installation instructions

ATEQ VT5 manual

ATEQ

ATEQ VT5 manual

Directed Directechs DB3 installation guide

Directed

Directed Directechs DB3 installation guide

Metec 813210 Mounting instructions

Metec

Metec 813210 Mounting instructions

Thule 1120 instructions

Thule

Thule 1120 instructions

Kenwood KWVXL1 installation manual

Kenwood

Kenwood KWVXL1 installation manual

Rydeen TOMBO ProKit Quick reference guide

Rydeen

Rydeen TOMBO ProKit Quick reference guide

WABCO OnGuard installation instructions

WABCO

WABCO OnGuard installation instructions

ABB Terra AC installation manual

ABB

ABB Terra AC installation manual

CHICAGO 34552 Instructions and precautions

CHICAGO

CHICAGO 34552 Instructions and precautions

Prorack K317 Fitting instructions

Prorack

Prorack K317 Fitting instructions

Whispbar K856W Fitting instructions

Whispbar

Whispbar K856W Fitting instructions

Hayman Reese 03395RW installation instructions

Hayman Reese

Hayman Reese 03395RW installation instructions

Front Runner Wolfpack Pro RRAC257 quick start guide

Front Runner

Front Runner Wolfpack Pro RRAC257 quick start guide

ARB 3444070 Fitting instructions

ARB

ARB 3444070 Fitting instructions

AVS Bugflector installation instructions

AVS

AVS Bugflector installation instructions

ULTIMATE SPEED CAR SEAT COVER SET Assembly and Safety Advice

ULTIMATE SPEED

ULTIMATE SPEED CAR SEAT COVER SET Assembly and Safety Advice

Tritium Veefil-RT 175-S installation manual

Tritium

Tritium Veefil-RT 175-S installation manual

manuals.online logo
manuals.online logoBrands
  • About & Mission
  • Contact us
  • Privacy Policy
  • Terms and Conditions

Copyright 2025 Manuals.Online. All Rights Reserved.