PC Locs iQ 10 Sync Charge Station User manual

USER INSTRUCTIONS
iQ 10 Sync Charge Staon™
iQ 10 Charging Staon™
ENG
TRK
ESP
PRT
FRA
DEU
ITA
www.pclocs.com.au www.lockncharge.com

iQ 10 Sync Charge Staon iQ 10 Charging Staon
STEP 1 - Unpacking the iQ 10 Staon and removing the compartment lid
Aer unpacking, open the door.
Congratulaons on your purchase.
Follow these instrucons for easy and fast set-up of your iQ 10 Staon.
PC Locs, LocknCharge and the Padlock device are Trademarks of IWS Global Pty Ltd.
Copyright IWS Global Pty Ltd, May 2014.
Disclaimer.
This informaon is the intellectual property of IWS Global Pty Ltd and may not be distributed, duplicated
or copied in part or full without the wrien permission. Since the use of this informaon, the equipment
connected and the condions by which any IWS Global product is used is beyond the control of IWS Global,
it is the obligaon of the owner and/or user to determine the correct and safe use of any equipment and
product. To the extent that the law permits, any liability which may be incurred as a result of the use or
future use of a product manufactured or sold by IWS Global is limited to the cost of repairing or replacing the
failed product or component at the discreon of IWS Global either within, or outside of warranty periods,
and does not extend to any loss or damage which may be caused as a consequence of misuse or failure of
the equipment or product or the informaon contained herein. IWS Global shall not in any event be liable for
economic loss of prots, indirect, special, bodily injuries or consequenal damages.
Undo the two thumb screws to release the power
compartment lid.
Specicaons and images are for illustraon purposes only. Final product may dier and is subject to change
without noce.
Remove the baskets and accessories.
Push the compartment lid up through the centre
hole from inside the iQ 10 Staon.

INSTRUCTION MANUAL
Li the top compartment lid up and slide it
forward to remove it.
Sync and Charge Instrucons Charge Only Instrucons
Li the top compartment lid up and slide it
forward to remove it.
STEP 2 - Roung the cables and
assembling your devices
Connect your device cables into the iQ 5 Sync
Charge Box (USB ports).
STEP 2 - Roung the cables and
assembling your devices
Route the cable through the rubber grip cable
holder.
Remove the USB Power Supply’s by undoing the
two Philips screws on the bracket.
Ensure that the USB Power Supply’s are set on
2.4 amps.

iQ 10 Sync Charge Staon iQ 10 Charging Staon
Connect your device cables to the USB Power
Supply’s. NOTE: only use ports 6-10.
Route the cables through the rubber grip cable
holder.
Place your devices in the baskets and then place
them into the iQ 10 Sync Charge Staon.
Gently pull the device cables through the rubber
grip cable holder and plug the cables in each device.
Neatly bundle the excess device cables inside the
power compartment.
Replace the power compartment lid by sliding it
back into posion and pressing down to close lid.
Charge Only InstruconsSync and Charge Instrucons
Place your devices in the baskets and then place
them into the iQ 10 Charging Staon.
Gently pull the device cables through the rubber
grip cable holder and plug the cables in each device.

INSTRUCTION MANUAL
Neatly bundle the excess device cables inside the
power compartment area.
Aer connecng all the cables, replace the
retaining bracket over the USB Power Supply’s.
NOTE: the USB ports should be facing down and
into the rubber grip cable holder.
Replace the power compartment lid by sliding it
back into posion and pressing down to close lid.
Sync and Charge Instrucons Charge Only Instrucons
Replace the thumb screws to lock the power
compartment lid.
Close the doors and use a padlock to secure the iQ
10 Sync Charge Staon.
Plug the iQ 10 Sync Charge Staon power cable
into the unit, then into the wall socket. Charging
will commence automacally (may need to switch
the wall outlet “on”).

iQ 10 Sync Charge Staon iQ 10 Charging Staon
Charge Only InstruconsSync and Charge Instrucons
Close the doors and use a padlock to secure the
iQ 10 Charging Staon.
Plug the iQ 10 Charging Staon power cable into
the unit, then into the wall socket. Charging will
commence automacally (may need to switch the
wall outlet “on”).
STEP 3 - Syncing devices
Connect your Macbook or PC to the iQ 10 Sync
Charge Staon with the provided USB-A to USB-B
cable.
The USB-B end connects to the iQ 10 Sync Charge
Staon. The USB-A end connects to your Macbook
or PC.
Follow the instrucons from Apple congurator or
iTunes to sync your devices.
Devices will connue to charge during syncing.
LED Status: Refer to the included
iQ 5 Sync Charge Box instrucons
The LED’s on top of the iQ 10 Sync Charge Staon
indicate the current status of each port.
Solid red: Ready to charge.
Flashing red: Idenfying device.
Flashing green: Charging device.
Solid greed: Device ready to use.
Flashing yellow: Host available. Device not connected.
Solid yellow: Device connected. Ready to sync.
Replace the thumb screws to lock the power
compartment lid.

INSTRUCTION MANUAL
Mounng the iQ 10 Sync Charge Staon or the iQ 10 Charging Staon
Refer to drilling drawing for correct hole locaons.
Note the six mounng holes in the back of the
unit for wall mounng:
Note the two mounng holes in the base of the
unit for desk mounng:
IMPORTANT: Only a suitably qualied installer may mount this unit. Refer to a
structural specialist to determine if the wall you intend to mount this unit on is
capable of supporng the fully loaded unit.

www.pclocs.com.au www.lockncharge.com
Warranty
PC Locs/LocknCharge warrants the product to be free of defects in design, materials, assembly and crasmanship
for a period of twelve months from the date of purchase to the original retail purchaser. Evidence of original
purchase will be required to obtain warranty service.
In the event that a defect, malfuncon or failure occurs or is discovered during the warranty period,
PC Locs/LocknCharge will repair or replace, at its opon, the products which in the reasonable judgment of PC
Locs/LocknCharge are deemed defecve. All transportaon costs shall be borne by the owner and the risk of
loss shall be upon the party iniang the transportaon.
The warranty does not apply to any product that has been subject to misuse, tampering, neglect, or accident or as
a result of unauthorized alteraons or repairs to the product. The warranty is in lieu of all warranes expressed or
implied, including the implied warranes of merchantability and tness for a parcular purpose which are expressly
excluded or disclaimed. In no event will PC Locs/LocknCharge, their directors, ocers, employees, or agents be
liable for any harm, consequenal, incidental, third party, special or indirect damages whatsoever arising out of the
use or inability to use the products even if PC Locs/LocknCharge has been advised of the possibility of such damages.
PC Locs/LocknCharge obligaon is strictly and exclusively limited to the replacement or repair of any defecve
products. Some states do not allow the exclusion or limitaon of incidental or consequenal damages, so the
above limitaon or exclusion may not apply to you.
Compliances and Approvals
CE (Europe)
SAA (Australia)
UL Compliant (USA and Canada)
KCC (Korea) - pending
SIRIM (Malaysia) - pending
SPRING (Singapore) -pending

BEDIENUNGSANLEITUNG
iQ 10 Sync Charge Staon
iQ 10 Charging Staon
ENG
TRK
SPA
PRT
FRA
DEU
ITA
www.pclocs.com.au www.lockncharge.com

iQ 10 Sync Charge Staon iQ 10 Charging Staon
SCHRITT 1: iQ 10 Staon auspacken und Deckel enernen
Önen Sie nach dem Auspacken die Tür.
Herzlichen Glückwunsch zu Ihrem Kauf.
Folgen Sie diesen Anweisungen für eine einfache und zügige Inbetriebnahme.
PC Locs, LocknCharge und die Padlock-Vorrichtung sind Marken der IWS Global Pty Ltd. Copyright
IWS Global Pty Ltd, Mai 2014.
Haungsausschluss
Diese Informaonen sind geisges Eigentum von IWS Global Pty Ltd. Sie dürfen ohne vorherige schriliche
Genehmigung weder teilweise noch vollständig verteilt, reproduziert oder kopiert werden. Da die Nutzung
dieser Informaonen, die angeschlossenen Geräte und die Einsatzbedingungen für IWS Global-Produkte
sich außerhalb der Kontrolle von IWS Global benden, obliegt die richge und sichere Nutzung aller Geräte
und Produkte der Verantwortung der jeweiligen Eigentümer bzw. Anwender. Innerhalb der gesetzlichen
Vorschrien ist jede Haung als Folge des Gebrauchs oder des späteren Gebrauchs eines Produkts, das durch
IWS Global hergestellt oder verkau wurde, begrenzt auf die Kosten der Reparatur oder des Austausches
des fehlerhaen Produkts oder einer fehlerhaen Komponente im Ermessen von IWS Global innerhalb
oder außerhalb der Garanezeit. Eine Haung für eventuelle Verluste oder Schäden infolge unsachgemäßer
Handhabung oder eventueller Fehler von Geräten, Produkten oder hier gegebenen Informaonen ist
ausgeschlossen. IWS Global haet in keinem Fall für wirtschaliche Verluste durch entgangene Gewinne,
indirekte oder spezielle Körperverletzungen oder Folgeschäden.
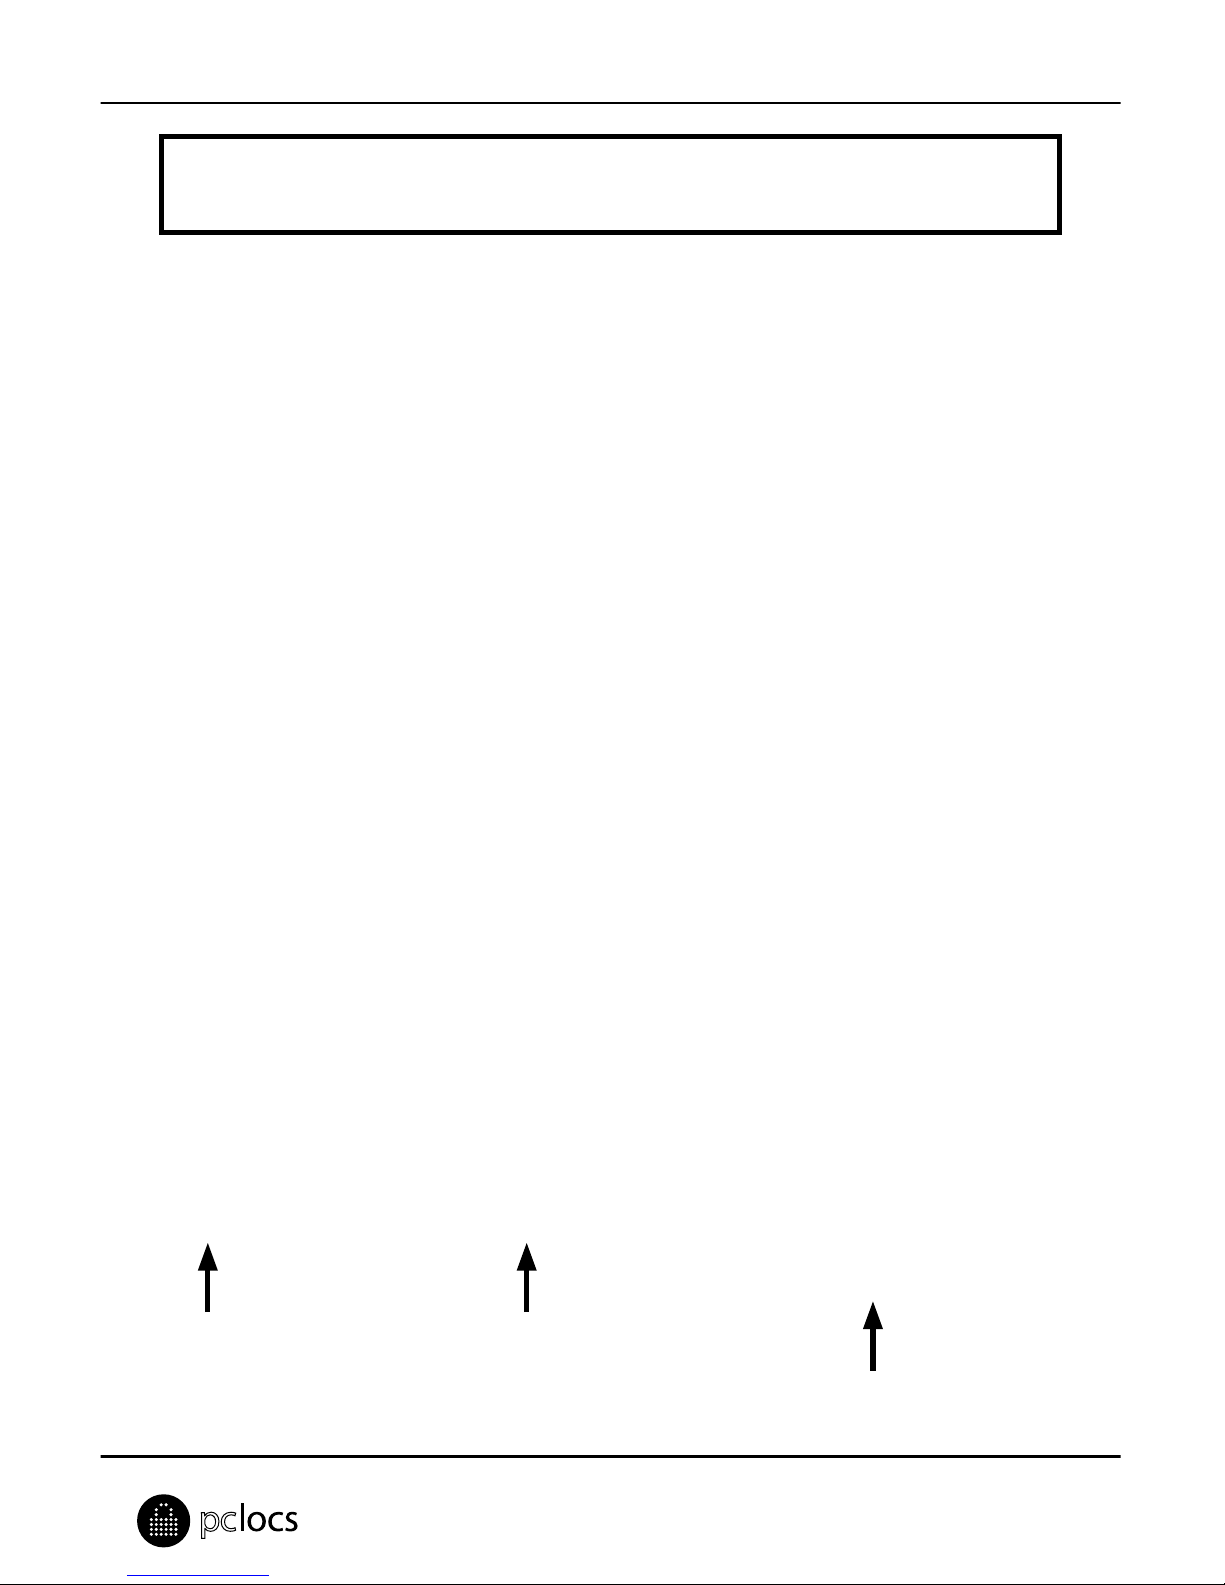
Enernen Sie die beiden Rändelschrauben, um
den Deckel der Stromversorgung zu lösen.
Alle Daten und Abbildungen dienen nur der Veranschaulichung. Endprodukte können von dieser
Dokumentaon abweichen und ohne vorherige Ankündigung geändert werden.
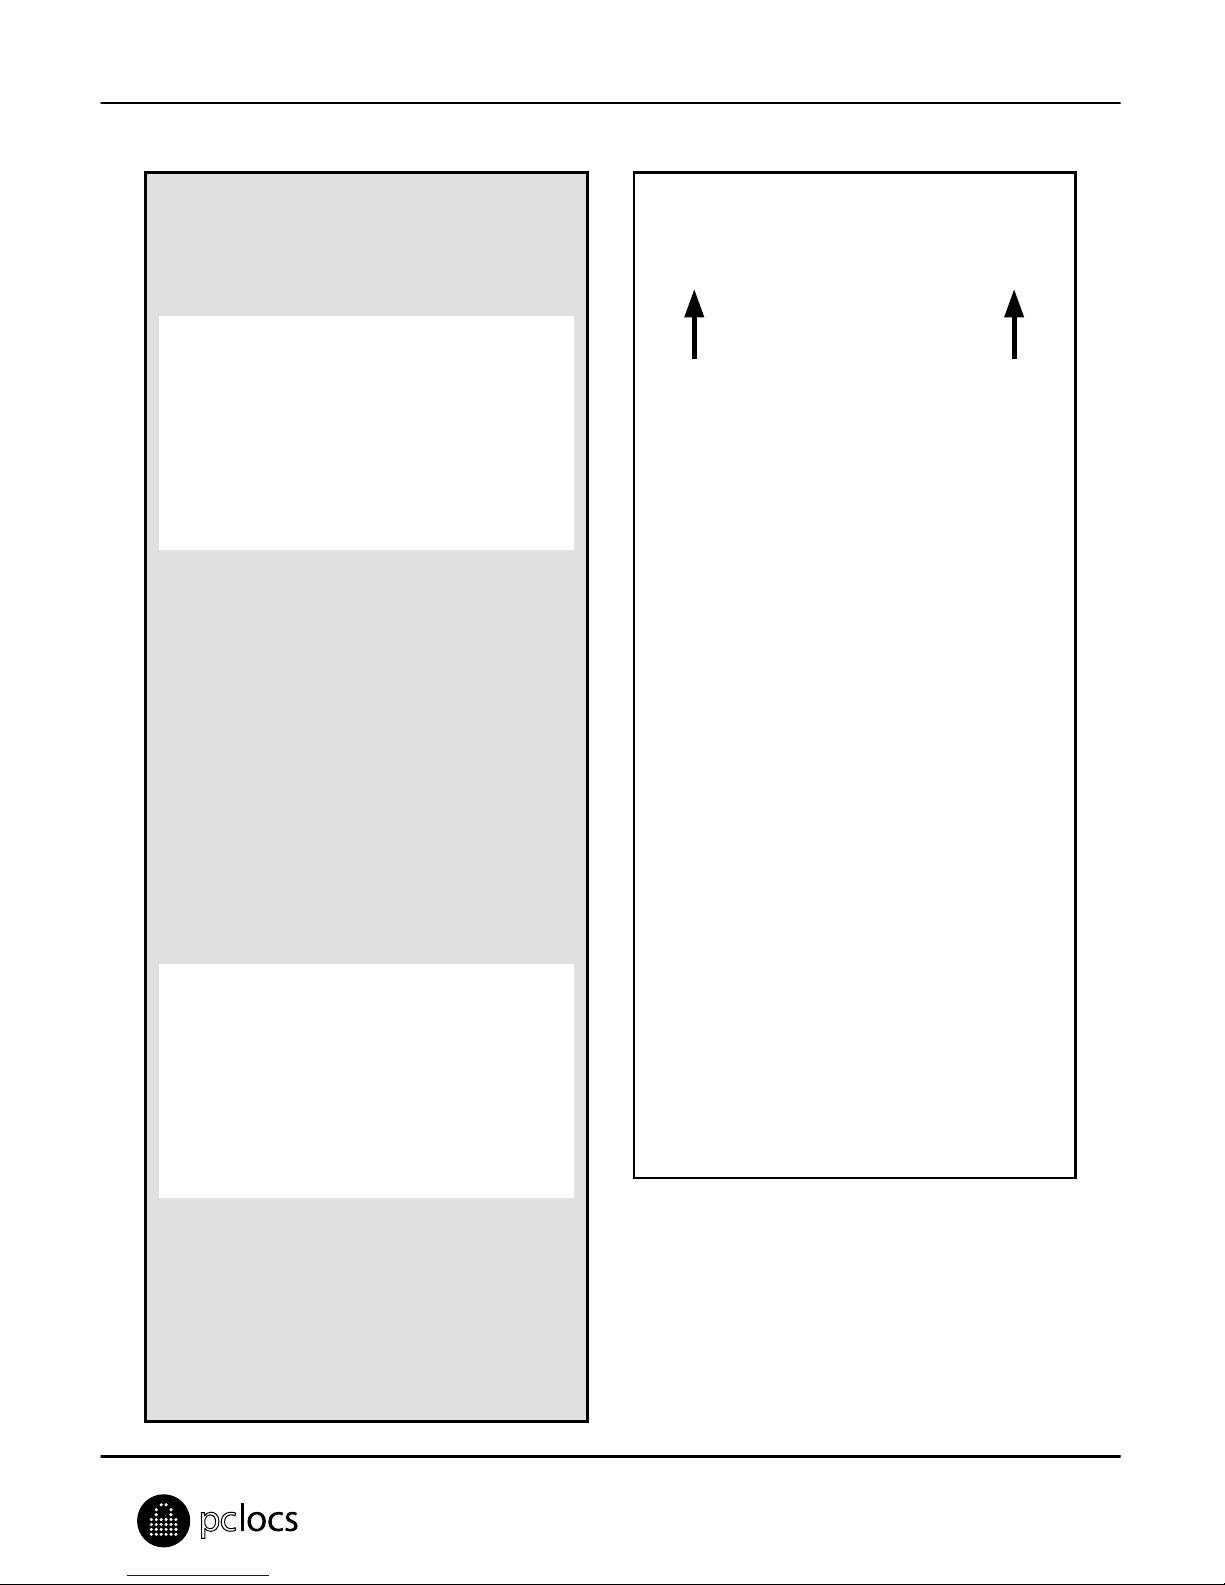
Entnehmen Sie die Körbe und das Zubehör.
Drücken Sie den Deckel durch die innen liegende
Zentralbohrung nach oben.

BEDIENUNGSANLEITUNG
Heben Sie den Deckel des obersten Faches an und
ziehen Sie ihn nach von heraus.
Synchronisieren und Auaden Nur Auaden
Heben Sie den Deckel des obersten Faches an und
ziehen Sie ihn nach von heraus.
SCHRITT 2: Kabel verlegen und
moneren der Geräte
Verbinden Sie die Gerätekabel mit den USB-Ports
der iQ 5 Sync Charge Box.
SCHRITT 2: Kabel verlegen und
moneren der Geräte
Verlegen Sie das Kabel entlang der
gummibeschichteten Kabelführung.
Entnehmen Sie die USB-Stromversorgung nach
Lösen der zwei haltenden Kreuzschlitzschrauben.
Vergewissern Sie sich, dass die USB-
Stromversorgung auf 2,4 A eingestellt ist.

iQ 10 Sync Charge Staon iQ 10 Charging Staon
Verbinden Sie die Gerätekabel mit den USB-Ports.
HINWEIS: Verwenden Sie nur die Ports 6-10.
Verlegen Sie die Kabel entlang der
gummibeschichteten Kabelführung.
Setzen Sie die Geräte in die Körbe, diese dann in
die iQ 10 Sync Charge Staon.
Verbinden Sie die Gerätekabel entlang der
gummibeschichteten Kabelführung mit jedem
Gerät.
Wickeln Sie überschüssige Gerätekabel sauber im
Ladefach auf.
Schieben Sie den Deckel der Stromversorgung
wieder ein und schließen Sie ihn nach unten.
Nur AuadenSynchronisieren und Auaden
Setzen Sie die Geräte in die Körbe, diese dann in
die iQ 10 Charging Staon.
Verbinden Sie die Gerätekabel entlang der
gummibeschichteten Kabelführung mit jedem
Gerät.

BEDIENUNGSANLEITUNG
Wickeln Sie überschüssige Gerätekabel sauber im
Ladefach auf.
Nach der Montage aller Kabel moneren Sie den
Haltebügel wieder über der USB-Stromversorgung.
HINWEIS: Die USB-Ports sollten nach unten zur
gummibeschichteten Kabelführung zeigen.
Schieben Sie den Deckel der Stromversorgung
wieder ein und schließen Sie ihn nach unten.
Synchronisieren und Auaden Nur Auaden
Drehen Sie die Rändelschrauben wieder fest, um
den Deckel der Stromversorgung zu arreeren.
Schließen Sie die Türen, und sichern sie die iQ 10
Sync Charge Staon mit einem Vorhängeschloss.
Stecken Sie das Netzkabel in die iQ 10 Sync
Charge Staon und verbinden Sie es mit
einer Wandsteckdose. Der Ladevorgang wird
automasch beginnen (sofern die Wandsteckdose
eingeschaltet ist).

iQ 10 Sync Charge Staon iQ 10 Charging Staon
Nur AuadenSynchronisieren und Auaden
Schließen Sie die Türen und sichern sie diese
mit einem Vorhängeschloss.
Stecken Sie das Netzkabel in die iQ 10
Charging Staon und verbinden Sie es mit
einer Wandsteckdose. Der Ladevorgang wird
automasch beginnen (sofern die Wandsteckdose
eingeschaltet ist).
SCHRITT 3: Geräte synchronisieren
Verbinden Sie die iQ 10 Sync Charge Staon mit
einem Macbook oder PC über das mitgelieferte
USB-A- auf USB-B-Kabel.
Das USB-B-Ende mit der iQ 10 SCB Sync Staon
verbinden. Das USB-A-Ende mit einem Macbook
oder PC verbinden.
Für das Synchronisieren ihrer Geräte folgen Sie
den Anweisungen von Apple Congurator oder
iTunes.
Die Geräte werden während des Synchronisierens
geladen.
LED-Status: Beachten Sie die mitgelieferte
iQ 5 Sync Charge Box-Bedienungsanleitung
Die oberen LEDs der iQ 10 Sync Charge Staon
signalisieren den Portzustand:
Steges Rot: Bereit zum Auaden.
Blinkendes Rot: Gerät wird idenziert.
Blinkendes Grün: Gerät wird aufgeladen.
Steges Grün: Gerät ist betriebsbereit.
Blinkendes Gelb: Host ist verfügbar. Gerät ist nicht
angeschlossen.
Steges Gelb: Gerät ist angeschlossen. Bereit zum
Synchronisieren.
Drehen Sie die Rändelschrauben wieder fest, um
den Deckel der Stromversorgung zu arreeren.

BEDIENUNGSANLEITUNG
Moneren der iQ 10 Sync Charge Staon oder der iQ 10 Charging Staon
Der Bohrungsplan zeigt die korrekten Bohrungen.
Beachten Sie die sechs Befesgungslöcher
in der Rückwand zur Wandmontage:
Beachten Sie die zwei Befesgungslöcher
im Geräteboden zur Tischmontage:
WICHTIG: Dieser Arbeitsschri sollte durch einen qualizierten Monteur erfolgen.
Konsuleren Sie einen Baufachmann, um zu prüfen, ob die vorgesehene Wand zur
Anbringung einer voll beladenen Einheit geeignet ist.

www.pclocs.com.au www.lockncharge.com
Garane
PC Locs/LocknCharge garanert dem Endverbraucher, der Originalprodukte in Einzelhandel erwirbt, dass
diese für den Zeitraum von zwölf Monaten ab dem Erstverkaufsdatum frei von Entwicklungs-, Material-
und Herstellungsfehlern sind. Zur Inanspruchnahme der Garaneleistung ist ein Nachweis über das
Erstverkaufsdatum vorzulegen.
Sollte in der Garanezeit ein Defekt, eine Störung oder ein Ausfall aureten, wird PC Locs/LocknCharge nach
einer Prüfung die als fehlerha bestägten Produkte in eigenem Ermessen reparieren oder ersetzen. Alle
Transportkosten sind vom Eigentümer zu tragen. Das Transportrisiko trägt die versendende Partei.
Die Garane gilt nicht für Produkte, die missbräuchlich eingesetzt, manipuliert, vernachlässigt, durch
einen Unfall beschädigt oder unautorisiert verändert bzw. repariert wurden. Mit Ausnahme des gesetzlich
geregelten Umfangs handelt es sich bei dieser Garane um eine ausschließliche Garane. Sie enthält keine
sonsgen ausdrücklichen oder sllschweigenden Garanen, einschließlich aber nicht ausschließlich der
Zusicherung der Markähigkeit und Eignung für einen besmmten Zweck. PC Locs/LocknCharge oder seine
Direktoren, Führungskräe, Arbeitnehmer oder Vertreter übernehmen keine Haung für direkte, indirekte,
zufällige, mielbare, beiläuge oder Folgeschäden, die direkt oder indirekt auf die Nutzung der Produkte
zurückzuführen sind, selbst wenn PC Locs/LocknCharge auf die Möglichkeit solcher Schäden hingewiesen wurde.
Die Verpichtungen von PC Locs/LocknCharge beschränken sich strikt und ausschließlich auf den Austausch
oder die Reparatur defekter Produkte. Da manche Landesgesetze die Ausschließung oder Einschränkung
der Haung für beiläuge Schäden oder Folgeschäden nicht zulassen, gelten die obigen Einschränkungen
eventuell nicht für Sie.
Länderzulassungen
CE (Europa)
SAA (Australien)
UL-Konformität (USA und Kanada)
KCC (Korea) - ausstehend
SIRIM (Malaysia) - ausstehend
SPRING (Singapur) - ausstehend

iQ 10 Sync Charge Staon
iQ 10 Charging Staon
INSTRUCCIONES PARA EL USUARIO
ENG
TRK
ESP
PRT
FRA
DEU
ITA
www.pclocs.com.au www.lockncharge.com

iQ 10 Sync Charge Staon iQ 10 Charging Staon
PASO 1 - Desembalar la iQ 10 Staon y quitar la tapa del comparmento
Después de desembalar la unidad, abra la puerta.
Enhorabuena por su compra.
Siga estas instrucciones para instalar de forma fácil y rápida la iQ 10 Staon.
PC Locs, LocknCharge y el disposivo Padlock son marcas comerciales de IWS Global Pty Ltd.
Derechos de autor de IWS Global Pty Ltd, mayo de 2014.
Descargo de responsabilidad.
Esta información es propiedad intelectual de IWS Global Pty Ltd y no se puede distribuir, duplicar o copiar,
parcial o totalmente, sin tener autorización por escrito. Puesto que el uso de esta información, los equipos
conectados y las condiciones bajo las cuales se usa cualquier producto de IWS Global son circunstancias
ajenas a la voluntad de IWS Global, el dueño o el usuario enen la obligación de determinar el uso correcto
y seguro de cualquier equipo y producto. En la medida que lo permita la ley, cualquier responsabilidad en la
que se pueda incurrir como resultado del uso o el uso futuro de un producto fabricado o vendido por IWS
Global, se limita al coste de reparar o reemplazar el producto o componente averiado según el criterio de
IWS Global, ya sea dentro o fuera de los periodos de garana, y no se exende a ninguna pérdida o daño que
puedan ser causados como consecuencia del mal funcionamiento o el uso indebido del equipo, producto o la
información aquí incluida. IWS Global no será responsable en ningún caso de ningún daño por lucro cesante,
daño indirecto, daño especial, daño consecuente o lesión corporal.
Quite los dos tornillos de presión para soltar la
tapa del comparmento de suministro de energía.
Las especicaciones e imágenes se proporcionan únicamente con nes ilustravos. El producto nal puede
ser diferente y está sujeto a cambios sin previo aviso.
Saque las canastas y los accesorios.
Empuje la tapa del comparmento hacia arriba por
el oricio central desde el interior de la iQ 10 Staon.

MANUAL DE INSTRUCCIONES
Alce la tapa del comparmento superior y
deslícela hacia delante para quitarla.
Instrucciones de carga y sincronización Solo instrucciones de carga
Alce la tapa del comparmento superior y
deslícela hacia delante para quitarla.
PASO 2 – Tender los cables y montar los
disposivos
Conecte los cables de los disposivos a la
iQ 5 Sync Charge Box (puertos USB).
PASO 2 – Tender los cables y montar los
disposivos
Pase el cable a través del soporte sujetacables de
goma.
Quite la fuente de alimentación USB sacando los
dos tornillos de estrella de la abrazadera.
Asegúrese de que la fuente de alimentación USB
esté puesta en 2.4 amps.

iQ 10 Sync Charge Staon iQ 10 Charging Staon
Conecte los cables de los disposivos a la fuente
de alimentación USB. NOTA: Use únicamente los
puertos 6-10.
Pase los cables a través del soporte sujetacables
de goma.
Coloque los disposivos en las canastas y luego
coloque las canastas en la iQ 10 Sync Charge Staon.
Pase con cuidado los cables de los disposivos a
través del soporte sujetacables de goma y conecte
los cables a cada disposivo.
Coloque el manojo de cables sobrantes de los
disposivos en el comparmento de suministro
de energía.
Coloque los disposivos en las canastas y luego
coloque las canastas en la iQ 10 Charging Staon.
Instrucciones de carga y sincronización Solo instrucciones de carga
This manual suits for next models
1
Table of contents
Languages:
Other PC Locs Batteries Charger manuals

PC Locs
PC Locs lockncharge FUYL Tower 15 User manual

PC Locs
PC Locs FUYL Tower User manual

PC Locs
PC Locs lockncharge iQ 20 Cart User manual

PC Locs
PC Locs FUYL Tower 15 User manual

PC Locs
PC Locs Revolution ECO 32 Wall Cabinet User manual

PC Locs
PC Locs iQ 16 Sync Charge Box User manual

PC Locs
PC Locs FUYL Tower 5 User manual

PC Locs
PC Locs Revolution ECO 16 Bay Trolley User manual

PC Locs
PC Locs lockncharge FUYL Tower 15 User manual

PC Locs
PC Locs 16 SCB User manual