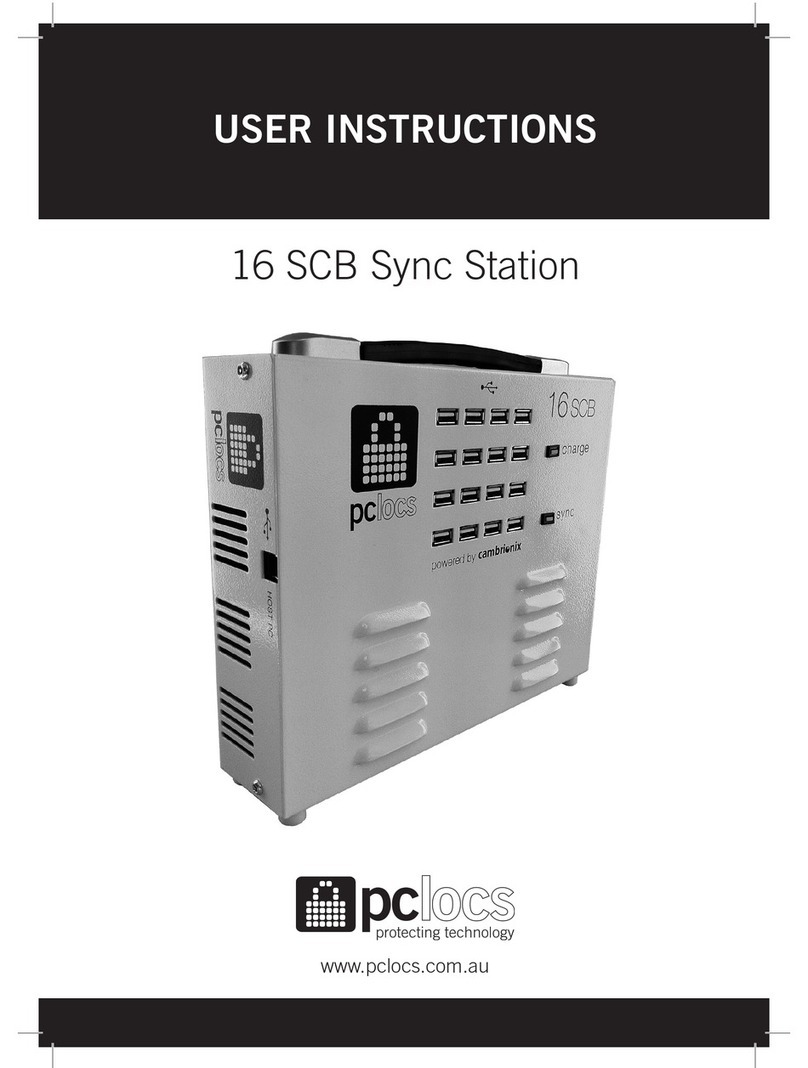
PC Locs iQ 16 Sync Charge Box User manual

iQ 16 Sync Charge Box™
USER INSTRUCTIONS
www.pclocs.com.au

iQ 16 Sync Charge Box™
www.pclocs.com.au
PC Locs and the Padlock device are Trademarks of IWS Global Pty Ltd.
Copyright IWS Global Pty Ltd, May 2014.
Disclaimer.
This informaon is the intellectual property of IWS Global Pty Ltd and may not be distributed, duplicated
or copied in part or full without the wrien permission. Since the use of this informaon, the equipment
connected and the condions by which any IWS Global product is used is beyond the control of IWS Global,
it is the obligaon of the owner and/or user to determine the correct and safe use of any equipment and
product. To the extent that the law permits, any liability which may be incurred as a result of the use or
future use of a product manufactured or sold by IWS Global is limited to the cost of repairing or replacing the
failed product or component at the discreon of IWS Global either within, or outside of warranty periods,
and does not extend to any loss or damage which may be caused as a consequence of misuse or failure of
the equipment or product or the informaon contained herein. IWS Global shall not in any event be liable for
economic loss of prots, indirect, special, bodily injuries or consequenal damages.
Contents
Overview..................................................................................................................................................... 1
Specicaons ............................................................................................................................................. 1
Safety instrucons .................................................................................................................................... 2
Set up........................................................................................................................................................... 3
How to charge mulple devices............................................................................................................. 3
How to synchronise mulple devices................................................................................................... 3
Troubleshoong ........................................................................................................................................ 4
Compliance and approvals...................................................................................................................... 4
Congratulaons on your purchase.
Follow these instrucons for seng up and operang your iQ 16 Sync Charge Box.

INSTRUCTION MANUAL
Tablet device
USB Connectors
(Type-A)
Host Computer
USB Connector
(Type-B)
Carry Handle
Cushioned Feet
(Rear and Boom
sides)
IEC Connector
Power Inlet and
Fuse
Operang Mode
LED Indicators
Venlaon Holes
Power Switch
Specicaon.
Dimensions: 250 x 216 x 66mm (10”x 8”x 2½”)
Weight: 2.5 kg (5.95 lbs)
Operang Temperature: 0 to 70 Degrees Celsius (32 to 158 Degrees Fahrenheit)
Input: 250V AC, 50Hz, 1.7A (USA: 120V AC, 60Hz, 3.5A)
Output: 5V DC, 2.1A (x16)
USB Standard: USB1.1 and USB2.0 data rates supported up to 480Mbps
Overview
The iQ 16 Sync Charge Box unit is a compact, portable and robust sync and charge staon that provides high
current charging and synchronisaon capability for up to 16 Tablet devices - from a large number of Tablet
and portable electronic device manufacturer’s that ulise USB charging.

iQ 16 Sync Charge Box™
www.pclocs.com.au
Safety Instrucons
For your safety – Do not operate the unit if the plug, power socket, power cable or
enclosure is damaged.
• To reduce the risk of re, electrical shock and/or injury, the following basic
precauons should be followed:
• This device is not intended for use by persons (including children) with reduced
physical, sensory and mental capabilies, or lack of experience and knowledge,
unless they have been given supervision or instrucons concerning the use of the
device by a person responsible for their safety.
• CAUTION: To reduce the Risk of Electric Shock – use only indoors.
• Keep away from all sources of water or moisture. Never expose the devices to the
rain or dangerous gas.
• The unit may be warm during operaon. Keep it in a dry and cool place and do not
cover. Ensure sucient venlaon at all mes.
• Do not overload the socket-outlets.
• Before using the product, check and make sure all devices are correctly and
properly connected.
• Arrange the power cord away from trac areas where it will not be tripped over.
• The unit is powered when the main supply is connected and switched on.
• Remove the power cord from the main outlet before cleaning. To unplug always
grasp and pull the plug. Never pull the cord.
• Do not try to repair, disassemble or modify the unit. There are no user-serviceable
parts inside.
• Do not use the product other than for its intended use.

INSTRUCTION MANUAL
Set up
1. If the iQ 16 Sync Charge Box is in any packaging, remove this to ensure good venlaon and dispose of
responsibly.
2. If the iQ 16 Sync Charge Box is ed in the trolley/cart drawer, no relocaon is necessary.
3. Ensure the iQ 16 Sync Charge Box power-switch is OFF and the mains power outlet is switched OFF.
4. Insert the power cord into the iQ 16 Sync Charge Box, and plug the other end into the mains power
outlet. Switch the mains power outlet ON.
How to charge mulple devices
1. Connect all the devices required to be charged to the iQ 16 Sync Charge Box USB sockets using only
approved USB cables. The devices may be connected to any of the USB sockets, in any order and any
sequence.
2. Switch the iQ 16 Sync Charge Box power-switch ON. The Charge light and Sync light will illuminate
momentarily, and then the Charge light will remain ON. All the devices are now charging.
3. To check the charge status of any device, momentarily switch the selected device ON and check it’s
on-screen charge indicaon.
4. When all the devices are fully charged, switch the iQ 16 Sync Charge Box OFF.
How to synchronise mulple devices
1. Connect all the devices required to be synchronised to the iQ 16 Sync Charge Box USB sockets using
only approved USB cables. The devices may be connected to any of the USB sockets, in any order and
any sequence.
2. Switch the iQ 16 Sync Charge Box power-switch ON. The Charge light and Sync light will illuminate
momentarily, and then the Charge light will remain ON. All the devices are now charging.
3. Connect the iQ 16 Sync Charge Box to the host computer which contains the synchronising soware
using an approved Type A to Type B USB cable.
4. Upon connecng the iQ 16 Sync Charge Box to the host computer, the unit will automacally switch
from Charge Mode to Sync Mode and this will be signied by the illuminaon of the Sync light.
PLEASE NOTE: The devices will connue to charge at a reduced rate.
5. Removing the USB cable from the host computer will return the iQ 16 Sync Charge Box into Charge
Mode and the devices will automacally resume charging if needed.

iQ 16 Sync Charge Box™
www.pclocs.com.au
Troubleshoong
1. If no lights are illuminated with the iQ 16 Sync Charge Box is switched ON, check that the power cable
is fully inserted into the iQ 16 Sync Charge Box socket and the other end is fully inserted into the mains
power socket and the mains power switch is ON.
2. To check the iQ 16 Sync Charge Box is operang correctly, switch the iQ 16 Sync Charge Box OFF. Remove
all connected USB cables and switch back ON again. Both the Charge light and the Sync light should
inially illuminate but the Sync light will exnguish aer a short delay. This is normal operaon.
3. If the iQ 16 Sync Charge Box is operang normally but the devices cannot be charged, check the USB
cables connecng to the devices are of the correct type and quality and not damaged.
4. If the iQ 16 Sync Charge Box is operang normally but the devices cannot be synchronised, check the
USB cables connecng to the devices are of the correct type and quality and not damaged.
5. Any other issues relang to synchronisaon problems should be referred to your IT department or
provider of synchronisaon soware.
Warranty
PC Locs warrants the product to be free of defects in design, materials, assembly and crasmanship for a period
of twelve months from the date of purchase to the original retail purchaser. Evidence of original purchase will
be required to obtain warranty service.
In the event that a defect, malfuncon or failure occurs or is discovered during the warranty period,
PC Locs will repair or replace, at its opon, the products which in the reasonable judgment of PC Locs are
deemed defecve. All transportaon costs shall be borne by the owner and the risk of loss shall be upon the
party iniang the transportaon.
The warranty does not apply to any product that has been subject to misuse, tampering, neglect, or accident or
as a result of unauthorised alteraons or repairs to the product. The warranty is in lieu of all warranes expressed
or implied, including the implied warranes of merchantability and tness for a parcular purpose which are
expressly excluded or disclaimed. In no event will PC Locs, their directors, ocers, employees, or agents be
liable for any harm, consequenal, incidental, third party, special or indirect damages whatsoever arising out
of the use or inability to use the products even if PC Locs has been advised of the possibility of such damages.
PC Locs obligaon is strictly and exclusively limited to the replacement or repair of any defecve products. Some
states do not allow the exclusion or limitaon of incidental or consequenal damages, so the above limitaon
or exclusion may not apply to you.
INSTRUCTION MANUAL
COMPLIANCE AND APPROVALS
AUSTRALIA:
C-Tick Approval: N26682
Conforms to AS/NZS 60950.1
SAA Approval: SAA111511EA
EUROPE:
Conforms to EN60950-1
Note: PC synchronisaon may be lost if the unit is exposed to high levels of ESD and will require the soware
applicaon to be re-started.
USA:
Conforms to UL60950-1
This device complies with Part 15 of the FCC Rules. Operaon is subject to the following two condions:
1. This device may not cause harmful interference.
2. This device must accept any interference received, including interference that may cause undesired
operaon.
Warning: Changes or modicaons to this unit not expressly approved by the party responsible for compliance
could void the user’s authority to operate the equipment.
Responsible Party: PC Locs Pty. Ltd. 187 Mulgul Road, Malaga WA 6090, 1300 725 627,
NOTE: This equipment has been tested and found to comply with the limits for a Class B digital device,
pursuant to Part 15 of the FCC Rules. These limits are designed to provide reasonable protecon against
harmful interference in a residenal installaon. This equipment generates, uses, and can radiate radio
frequency energy and, if not installed and used in accordance with the instrucons, may cause harmful
interference to radio communicaons. However, there is no guarantee that interference will not occur in
a parcular installaon. If this equipment does cause harmful interference to radio or television recepon,
which can be determined by turning the equipment o and on, the user is encouraged to try to correct the
interference by one or more of the following measures:
• Reorient or relocate the receiving antenna.
• Increase the separaon between the equipment and receiver.
• Connect the equipment into an outlet on a circuit dierent from that to which the receiver is connected.
• Consult the dealer or an experienced radio TV technician for help.
“This Class B digital apparatus complies with Canadian ICES-003.” “Cet appareil numérique de la classe B est
conforme à la norme NMB-003 du Canada.”
Shielded USB cable must be used with this unit to ensure compliance with the Class B FCC limits.

www.pclocs.com.au
Table of contents
Other PC Locs Batteries Charger manuals

PC Locs
PC Locs iQ 10 Sync Charge Station User manual

PC Locs
PC Locs lockncharge FUYL Tower 15 User manual

PC Locs
PC Locs FUYL Tower User manual

PC Locs
PC Locs 16 SCB User manual

PC Locs
PC Locs FUYL Tower 5 User manual

PC Locs
PC Locs FUYL Tower User manual

PC Locs
PC Locs Putnam 16 User manual

PC Locs
PC Locs FUYL Tower 15 User manual

PC Locs
PC Locs Revolution ECO 32 Wall Cabinet User manual

PC Locs
PC Locs Revolution ECO 16 Bay Trolley User manual