Pedigo P-2010-S Blanket Warming Cabinet Operation and Care Manual
6
CONTROL FEATURES
THERMOSTAT AND PILOT LIGHT SEQUENCE
Whenever the thermostat is turned "ON", the heat indicator
light will indicate the power ON/OFF condition of the
heating cable, and consequently, the cycling of the cabinet
as it maintains the set cavity temperature. If the pilot light
does not illuminate after normal start-up, the main power
source, thermostat, and/or pilot light must be checked. If
the warming cabinet does not hold the temperature as set,
the calibration of the thermostat must be checked. If the
warming cabinet fails to heat or heats continuously with the
thermostat "OFF", the thermostat must be initially checked
for proper operation. If these items are checked and found
to be in order, a continuity and resistance check of the
heating cable should be made.
SEE WIRING DIAGRAM.
THERMOSTAT ACCURACY
The thermostat is precision calibrated at the factory.
Normally, no adjustment or recalibration is necessary unless
the thermostat has been mishandled in transit, changed, or
abused while in service. A thermostat with a sensing bulb
operates on hydraulic pressure, consequently, any bending
of the bulb results in a change in its volume, and alters the
accuracy of the thermostat calibration.
A thermostat should be checked or recalibrated by placing a
quality, thermal indicator at the center of an empty holding
cavity. DO NOT CALIBRATE WITH ANY BLANKETS IN
THE CABINET. The thermostat should be set, and should
be allowed to stabilize at that setting for a minimum of one
hour. Following temperature stabilization, the center of the
thermal swing of the air temperature within the cabinet
should approximately coincide with the thermostat setting.
If calibration is necessary, the calibration screw should be
adjusted with great care. The calibration screw of the
thermostat is located in the thermostat dial shaft. With the
shaft held stationary, a minute, clockwise motion of the
calibration screw appreciably lowers the thermostat setting.
A reverse, or counter-clockwise motion appreciably raises
the thermostat setting. After achieving the desired cycling
of the thermostat, the calibration screw must be sealed.
Place a few drops of enamel sealant directly on the
calibration screw. [Red nail polish or equivalents
acceptable.]
OPERATIONAL PROCEDURES
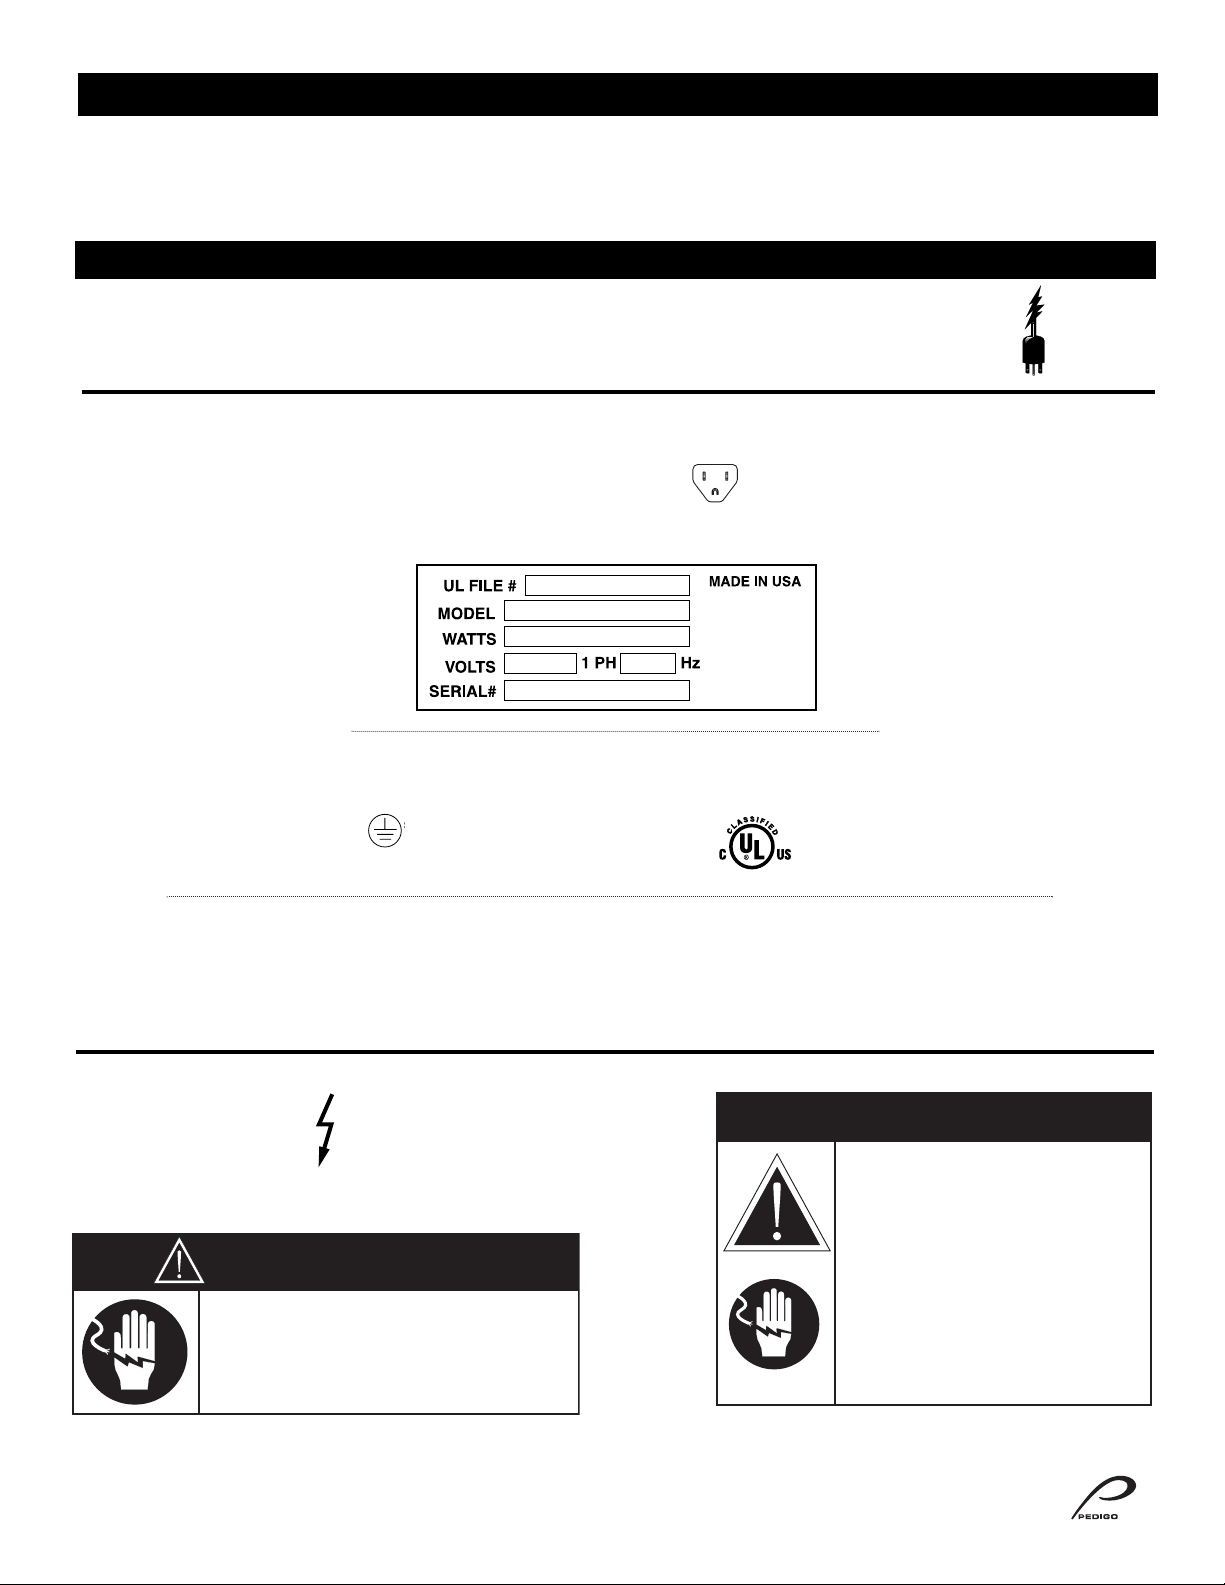
1. The appliance should be plugged into a hospital
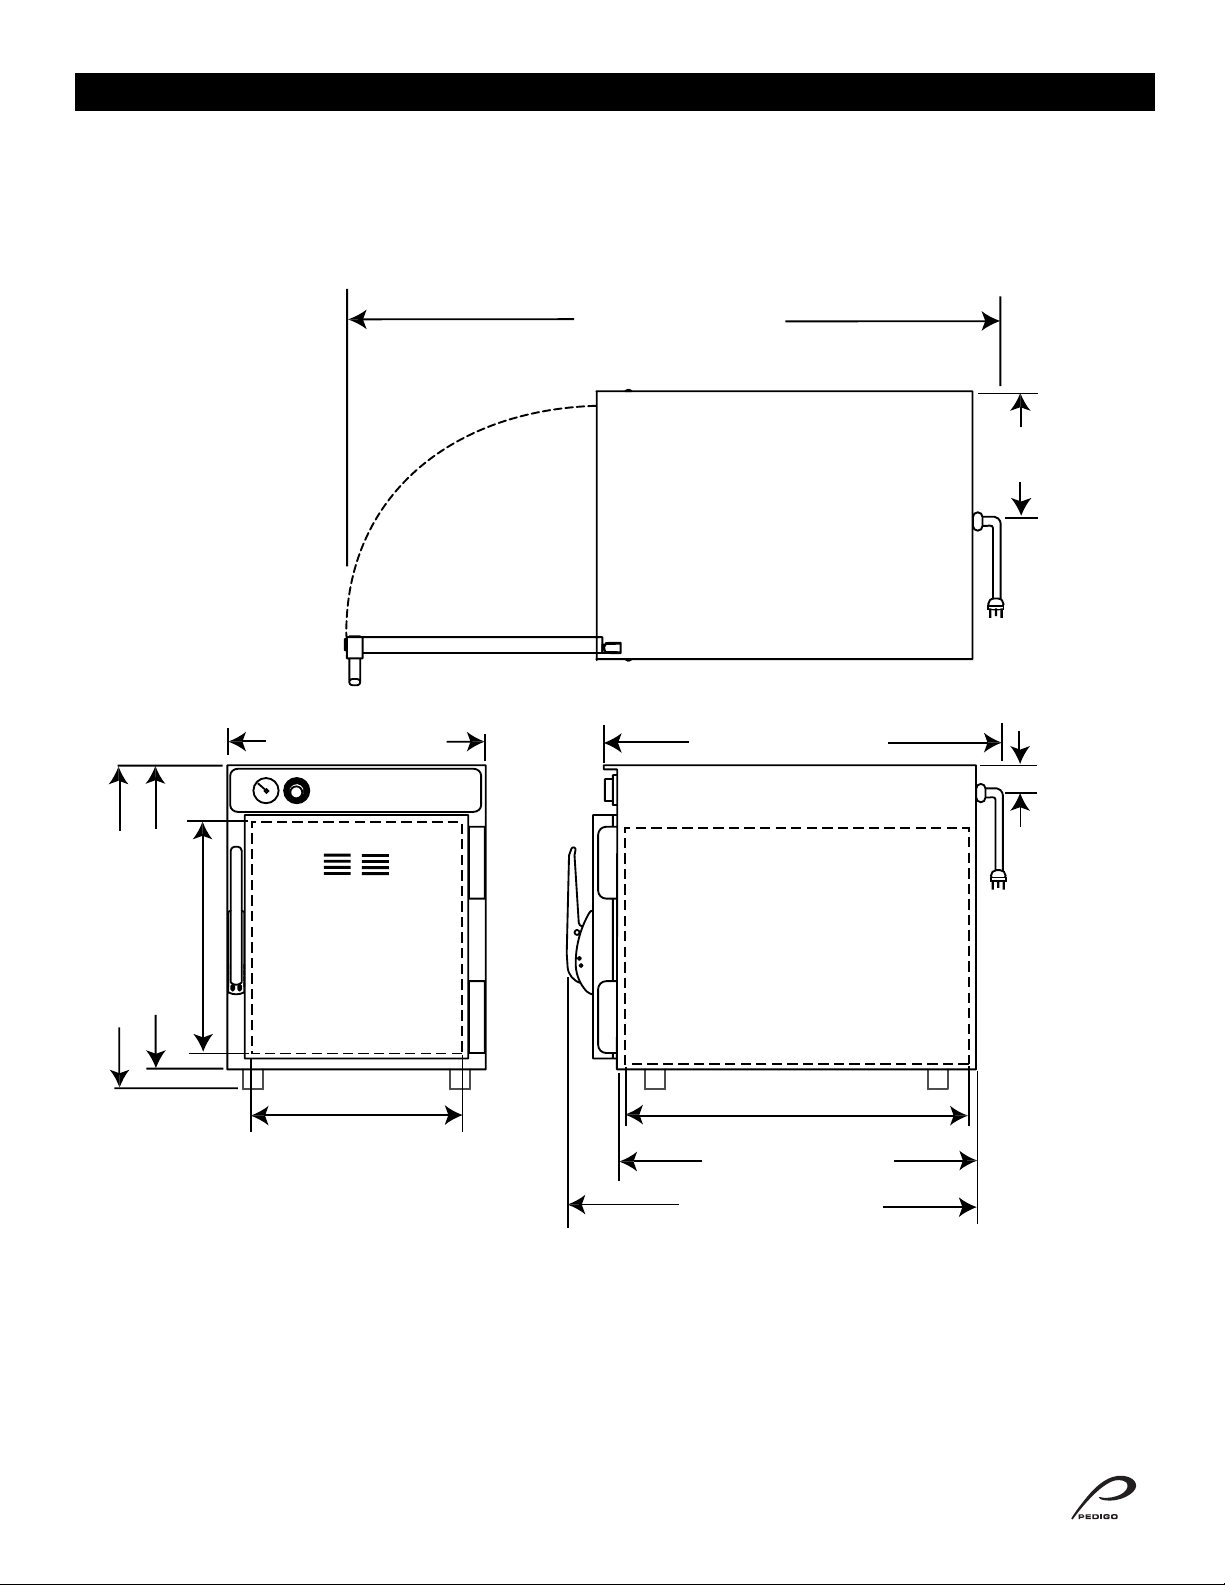
grade, NEMA 5-15P receptacle. The unit requires
1"clearance on sides, back, and bottom.
2. Turn on the power circuit breaker
switch, which is located at the back
of the appliance. It is a rocker-type
switch with international ON (I) and
OFF (O) markings.
3. PREHEAT AT 200°F (93°C).
When the thermostat is turned clockwise to an "ON"
position, the red indicator light will illuminate and will
remain lit as long as the unit is calling for heat. The red
indicator light will go "OUT" when the air temperature
inside the unit reaches the temperature set by the
operator. Verify the full preheated temperature with the
holding temperature gauge located on the control panel
of the cabinet.
4. LOAD THE CHAMBER WITH 100% COTTON
BLANKETS. DO NOT WARM SYNTHETIC BLEND
FABRICS OR ITEMS CONTAINING PLASTIC, RUBBER
OR METAL SNAPS, STUDS, HOOKS, ETC.
Check that the epoxy-coated blanket support assembly is
in place. This blanket support assembly MUST be used to
hold blankets. A full load of blankets will take 1-2 hours to
reach optimum temperature. Make certain the cabinet
door is securely closed after initial loading and following
each blanket removal.
Note: Do not block sensor by overloading cabinet
with blankets.
5. ROTATE LOAD OF BLANKETS DAILY.
Rotate the blankets at the bottom of the load to the top to
ensure equal usage. Failure to rotate blankets can cause
blankets to discolor.
Note: Avoid using flammable cabinet cleaning
agents, as well as blanket cleaning agents
that cause fabric to become brittle over time.
POWER
CIRCUIT BREAKER
SWITCH
CAUTION
DO NOT OVERLOAD CABINET.
BLANKETS MUST NOT EXCEED HEIGHT OF
SUPPORT ASSEMBLY. ALLOW 1" GAP BETWEEN
LOWER BLANKETS AND MIDDLE SHELF.
CAUTION
BLANKET SUPPORT ASSEMBLY AND SHELF
MUST BE USED WHEN WARMING BLANKETS.