SAFETY
Combination Blanket/Fluid Warmer ▪Operator’s Manual ▪MN-39930 ▪Rev 1 ▪3/19
8
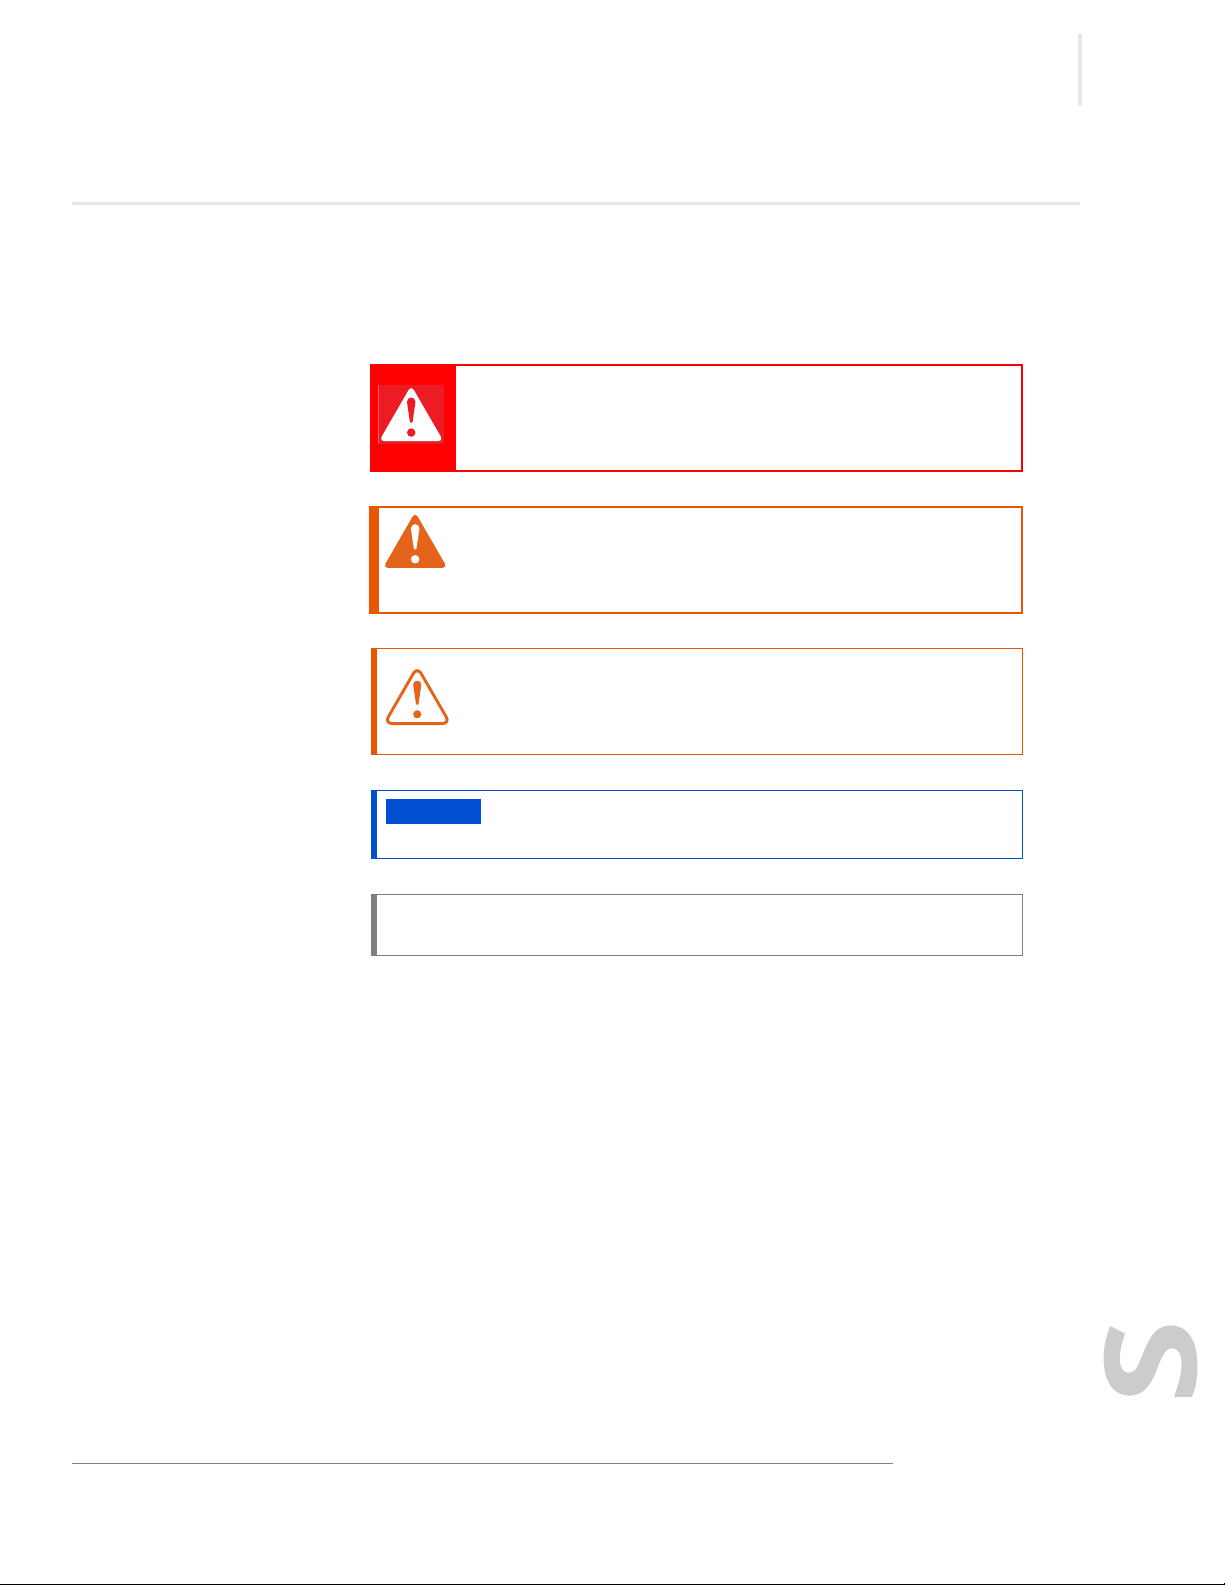
Safety Precautions
Before you begin Read and understand all instructions in this manual.
Electrical precautions Obey these electrical precautions when using the warmer:
▪Connect the warmer to a properly grounded outlet. Do not use the warmer if it is
not properly grounded. Consult an electrician if there is any doubt that the outlet
used is properly grounded.
▪Keep the cord away from hot surfaces.
▪Do not attempt to service the warmer or its cord and plug, when plugged in.
▪Do not operate the warmer if it has a damaged cord or plug.
▪Do not immerse the cord or plug in water.
▪Do not let the cord hang over the edge of a table or counter.
▪Do not use an extension cord.
Usage precautions Obey these usage precautions when using the warmer:
▪Only use this warmer for its intended use of warming.
▪Do not use this warmer for warming blood or blood products.
▪Do not cover or block any of the openings of this warmer.
▪Do not use this warmer in a wet location.
▪Only clean the warmer when the power cord is unplugged.
▪Do not use corrosive chemicals when cleaning the warmer.
▪Do not use the warmer cavity for storage.
▪Do not remove the top cover or exterior side panels. There are no user-
serviceable components inside.
Operator training All personnel using the warmer must have proper operator training. Before
using the warmer:
▪Read and understand the operating instructions contained in all the
documentation delivered with the warmer.
▪Know the location and proper use of all controls.
▪Keep this manual and all supplied instructions, diagrams, schematics, parts lists,
notices, and labels with the warmer if the warmer is sold or moved to another
location.