Pedigo P-2030-S Blanket Warming Cabinet Operation and Care Manual
3
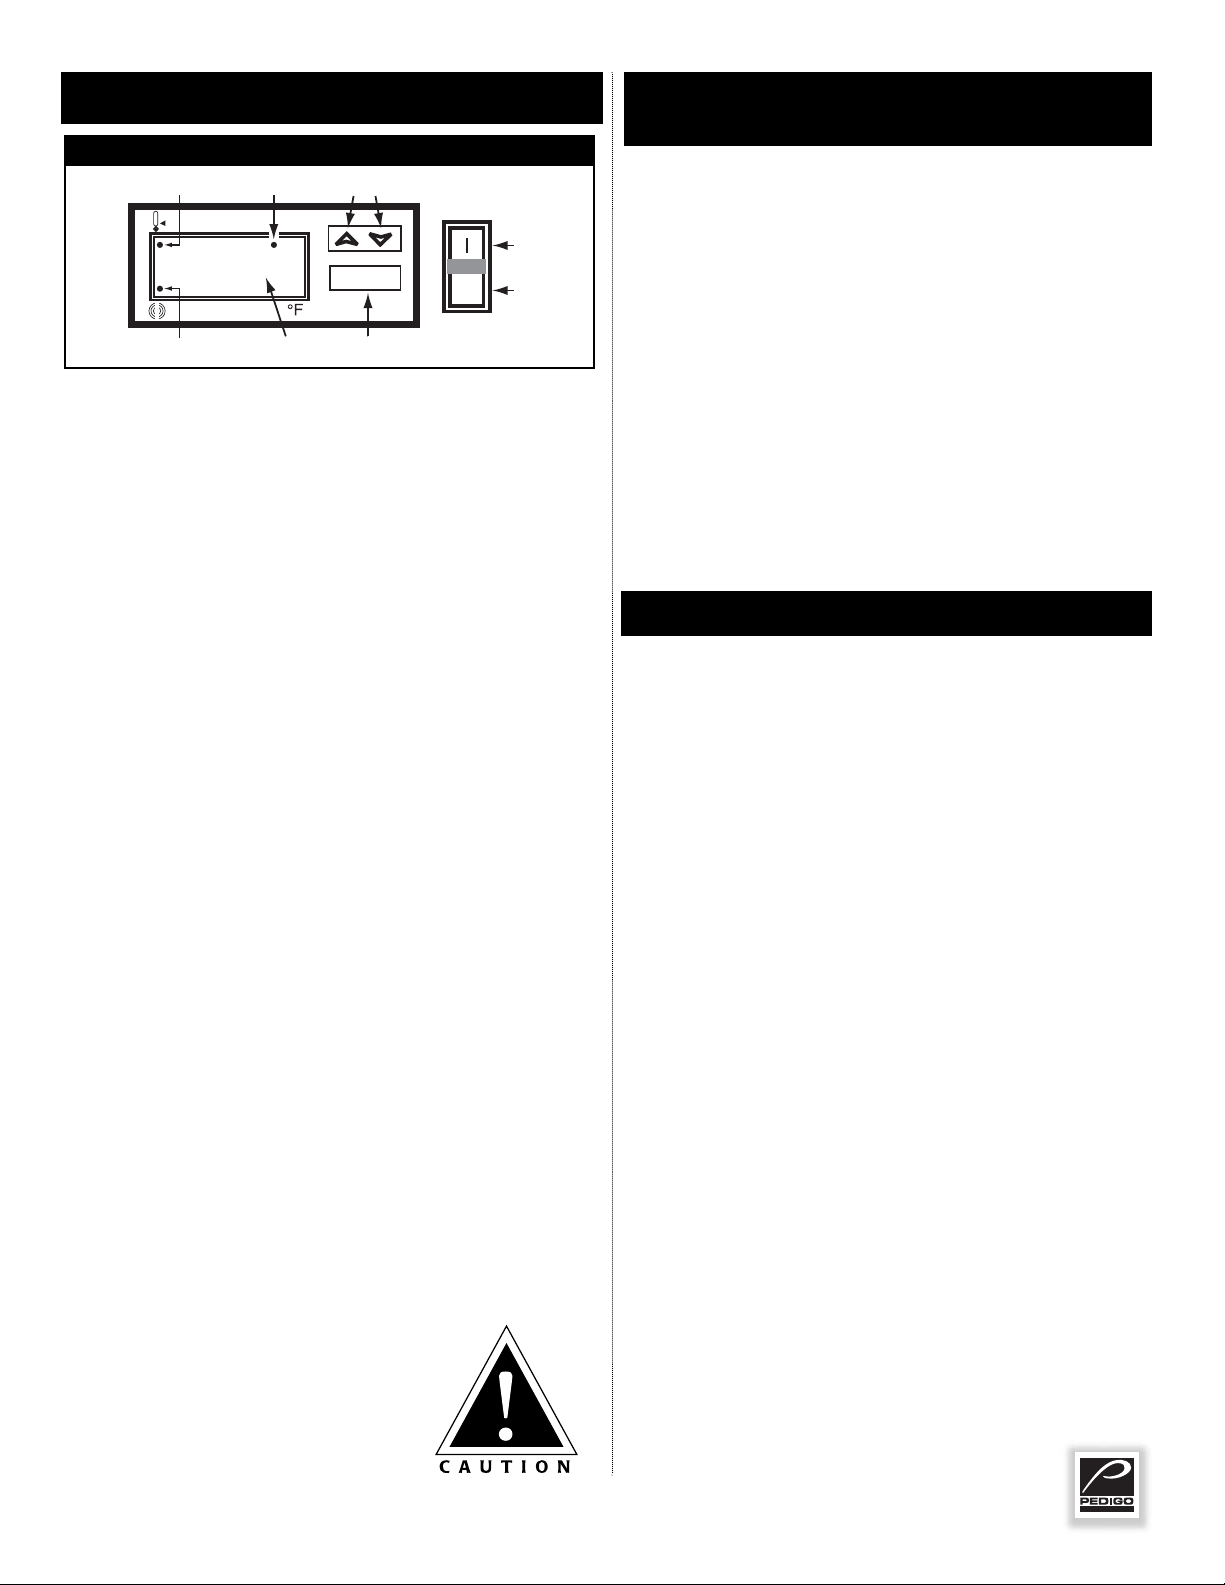
SET
prg
!
ERROR CODE
INDICATOR L.E.D.
HEAT
INDICATOR L.E.D.
CHAMBER
TEMPERATURE
L.E.D.
TEMPERATURE
SET
BUTTON
POWER
ON/OFF
ROCKER SWITCH
L.E.D.1 INCREASE / DECREASE
BUTTON
200
●
THERMOSTAT
"I" = "ON"
"●" = "OFF"
OPERATIONAL PROCEDURES
• L.E.D., Light Emitting Diode, referred to is an
electronic device providing illumination.
1. TURN POWER SWITCH ON.
The heat indicator L.E.D. will illuminate and remain
lit while the unit is calling for heat. The digital
display will indicate air temperature of the heated
compartment. The heat indicator L.E.D. will go out
when the air temperature inside the unit reaches the
temperature set-point on the electronic thermostat.
2. VIEW OR CHANGE SET-POINT.
A. Push the SET button once. The set-point value
(current set-point holding temperature) will be
displayed for 5 seconds. NOTE: Factory default
is 90°F (32°C).
B. The set-point value can be changed by pressing
and holding the SET button for at least 4
seconds. The programming mode becomes
active and the LED1 indicator will blink. Press
and hold the UP or DOWN arrow button to
change the value shown in the display. The value
can be stored either by pressing the SET button
or by waiting the exit time-out to expire
(approximately 15 seconds). The new set-point
value will flash three times to confirm. This value
will be retained until it is changed again. The
minimum set-point temperature is 90°F (32°C)
while the maximum set-point temperature is
200°F (93°C). Typical temperature settings are
around 160°F (71°C).
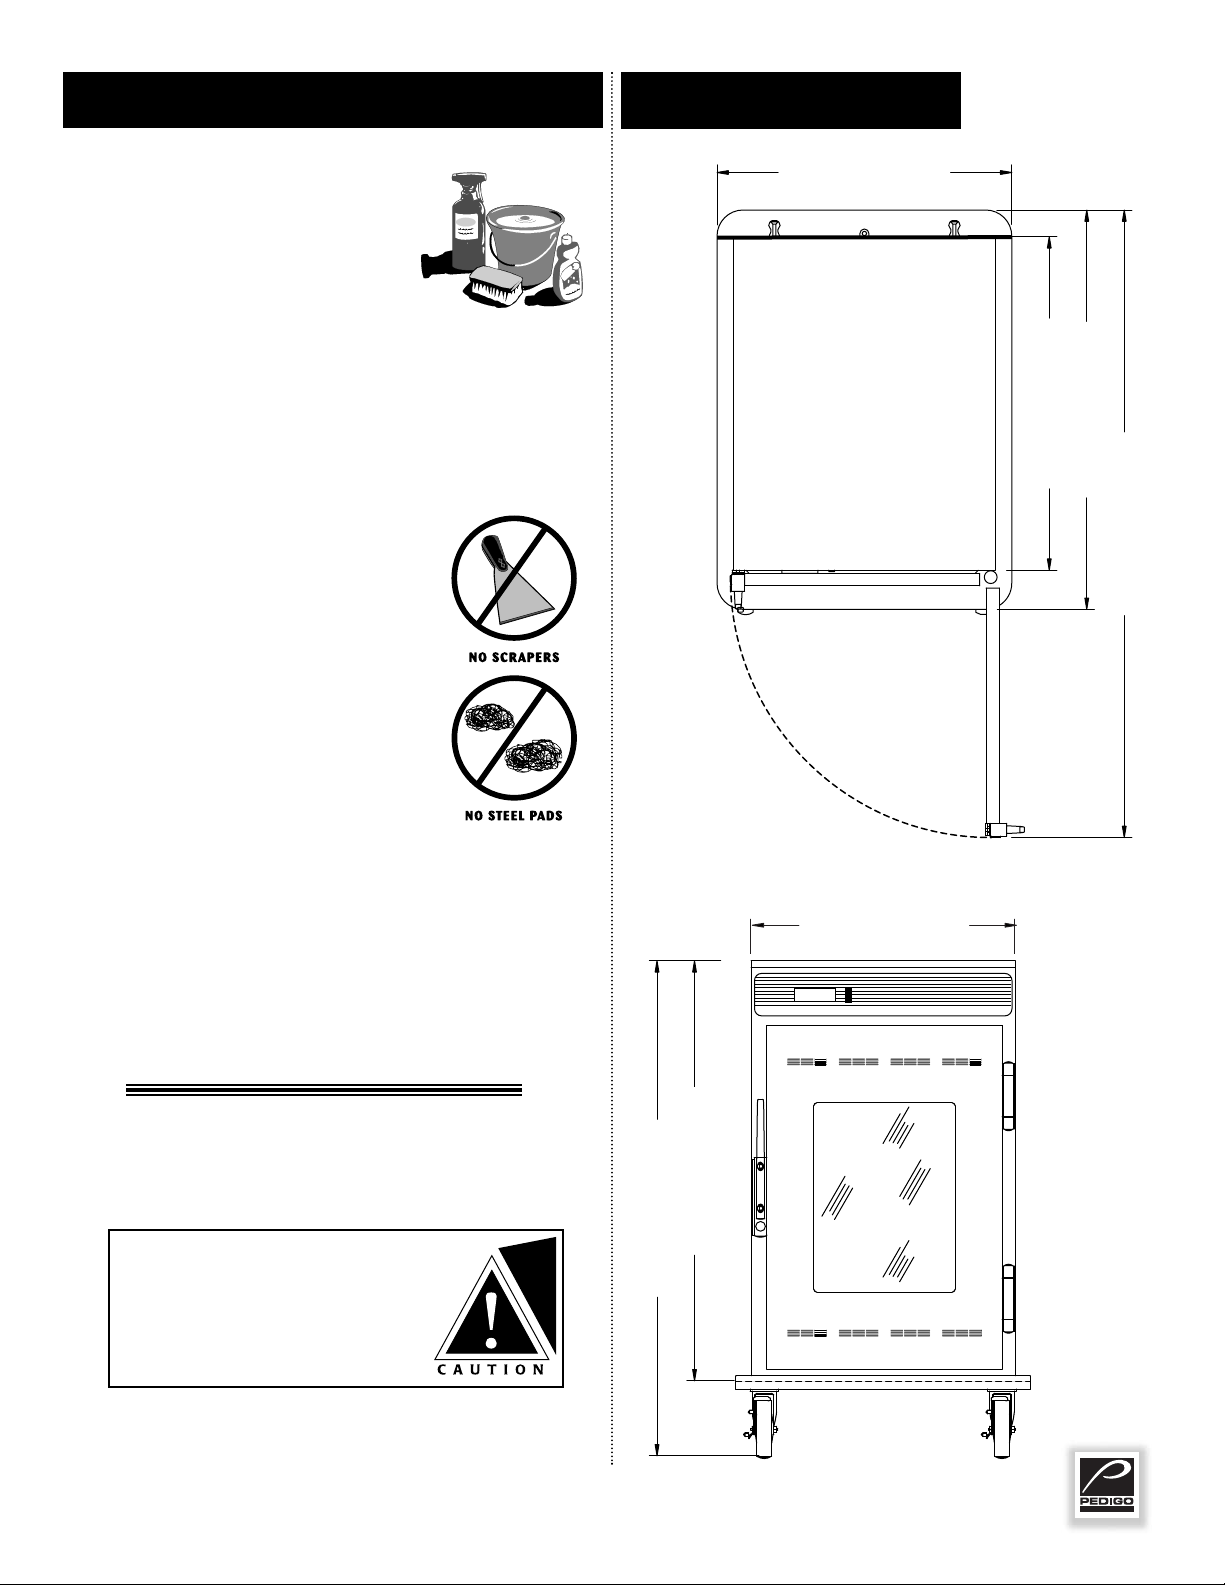
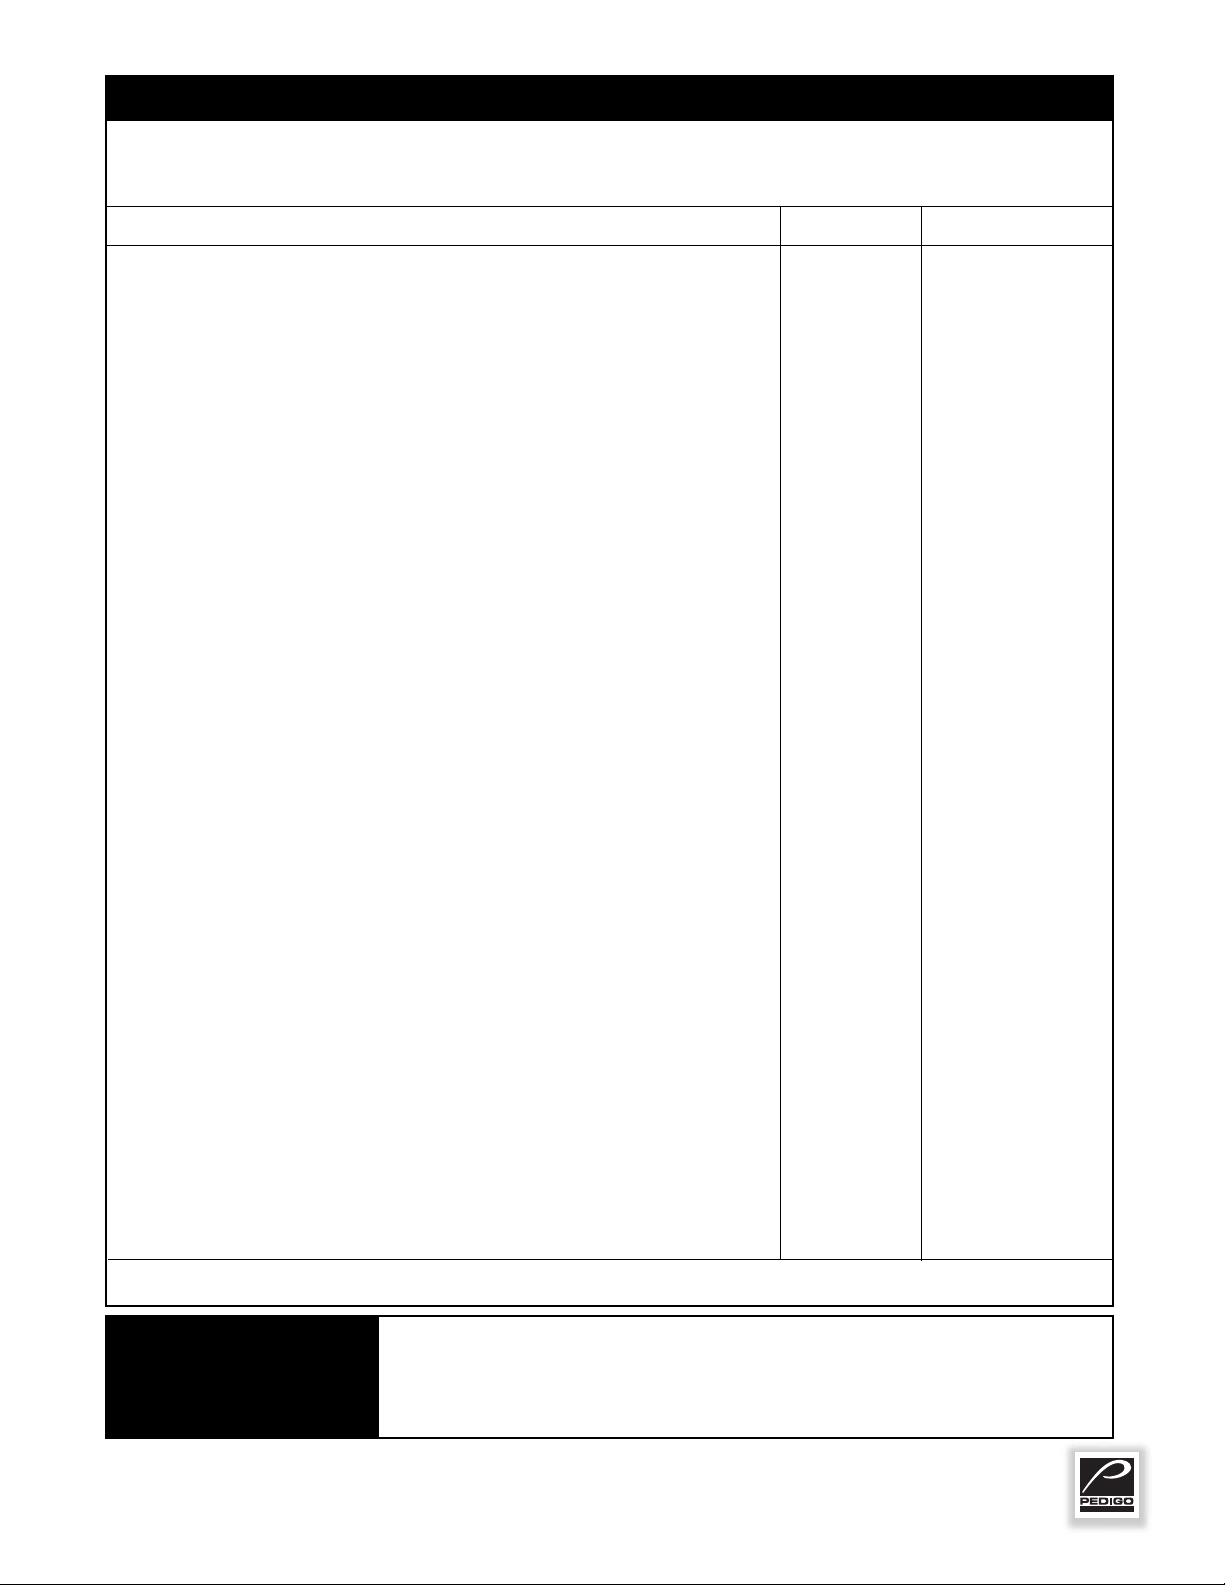
3. LOAD THE CABINET WITH BLANKETS.
Check that the epoxy-coated blanket support
assembly and shelf are in place. The warming
cabinet is designed to elevate blanket temperatures
to a level which will increase patient comfort.
Do not fill cabinet any closer than 2" from ceiling of
warming chamber (If sensor becomes blocked,
overheating could result.) A full load of blankets
will take several hours to reach optimum
temperature. Make certain the cabinet door is
securely closed after initial loading and following
each blanket removal.
DO NOT BLOCK SENSOR BY
OVERLOADING CABINET WITH
BLANKETS. OVERHEATING
COULD OCCUR.
THERMOSTAT
and INDICATOR LIGHT SEQUENCE
Whenever the thermostat is turned “ON,” the heat
indicator L.E.D. will indicate the power “ON/OFF”
condition of the heating cable, and consequently, the
cycling of the cabinet as it maintains the set-point
cavity temperature. If the L.E.D. does not illuminate
after normal start-up, the main power source and
thermostat must be checked. If the warming cabinet
does not hold the temperature as set, the calibration of
the thermostat must be checked. If the warming
cabinet fails to heat with the L.E.D. illuminated, or
heats continuously with the L.E.D. of thermostat “OFF,”
unplug and call for service.
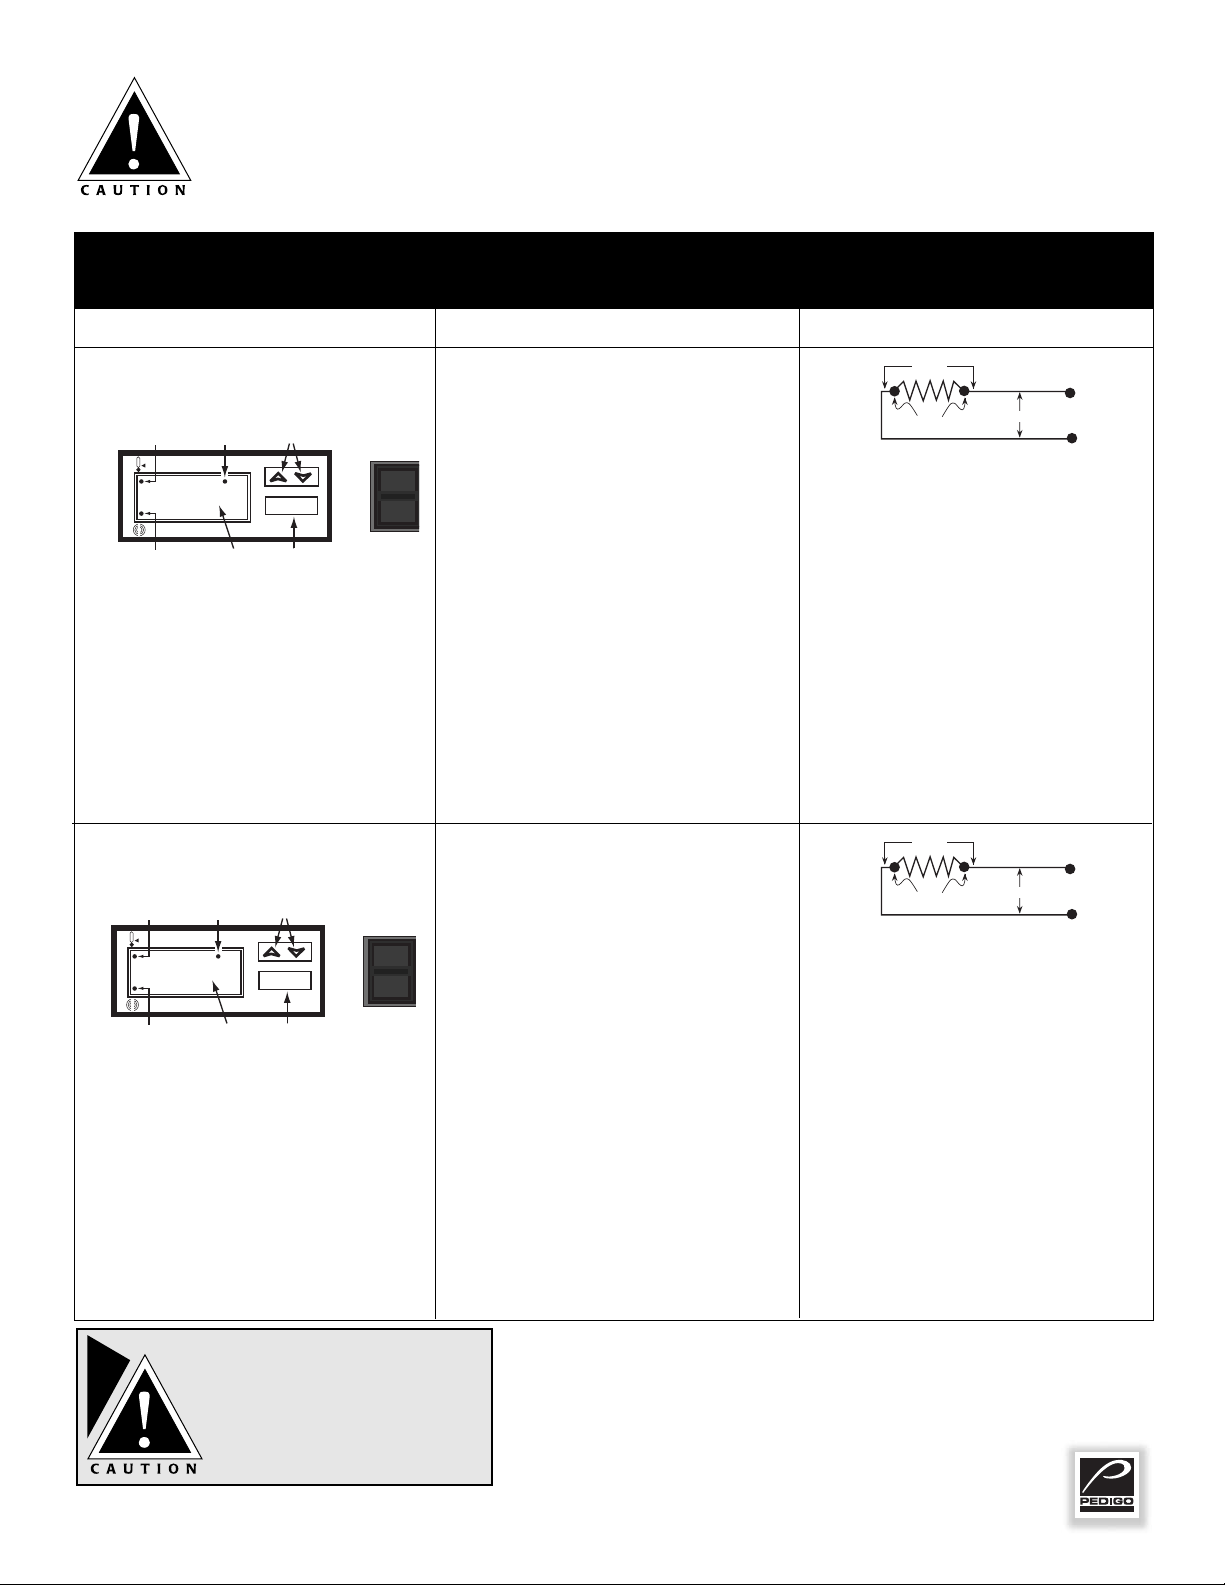
THERMOSTAT ACCURACY
The electronic thermostat is a precise instrument and
is designed to offer trouble-free service. If you suspect
the temperature inside the warming cabinet does not
match the temperature indicated on the digital display,
after stabilizing, follow the instructions listed below.
1. Check to make certain the power meets the
requirements of the appliance, voltage and current
rating as indicated on identification tag.
2. Verify the temperature inside the warming cabinet
with a quality thermal indicator.
A. With the exception of the metal shelves,
completely empty the warming cabinet.
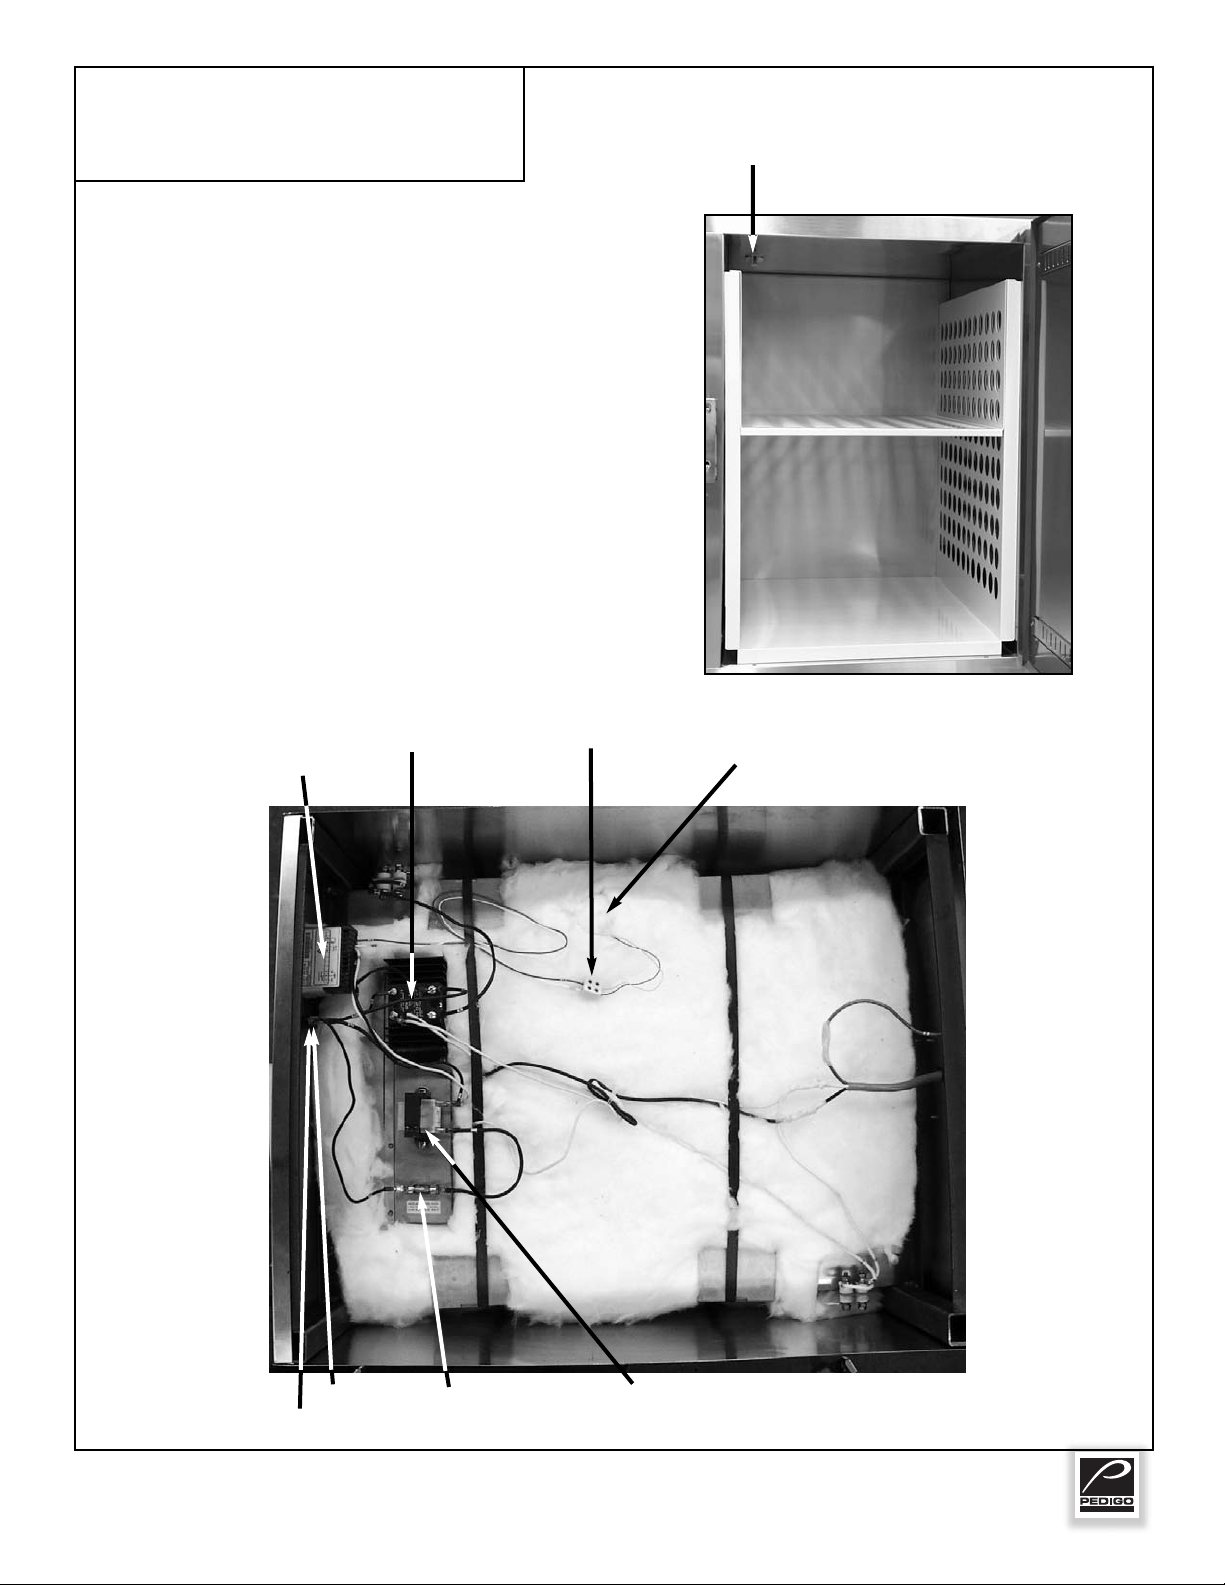
B. Make certain the sensor, located inside the
warming cabinet at the left side of the ceiling,
is completely clean.
C. Suspend the thermal indicator in the center of
the warming cabinet.
D. Allow the temperature, set on the electronic
thermostat, to stabilize for a minimum of one
hour before comparing the digital display with
the reading on the thermal indicator.
DO NOT OPEN THE CABINET DOOR(S) DURING THE
TEMPERATURE STABILIZATION PERIOD.
If the reading on the thermal indicator does not match
the digital display within 10°F (6°C), contact Pedigo
for appropriate action.
CONTROLLER