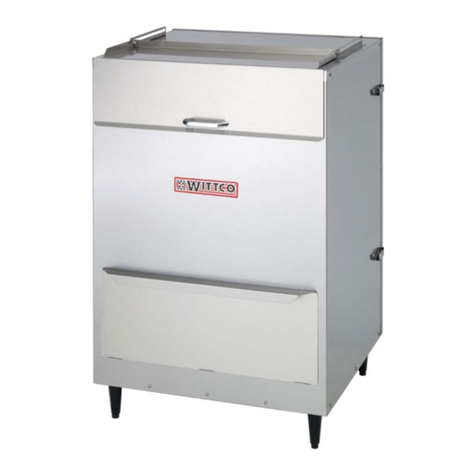
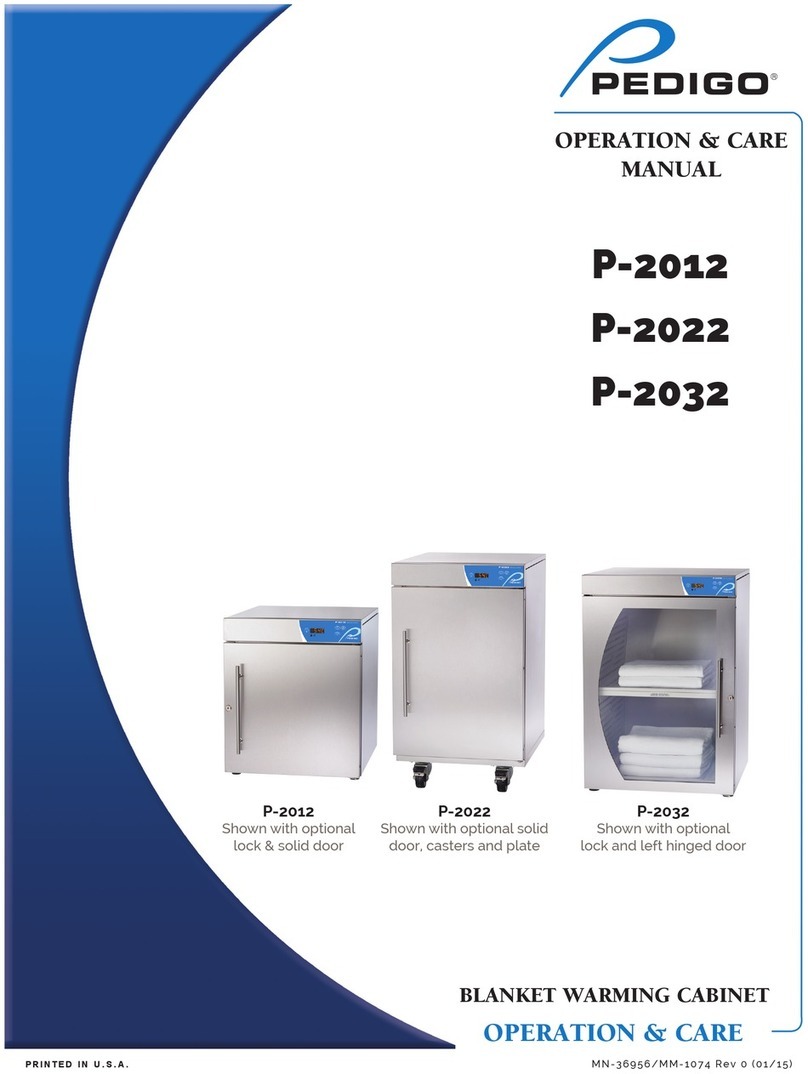
Pedigo P-2040-S User manual

P-2040-S
Blanket
Warming
Cabinet
Manual

2
Transport and Storage Environmental Conditions (not to exceed 15 days)
Ambient temperature range of -40°F (-40°C) to +158°F (+70°C)
Relative humidity range of 10% to 100%, including condensation
Atmospheric pressure range of 50KPa to 106KPa
The Pedigo Warming Cabinet has been
thoroughly tested, checked for calibration,
and inspected to insure only the highest
quality. When you receive your unit, check
for any possible shipping damage and
report it at once to the delivering carrier.
The cabinet, complete with unattached items and
accessories, may be delivered in one or more packages. Save all
the information and instructions packed inside the cabinet.
Complete and return the warranty card to the factory as
soon as possible to assure prompt service in the event of a
warranty parts and labor claim. All claims for warranty must include
the full model number and serial number of the cabinet.
After unpacking the unit, allow it to remain under stable
atmospheric conditions for several hours before connecting to
the power source. Extreme changes in temperatures and/or
humidity during storage and/or transportation could have
allowed condensation to form in the unit.
NOTE:Pay particular attention throughout this manual to
the warning and caution symbol which
means: Attention, Consult Operation
Manual before proceeding.
ELECTRICAL INFORMATION
The power specifications are located on the unit
identification nameplate. This nameplete is permanently
attached to the unit and must be located to determine and
verify power requirements.
POWER REQUIREMENTS
120 V.A.C. — 60 Hz, 1 ph
2000 Watts, 16.0 Amps
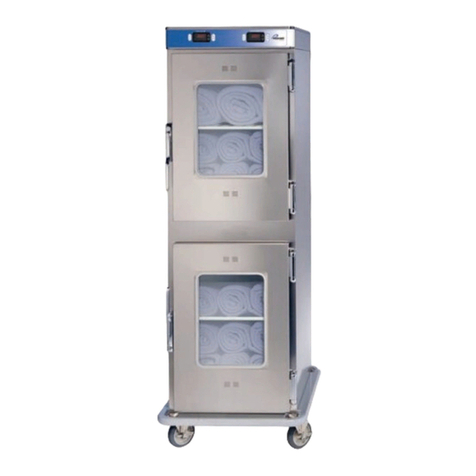
The double compartment warming cabinet is constructed with
22 gauge stainless steel exterior casing and doors, with handles
and hinges designed to withstand heavy usage. The cabinet is
heated by means of the Halo Heat system incorporating low
watt density cable mounted around each compartment. This
system provides evenly distributed heat without the need of a
heat-circulating fan. Each compartment is controlled by an
adjustable, electronic thermostat, which includes a heat
indicator L.E.D., temperature set button, temperature increase
and decrease button, and digital display to monitor
compartment temperature. The thermostats have a
temperature range of 90°F (32°C) minimum to 200°F (93°C)
maximum. Each chamber is equipped with one (1) white, epoxy-
coated blanket support assembly, with shelf. The cabinet is
furnished with one (1) set of 5" (127mm) heavy-duty casters —
two rigid and two swivel with brake.
PREPARATION
Before operating the cabinet, clean both the interior and exterior
of the unit with a damp cloth and mild soap solution. Wipe with
an appropriate disinfectant. Clean and install the cabinet shelf
assembly. Do not install or operate the blanket warmer in close
proximity of flammable anesthetics.
BLANKET WARMING CABINETS
TRANSPORT and STORAGE GENERAL INFORMATION
NEMA 5-20P
20A - 125V Plug
Hospital Grade
At no time should the inside or outside of
the cabinet be washed down by flooding with
water or liquid solution. NEVER STEAM
CLEAN. Severe damage or electrical
hazard could result.
Danger!
Explosion risk if used in
the presence of
flammable anesthetics.
Grounding reliability can only be achieved when equipment is connected to
an equivalent receptacle marked "Hospital Grade."
Protective Earth
Ground Symbol
Medical Equipment classified by Underwriters
Laboratories with Respect to Electrical Shock, Fire
and Mechanical Hazards only, in Accordance with
UL 544 and CAN/CSA C22.2 No. 601.1.
UNPACKING AND SET-UP
IP50
MADE IN USA
MODEL
SERIAL#
WATTS AMPS
VOLTS 1 PH Hz
LISTED
MEDICAL EQUIPMENT
C
LISTED
US
MEDICAL EQUIPMENT
1P50
ENSURE POWER SOURCE
MATCHES VOLTAGE STAMPED
ON UNIT NAMEPLATE.
Hazardous
Voltage Present
Pedigo P-2040-S Blanket Warming Cabinet Operation and Care Manual

Pedigo P-2040-S Blanket Warming Cabinet Operation and Care Manual
3
OPERATIONAL PROCEDURES
• L.E.D., Light Emitting Diode, referred to is an
electronic device providing illumination.
1. TURN POWER SWITCH ON.
The heat indicator L.E.D. will illuminate and remain
lit while the unit is calling for heat. The digital
display will indicate air temperature of the heated
compartment. The heat indicator L.E.D. will go out
when the air temperature inside the unit reaches the
temperature set-point on the electronic thermostat.
2. VIEW OR CHANGE SET-POINT.
A. Push the SET button once. The set-point value
(current set-point holding temperature) will be
displayed for 5 seconds. NOTE: Factory default
is 90°F (32°C).
B. The set-point value can be changed by pressing
and holding the SET button for at least 4
seconds. The programming mode becomes
active and the LED1 indicator will blink. Press
and hold the UP or DOWN arrow button to
change the value shown in the display. The value
can be stored either by pressing the SET button
or by waiting the exit time-out to expire
(approximately 15 seconds). The new set-point
value will flash three times to confirm. This value
will be retained until it is changed again. The
minimum set-point temperature is 90°F (32°C)
while the maximum set-point temperature is
200°F (93°C). Typical temperature settings are
around 160°F (71°C).
3. LOAD THE CABINET WITH BLANKETS.
Check that the epoxy-coated blanket support
assembly and shelf are in place. The warming
cabinet is designed to elevate blanket temperatures
to a level which will increase patient comfort.
Do not fill cabinet any closer than 2" from ceiling of
warming chamber (If sensor becomes blocked,
overheating could result.) A full load of blankets
will take several hours to reach optimum
temperature. Make certain the cabinet door is
securely closed after initial loading and following
each blanket removal.
DO NOT BLOCK SENSOR BY
OVERLOADING CABINET WITH
BLANKETS. OVERHEATING
COULD OCCUR.
THERMOSTAT
and INDICATOR L.E.D. SEQUENCE
Whenever the thermostat is turned “ON,” the heat
indicator L.E.D. will indicate the power “ON/OFF”
condition of the heating cable, and consequently, the
cycling of the cabinet as it maintains the set-point
cavity temperature. If the L.E.D. does not illuminate
after normal start-up, the main power source and
thermostat must be checked. If the warming cabinet
does not hold the temperature as set, the calibration of
the thermostat must be checked. If the warming
cabinet fails to heat with the L.E.D. illuminated, or
heats continuously with the L.E.D. of thermostat “OFF,”
unplug and call for service.
THERMOSTAT ACCURACY
The electronic thermostat is a precise instrument and
is designed to offer trouble-free service. If you suspect
the temperature inside the warming cabinet does not
match the temperature indicated on the digital display,
after stabilizing, follow the instructions listed below.
1. Check to make certain the power meets the
requirements of the appliance, voltage and current
rating as indicated on identification tag.
2. Verify the temperature inside the warming cabinet
with a quality thermal indicator.
A. With the exception of the metal shelves,
completely empty the warming cabinet.
B. Make certain the sensor, located inside the
warming cabinet at the left side of the ceiling,
is completely clean.
C. Suspend the thermal indicator in the center of
the warming cabinet.
D. Allow the temperature, set on the electronic
thermostat, to stabilize for a minimum of one
hour before comparing the digital display with
the reading on the thermal indicator.
DO NOT OPEN THE CABINET DOOR(S) DURING THE
TEMPERATURE STABILIZATION PERIOD.
If the reading on the thermal indicator does not match
the digital display within 10°F (6°C), contact Pedigo
for appropriate action.
SET
prg
!
ERROR CODE
INDICATOR L.E.D.
HEAT
INDICATOR L.E.D.
CHAMBER
TEMPERATURE
L.E.D.
TEMPERATURE
SET
BUTTON
POWER
ON/OFF
ROCKER SWITCH
L.E.D.1 INCREASE / DECREASE
BUTTON
200
●
THERMOSTAT
"I" = "ON"
"●" = "OFF"
CONTROLLER
Pedigo P-2040-S Blanket Warming Cabinet Operation and Care Manual
4
At no time should the inside or outside of
the cabinet be washed down by flooding
with water or liquid solution. NEVER
STEAM CLEAN. Severe damage or
electrical hazard could result.
OUTSIDE DIMENSIONS
6-15/16" (176mm)
52-1/2" (1334mm)
DOOR OPEN
2-1/2" (64mm)
33-5/16" (846mm)
33-3/4" (857mm)
67-3/16" (1707mm)
19-13/16" (503mm)
15" (381mm)
21-7/8" (556mm)
24-9/16" (624mm)
38-1/4" (972mm)
24-9/16" (624mm)
74-1/16" (1881mm)
L
C
41-7/8" (1064mm)
S
S
P-2040-S shown with optional window doors and
full-perimeter bumper.
CARE and CLEANING
The cleanliness and appearance of this equipment will
contribute considerably to its operating
efficiency. Make certain the cabinet and
door gaskets are kept free of any debris
that may accumulate.
Good equipment that is kept clean
works better and lasts longer.
CLEAN THE UNIT REGULARLY.
1. Disconnect the cabinet from the power source.
2. Remove all detachable items such as metal shelves
and side guards. Clean these items
separately.
3. Clean the interior metal surfaces
of the cabinet with a damp cloth
and any mild commercial
detergent. Avoid the use of
abrasive cleaning compounds.
4. Clean the exterior of the cabinet
with a cleaner recommended for
stainless steel. Spray the
cleaner on a clean cloth and
wipe with the grain.
5. If equipped with window doors, clean the glass
with a standard commercial glass cleaner.
NOTE: Do not use abrasive cleansers on the exterior
of the cabinet. Use a non-abrasive cleaner or
distilled white vinegar to remove water spots
or other stains.
DISCONNECT POWER BEFORE CLEANING.
(Listed as Ordinary Equipment.)

Pedigo P-2040-S Blanket Warming Cabinet Operation and Care Manual
5
Error Code
1. Control displays "ooo".
2. Control displays "CCC".
Possible Cause
A. Sensor is open circuited.
B. Associated wiring is open
circuited.
C. Control is faulty.
A. Sensor is short circuited.
B. Associated wiring is short
circuited.
C. Control is faulty.
Action Required
Detach the sensor from the terminal
block. Use an Ohm meter to measure
the resistance of the sensor. Check
sensor at 32°F (0°C) using a container
of ice water. If Ohm reading is 100,
replace display. If Ohm reading is not
100, replace sensor.
Check wires for integrity. Check for
proper and secure connections at the
thermostat and terminal block. If
necessary, re-secure the faulty
connections.
Energize system after the above steps
have been completed. If control still
reads "ooo", call service technician.
Detach the sensor from the terminal
block. Use an Ohm meter to measure
the resistance of the sensor. Check
sensor at 32°F (0°C) using a container
of ice water. If Ohm reading is 100,
replace display. If Ohm reading is not
100, replace sensor.
Check wires for integrity. Check for
proper and secure connections at the
thermostat and terminal block. If
necessary, re-secure the faulty
connections.
Energize system after the above steps
have been completed. If control still
reads "CCC", call service technician.
This chart is provided for the assistance of qualified technicians only and is not intended for use by untrained or unauthorized
service personnel. If your unit is not operating properly, check the following before calling your authorized service agent.
Check the power applied to the unit. Plug in outlet? Fuse OK?
Do not attempt to repair or service beyond this point. Contact manufacturer for nearest authorized service agent.
Repairs made by any other service agent without prior authorization by manufacturer will void the warranty on the unit.
Trouble Shooting Guide
DISCONNECT UNIT
FROM POWER SOURCE
BEFORE CLEANING
OR SERVICING.
EXT WIR
SENSOR
EXT WIR
SENSOR
SET
prg
!
°F
ERROR CODE
INDICATOR L.E.D.
HEAT
INDICATOR L.E.D.
ERROR
CODE
DISPLAY
TEMPERATURE
SET
BUTTON
L.E.D.1
INCREASE/DECREASE
ROCKER BUTTON
ooo
POWER
ON/OFF
ROCKER SWITC
H
SET
prg
!
°F
ERROR CODE
INDICATOR L.E.D.
HEAT
INDICATOR L.E.D.
ERROR
CODE
DISPLAY
TEMPERATURE
SET
BUTTON
L.E.D.1
INCREASE/DECREASE
ROCKER BUTTON
CCC
POWER
ON/OFF
ROCKER SWITC
H
Table of contents
Other Pedigo Food Warmer manuals

Pedigo
Pedigo P-2030-S User manual

Pedigo
Pedigo WARMWATCH P-2148 User manual

Pedigo
Pedigo P-2420 User manual

Pedigo
Pedigo P-2110 User manual

Pedigo
Pedigo P-2147 User manual

Pedigo
Pedigo P-2012 User manual

Pedigo
Pedigo P-2140 User manual

Pedigo
Pedigo Elite Series User manual

Pedigo
Pedigo P-2010-S User manual

Pedigo
Pedigo P-2040 User manual