manuals.online logo
Brands
  1. Home
  2. •
  3. Brands
  4. •
  5. Performance Tool
  6. •
  7. Tools Storage
  8. •
  9. Performance Tool W5184 User manual

Performance Tool W5184 User manual

Wall Mount Storage Bin Rack
Stock Number W5184
OWNER’S MANUAL

please read these instructions carefully and retain them for future use.

PERFORMANCE TOOL extends only the following warranties, and only to original retail purchasers.
These warranties give specic legal rights. Except where prohibited by local law, the law of the State
of Washington governs all warranties and all exclusions and limitations of warranties and remedies.
There may be other rights which vary from state to state.
PERFORMANCE TOOL warrants the product to be free from defects in materials and workmanship
under normal use and service. A defective product may be returned for a free replacement within 90
days from the date of purchase, provided that product is returned to place of purchase immediately
after discovery of defect. After 90 days and up to 1 year from date of purchase, PERFORMANCE
TOOL will replace at no charge any parts which our examination shall disclose to be defective
and under warranty. These warranties shall be valid only when a sales receipt showing the date of
purchase accompanies the defective product or defective part(s) being returned. For part(s) after 90
days, please remit your request, postage prepaid to:
PERFORMANCE TOOL, P.O. Box 88259 Tukwila, WA 98138
These warranties exclude blades, bits, punches, dies, bulbs, fuses, and other consumables which
must be replaced under normal use and service. These warranties shall not apply to any product or
part which is used for a purpose for which it is not design or which has been repaired or altered in
any way so as to affect adversely its performance or reliability, nor shall these warranties apply to
any product or part which has been subject to misuse, neglect, accident or wear and tear incident
to normal use and service.
PERFORMANCE TOOL does not authorize any other person to make any warranty or to assume any
liability in connection with its products.
Except for warranties of title and the limited express warranties set forth above, PERFORMANCE
TOOL makes no express or implied warranties of any kind with respect to its products. In particular,
PERFORMANCE TOOL makes no implied warranty of merchantability and no implied warranty of
tness for any particular purpose, except that for goods purchased primarily for personal, family
or household use and not for commercial or business use, PERFORMANCE TOOL makes an
implied warranty of merchantability (and, if otherwise applicable, an implied warranty of tness for
a particular purpose), but only for the particular qualities or characteristics, and for the duration,
expressly warranted above. The laws on limitation of implied warranties may differ from state to
state, so the above limitations may not apply in all cases.
PERFORMANCE TOOL shall not be liable for consequential, incidental or special damages resulting
from or in any manner related to any product, or to the design, use, or any inability to use the product.
The sole and exclusive remedy for a defective product or part shall be the repair, or replacement
thereof as provided above. The laws on limitation of remedies or on consequential, incidental or
special damages may vary from state to state, so the above limitations may not apply in all cases.

 This product and its packaging contain a chemical known to the State of California to
cause cancer, birth defects or other reproductive harm.
Always wear eye protection when using tools.
PARTS LIST
TOOLS REQUIRED
ASSEMBLY AND WALL MOUNTING INSTRUCTIONS
• #2 Phillips head screwdriver
• 7 mm wrench
1.
Lay out components and place the side supports (2) with the holes at on
the ground. Insert screws (4) from the back and hand tighten the nut (5)
from the front. The magnetic strip (1) will use two screws, and each bin
support bracket (3) will use four screws. Assembly is the same if
positioning magnetic strip on bottom, however unit will need to be
rotated 180 degrees and mounted accordingly.
2.
Determine orientation (magnetic strip above or below bins) and location
for bracket and ensure adequate wall space (at least 12 in. on all sides)
is available.
3.
Use a stud nder to locate the studs and position rack against wall with
the mounting holes over the center of the studs. If mounting to studs is
not an option, use the included wall anchors.
4.
Ensure the unit is aligned properly with a level and mark the wall with a
pencil in desired location.
5.
Fasten rack to wall. If using wall anchors drill a 3/16 in. hole at each
mark and insert wall anchors ush with wall. Align rack to wall anchors
and fasten with screws.
NOTE: Make sure there is adequate wall space below mounting rack.
For maximum strength lower bins must rest against wall surface
No. Description Qty.
1 Magnetic Tool Holder 1
2 Vertical Side Supports 2
3 Bin Support Brackets 2
4 Screws 10
5 Nuts (7 mm) 10
SPECIFICATIONS
Red Bins: ..............................................................4 (6-1/2 L x 4-1/16 W x 3 in. H)
Blue Bins: ..................................................................... 3 (9-1/4 L x 6 W x 5 in. H)
Rack Height: ...........................................................................................16-1/4 in.
Rack Width: .................................................................................................. 18 in.
Rack Depth: ..............................................................................................9-1/2 in.
Construction: .......................................................................Powder Coated Steel
IMPORTANT SAFETY INFORMATION
WARNING! Read, understand and follow all instructions and warnings
before assembling or mounting this tool. Failure to do so may result in
personal injury and/or property damage and will void warranty.
• Do not exceed rated weight capacity.
• Red bin capacity is 5 lbs. each. Blue bin capacity is 8 lbs. each.
• Always inspect bins for any cracks before use. If any damage is found do
not use.
Warnings:
• Total combined total weight capacity of bins is 44 lbs. Do not overload.
• Always inspect bins for any cracks. If any damage is found do not use.
• It is highly recommended you mount unit directly to wall studs.
• Make sure there are no wires, pipes, or other xtures inside the walls
where you intend to mount the rack.
• Magnet is very strong. Keep away from sensitive electronics or
magnetized objects such as credit cards.
Precautions:
• Note: Double check that there is adequate wall space below and above
rack. For maximum strength lower bins must rest against wall surface.
• The rack mounting holes are approximately 16 in. apart for mounting to
standard wall studs. Use a stud nder to locate studs.
• If mounting to wall studs is not an option use the included wall anchors.
NOTE: Specications are subject to change without notice.
3
2
4
1
5

Other Performance Tool Tools Storage manuals

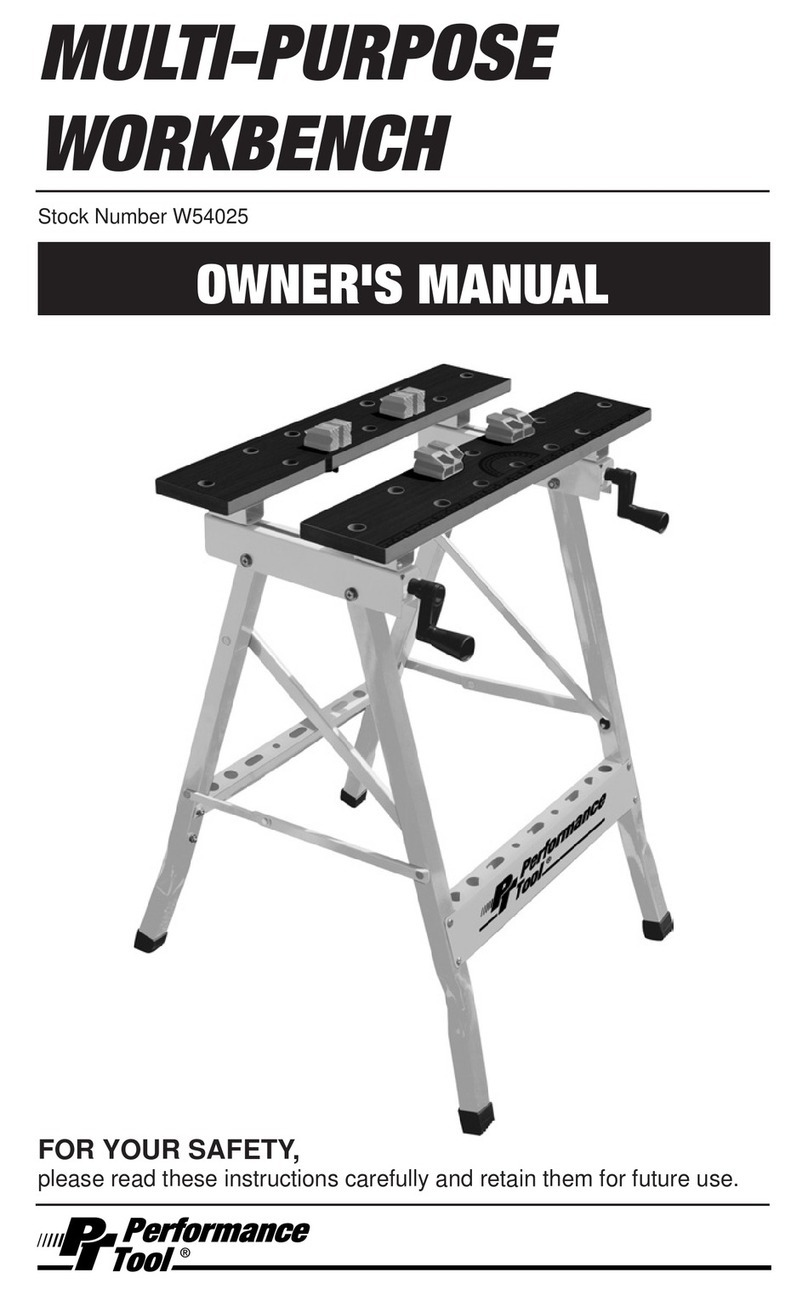
Performance Tool W54025 User manual

Performance Tool

Performance Tool W54025 User manual

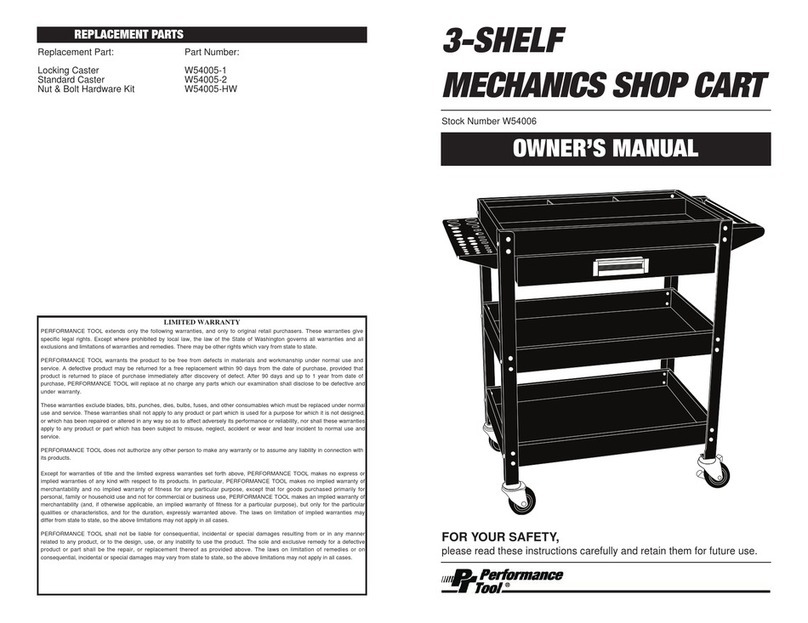
Performance Tool W54006 User manual

Performance Tool

Performance Tool W54006 User manual

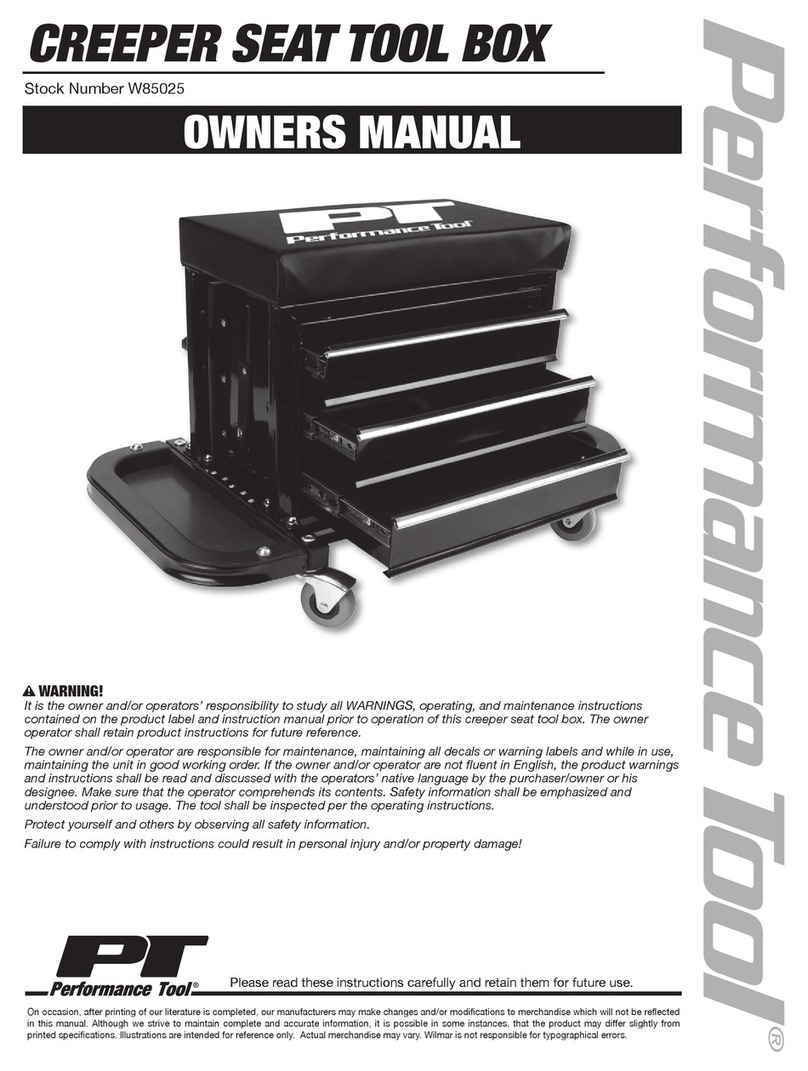
Performance Tool W85025 User manual

Performance Tool

Performance Tool W85025 User manual

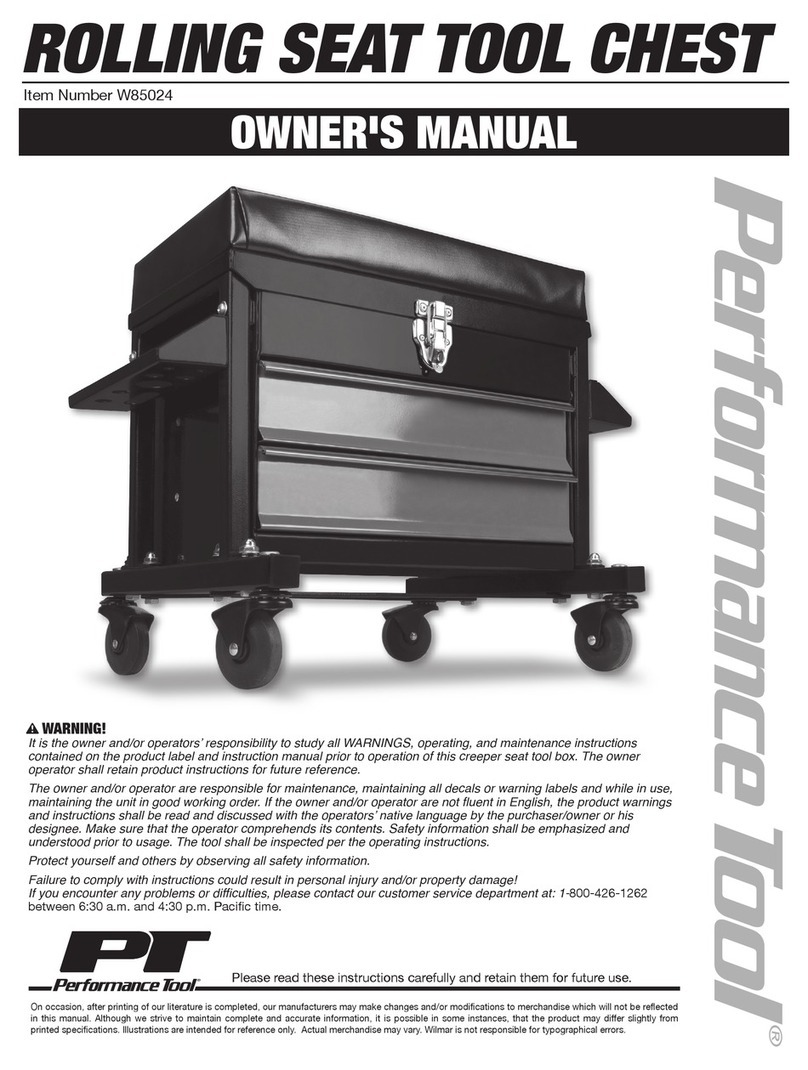
Performance Tool W85024 User manual

Performance Tool

Performance Tool W85024 User manual

Popular Tools Storage manuals by other brands

Ergofokus LIMBO user manual

Ergofokus

Ergofokus LIMBO user manual

STEELTEC XWS078 instruction manual

STEELTEC

STEELTEC XWS078 instruction manual

Sealey PTB66004SS instructions

Sealey

Sealey PTB66004SS instructions

Scheppach TW1000BT Translation of the original instruction manual

Scheppach

Scheppach TW1000BT Translation of the original instruction manual

Gladiator GAWB04HWJW Assembly instructions

Gladiator

Gladiator GAWB04HWJW Assembly instructions

KNOVA KN WB-03 quick start guide

KNOVA

KNOVA KN WB-03 quick start guide

Arbor Technology 01945 410950 quick start guide

Arbor Technology

Arbor Technology 01945 410950 quick start guide

HOLZMANN MASCHINEN WB155TWIN Assembly instruction

HOLZMANN MASCHINEN

HOLZMANN MASCHINEN WB155TWIN Assembly instruction

Extreme Tools RX723019RC-250 Assembly instructions

Extreme Tools

Extreme Tools RX723019RC-250 Assembly instructions

Ranger design P4-RS60-3 installation guide

Ranger design

Ranger design P4-RS60-3 installation guide

Holzmann WESS13 user manual

Holzmann

Holzmann WESS13 user manual

MSW Motor Technics MSW-WWB 200 user manual

MSW Motor Technics

MSW Motor Technics MSW-WWB 200 user manual

Cornwell Tools Pro Series Assembly instructions

Cornwell Tools

Cornwell Tools Pro Series Assembly instructions

Husky H4TR1 Use and care guide

Husky

Husky H4TR1 Use and care guide

Sealey AP2416.V2 instructions

Sealey

Sealey AP2416.V2 instructions

Festool UCR 1000 Assembly instruction

Festool

Festool UCR 1000 Assembly instruction

P.Lindberg 9050173 Original manual

P.Lindberg

P.Lindberg 9050173 Original manual

leziter MIR1008 Assembly and use instructions

leziter

leziter MIR1008 Assembly and use instructions

manuals.online logo
manuals.online logoBrands
  • About & Mission
  • Contact us
  • Privacy Policy
  • Terms and Conditions

Copyright 2025 Manuals.Online. All Rights Reserved.