manuals.online logo
Brands
  1. Home
  2. •
  3. Brands
  4. •
  5. Performance Tool
  6. •
  7. Tools Storage
  8. •
  9. Performance Tool W85024 User manual

Performance Tool W85024 User manual

WARNING!
It is the owner and/or operators’ responsibility to study all WARNINGS, operating, and maintenance instructions
contained on the product label and instruction manual prior to operation of this creeper seat tool box. The owner
operator shall retain product instructions for future reference.
The owner and/or operator are responsible for maintenance, maintaining all decals or warning labels and while in use,
maintaining the unit in good working order. If the owner and/or operator are not fluent in English, the product warnings
and instructions shall be read and discussed with the operators’ native language by the purchaser/owner or his
designee. Make sure that the operator comprehends its contents. Safety information shall be emphasized and
understood prior to usage. The tool shall be inspected per the operating instructions.
Protect yourself and others by observing all safety information.
Failure to comply with instructions could result in personal injury and/or property damage!
If you encounter any problems or difficulties, please contact our customer service department at: 1-800-426-1262
between 6:30 a.m. and 4:30 p.m. Pacific time.
ROLLING SEAT TOOL CHEST
OWNER'S MANUAL
Item Number W85024
On occasion, after printing of our literature is completed, our manufacturers may make changes and/or modifications to merchandise which will not be reflected
in this manual. Although we strive to maintain complete and accurate information, it is possible in some instances, that the product may differ slightly from
printed specifications. Illustrations are intended for reference only. Actual merchandise may vary. Wilmar is not responsible for typographical errors.
Please read these instructions carefully and retain them for future use.
1
2
3
4
5
7
6
8
9
10
12
13
11
WARNING! READ, UNDERSTAND AND FOLLOW ALL INSTRUCTIONS, AND WARNINGS BEFORE OPERATING THIS TOOL. FAILURE TO DO
SO MAY RESULT IN PERSONAL INJURY AND/OR PROPERTY DAMAGE AND WILL VOID WARRANTY.
SPECIFICATIONS
Capacity:........................................................350 Lbs.
Overall Dimensions:................ 20-7/8 x 14-1/4 x 16 in.
Seat Dimensions:........................................... 16 x 9 in.
SPECIFICATIONS ARE SUBJECT
TO CHANGE WITHOUT NOTICE
2
PARTS DIAGRAM
Chest Storage Dimensions: ......... 13-1/2 x 8-3/4 x 3 in.
Drawer Dimensions: ............. 12-1/2 x 7-3/4 x 2-1/4 in.
Maximum Drawer Capacity:..............................20 Lbs.
PARTS LIST
No. Description Qty.
1 Stool Pad...............................................................1
2 Bolt M6 x 12 ..........................................................4
3 Tool Chest .............................................................1
4 Bolt M6 x 25 ..........................................................4
5 Side Tool Tray ........................................................2
6 Tool Chest Frame ..................................................2
7 Bolt M6 x 30 ..........................................................4
No. Description Qty.
8 Caster Nut M8 .......................................................4
9 2-1/2 in. Caster......................................................4
10 Nut M8...................................................................4
11 Bolt M8 x 40 ..........................................................4
12 Support Bar...........................................................2
13 Plastic End Cap.....................................................4
This product is designed to support a maximum capacity of 350 lbs. (159 kg),
including all tools and equipment. It is intended to be used to support and
transport, along a smooth and level surface. This product is not intended,
designed or engineered to be used for any other purpose.
Step 1: Position the Tool Chest Frame (6)
so the bottom is accessible and insert two
2-1/2 in. Casters (9) through the bottom of
the square holes at the ends of the Tool
Chest Frame (6).
Step 2: Place one Caster Nut M8 (8)
through top of hole, thread on to the caster
stem and hand tighten. Ensure the square
portion of the caster stem is seated into the
square opening and use a 6mm hex key to
tighten each Caster Nut M8 (8) firmly.
Step 3: Rotate the Tool Chest so the holes
for the other 2 casters are accessible and
repeat steps 1 & 2.
Step 4: On one side of the Tool Chest
position Tool Shelf (5) over the holes as
shown and insert two M6*25 bolts (4) and
tighten with a #2 Phillips screwdriver.
Step 5: Repeat for the 2nd Side Tool Tray
(5) on the other side.
ASSEMBLY
3
Before assembly of this product, make sure
all hardware and components
are present. Compare parts with the parts
list and diagram. If any part is missing or damaged, do not attempt to assemble, install or operate the product.
6
9
8
5
4
1 YEAR LIMITED WARRANTY
PERFORMANCE TOOL® extends only the following warranties, and only to original retail purchasers. These warranties give specific legal rights.
Except where prohibited by local law, the law of the State of Washington governs all warranties and all exclusions and limitations of warranties and
remedies. There may be other rights which vary from state to state.
PERFORMANCE TOOL® warrants the product to be free from defects in materials and workmanship under normal use and service. A defective
product may be returned for a free replacement within 90 days from the date of purchase, provided that product is returned to place of purchase
immediately after discovery of defect. After 90 days and up to one year from date of purchase, PERFORMANCE TOOL® will replace at no charge
any parts which our examination shall disclose to be defective and under warranty. These warranties shall be valid only when a sales receipt
showing the date of purchase accompanies the defective product or defective part (s) being returned. For part (s) after 90 days, please remit your
request, postage prepaid to:
PERFORMANCE TOOL, P.O. Box 88259 Tukwila, WA 98138
These warranties exclude blades, bits, punches, dies, bulbs, fuses, hoses, and other consumables which must be replaced under normal use and
service. These warranties shall not apply to any product or part which is used for a purpose for which it is not designed, or which has been repaired
or altered in any way so as to affect adversely its
performance or reliability, nor shall these warranties apply to any product or part which has been subject to misuse, neglect, accident or wear and
tear incident to normal use and service.
PERFORMANCE TOOL® does not authorize any other person to make any warranty or to assume any liability in connection with its products.
Except for warranties of title and the limited express warranties set forth above, PERFORMANCE TOOL® makes no express or implied warranties
of any kind with respect to its products. In particular, PERFORMANCE TOOL® makes no implied warranty of merchantability and no implied
warranty of fitness for any particular purpose, except that for goods purchased primarily for personal, family or household use and not for
commercial or business use, PERFORMANCE TOOL® makes an implied warranty of merchantability (and, if otherwise applicable, an implied
warranty of fitness for a particular purpose), but only for the particular qualities or characteristics, and for the duration, expressly warranted above.
The laws on limitation of implied warranties may differ from state to state, so the above limitations may not apply in all cases.
PERFORMANCE TOOL® shall not be liable for consequential, incidental or special damages resulting from or in any manner related to any product,
or to the design, use, or any inability to use the product. The sole and exclusive remedy for a defective product or part shall be the repair, or
replacement thereof as provided above. The laws on limitation of remedies or on consequential, incidental or special damages may vary from state
to state, so the above limitations may not apply in all cases.
© Copyright 2018 WILMAR CORPORATION, P.O. Box 88259 Tukwila, WA 98138
Little maintenance is required for this product. Wipe clean as needed; use mild upholstery cleaner (not caustic) to clean seat.
• NEVER add lubricant to casters!
• Periodically check that all of the fasteners are tight.
• Keep the seat clean. Wash it with a mild soap and dry immediately.
When you are nished using the stool, store it in a safe place where it will not disturb or hinder others.
CARE & MAINTENANCE
STORAGE
1. DO NOT exceed rated capacity. Overloading the Tool Chest can cause damage to or failure of the unit and/or injury to
users and bystanders.
2. Use only on a hard, level surface capable of sustaining the load. Use on unstable, uneven or otherwise surfaces can
result in instability.
3.
DO NOT stand on Tool Chest. Serious injury can result it tips over or you accidentally come in contact with uneven ground.
4. DO NOT expose to heat, sparks, open ame or other high temperature sources.
5. Do not alter this product in any way. Inspect before use. Do not use if any signs of damage, excessive wear, cracks
or broken parts are found. Check fasteners on a regular basis and ensure they are tight.
6. Keep your work area clean and well lit. Cluttered work areas invite accidents.
7. Keep bystanders, children, and visitors away while operating Tool Chest. Distractions can cause you to lose control.
8. Stay alert. Watch what you are doing, and use common sense when operating the Tool Chest. Do not use the Tool
Chest while tired or under the inuence of drugs, alcohol or medication. A moment of inattention while operating
creeper may result in serious personal injury.
9. Store idle Tool Chest out of reach of children and other untrained persons.
10. Tool Chest service must be performed only by qualied repair personnel. Service or maintenance performed by un
qualied personnel could result in a risk of injury.
11. When servicing a creeper, use only identical replacement parts - refer to product-specic parts list and diagram. Follow
instructions in the Care & Maintenance section of this manual. Use of unauthorized parts or failure to follow maintenance
instructions may create a risk of injury and may void any applicable warranty.
12. Maintain any labels and nameplates on the Tool Chest. These carry important information. If unreadable or missing,
contact Performance Tool for a replacement.
13.
The warnings, precautions, and instructions discussed in this manual cannot cover all possible conditions and situations
that may occur. The operator must understand that common sense and caution are factors, which cannot be built into
this product, but must be supplied by the operator.
IMPORTANT SAFETY INFORMATION

Other Performance Tool Tools Storage manuals

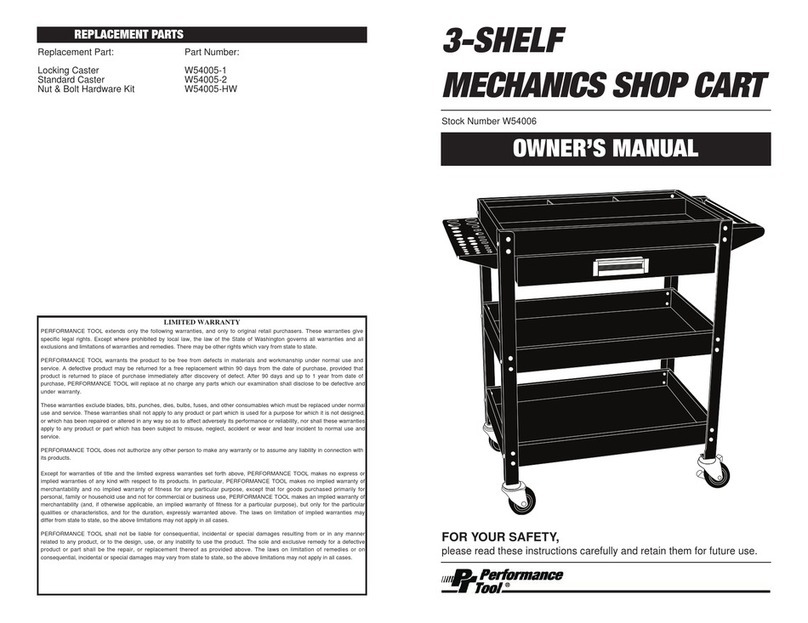
Performance Tool W54006 User manual

Performance Tool

Performance Tool W54006 User manual

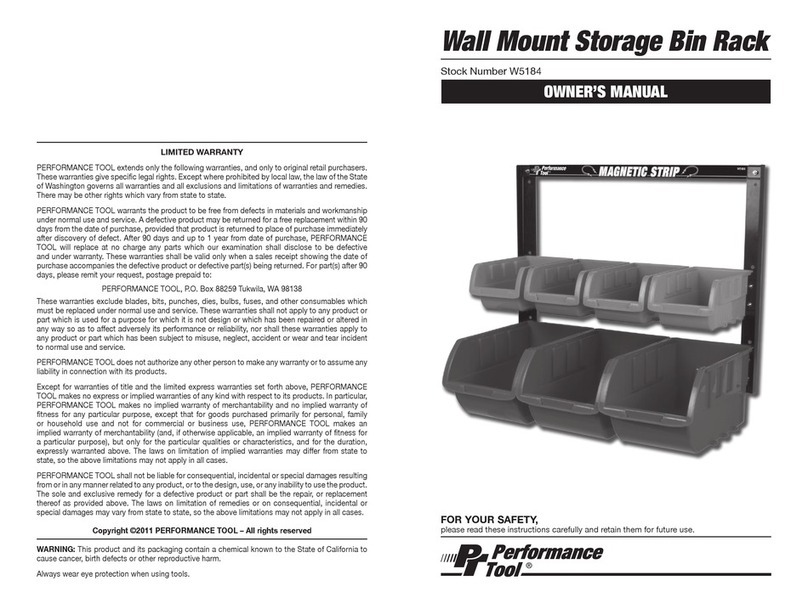
Performance Tool W5184 User manual

Performance Tool

Performance Tool W5184 User manual

Performance Tool W54025 User manual

Performance Tool

Performance Tool W54025 User manual

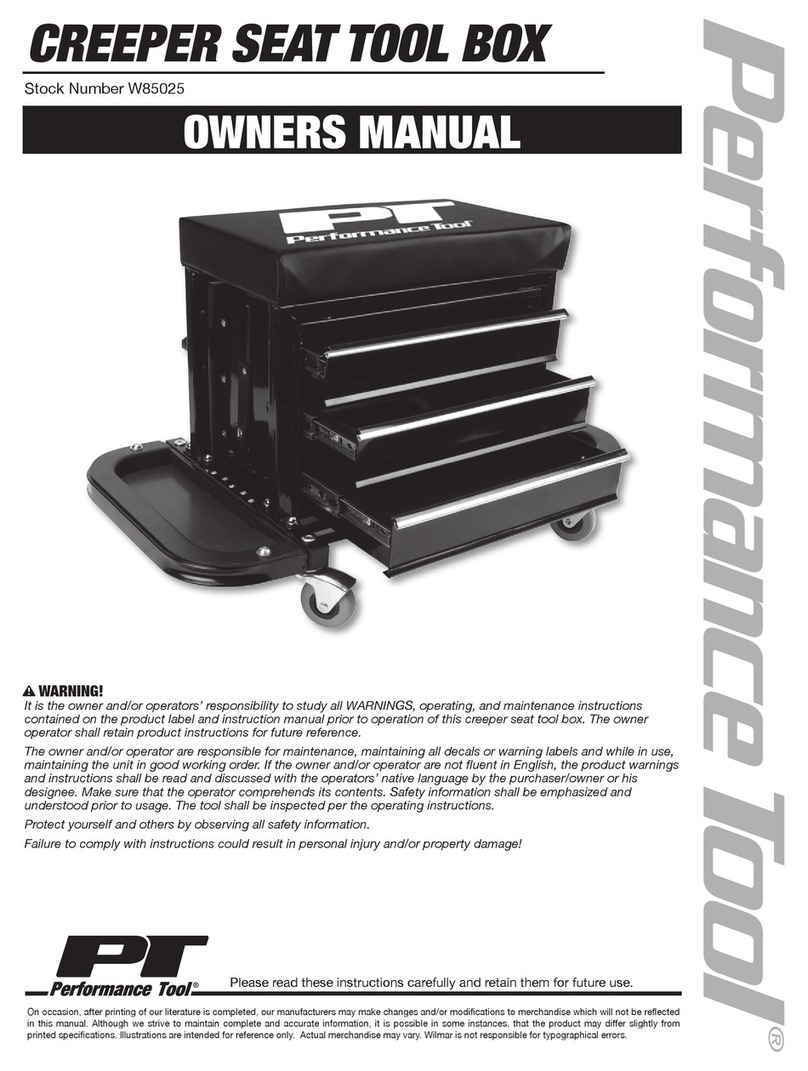
Performance Tool W85025 User manual

Performance Tool

Performance Tool W85025 User manual

Popular Tools Storage manuals by other brands

Batavia CROC LOCK COMPACT Translation of the original instructions

Batavia

Batavia CROC LOCK COMPACT Translation of the original instructions

kupper 12110 Series Assembly instructions

kupper

kupper 12110 Series Assembly instructions

MasterCraft 068-0002-6 instruction manual

MasterCraft

MasterCraft 068-0002-6 instruction manual

Husky H52CH6HDV3WHT Use and care guide

Husky

Husky H52CH6HDV3WHT Use and care guide

ramia PRO-AS1600 Assembly instructions

ramia

ramia PRO-AS1600 Assembly instructions

MSW MSW-WWB 100 user manual

MSW

MSW MSW-WWB 100 user manual

kupper 70690 Assembly instruction

kupper

kupper 70690 Assembly instruction

Newpo Light Duty Workbench Guide to Assembly & Usage

Newpo

Newpo Light Duty Workbench Guide to Assembly & Usage

IAC INDUSTRIES Quick Ship WORKMASTER Assembly instructions

IAC INDUSTRIES

IAC INDUSTRIES Quick Ship WORKMASTER Assembly instructions

Grizzly H6462 instruction manual

Grizzly

Grizzly H6462 instruction manual

GAVI Folding Workbench installation instructions

GAVI

GAVI Folding Workbench installation instructions

Sealey AP22DFC instructions

Sealey

Sealey AP22DFC instructions

Homak PROFESSIONAL Series Owner's manual & operating instructions

Homak

Homak PROFESSIONAL Series Owner's manual & operating instructions

Pony JORGENSEN 60400 owner's guide

Pony

Pony JORGENSEN 60400 owner's guide

U-Line H-6405 Assembly instructions

U-Line

U-Line H-6405 Assembly instructions

Whittan Stockrax T bar Guide to assembly

Whittan

Whittan Stockrax T bar Guide to assembly

VEVOR SHFGM4824GR user manual

VEVOR

VEVOR SHFGM4824GR user manual

Craftsman 120.29687 User instructions

Craftsman

Craftsman 120.29687 User instructions

manuals.online logo
manuals.online logoBrands
  • About & Mission
  • Contact us
  • Privacy Policy
  • Terms and Conditions

Copyright 2025 Manuals.Online. All Rights Reserved.