manuals.online logo
Brands
  1. Home
  2. •
  3. Brands
  4. •
  5. PLANET ECLIPSE
  6. •
  7. Paintball Equipment
  8. •
  9. PLANET ECLIPSE GEO IV CORE User manual

PLANET ECLIPSE GEO IV CORE User manual

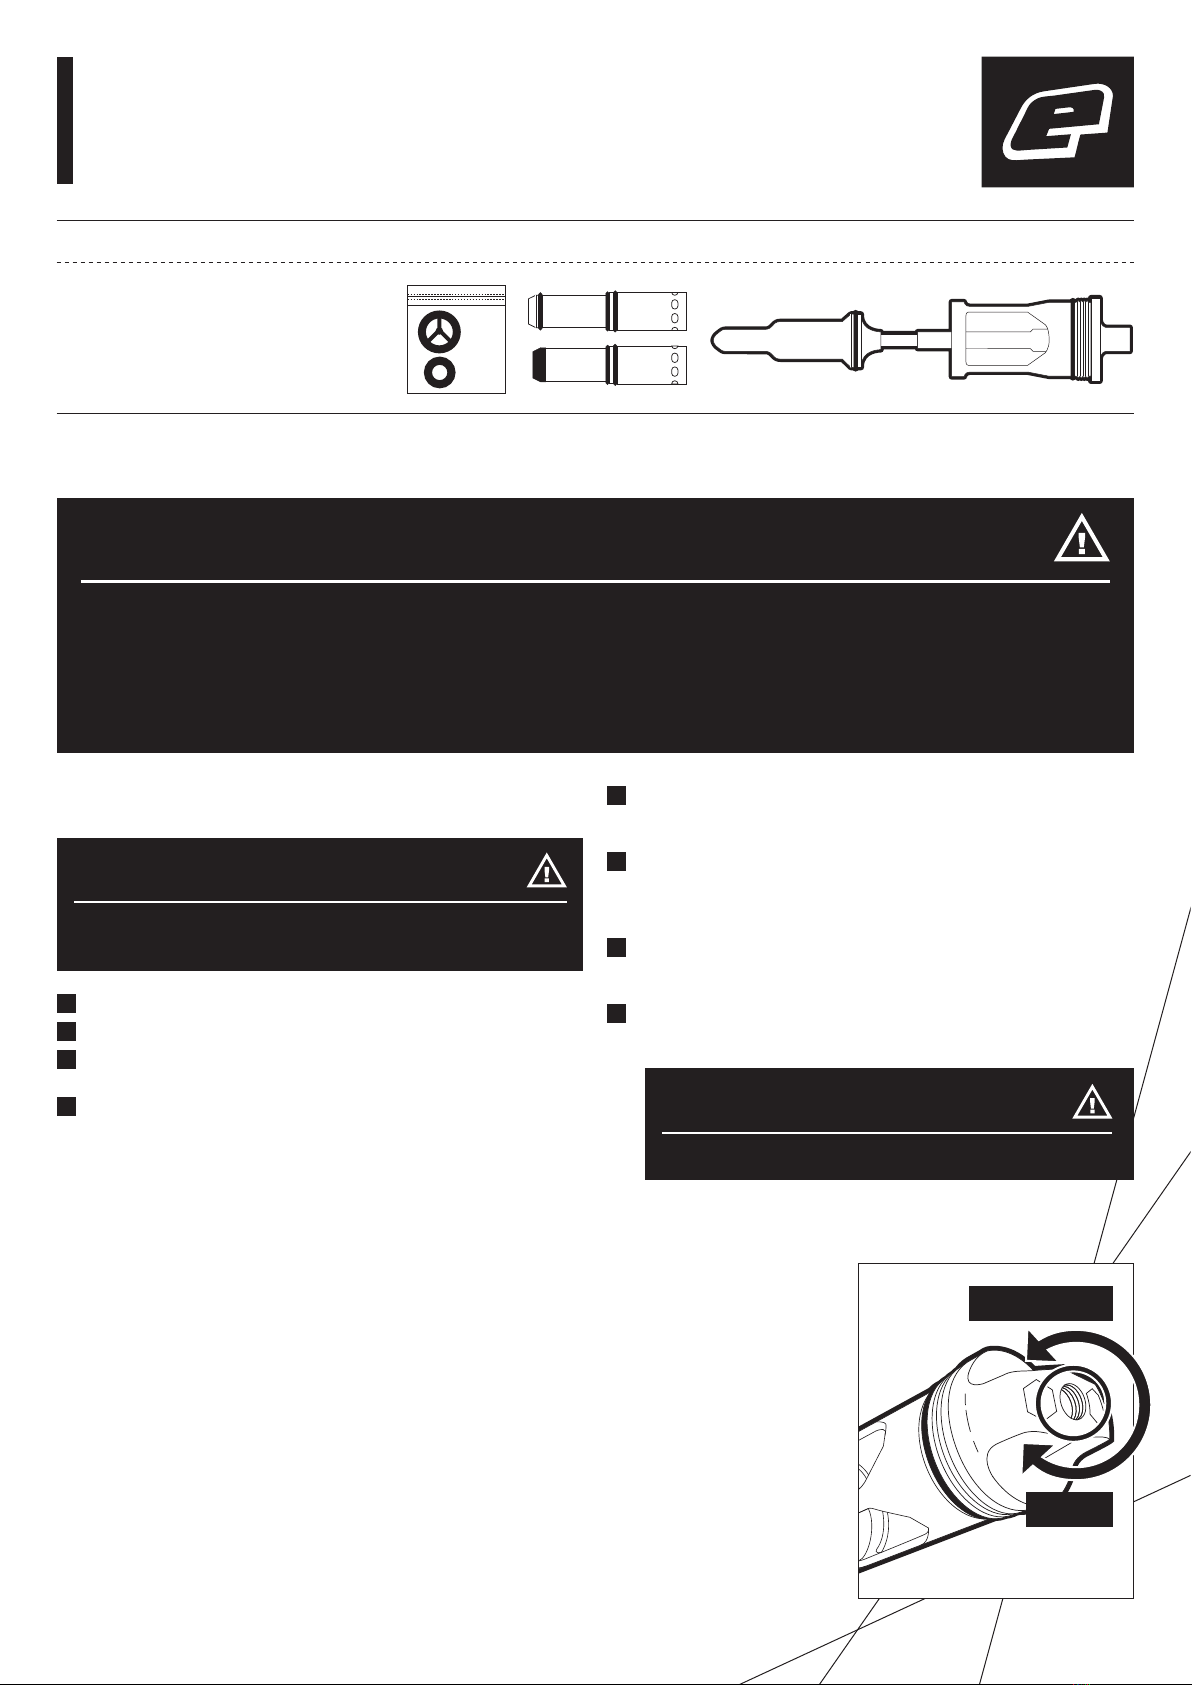
YOUR IV CORE KIT INCLUDES:
1 x Propshaft Assembly
1 x ST All-Metal Bolt
1 x ST3 Soft Tip Bolt
1 x Spares Bag
IV CORE
UPGRADE KIT
The GEO IV Core is designed to t and work in GEO, GEO+,
SL91, GEO2, GEO2.1, GEO3 and GEO3.1 markers.
Please fully read these instructions before attempting to install this
IV Core kit into your marker.
FITTING THE IV CORE
1Remove the original Propshaft Assembly, Bolt and Can.
2Separate the Can and Bolt assembly.
3
Place the original Bolt and Propshaft assembly to one side.
This will no longer be required.
4
Take your Can and clean it thoroughly. Pay particular attention
to the internal 017NBR70 o-ring. In the IV Core kit you will nd
a spares bag. Remove and replace the external 020NBR70 and
internal 017NBR70 o-ring if required.
5
Grease the Can as per the instructions in your GEO manual.
We only recommend the use of Planet Eclipse grease in the
GEO internal assembly.
6
Grease whichever new IV Core Bolt you are choosing to install at
this time as per the instructions in your GEO manual. Ensure you
grease both the inside and outside of the bolt. Insert the IV Core
Bolt into your existing Can.
7
Grease the front 14x2NBR70 Propshaft o-ring of your new IV Core
Propshaft Assembly as per the instructions in your GEO manual.
Insert the IV Core Propshaft Assembly into back of the IV Core bolt.
8
Insert the whole assembly into the back of your GEO. Screw in
nger-tight. Your new IV Core kit is installed and ready to use.
PROPSHAFT CUT OFF ADJUSTMENT
The GEO IV Core Kit has a feature that allows adjustment of the shut-o point of the Propshaft. This
shut-o dictates how much tail-end air is trapped in the ring chamber after each shot. The more air
that is trapped, the more ecient the marker becomes. The less air trapped, the less ecient the marker
becomes. However, if too much air is trapped in the ring chamber after each shot, peak velocity will not
be achieved.
The adjuster screw can be found in the rear of the back cap. It uses at 1/8” Hex Key for adjustment.
For reference the adjuster has a range of 8 full turns. Always use the adjusters FULLY REARWARD
position as a starting point. Screw the adjuster counter-clockwise until the screw is ush with the rear of
the back cap. DO NOT over-tighten. At this point the Cut O is set at the minimum level. This is trapping
the least amount of air after each shot. NOTE: Even in this position the IV Core is still trapping over 25psi
per shot inside the ring chamber.
From the factory the IV Core kit comes with the Cut O adjuster set at a mid-point (4 turns) that will return
excellent eciency. There should never be a need to adjust the Cut O Adjustment screw.
Screwing the adjuster inwards (Clockwise) will increase the amount of trapped air. DO NOT screw in the
adjuster past 8 full turns from the fully rearward position. NOTE: Screwing the adjuster further in than the
factory setting of 4 turns may cause a reduction in velocity.
IV CORE
IV CORE
IMPORTANT!
The IV Core kit includes two bolts. An all-metal construction bolt and a bolt that has a soft tip attached. We do NOT recommend that the soft tip bolt
is used on any GEO prior to the GEO3. That is, we do NOT recommend that the soft tip bolt is used on: GEO, GEO+, SL91, GEO2, GEO2.1.
Using the soft tip bolt in a GEO prior to the GEO3 may result in the soft tip becoming dislodged either during use or whilst sat gassed up. This is due
to the design differences between the GEO3 Can and everything previous to this. The Can for the GEO3 onwards is designed specically for use
with soft tip bolts. They are designed to prevent any pressure build-up between the internal 017NBR70 o-ring of the Can and the back of the soft tip,
which can lead to the soft tip being blown off the head of the bolt.
IMPORTANT!
Your GEO MUST be chronographed before use!!
IMPORTANT!
The IV Core kit is designed to replace the Propshaft assembly and Bolt of
your GEO. You MUST use the existing Can from your chosen donor marker.
CLOCKWISE
COUNTER-CLOCKWISE
X2
X14
MAN0016-V2
IV CORE
UPGRADE KIT
ADVANCED IV CORE INFORMATION:
The IV Core Bolt and Can can be maintained in exactly the same way the Can and
Bolt depicted in your GEO User Manual.
However, the Propshaft may require some further maintenance that is not covered
in your User Manual.
ADVANCED BOLT SYSTEM
MAINTENANCE
This procedure is only required if you are maintaining
the rear section of the propshaft assembly due
to a leak coming from the front of the bolt. After
maintaining the front 14x2 propshaft o-ring and 017
internal can o-ring.
Firstly remove the bolt system assembly, then
separate the bolt can and propshaft assemblies as
detailed on pages 48-49 of the GEO 3.5 manual.
Go to planeteclipse.com for the latest versions of our
manuals and instructions, for reference.
Push down on the split in the delrin retaining ring and
pull the retaining ring out of the propshaft back cap
(see gure 20A).
Remove the propshaft from the back cap, taking care
not to lose the propshaft spring, plunger or plunger
o-ring.
Check the 14x2 o-ring at the back of the propshaft,
and clean or replace then re-lubricate with Eclipse
Grease as necessary. Check the rear bumper for
signs of wear, replace as necessary (see gure 20B).
Place the spring within the propshaft (see gure 20C).
Replace the back cap over the rear of the propshaft,
pushing the propshaft back into the back cap
(see gure 20D)1.
Compress the retaining ring (see gure 20E) and
push the retaining ring into the back cap. The
retaining ring needs to sit in its designated groove in
the back cap. If the propshaft can be pulled out of
the back cap then the retaining ring has not seated
correctly.
1 If any o-rings or the bumper are damaged then replace them.
Extra o-rings and bumpers are available in parts kits available
at www.planeteclipse.com.
WARNING!
Always de-gas your
marker, discharging
any stored gas in a safe
direction, and remove the
barrel, loader, air system
and any paintballs to make
the marker easier and
safer to work on.
IMPORTANT!
Your GEO MUST be chronographed before use!!
FIG 20A
FIG 20C
FIG 20E
FIG 20B
FIG 20D
MAN0016-V2

Other PLANET ECLIPSE Paintball Equipment manuals

PLANET ECLIPSE GSL User manual

PLANET ECLIPSE

PLANET ECLIPSE GSL User manual

PLANET ECLIPSE Eclipseblade E2 User manual

PLANET ECLIPSE

PLANET ECLIPSE Eclipseblade E2 User manual

PLANET ECLIPSE ETHA3 User manual

PLANET ECLIPSE

PLANET ECLIPSE ETHA3 User manual

PLANET ECLIPSE MG 100 User manual

PLANET ECLIPSE

PLANET ECLIPSE MG 100 User manual

PLANET ECLIPSE GTEK170R User manual

PLANET ECLIPSE

PLANET ECLIPSE GTEK170R User manual

PLANET ECLIPSE ETHA2 User manual

PLANET ECLIPSE

PLANET ECLIPSE ETHA2 User manual

PLANET ECLIPSE CS3 .68CAL Instruction manual

PLANET ECLIPSE

PLANET ECLIPSE CS3 .68CAL Instruction manual

PLANET ECLIPSE GTEK M170R User manual

PLANET ECLIPSE

PLANET ECLIPSE GTEK M170R User manual

PLANET ECLIPSE CS3 User manual

PLANET ECLIPSE

PLANET ECLIPSE CS3 User manual

PLANET ECLIPSE LV1.6 User manual

PLANET ECLIPSE

PLANET ECLIPSE LV1.6 User manual

PLANET ECLIPSE GMEK User manual

PLANET ECLIPSE

PLANET ECLIPSE GMEK User manual

PLANET ECLIPSE GEO CS1 User manual

PLANET ECLIPSE

PLANET ECLIPSE GEO CS1 User manual

PLANET ECLIPSE EGO LV2 Instruction manual

PLANET ECLIPSE

PLANET ECLIPSE EGO LV2 Instruction manual

PLANET ECLIPSE EGO TEN User manual

PLANET ECLIPSE

PLANET ECLIPSE EGO TEN User manual

PLANET ECLIPSE 180R.68CAL Instruction manual

PLANET ECLIPSE

PLANET ECLIPSE 180R.68CAL Instruction manual

PLANET ECLIPSE EMF100 User manual

PLANET ECLIPSE

PLANET ECLIPSE EMF100 User manual

PLANET ECLIPSE GEO 4 User manual

PLANET ECLIPSE

PLANET ECLIPSE GEO 4 User manual

PLANET ECLIPSE SL Series Owner's manual

PLANET ECLIPSE

PLANET ECLIPSE SL Series Owner's manual

PLANET ECLIPSE EGO LV1 User manual

PLANET ECLIPSE

PLANET ECLIPSE EGO LV1 User manual

PLANET ECLIPSE emek fl 3-way valve User manual

PLANET ECLIPSE

PLANET ECLIPSE emek fl 3-way valve User manual

PLANET ECLIPSE GEO2 User manual

PLANET ECLIPSE

PLANET ECLIPSE GEO2 User manual

PLANET ECLIPSE Etek STAR Frame User manual

PLANET ECLIPSE

PLANET ECLIPSE Etek STAR Frame User manual

Popular Paintball Equipment manuals by other brands

Proto REFLEX RAIL owner's manual

Proto

Proto REFLEX RAIL owner's manual

MCS BOX DRIVE manual

MCS

MCS BOX DRIVE manual

32 Degrees Icon-E owner's manual

32 Degrees

32 Degrees Icon-E owner's manual

dye RIZE CZR Series owner's manual

dye

dye RIZE CZR Series owner's manual

Dangerous power FUSION FX owner's manual

Dangerous power

Dangerous power FUSION FX owner's manual

PGI MAYHEM owner's manual

PGI

PGI MAYHEM owner's manual

Spyder XTRA user manual

Spyder

Spyder XTRA user manual

GOG G-1 Operation and Adjustment Instructions

GOG

GOG G-1 Operation and Adjustment Instructions

Empire V35 manual

Empire

Empire V35 manual

manuals.online logo
manuals.online logoBrands
  • About & Mission
  • Contact us
  • Privacy Policy
  • Terms and Conditions

Copyright 2025 Manuals.Online. All Rights Reserved.