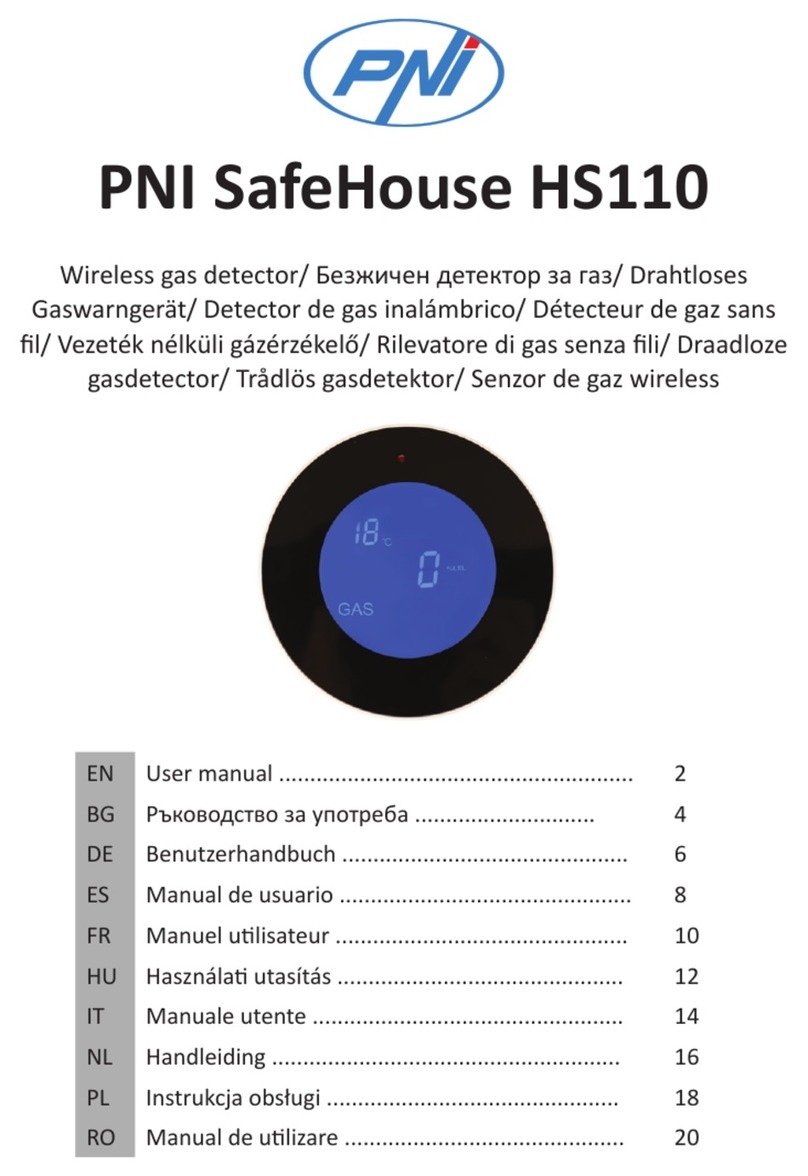
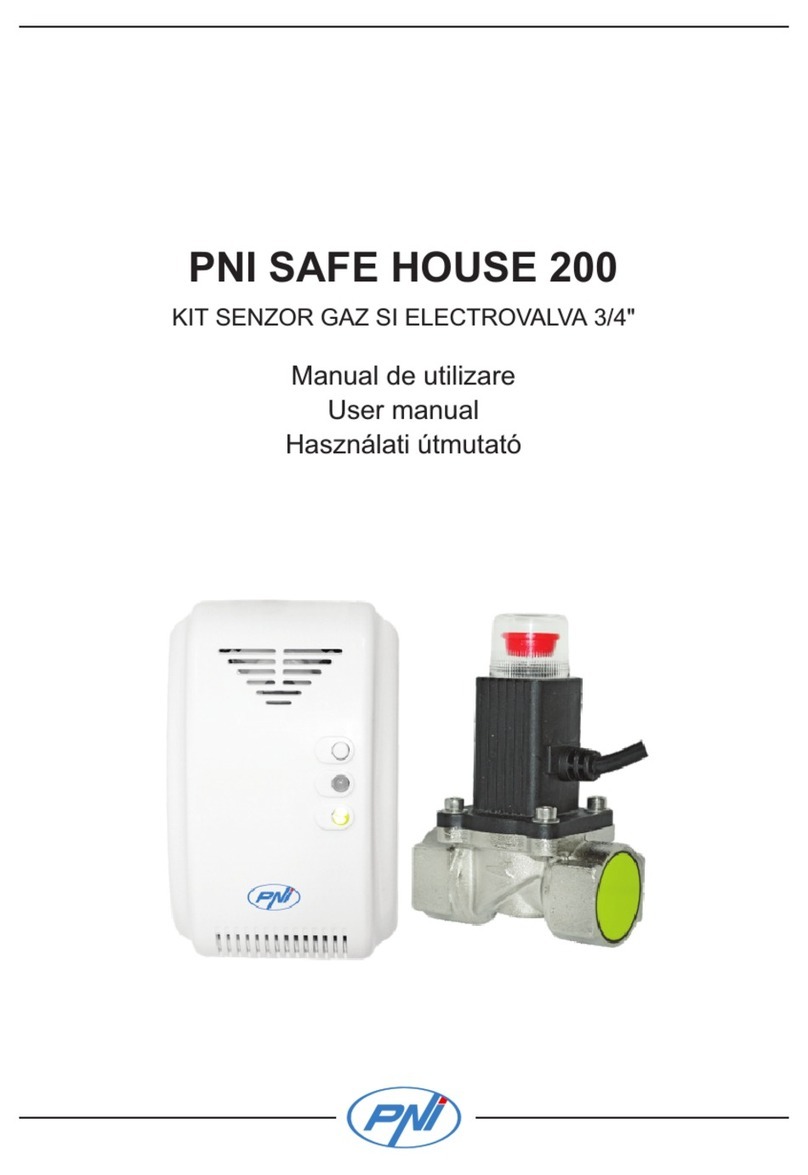
PNI Safe House Smart Gas 300 WiFi User manual

PNI Safe House Smart Gas 300 WiFi
Smart gas detector and solenoid valve
Senzor gaz inteligent si electrovalva
EN User manual ......................................................... 3
BG Ръководство за употреба ............................. 10
DE Benutzerhandbuch .............................................. 18
ES Manual de usuario ............................................... 25
FR Manuel utilisateur ............................................... 32
HU Használati utasítás .............................................. 39
IT Manuale utente .................................................. 46
NL Handleiding ........................................................ 53
PL Instrukcja obsługi ............................................... 60
RO Manual de utilizare ............................................. 67


3User manual
English
Foreword
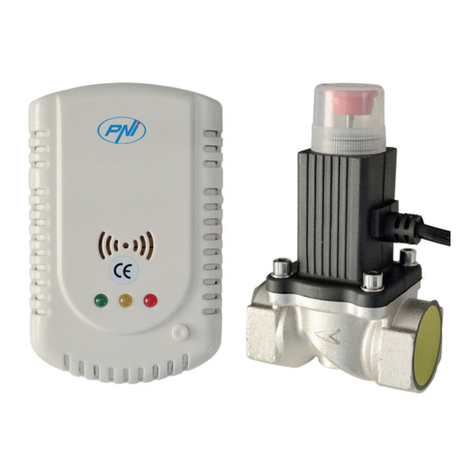
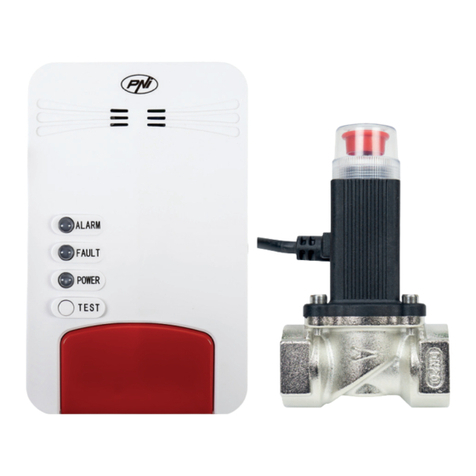
The gas detector from the PNI Safe House Smart Gas 300 WiFi package
accurately detects natural gases such as: methane, propane, butane, ethane
and gaseous hydrocarbons such as: propylene and butylene.
The PNI Safe House Smart Gas 300 kit consists of a gas detector and a 3/4
inch solenoid valve.
Technical specifications
Gas detector
Sensor Semiconductor
Detected gases Natural gas, gaseous
hydrocarbons, LPG
LEL level
(Lower Explosive Limit) 7%
Power supply 230V AC
Rated power ≤ 3W
Output voltage for the solenoid valve 9 - 12V
Sensor priming time 180 sec.
Sound intensity ≥ 85dB
Working temperature -10°C ~ +50°C
Dimensions 123 x 78 x 40mm
Solenoid valve
Connection ø3/4 inch
Input voltage 9 -12V (impulse)
Reset Manual, by lifting the red
button
Maximum working pressure 100 kPa
Body material Corrosion resistant brass
Recommended use Indoor only
Working temperature -10°C ~ +50°C
Dimensions 125 x 75 x 55 mm

User manual 4
English
Communication
Wifi Yes, 2.4Ghz
WiFi communication range Up to 100 m (open field)
Product description
Alarm LED indicator
Sensor fault LED indicator
Working state LED indicator
Test button
Wi-Fi button (pairing)
LED indicator
Alarm - The red LED flashes quickly
Sensor error - Yellow LED ON
Power supply - Green LED ON
Manual reset button
(stop/allow gas ow)
Connection cable
with the gas detector
3/4 inch
connection

5User manual
English
Remote control from the Tuya Smart application
Download the Tuya Smart app by accessing Google Play or the App Store or
scan the QR codes below:
Android iOS
• Open the application, create an account and log in.
• Add your device by clicking the +icon in the upper right corner of the
screen or by clicking the Add device button (this button only appears when
you do not have any devices added to the application).
• Select the Sensors option on the left side of the screen.
• From the list of displayed devices, select Sensor (Wi-Fi).
• Select the WiFi network to which you want to connect the detector and
enter the password. Click Next.
• Using a needle, press the pairing button on the right side of the gas
detector for 5 seconds. The green light will flash. The detector is now in
pairing mode.
• Check the Confirm the indicator is blinking rapidly option.
• The application will start scanning the nearby devices.
• When your detector has been identified, the red LED will light up briefly,
after which the green LED will remain lit.
• Click the Done button to complete the addition of the gas detector to the
application.

User manual 6
English
In case of alarm, you will receive a notification on your mobile phone.
The application allows you to share the device to other users, create intelligent
automations with other devices compatible with Tuya, trigger a test alarm and
rename the detector.

7User manual
English
Gas detector installation instructions
»First identify whether the gas to be detected is heavier or lighter than air.
Example of gas heavier than air: LPG. Gases lighter than air: natural gas.
Decide the installation height of the detector according to the weight of the
detected gas:
• If the gas is heavier than air, install the gas detector at 0.3 - 1.0 m height
from the floor, and up to 1.5 m away from the gas source.
• If the gas is lighter than air, install the gas detector at 0.3 - 1.0 m down
from the ceiling, and up to 1.5 m away from the gas source.
»Power the gas detector to a 230V source. A short beep will be heard
immediately.
»For the next 180 seconds (sensor priming period), the 3 LEDs (red, yellow
and green) will light alternately.
»After this priming time, the green LED will remain lit. The detector is now
in normal operating condition.
»In the event of an alarm, the red LED will often flash accompanied by a
continuous sound. If the detector is connected to a solenoid valve, it will
send an electrical pulse to it. The solenoid valve will shut o the gas flow. To
interrupt the alarm, unplug the detector or wait until the concentration of
the gas that triggered the alarm decreases (see Safety warnings, page 9).
»In case of error, the yellow LED will remain constantly lit. Remove and
reinsert the detector into the outlet. If the error persists, call a specialist
service center.
Instructions for installing and connecting the solenoid valve
• The solenoid valve must only be installed by qualified personnel.
• The solenoid valve must be installed after the main internal gas valve.
• The solenoid valve must be installed in the direction of the gas flow, marked
on the solenoid valve. The coil must not be mounted face down. The
solenoid valve can be installed horizontally or vertically.
• The solenoid control wires must be connected correctly. The white thread
is positive and the black thread is negative. An incorrect connection can
lead to a short circuit.
• Reverse polarity and incorrect voltage can damage the solenoid valve.

User manual 8
English
• During maintenance work on the gas pipe, such as cleaning with pressure
the pipe, the solenoid valve must be removed to avoid damage.
• During pressure tests, the solenoid valve must be opened.
• It is recommended to install the solenoid valve together with the gas sensor
in the package.
Instructions for use solenoid valve
The solenoid valve can be operated for closing in two ways:
1. An electrical pulse of 1 second (9 - 12V)
2. By pressing the red button (you must first remove the protective plastic
cover).
After this operation, the solenoid valve remains closed.
Note: The protective cover must remain in place during the use of the solenoid valve,
because it has a protective role against accidental actuation.
To unlock the solenoid valve, meaning to allow the gas to flow, pull the red
button vertically upwards. The solenoid valve will remain open.

9User manual
English
Safety recommendations in case of alarm
• Open the windows or doors immediately.
• Do not turn on lights or any other electrical equipment.
• Do not use anything that could cause fire (lighter, match).
• Call the emergency number 112.
• If possible, leave the house or stay as close as possible to the windows or
open doors.
• After removing the cause of the alarm, call a specialist to identify the
problem that triggered the alarm.
Note: Never ignore an alarm!
• To interrupt the alarm sound, you can unplug the detector or wait for
its automatic reset which will be after the concentration of the gas that
triggered the alarm has decreased.
Safety warnings
• Do not hit the detector or shake it. The sensor inside may become faulty.
• This sensor does not detect carbon monoxide (CO).
• Observe the recommended supply voltages: 230V for the detector, 9-12V
(impulse) for the solenoid valve.
• Keep the detector clean. Do not use chemicals to clean it, which could
irreparably damage the sensor inside.
• Check the correct operation of the sensor once every 6 months.
• Do not use near the detector hair spray, room spray, paints, aerosol
diusers, etc.

Ръководство
Български
10
Предговор
Газовият детектор от пакета PNI Safe House Smart Gas 300 WiFi
точно открива природни газове като: метан, пропан, бутан, етан и
газообразни въглеводороди като: пропилен и бутилен.
Комплектът PNI Safe House Smart Gas 300 се състои от газов детектор
и 3/4 инчов соленоиден клапан.
Технически спецификации
Газов детектор
Сензор Полупроводник
Открити газове
Природен газ, газообразни
въглеводороди, пропан-
бутан
LEL ниво
(Lower Explosive Limit) 7%
Захранване 230V AC
Оценена сила ≤ 3W
Изходно напрежение за
соленоидния клапан 9 - 12V
Време за зареждане на сензора 180 сек.
Интензивност на звука ≥ 85dB
Работна температура -10°C ~ +50°C
Размери 123 x 78 x 40mm
Електромагнитен клапан
Връзка ø3/4 инч
Входен волтаж 9 -12V (импулс )
Нулиране Ръчно, чрез повдигане на
червения бутон
Максимално работно налягане 100 kPa
Материал на тялото Устойчив на корозия месинг
Препоръчителна употреба Само на закрито

Ръководство
Български
11
Работна температура -10°C ~ +50°C
Размери 125 x 75 x 55 mm
Комуникация
Wi Да, 2.4Ghz
WiFi обхват на комуникация До 100 м (открито поле)
Описание на продукта
LED индикатор за аларма
LED индикатор за повреда на сензора
LED индикатор за работно състояние
Бутон за тестване
Бутон за Wi-Fi (сдвояване)
Лед индикатор
Аларма - Червеният светодиод мига бързо
Грешка на сензора - ЖЕЛТИ светодиод ВКЛ
Захранване - Зелен светодиод ВКЛ
Бутон за ръчно нулиране
(спиране / разрешаване на
газовия поток)
Свързващ кабел
с газовия детектор
3/4 инча
Връзка

Ръководство
Български
12
Дистанционно управление от приложението Tuya
Smart
Изтеглете приложението Tuya Smart чрез достъп до Google Play или
App Store или сканирайте QR кодовете по-долу:
Android iOS
• Отворете приложението, създайте акаунт и влезте.
• Добавете вашето устройство, като щракнете върху иконата +
в горния десен ъгъл на екрана или като щракнете върху бутона
Добавяне на устройство (този бутон се появява само когато няма
добавени устройства към приложението).
• Изберете опцията Сензори в лявата част на екрана.
• От списъка с показани устройства изберете Сензор (Wi-Fi).
• Изберете WiFi мрежата, към която искате да свържете детектора,
и въведете паролата. Щракнете върху Напред.
• С помощта на игла натиснете бутона за сдвояване от дясната
страна на газовия детектор за 5 секунди. Зелената светлина ще
мига. Детекторът вече е в режим на сдвояване.
• Проверете опцията Потвърдете, че индикаторът мига бързо.
• Приложението ще започне да сканира близките устройства.
• Когато вашият детектор бъде идентифициран, червеният
светодиод ще светне за кратко, след което зеленият светодиод
ще остане светен.
• Щракнете върху бутона Готово, за да завършите добавянето на

Ръководство
Български
13
газовия детектор към приложението.
В случай на аларма ще получите известие на мобилния си телефон.
Приложението ви позволява да споделяте устройството с други
потребители, да създавате интелигентни автоматизации с други
устройства, съвместими с Tuya, да задействате тестова аларма и да
преименувате детектора.

Ръководство
Български
14
Инструкции за монтаж на детектор за газ
»Първо определете дали газът, който трябва да бъде открит, е по-
тежък или по-лек от въздуха. Пример за газ, по-тежък от въздуха:
пропан-бутан. Газове, по-леки от въздуха: природен газ.
Определете височината на монтиране на детектора според теглото
на открития газ:
»Ако газът е по-тежък от въздуха, инсталирайте газовия детектор на
височина 0,3 - 1,0 m от пода и на разстояние до 1,5 m от източника
на газ.
»Ако газът е по-лек от въздуха, инсталирайте газовия детектор на
0,3 - 1,0 м от тавана и на 1,5 м от източника на газ.
»Включете газовия детектор към източник 230V. Веднага ще се чуе
кратък звуков сигнал.
»За следващите 180 секунди (период на зареждане на сензора), 3-те
светодиода (червен, жълт и зелен) ще светнат последователно.
»След това време за грундиране зеленият светодиод ще продължи
да свети. Детекторът вече е в нормално работно състояние.
»В случай на аларма, червеният светодиод често ще мига,
придружен от непрекъснат звук. Ако детекторът е свързан към
соленоиден клапан, той ще изпрати електрически импулс към
него. Соленоидният клапан ще изключи газовия поток. За да
прекъснете алармата, изключете детектора или изчакайте, докато
концентрацията на газта, която е задействала алармата, намалее
(вижте Предупреждения за безопасност, страница 17).
»В случай на грешка, жълтият светодиод ще продължи да свети
постоянно. Извадете и поставете отново детектора в контакта.
Ако грешката продължава, обадете се на специализиран сервизен
център.
Инструкции за инсталиране и свързване на
соленоидния клапан
• Електромагнитният клапан трябва да се монтира само от
квалифициран персонал.
• Соленоидният клапан трябва да бъде монтиран след главния

Ръководство
Български
15
вътрешен газов клапан.
• Електромагнитният клапан трябва да бъде монтиран по посока
на газовия поток, маркиран на соленоидния клапан. Намотката
не трябва да се монтира с лицето надолу. Соленоидният клапан
може да бъде монтиран хоризонтално или вертикално.
• Управляващите проводници на соленоида трябва да са свързани
правилно. Бялата нишка е положителна, а черната - отрицателна.
Неправилната връзка може да доведе до късо съединение.
• Обратната полярност и неправилното напрежение могат да
повредят соленоидния клапан.
• По време на работата по поддръжката на газовата тръба, като
почистване на тръбата под налягане, електромагнитният клапан
трябва да бъде отстранен, за да се избегнат повреди.
• По време на тестовете за налягане соленоидният клапан трябва
да бъде отворен.
• Препоръчително е да монтирате електромагнитния клапан заедно
с газовия сензор в опаковката.

Ръководство
Български
16
Инструкции за употреба на електромагнитен
клапан
Соленоидният клапан може да се задейства за затваряне по два
начина:
1. Електрически импулс от 1 секунда (9 - 12V)
2. Чрез натискане на червения бутон (първо трябва да свалите
защитния пластмасов капак).
След тази операция соленоидният клапан остава затворен.
Забележка: Защитният капак трябва да остане на място по време на
използването на соленоидния клапан, защото той има защитна роля
срещу случайно задействане.
За да отключите соленоидния клапан, което означава да позволите
на газа да тече, дръпнете червения бутон вертикално нагоре.
Соленоидният клапан ще остане отворен.
Препоръки за безопасност в случай на аларма
• Веднага отворете прозорците или вратите.
• Не включвайте осветлението или друго електрическо оборудване.
• Не използвайте нищо, което може да причини пожар (запалка,
кибрит).
• Обадете се на спешния номер 112.
• Ако е възможно, напуснете къщата или стойте възможно най-
близо до прозорците или отворените врати.
• След отстраняване на причината за алармата, обадете се на
специалист, за да установите проблема, който е задействал
алармата.
Забележка: Никога не пренебрегвайте аларма!
• За да прекъснете звука на алармата, можете да изключите
детектора от контакта или да изчакате автоматичното му нулиране,
което ще бъде след като концентрацията на газта, задействала
алармата, намалее.

Ръководство
Български
17
Предупреждения за безопасност
• Не удряйте детектора и не го разклащайте. Сензорът вътре може
да се повреди.
• Този сензор не открива въглероден оксид (CO).
• Спазвайте препоръчаните захранващи напрежения: 230V за
детектора, 9-12V (импулсно) за соленоидния клапан.
• Поддържайте детектора чист. Не използвайте химикали, за да го
почистите, което може непоправимо да повреди сензора вътре.
• Проверявайте правилната работа на сензора веднъж на 6 месеца.
• Не използвайте в близост до детектора спрей за коса, спрей за
стая, бои, аерозолни дифузори и др.

Benutzerhandbuch
Deutsche
18
Vorwort
Der Gasdetektor aus dem WiFi-Paket PNI Safe House Smart Gas 300
erkennt Erdgase wie Methan, Propan, Butan, Ethan und gasförmige
Kohlenwasserstoe wie Propylen und Butylen genau.
Das PNI Safe House Smart Gas 300-Kit besteht aus einem Gasdetektor und
einem 3/4-Zoll-Magnetventil.
Technische Spezifikationen
Gasmelder
Sensor
Erkannte Gase Halbleiter
Detected gases Erdgas, gasförmige
Kohlenwasserstoe, Flüssiggas
UEG-Niveau
(Lower Explosive Limit) 7%
Energieversorgung 230V AC
Nennleistung ≤ 3W
Ausgangsspannung für das Magnetventil 9 - 12V
Ansaugzeit des Sensors 180 sek.
Schallintensität ≥ 85dB
Arbeitstemperatur -10°C ~ +50°C
Maße 123 x 78 x 40mm
Magnetventil
Verbindung ø3/4 inch
Eingangsspannung 9 -12V (Impuls)
Zurücksetzen Manuell durch Anheben des
roten Knopfes
Maximaler Arbeitsdruck 100 kPa
Körpermaterial Korrosionsbeständiges Messing
Empfohlene Verwendung Nur drinnen
Arbeitstemperatur -10°C ~ +50°C

Benutzerhandbuch
Deutsche
19
Maße 125 x 75 x 55 mm
Kommunikation
W-lan Ja, 2,4 GHz
WiFi-Kommunikationsbereich Bis zu 100 m (oenes Feld)
Produktbeschreibung
Alarm-LED-Anzeige
Sensorfehler-LED-Anzeige
LED-Anzeige für den Betriebszustand
Testtaste
Wi-Fi-Taste (Pairing)
LED-Anzeige
Alarm - Die rote LED blinkt schnell
Sensorfehler - Gelbe LED leuchtet
Stromversorgung - Grüne LED leuchtet
Manuelle Reset-Taste
(Gasuss stoppen / zulassen)
Verbindungskabel
mit dem Gasdetektor
3/4 inch
Verbindung

Benutzerhandbuch
Deutsche
20
Fernbedienung über die Tuya Smart-Anwendung
Laden Sie die Tuya Smart-App herunter, indem Sie auf Google Play oder den
App Store zugreifen, oder scannen Sie die folgenden QR-Codes:
Android iOS
• Önen Sie die Anwendung, erstellen Sie ein Konto und melden Sie sich
an.
• FügenSieIhrGeräthinzu,indemSieaufdasSymbol+inderoberenrechten
Ecke des Bildschirms klicken oder auf die Schaltfläche Gerät hinzufügen
klicken (diese Schaltfläche wird nur angezeigt, wenn der Anwendung keine
Geräte hinzugefügt wurden).
• Wählen Sie die Option Sensoren auf der linken Seite des Bildschirms.
• Wählen Sie aus der Liste der angezeigten Geräte die Option Sensor (Wi-
Fi).
• WählenSiedasWLAN-Netzwerkaus,mitdemSiedenDetektorverbinden
möchten, und geben Sie das Kennwort ein. Weiter klicken.
• Drücken Sie mit einer Nadel 5 Sekunden lang die Pairing-Taste auf der
rechten Seite des Gasdetektors. Das grüne Licht blinkt. Der Detektor
befindet sich jetzt im Pairing-Modus.
• Aktivieren Sie die Option Bestätigen, dass die Anzeige schnell blinkt.
• Die Anwendung beginnt mit dem Scannen der in der Nähe befindlichen
Geräte.
• Wenn Ihr Detektor identifiziert wurde, leuchtet die rote LED kurz auf,
This manual suits for next models
1
Table of contents
Languages:
Other PNI Gas Detector manuals
Popular Gas Detector manuals by other brands

GMI
GMI PPM Gasurveyor 500 User handbook

Sensitron
Sensitron MULTISCAN++/S1-32B Installation and use manual

Medem
Medem AGDS-2em installation instructions

STATUS SCIENTIFIC CONTROLS
STATUS SCIENTIFIC CONTROLS FGD2 manual

mPower Electronics
mPower Electronics UNI MP100 user guide

Industrial Scientific
Industrial Scientific OLDHAM 300 Series Operating and maintenance manual