manuals.online logo
Brands
  1. Home
  2. •
  3. Brands
  4. •
  5. Polycom
  6. •
  7. Conference System
  8. •
  9. Polycom RealPresence Video Protect 500 Manual

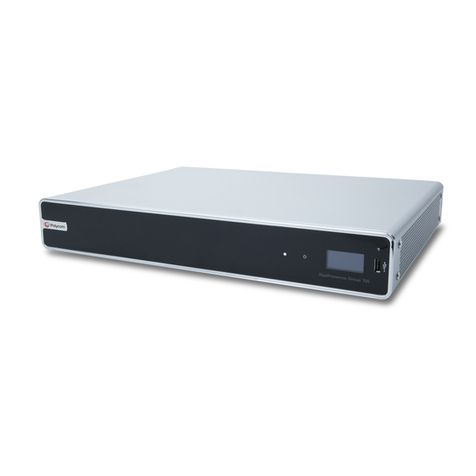
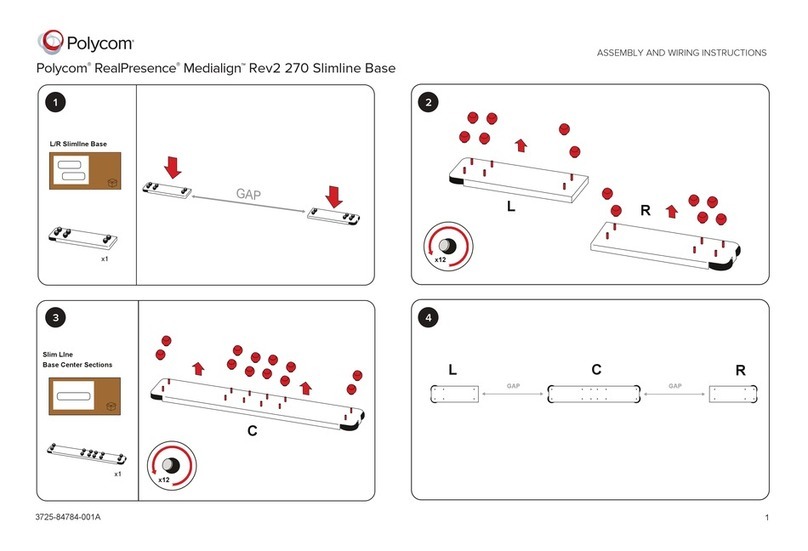
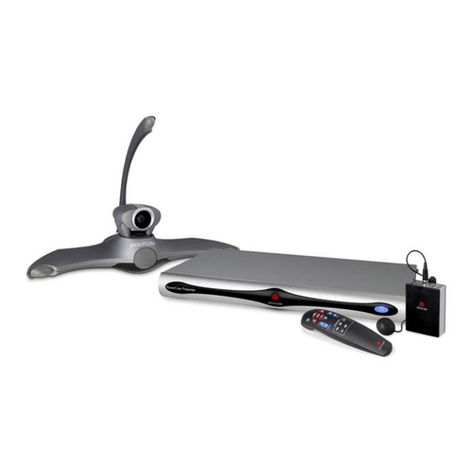
Polycom RealPresence Video Protect 500 Manual

www.polycom.com
© 2016, Polycom, Inc. All rights reserved. POLYCOM® and the names and marks associated with Polycom’s products are trademarks and/or service marks of
Polycom, Inc. and are registered and/or common law marks in the United States and various other countries. No portion hereof may be reproduced
or transmitted in any form or by any means, for any purpose other than the recipient’s personal use, without the express written permission of Polycom.
1725-08415-004A
Polycom® RealPresence®
Video Protect 500
12Attach the wall mount bracket to a brick or concrete
wall, using appropriate anchoring hardware, such as
1/4”-20 x 1-1/4” concrete anchors, 1/4”-20 x 1-1/4” hex
cap screws, and 1/4” washers (not supplied). If you
are mounting to a surface other than brick or
concrete, use appropriate mounting hardware or
seek professional assistance.
The installer should have a plan for connecting the
system using one of the following options:
A hole drilled in the wall with network and
AC ready for system
AC wall outlet and/or a LAN wall outlet, which
then connects to system
2 x 1/2" conduits directly into the bottom (cover
plate must be removed)
Remove the security screw from each side of the
enclosure, using the supplied L key. Remove the
wall mount plate from the system.
Group Series 500
Codec
Power Supply
Intelligent Activation
Module (IAM)
Remote
EagleEye
Acoustic
Camera
Wall Mount Plate
Video Protect
System
Handset
Ethernet
Junction Box
AC Junction Box
SETUP SHEET
Polycom® RealPresence® Video Protect 500 Setup Sheet 2
3
A handset, handset cradle, and volume up and
down buttons are mounted to the right side of the
enclosure. You can move the handset plate to the
left side of the enclosure or remove it completely.
For hands-free mode using the mic on the EagleEye
Acoustic camera, remove the handset plate and
replace it with the supplied blank plate. Connect the
3.5mm-3.5mm cable from the codec Audio Out
port to the display Audio In port. Also replace the
protective camera lens with the lens that has
pre-drilled holes.
Open the enclosure and hang the enclosure on
the wall, using five screws per side. Note that two
screws on each side align with two keyhole
slots in each side of the enclosure.
4
5
6
Remove the codec mounting bracket from the
enclosure by removing the four M3 x 10 screws.
Attach the codec mounting bracket to the back
of the codec, using two M3 x 8 Phillips pan head
screws.
Install the codec and bracket to the system, using
the four screws removed earlier.
Polycom® RealPresence® Video Protect 500 Setup Sheet 3
9
Install the Polycom EagleEye Acoustic camera,
using the supplied brackets and screws.
Attach the power supply to the enclosure, using
the supplied bracket and screws.
8
Attach the cables to the codec. Most cables are
pre-wired and labeled.
Refer to the wiring diagrams at the end of this
document for details.
7Using the supplied zip ties, secure the camera
cable to the monitor mounting bracket.
10
Polycom® RealPresence® Video Protect 500 Setup Sheet 4
Connect the cables to the power supply.
Connect the power cable to an AC outlet. If an
AC outlet is not available, a qualified electrician
can remove the AC inlet cord and wire directly to
the AC junction box.
Connect the RJ45 network cable to the codec or
connect a bare wire directly to the network
junction block.
13
Connect the camera cable to the codec.
11
12
To securely store the remote, use the supplied
Velcro to attach the remote to the bracket on the
inside cover of the Video Protect system.
Before storing the remote inside the unit, Polycom
recommends that you remove the USB
rechargeable battery by ¼”. This prevents the
battery from discharging and a low battery
message from displaying on the LCD.
5
14
Polycom® RealPresence® Video Protect 500 Setup Sheet
Test the system and adjust the camera angle, as
required. Close the enclosure and install the
security screw in each side of the enclosure, using
the supplied L key.
Using the codec web interface, set the following
codec settings.
Admin Settings > General Settings > Serial
Ports > Mode >
RS-232 Mode: Control
Baud Rate: 9600
Parity: None
Data Bits: 8
Stop Bits: 1
RS-232 Flow Control: None
Login Mode: None
The Video Protect 500 does not support the use
of passwords on the serial port.
Admin Settings > Audio/Video > Audio >
Audio Input:
Playback Options: Handset
Audio Input Level: 5(default)
Admin Settings > General Settings > Home Screen
Settings > Kiosk Mode > Enable Kiosk Mode: √
15
Modes of Operation:
Handset Only Mode (Audio through handset only with
volume control):
Auto Answer Mode: Call comes in, video is auto-
answered, and audio is muted until handset is picked
up.
Standard Answer Mode: Call is only answered when
the handset is picked up.
Auto Dial Mode: System audio dials a preset number
when the handset is lifted. Preset is labeled “auto dial.”
Configure Favorite Entry with First Name: Auto and
Last Name: Dial.
Hang Up Call: System hangs up a call when the
handset is placed on hook, with a built-in three
second delay in case of accidental user error.
Hands-Free Mode (No handset, therefore no volume
control): System auto answers only. No other features.
The call is disconnected by the far-end hanging up the
call or using the ir remote locally. Audio through
speakers only.
Both Handset and Hands-Free Mode (Includes volume
control): System auto answers with audio through
speakers. Pick up handset and audio goes to handset
only (privacy). Pre-define upon installation: To
eliminate the handset from hanging up calls (handset +
hands free operation), set the following in Favorite
entry, First Name: handset, Last Name: hangupo , to not
disconnect the call when the handset is returned to the
cradle. A dummy IP address may be required to store
Favorite entry. Use 127.0.0.1 or other.
Mains Input Rating:
Voltage: 100-240VAC, 50-60Hz
Current: 2.7A (max)
Physical size and weight:
23-1/2” W x 19” H x 6-5/8” D without handset
27” W x 19” H x 6-5/8” D with handset
55 lbs.
6
Polycom® RealPresence® Video Protect 500 Setup Sheet
Regulatory Notices:
This equipment is intended for indoor use only.
Do not use a power cord that is damaged. This could cause
fire or electric shock. Contact the manufacturer for a
replacement cord, if necessary.
Only use a power cord which is appropriately rated and
approved relevant to the country of use.
When connecting to the mains supply, connect only to an
earthed supply outlet which is installed near the equipment
and is easily accessible.
If the mains supply is required to be made directly to the
building electrical installation, only a qualified electrician
should carry out this work in accordance with local wiring
rules and regulations.
Keep ventilation openings free from any obstructions.
The ambient operating temperature rating of this equipment
is 0 - 40ºC and should not be exceeded.
Do not immerse the system in any liquid or place any liquids
on it.
Do not spray liquids directly onto the system when cleaning.
Always apply the liquid first to a static-free cloth.
For further information concerning the individual components
of this equipment, please refer to the respective product
literature.
For support or service, please contact your Polycom®
distributor or go to Polycom Support at
www.polycom.com/support.
7
Polycom® RealPresence® Video Protect 500 Setup Sheet
Shield Wiring Diagram
8
Polycom® RealPresence® Video Protect 500 Setup Sheet
Handset Wiring Diagram

Other Polycom Conference System manuals

Polycom PathNavigator Instruction Manual

Polycom

Polycom PathNavigator Instruction Manual

Polycom ViewStation SP User manual

Polycom

Polycom ViewStation SP User manual

Polycom Pano User manual

Polycom

Polycom Pano User manual

Polycom MGC-25 How to use

Polycom

Polycom MGC-25 How to use

Polycom HDX Series Assembly instructions

Polycom

Polycom HDX Series Assembly instructions

Polycom SoundStation 7000 User manual

Polycom

Polycom SoundStation 7000 User manual

Polycom V500 User manual

Polycom

Polycom V500 User manual

Polycom CX5000 User manual

Polycom

Polycom CX5000 User manual

Polycom RealPresence Utility Cart 500 User manual

Polycom

Polycom RealPresence Utility Cart 500 User manual

Polycom SoundStation2W Service manual

Polycom

Polycom SoundStation2W Service manual

Polycom realpresence trio 8800 Specification sheet

Polycom

Polycom realpresence trio 8800 Specification sheet

Polycom HDX 4500 User manual

Polycom

Polycom HDX 4500 User manual

Polycom ViewStation FX User manual

Polycom

Polycom ViewStation FX User manual

Polycom RealPresence Experience User manual

Polycom

Polycom RealPresence Experience User manual

Polycom VSX VSX 6000 User manual

Polycom

Polycom VSX VSX 6000 User manual

Polycom AFCCD V.35 User manual

Polycom

Polycom AFCCD V.35 User manual

Polycom RealPresence Group Series Operator's manual

Polycom

Polycom RealPresence Group Series Operator's manual

Polycom RealPresence Group Series Use and care manual

Polycom

Polycom RealPresence Group Series Use and care manual

Polycom Viewstation 128 User manual

Polycom

Polycom Viewstation 128 User manual

Polycom RMX 1000 User manual

Polycom

Polycom RMX 1000 User manual

Polycom Studio User manual

Polycom

Polycom Studio User manual

Polycom SIP 2.2.0 Service manual

Polycom

Polycom SIP 2.2.0 Service manual

Polycom QSX 400 User instructions

Polycom

Polycom QSX 400 User instructions

Polycom realpresence trio 8800 User manual

Polycom

Polycom realpresence trio 8800 User manual

Popular Conference System manuals by other brands

DETEWE OpenCom 130 user guide

DETEWE

DETEWE OpenCom 130 user guide

Lucent Technologies MERLIN LEGEND Release 6.1 Installation

Lucent Technologies

Lucent Technologies MERLIN LEGEND Release 6.1 Installation

Tekvox 71021-T1 installation guide

Tekvox

Tekvox 71021-T1 installation guide

Gold Apollo TBA06 user manual

Gold Apollo

Gold Apollo TBA06 user manual

AudioCodes RXV81 Deployment guide

AudioCodes

AudioCodes RXV81 Deployment guide

Huawei VP9050 user guide

Huawei

Huawei VP9050 user guide

Televic Confidea G3 Quick install guide

Televic

Televic Confidea G3 Quick install guide

Avaya PARTNER ACS System planner

Avaya

Avaya PARTNER ACS System planner

Siemens Hicom Office PhoneMail Supplement to the Installation and System Administration Guide

Siemens

Siemens Hicom Office PhoneMail Supplement to the Installation and System Administration Guide

AMX Acendo Core ACR-5100 Administrator's guide

AMX

AMX Acendo Core ACR-5100 Administrator's guide

ProSoft CompactLogix MVI69L-MBS user manual

ProSoft

ProSoft CompactLogix MVI69L-MBS user manual

TANDBERG 1000 user manual

TANDBERG

TANDBERG 1000 user manual

Siemens Hicom 300 optiset E Standard user guide

Siemens

Siemens Hicom 300 optiset E Standard user guide

Cisco TelePresence SX20 Regulatory compliance and safety information

Cisco

Cisco TelePresence SX20 Regulatory compliance and safety information

Panasonic SUNX SC-HG1-CEF instruction manual

Panasonic

Panasonic SUNX SC-HG1-CEF instruction manual

Sena 50R user guide

Sena

Sena 50R user guide

UBI Ubi-02 manual

UBI

UBI Ubi-02 manual

Sena 10Upad quick start guide

Sena

Sena 10Upad quick start guide

manuals.online logo
manuals.online logoBrands
  • About & Mission
  • Contact us
  • Privacy Policy
  • Terms and Conditions

Copyright 2025 Manuals.Online. All Rights Reserved.