manuals.online logo
Brands
  1. Home
  2. •
  3. Brands
  4. •
  5. Polycom
  6. •
  7. Conference System
  8. •
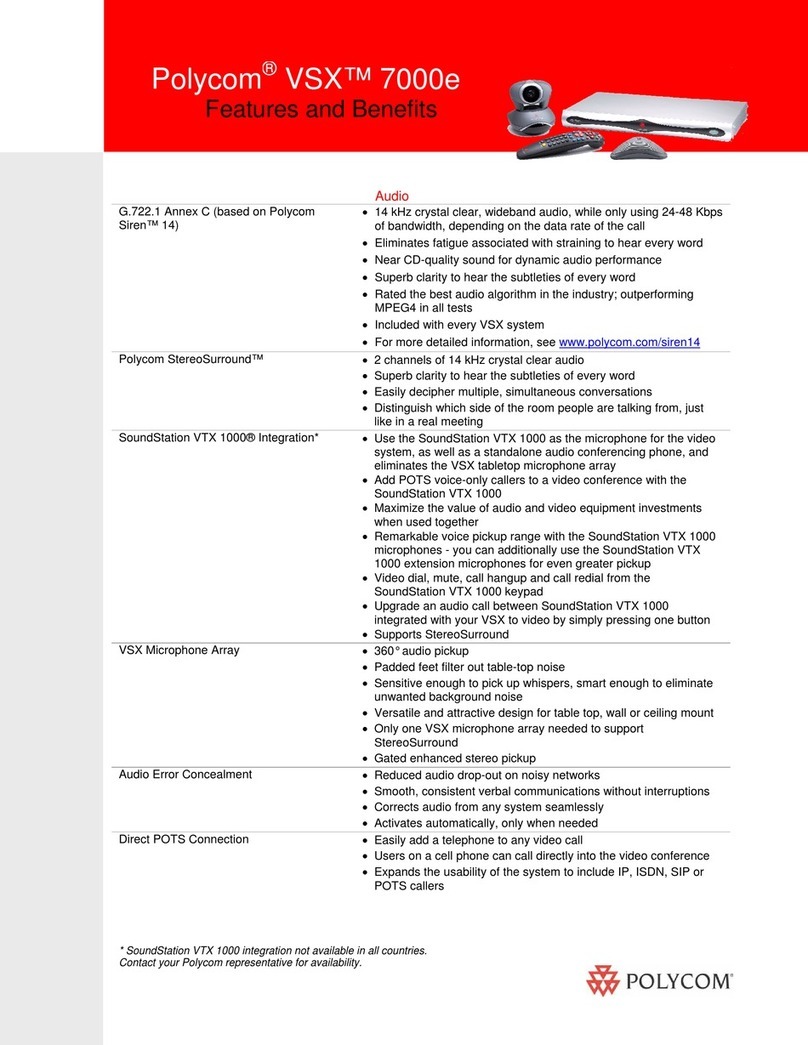
  9. Polycom VSX 7000e Series User manual

Polycom VSX 7000e Series User manual

Other manuals for VSX 7000e Series

5

Other Polycom Conference System manuals

Polycom VSX VSX 6000 User manual

Polycom

Polycom VSX VSX 6000 User manual

Polycom RMX 1000 User manual

Polycom

Polycom RMX 1000 User manual

Polycom ViewStation vsx7000 User manual

Polycom

Polycom ViewStation vsx7000 User manual

Polycom Vortex EF2280 Operating instructions

Polycom

Polycom Vortex EF2280 Operating instructions

Polycom VSX 3000 User manual

Polycom

Polycom VSX 3000 User manual

Polycom HDX Desktop Systems User manual

Polycom

Polycom HDX Desktop Systems User manual

Polycom ViewStation FX4000 User manual

Polycom

Polycom ViewStation FX4000 User manual

Polycom EagleEye Director II Manual

Polycom

Polycom EagleEye Director II Manual

Polycom RealPresence Practitioner Cart 8000 User manual

Polycom

Polycom RealPresence Practitioner Cart 8000 User manual

Polycom CX5000 Quick reference guide

Polycom

Polycom CX5000 Quick reference guide

Polycom SoundPoint IP 500 SIP 3.0 User manual

Polycom

Polycom SoundPoint IP 500 SIP 3.0 User manual

Polycom HDX Room Systems User manual

Polycom

Polycom HDX Room Systems User manual

Polycom realpresence trio 8800 User manual

Polycom

Polycom realpresence trio 8800 User manual

Polycom HDX Desktop Systems Quick reference guide
Polycom

Polycom HDX Desktop Systems Quick reference guide

Polycom RealPresence Group User manual

Polycom

Polycom RealPresence Group User manual

Polycom CX7000 series User manual

Polycom

Polycom CX7000 series User manual

Polycom VSX 8000 Series User manual

Polycom

Polycom VSX 8000 Series User manual
Polycom realpresence trio 8800 User manual

Polycom

Polycom realpresence trio 8800 User manual

Polycom RealPresence Group Series Manual
Polycom

Polycom RealPresence Group Series Manual

Polycom RealPresence DMA 7000 System User manual

Polycom

Polycom RealPresence DMA 7000 System User manual

Polycom Poly VVX 450 User manual

Polycom

Polycom Poly VVX 450 User manual

Polycom 9.0.6 User manual

Polycom

Polycom 9.0.6 User manual

Polycom CX5500 User manual

Polycom

Polycom CX5500 User manual

Polycom RealPresence Group Series User manual

Polycom

Polycom RealPresence Group Series User manual

Popular Conference System manuals by other brands

Jabbla Tellus 6 operating instructions

Jabbla

Jabbla Tellus 6 operating instructions

LY International Electronics H-9500 Series Installation and operating manual

LY International Electronics

LY International Electronics H-9500 Series Installation and operating manual

RADVision Scopia XT1000 user guide

RADVision

RADVision Scopia XT1000 user guide

AT&T MERLIN LEGEND Reference

AT&T

AT&T MERLIN LEGEND Reference

ProSoft Technology AN-X4-AB-DHRIO user manual

ProSoft Technology

ProSoft Technology AN-X4-AB-DHRIO user manual

Sony PCS-I150 Operation guide

Sony

Sony PCS-I150 Operation guide

Middle Atlantic Products VTC Series instruction sheet

Middle Atlantic Products

Middle Atlantic Products VTC Series instruction sheet

AVT MAGIC AC1 Go Configuration guide

AVT

AVT MAGIC AC1 Go Configuration guide

Prentke Romich Company Vanguard Plus Setting up and using
Prentke Romich Company

Prentke Romich Company Vanguard Plus Setting up and using
Speakerbus iD 712 user guide

Speakerbus

Speakerbus iD 712 user guide

Trelleborg SafePilot CAT PRO user guide

Trelleborg

Trelleborg SafePilot CAT PRO user guide

Sennheiser ADN instruction manual

Sennheiser

Sennheiser ADN instruction manual

ADTRAN NetVanta 7100 Configuration guide

ADTRAN

ADTRAN NetVanta 7100 Configuration guide

AINA PTT Voice Responder quick guide

AINA

AINA PTT Voice Responder quick guide

Yamaha ProjectPhone PJP-100H owner's manual

Yamaha

Yamaha ProjectPhone PJP-100H owner's manual

vissonic VLI Series user manual

vissonic

vissonic VLI Series user manual

Panasonic KX-VC500 user manual

Panasonic

Panasonic KX-VC500 user manual

Poly Trio 8300 user guide

Poly

Poly Trio 8300 user guide

manuals.online logo
manuals.online logoBrands
  • About & Mission
  • Contact us
  • Privacy Policy
  • Terms and Conditions

Copyright 2025 Manuals.Online. All Rights Reserved.

POLYCOM VSX7000e
USER GUIDE
HELP, HINTS, and TIPS
1
TABLE OF CONTENTS
Pol com Remote……………………………..…………………………………2
Placing/Receiving Calls……..………….……………………………………3
Camera Control………………………………………………………………….4
Multipoint Calls………………………………………………………………….6
Monitors…………………………………………..……………………………….7
Using Other Peripherals..……………………………………………………8
Conferencing Tips………………………………………………..…………….9
For additional help, go to www.pol com.com, Support, Learning Center and Training,
VSX End User Training.
2
POLYCOM REMOTE
3
PLACING/RECEIVING CALLS
1. Calls can be placed manually, from the Directory, or from Recent Calls.
2. The Home screen on the Polycom system is always the Place a Call screen.
Pressin the red Return to Home button on the remote will always return the user
to the Place a Call screen.
3. To place a call manually, type in the IP address usin the keypad on the remote
control. Make sure to enter the IP address exactly as shown, includin the dot,
then press the reen Call button on the remote control.
4. To place a call usin the Directory, select the Directory button on the screen or
press the reen Directory button on the remote control. Scroll usin the up/down
arrows, select the entry desired, then press the reen Call button on the remote
control.
5. To place a call usin the Recent Calls list, select the Recent Calls button on the
screen. A screen will display up to 99 of the last calls made and/or received, date
call was made, time call was placed, and if the call was out oin or incomin .
Scroll usin the up/down arrows, select the entry desired, then press the reen
Call button on the remote control.
6. To end a call, press the red End a Call button on the upper ri ht side of the
remote control.
7. When receivin a call, the Polycom system can be set to Auto Answer or to ive a
prompt askin if you want to answer the call.
8. It is recommended that the system be set to Auto Answer calls.
9. Volume can be adjusted by pressin Volume on the remote control. Chan in the
volume affects only the sound heard at your site.
10.To mute or unmute the microphone, press Mute on the remote control. (Mutin
the microphone does not mute audio bein sent to the far site from a VCR/DVD or
computer.
4
CAMERA CONTROL
1. The blue buttons on the remote control operate the cameras at both the near
( our site) and far site (the receiving site), the abilit to preset the camera
locations, to zoom in using the selected camera, and to switch between the
cameras and other equipment (camera button).
2. Once a particular camera is selected, the red arrows will move the camera left
or right and tilt the camera up or down.
3. When focusing the camera on the teacher, tr to fill the screen with the teacher
rather than the wall and table. Be careful of extreme close-ups as well. What
ever is appropriate in a face to face classroom is appropriate for a
videoconferencing classroom.
4. Alwa s face the camera, talking into the camera. This wa the far site feels as if
ou are looking at them. If students will be seen on camera, make sure the
face the camera as well.
5. The microphones are ver sensitive, so talk normall looking into the camera.
6. Pressing the camera button and using the left/right arrow ke s, will allow the
selection of the front camera, back camera, or the DVD/VCR. Press the center
Enter button once the desired device is selected.
7. The site that initiates the call has control of the far cameras. (It is
recommended that the sending teacher initiate the call, unless there are
problems doing so. When controlling the far camera, the onscreen camera icon
will be pointing awa from ou.)
8. Camera presets should be used once needed camera locations are established.
(It is recommended that one setting be the ceiling in case of an emergenc .)
9. To clear previousl set camera presets, press Preset on the remote control, then
Delete.
5
10.To set camera presets, move the camera to the desired position, press Preset,
then hold down the number desired. (Note the same numbers are used for
front and back camera.)
6
MULTIPOINT CALLS
1. Point to Point calls are when only two sites are connected. Multipoint calls are
when several sites are connected in a call. The VSX7000e can connect up to four
sites, your site and three others.
2. To add second site to a call, press the reen Call/Han Up button. Hi hli ht Add
Call, and either manually type in the IP address or choose the address from the
Directory.
3. When in a multipoint call, there are four different viewin modes for the remote
site, automatic, discussion, presentation, and full screen.
4. To chan e the multi-point mode, select System (lower left corner on the Place a
Call screen), select Admin Settin s, select Monitors, select Multipoint Setup, the
scroll to the desired Multipoint mode and select it by pressin Enter.
5. Automatic is the default mode and switches between discussion and presentation
modes automatically based on the interaction between the sites.
6. Discussion mode will show all sites involved in a call in a split screen, which all
sites can see. (This will be shown on the back monitor.)
7. Presentation mode shows the teacher full screen on the far site’s screen. The
teacher will see the far site on the back monitor. (This is usually the
recommended settin for teachin .)
8. Full screen mode is voice activated and will show whichever site is speakin full
screen.
9. A multipoint call can be ended by han in up all calls at the same time or
individually.
7
MONITORS
1. When sendin a course, the front monitor displays the teacher and should be
facin the teacher so that he/she can see what the far site is seein and the back
monitor displays the far site so that the teacher can see his/her students.
2. When receivin a course, usually the front monitor shows the teacher and the
back monitor displays a self view. The content can be displayed on the front
monitor (instead of the teacher) or throu h the LCD projector.
3. What is displayed in the Picture-In-Picture (PIP) depends on how the Polycom
system has been confi ured.
4. To show, move, or turn off the PIP durin a call, press the PIP on the remote
control.
5. While the PIP has a yellow border, press PIP repeatedly to move it to different
corners of the screen.
6. After a brief pause, the PIP border turns blue. After the border turns blue, press
PIP to turn the PIP off.
7. If the PIP is not showin , press IP on the remote control and then press Near
twice and select the Swap PIP icon.
8. To specify when the system displays the PIP, select System from the Place a Call
screen, then select User Settin s, scroll to PIP, select a settin (explained below),
press Enter on the remote control, then press Home to save any chan es and
return to the home screen.
9. There are four settin s from which to choose: selectin Camera will show the PIP
when any of the camera control buttons are pressed; selectin Auto will show the
PIP on connection and when the remote control is picked up; selectin On will
show the PIP on connection and durin the call; and Off will show the PIP only
when PIP is pressed on the remote control.
8
USING OTHER PERIPHERALS
1. To show content usin the computer, make sure the computer video is confi ured
to the same resolution and refresh rate as the Polycom system.
2. The Elmo is connected to the computer usin a USB cable. Therefore the content
shown on the document camera (Elmo) is displayed on the computer screen and
can be used with any pro ram on the computer.
3. Press the blue Ima eShare selection button to start and stop displayin content
from the computer or document camera.
4. To show a VCR/DVD, make sure the VCR/DVD is powered on before the call is
placed. Press Camera on the remote control and select a video source. Press
Enter on the remote control, then Home to save settin s and return to the Place a
Call screen.
5. To switch back to camera, press Camera on the remote control and select Camera
for the video source. Follow steps above to save chan es.
6. To use the document camera, the pro ram loaded on the teacher’s computer,
must be started before content can be sent usin the document camera.
9
CONFERENCING TIPS
1. Have a list of numbers handy for troubleshootin . Numbers needed are school
tech coordinator, system tech coordinator, T2 Technical Support (for help with
Polycom problems) 877-847-7000 x2292, Interwrite Learnin Support 800-856-
0732, and your ACCESS Support Center.
2. When sendin a class, it is helpful to have IP addresses of the sites to be called
pre-pro rammed into the Directory.
3. Set your camera presets before the call so that they can be quickly accessed
durin the call.
4. Have all needed materials ready for use and all peripherals (computer, document
camera, and/or VCR/DVD) to be used on and ready. If possible, test the
equipment with your content beforehand.
5. Avoid wearin bri ht colors, all li ht or all dark clothin or very busy patterns.
Li ht pastels and muted colors look the best on the screen. Also avoid wearin
noisy jewelry.
6. Close any drapes or blinds in the room as dayli ht is a variable li ht source and
can conflict with interior room li htin .
7. Talk to both sides about noise durin the call. The microphones are sensitive and
can pick up side conversations or whispers easily. All noises are amplified and
paper crumblin can sound like a volcano!
8. Speak normally as the microphones will pick up your voice. If you are a fast
talker, you may need to speak slower and clearer.
9. Since each side’s volume acts independently, ask the students at the far site if
they can hear you. Have them introduce themselves so that you can be sure you
can hear them.
10.If in a multipoint call, it is sometimes helpful to have the receivin sites (far sites)
mute their microphones while teachin or ivin notes.