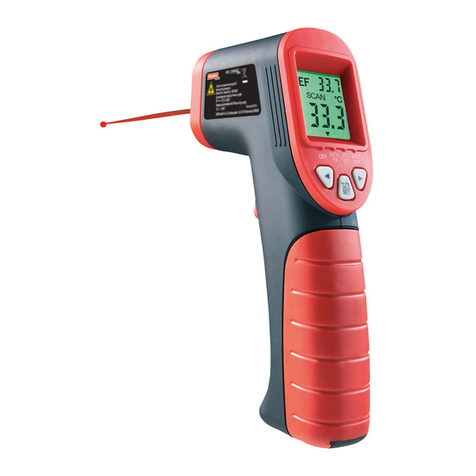
Powerfix Profi 279816 User manual

INFRARED THERMOMETER
IAN 279816
INFRAPUNALÄMPÖMITTARI
Käyttö- ja turvaohjeet
INFRARED THERMOMETER
Operation and Safety Notes
INFRARÖD TERMOMETER
Bruksanvisning och säkerhetsanvisningar
T
ERMOMETR NA PODCZERWIEŃ
Wskazówki dotyczące obsługi i bezpieczeństwa
INFRAROT-
TEMPERATURMESSGERÄT
Bedienungs- und Sicherheitshinweise
INFRARAUDONŲJŲ SPINDULIŲ
TERMOMETRAS
Nurodymai dėl valdymo ir saugumo

GB Operation and Safety Notes Page 5
FI Käyttö- ja turvaohjeet Sivu 16
SE Bruksanvisning och säkerhetsanvisningar Sidan 27
PL Wskazówki dotyczące obsługi i bezpieczeństwa Strona 39
LT Nurodymai dėl valdymo ir saugumo Puslapis 51
DE/AT/CH Bedienungs- und Sicherheitshinweise Seite 63

A
B
C
1
2 5
6
7
8
9
4
1012
5
3
4
11
13

5GB
Introduction...........................................................................................Page 6
Intended use................................................................................................Page 6
Functionality.................................................................................................Page 6
Description of parts.....................................................................................Page 7
Scope of delivery........................................................................................Page 7
Technical Data ............................................................................................Page 7
Safety instructions...........................................................................Page 8
Battery safety information.......................................................Page 9
Before use...............................................................................................Page 9
Inserting/changing the battery .................................................................Page 10
Start-up .....................................................................................................Page 10
Switching on and off...................................................................................Page 10
Selecting the temperature unit....................................................................Page 10
Measuring temperature..............................................................................Page 11
Show temperature deviation ......................................................................Page 12
Determine reference value .........................................................................Page 12
Select tolerance range................................................................................Page 12
Scan temperature deviation .......................................................................Page 12
Example of use............................................................................................Page 13
Battery state display....................................................................................Page 13
Troubleshooting ................................................................................Page 14
Maintenance and Cleaning......................................................Page 14
Disposal....................................................................................................Page 14
Warranty.................................................................................................Page 15
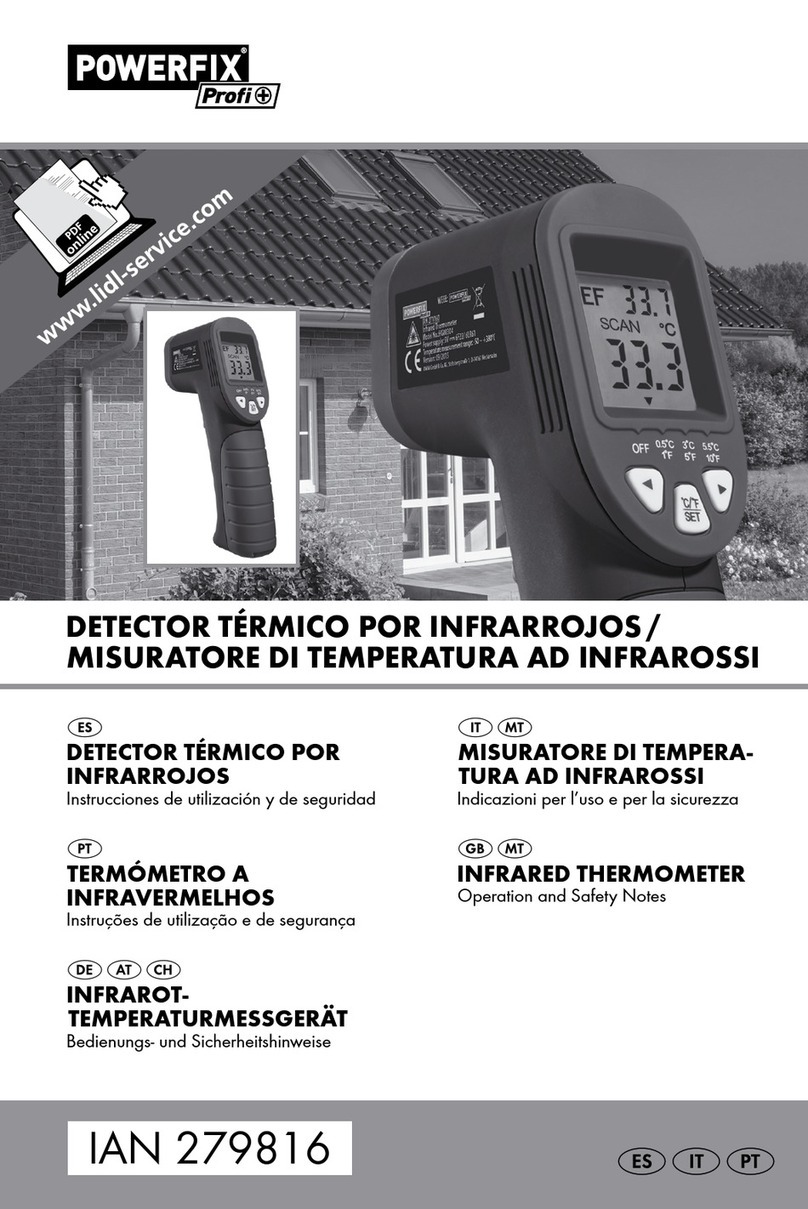
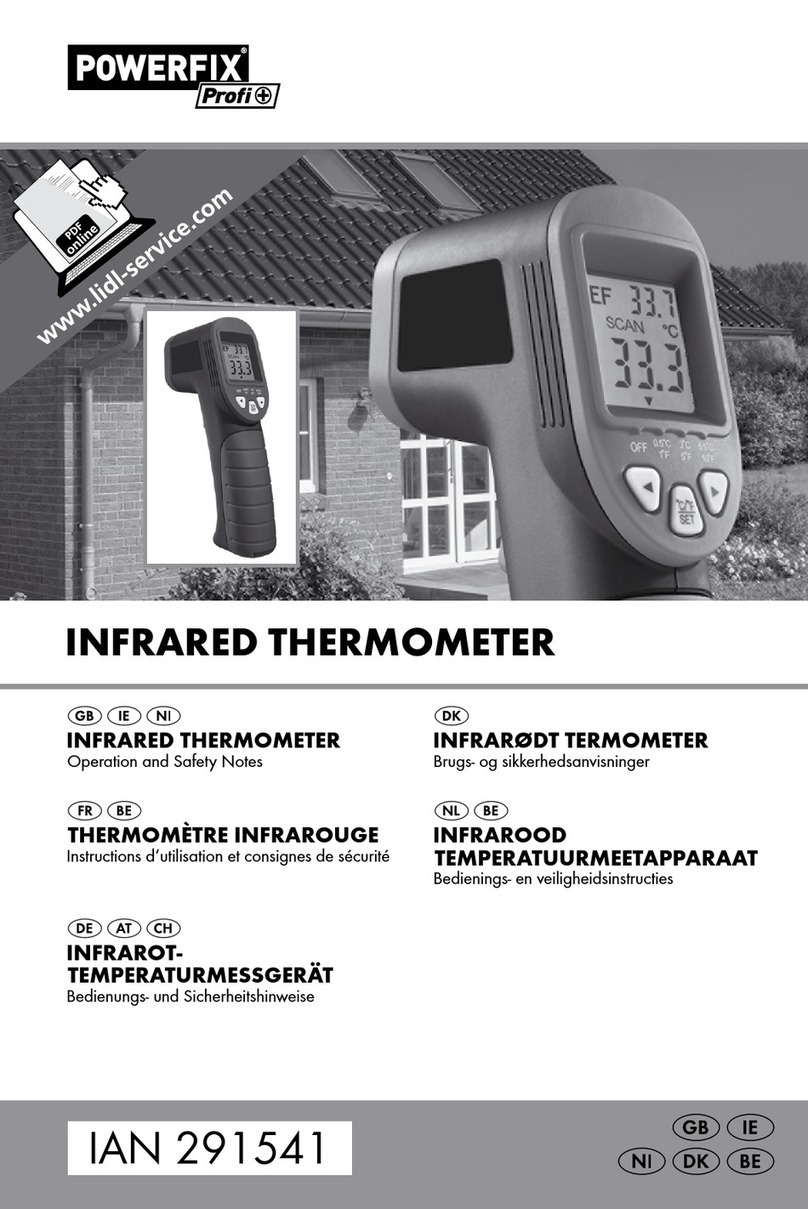
6 GB
Infrared Thermometer
Introduction
We congratulate you on the purchase of your new product. You have chosen a
high quality product. The instructions for use are part of the product. They contain
important information concerning safety, use and disposal. Before using the prod-
uct, please familiarise yourself with all of the safety information and instructions for
use. Only use the unit as described and for the specified applications. If you pass
the product on to anyone else, please ensure that you also pass on all the docu-
mentation with it.
Intended use
The infrared thermometer surface temperatures ranging from -50°C to +380°C
(-58°F to +716°F) as well as comparing temperatures with a previously re-
corded reference value. The surfaces of several objects may be measured succes-
sively and the temperature deviations compared visually, by colour, and
acoustically. Only use the built-in laser pointer for measuring temperature to locate
a measuring point on the device under test.
The device is only intended for private use and may not be used for commercial or
industrial purposes. Only use the device in dry environments, resp. indoors. Any
use of the product for other or additional purposes is considered improper use. Any
claims for damages resulting from improper use are excluded. The user is solely
responsible for any and all damages or injuries due to risks of improper use.
Functionality
The infrared sensor 2acquires and measures the infrared radiation emitted by
the surface it is aimed at. The device determines the temperature of the surface
from this infrared radiation.
The device features a laser pointer 1, pointing at the middle of the measuring
range, to visualise the area of the surface the infrared sensor is acquiring the radi-
ation from.

7GB
The measuring range is a circular area around this laser point which increases as
the distance to the measuring distance increases. For details, please refer to chapter
„Measuring temperature“.
Description of parts
1Laser pointer
2Infrared sensor
3Measure button
4Battery cover
5Display
6Reference value display
7Temperature unit
8Measurement
9Tolerance range selection
10 button
11 °C/°F/SET button
12 button
13 9V block battery
Scope of delivery
1 Infrared thermometer
1 9V block battery
1 Set of instructions for use
Technical Data
Power supply: 1 x 9V block battery (type 6F22 or 6LR61)
Measuring range: -50°C to +380°C (-58°F to +716°F)
Measurement accuracy for T > 0°C: ±1.5°C or ±1.5% of the measurement
Measurement accuracy for T < 0°C: ±3°C or ±3% of the measurement
Laser class: 2
Laser wavelength: 650nm
Laser output power: <1mW
Operating temperature: 0°C to 40°C
Humidity: ≤ 75%
Dimensions: approx. 18 x 12 x 4.2cm
Weight without battery: approx. 170g

8 GB
Safety instructions
Before using the product, please familiarise yourself with all of the safety information
and instructions for use! When passing this product on to others, please also include
all the documents!
Danger from laser radiation
LASER RADIATION
DO NOT LOOK INTO THE LASER
BEAM / LASER CLASS 2
This device features a Class 2 laser.
Never direct the laser beam at persons or animals.
Never look directly into the beam. Even a weak laser beam can cause eye
damage.
Never point the laser beam at reflective surfaces or materials. Even a reflected
laser beam can cause eye damage.
Any adjustment intensifying the laser beam is prohibited. Risk of injury!
We assume no liability for damages arising from manipulating the laser device
and for failure to observe the safety notices.
This product may be used by children age 8 years and up, as well
as by persons with reduced physical, sensory or mental capacities,
or lacking experience and knowledge, so long as they are supervised
or instructed in the safe use of the appliance and understand the associated
risks. Do not allow children to play with the device. Cleaning and user mainte-
nance should not be performed by children without supervision.
Do not use this product if you notice any damage.
Keep away from open flames!
Protect the device from moisture and from liquids entering the device.
Avoid direct sunlight.
Do not modify the device.
CAUTION! EXPLOSION HAZARD! Do not use the device in
locations with a fire hazard or explosion hazard, for example near
flammable liquids or gasses.

9GB
Battery safety information
DANGER TO LIFE! Batteries are not intended for children.
Seek immediate medical attention if swallowed!
CAUTION! EXPLOSION HAZARD! Never recharge non-re-
chargeable batteries, do not short-circuit and/or open batteries!
Never throw batteries into fire or water!
Do not exert mechanical loads to batteries.
Risk of battery leakage
In the event of a battery leak, immediately remove it from the device
to prevent damage!
Avoid contact with the skin, eyes and mucous membranes! In the event of con-
tact with battery acid, thoroughly flush the affected area with plenty of clean
water and seek immediate medical attention!
Avoid extreme environmental conditions and temperatures, which could affect
batteries, e.g. above radiators/in direct sunlight.
Remove the battery from the device if it will not be used for a prolonged period!
Risk of equipment damage
Only use the specified battery type!
When inserting the battery ensure the correct polarity has been used! This is
indicated inside the battery cover.
If necessary, clean the contacts of the battery and the battery compartment
before inserting the battery.
Promptly remove drained batteries from the product!
Before use
The display 5is covered by protective film to protect from transport damage.
First remove the protective film.
To operate the device, insert the included battery (9V block). Proceed as described
below:

10 GB
Inserting/changing the battery
To insert / change the battery 13 , open the battery cover 4. To do so, slide
the battery cover in the direction of the arrow and flip open.
If applicable, remove the old battery and insert a new one. If necessary, clean
the contacts of the battery compartment and the battery. Only use a 9V block
battery type 6F22 or 6LR61.
Ensure the correct polarity when inserting the battery. This is indicated on the
battery cover (Fig. C).
Close the battery cover.
Your infrared thermometer is now ready for use.
Start-up
Hold the handle of the device so the index finger can operate the Measure
button 3and the thumb buttons 10 to 12 .
Switching on and off
Press the Measure button 3to switch on the device. The display 5will light
up and a brief tone will sound.
Press and hold the °C/ °F / SET button 11 for approx. 3 seconds to switch
off the device. Two brief tones will sound.
When the device is no longer being used, the backlight of the display swill
switch off after approx. 15 seconds. After approx. 60 seconds the device will
automatically switch off; this is indicated by two brief tones.
Selecting the temperature unit
After switching on, the last temperature unit used will initially be selected.
Briefly press the °C/ °F / SET button 11 to change the temperature units 7
(°C or °F).
The official temperature unit in Europe in °C.

11GB
Measuring temperature
Allow about 30 minutes for the device to acclimate to the conditions of the envi-
ronment.
Hold the Measure button 3whilst aiming the laser pointer 1at the surface
you wish to measure.
The temperature is measured whilst pressing the Measure button; the display
5will read „SCAN“.
After releasing the Measure button the last temperature measured will appear
in the display and the laser pointer will be deactivated.
The temperature determined is the average temperature of the area measured.
The area measured is circular. The diameter of the area measured „S“ is one
twelfth of the distance between the surface and the infrared sensor 2„D“.
Below you will find some values as a guide:
S (for surface diameter): 25mm 75mm 125mm
D (for distance): 300mm 900 mm 1500 mm
Please note:
The surface of the target object must be significantly larger than the measuring
diameter of the device. Otherwise the measurement will not be reliable.
Always measure at the closest possible distance to the measuring surface.
Aim the device as vertical to the measuring surface as possible.
Do not measure in dusty, steaming or smoky atmospheres.
Do not measure through transparent materials such as glass or plastic.

12 GB
Show temperature deviation
The temperature deviation is the difference between a previously established refer-
ence value and a temperature measurement. The display 5indicates the deviations
as numeric values and displayed in colour. An acoustic signal also sound.
Determine reference value
Press the measure button 3and aim the laser pointer 1at the area of which
you wish to use the temperature as the reference. The temperature is indicated
in the display 5.
Whilst holding the Measure button, press the °C/°F/SET button 11 to use
the temperature value as the reference value. This temperature is indicated in
the display next to „REF“ as the reference display 6.
Select tolerance range
You can set the temperature deviation from the reference value as of which the
device will respond with a visual and acoustic signal.
To do so, whilst the reference value 6appears in the display 5, press the
button 10 or the button 12 . Using this button the symbol will move to
the right ( ) or to the left ( ) above the tolerance range 9selection in the
display.
Use this method to select the tolerance range indicated below the display:
OFF 0.5°C
1°F
3°C
5°F
5.5°C
10°F
Scan temperature deviation
Select a reference temperature as described above.
Press the Measure button 3and aim the laser pointer 1at the area you
wish to measure. The temperature is indicated in the display 5.

13GB
Hold the measure button whilst scanning, and slowly and steadily move the
laser dot across the surface you wish to measure. The temperature deviations
between the reference value and the measurement are indicated as follows:
Visual
indication
Acoustic
indication Cause
Red display
background
Rapid tone series The upper temperature threshold has
been exceeded
Green display
background
No tone Within the temperature range setting
Blue display
background
Slow tone series The value is below the lower threshold
Example of use
To e.g. test cold air entering the space between a window frame and brickwork,
first scan the temperature along the entire frame, next to the closed window. Select
the warmest area of the frame as the reference temperature, then e.g. a temperature
variation of 3°C / 5°F.
Now steadily scan again, along all sides of the window, next to the frame. The
blue colour display and a slow tone series indicates a possible influx of cold air
with a difference of 3°C / 5°F.
Battery state display
The battery symbol appears in the display 5as soon as the battery voltage is
too low.
Insert a new battery as described in chapter „Inserting/replacing the battery“
when this symbol appears.
A drained battery may leak. In addition, the measurement may not be accurate
as specified in „Technical Data“ if the battery voltage is low.

14 GB
Troubleshooting
Note: The device contains sensitive electronic components. For this reason it is
possible that it can be disrupted by radio transmitting equipment in the immediate
vicinity. If you notice that the device is malfunctioning, remove any sources of inter-
ference from the area around the device.
Note: Electrostatic discharge can cause malfunctions. In the event of such mal-
functions, briefly remove and replace the battery.
The following table will help you locate and correct minor malfunctions:
Fault Possible cause Solution
The display 5is
blank.
The battery 13 is inserted
incorrectly.
Insert the battery as shown on
the battery cover 4(Fig. C).
The battery is drained. Insert a new battery.
The display reads
"".
The temperature to be meas-
ured is below the measuring
range (<-50°C or -58 °F).
This device is unable to
measure this temperature.
The display reads
"".
The temperature to be meas-
ured exceeds the measuring
range (>+380°C or
+716°F).
Maintenance and Cleaning
Ensure that no water enters the device during cleaning!
Regularly clean the product with a dry, lint-free cloth.
If the product is very dirty, use a slightly damp cloth with a detergent.
Ensure no objects enter the opening for the infrared sensor 2. If necessary,
only clean the opening with light compressed air.
Disposal
The packaging is made of environmentally friendly materials, which
may be disposed of through your local recycling facilities.

15GB
Please contact your local municipality or city administration for informa-
tion on how to dispose of the worn out product. Please contact your local
authority for information on collection points and their opening hours.
Faulty or used batteries must be recycled in accordance with Directive 2006/66/EC
and its amendments. Please return the batteries and/or the device to the availa-
ble collection points.
Environmental damage through
incorrect disposal of the batteries!
Never dispose of batteries in your household waste. They may contain toxic heavy
metals and are subject to hazardous waste regulations. The chemical symbols of
the heavy metals are: Cd = cadmium, Hg = mercury, Pb = lead. Therefore dispose
of used batteries through your local collection site.
Warranty
The device has been manufactured to strict quality guidelines and meticulously
examined before delivery. In the event of product defects you have legal rights
against the retailer of this product. Your legal rights are not limited in any way by
our warranty detailed below.
The warranty for this device is 3 years from the date of purchase. Should this device
show any fault in materials or manufacture within 3 years from the
date
of purchase,
we will repair or replace it – at our
choice – free of charge to you.
The warranty period begins on the date of pur
chase.
Please keep the original sales
receipt in a safe location.
This document is required as your proof of purchase. This
warranty becomes void if the device has been damaged or improperly used or
maintained.
The warranty applies to faults in material or manufacture. This warranty does not
cover product parts subject to normal wear, thus possibly considered con
sumables
(e.g. batteries) or for damage to fragile
parts, e.g. switches, rechargeable batteries
or glass parts.

16 FI
Yleistä..........................................................................................................Sivu 17
Tarkoituksenmukainen käyttö ......................................................................Sivu 17
Toimintatapa.................................................................................................Sivu 17
Osien kuvaus................................................................................................Sivu 18
Toimituksen sisältö........................................................................................Sivu 18
Tekniset tiedot...............................................................................................Sivu 18
Turvallisuusohjeet.............................................................................Sivu 19
Paristoja koskevat turvallisuusohjeet.............................Sivu 20
Toimenpiteet ennen käyttöönottoa...................................Sivu 20
Pariston sisäänasetus/vaihto......................................................................Sivu 20
Käyttöönotto.........................................................................................Sivu 21
Päälle-/päältäkytkentä ...............................................................................Sivu 21
Lämpötilayksikön valinta..............................................................................Sivu 21
Lämpötilan mittaus .......................................................................................Sivu 22
Lämpötilan poikkeaman näyttö...................................................................Sivu 23
Viitearvon asetus..........................................................................................Sivu 23
Toleranssialueen valinta ..............................................................................Sivu 23
Lämpötilan poikkeaman skannaus..............................................................Sivu 23
Käyttöesimerkki ............................................................................................Sivu 24
Paristonäyttö.................................................................................................Sivu 24
Vianmääritys........................................................................................Sivu 24
Huolto ja puhdistus..........................................................................Sivu 25
Hävittäminen........................................................................................Sivu 25
Takuu...........................................................................................................Sivu 26

17FI
Infrapunalämpömittari
Yleistä
Onnittelemme sinua uuden tuotteen hankinnasta. Valitsit erittäin korkealaatuisen
tuotteen. Käyttöohje on osa tätä tuotetta. Se sisältää tärkeitä turvallisuusohjeita
sekä käyttöä ja hävitystä koskevia ohjeita. Tutustu ennen tuotteen käyttöä huolelli-
sesti kaikkiin käyttöja turvallisuusohjeisiin. Käytä tuotetta ainoastaan ohjeen mukaan
ja siinä mainittuihin tarkoituksiin. Anna kaikki ohjeet mukaan, jos luovutat tuotteen
edelleen.
Tarkoituksenmukainen käyttö
Infrapunalämpömittaria käytetään pintalämpötilojen mittaukseen -50 °C - +380 °C:n
mittausalueella (-58 °F - +716 °F) sekä lämpötilojen vertailuun aiemmin mitattujen
viitearvojen kanssa. Laitteella voidaan mitata useita pintoja peräkkäin ja lämpöti-
lan poikkeamia voidaan vertailla toisiinsa optisesti, akustisesti ja värejä käyttäen.
Laitteeseen integroitua laserosoitinta saa käyttää vain mittauspisteen sijainnin
määritykseen lämpötilaa mitattaessa.
Laite on tarkoitettu ainoastaan yksityiskäyttöön, joten sitä ei saa käyttää ammatilli-
sessa tarkoituksessa. Käytä laitetta vain kuivissa olosuhteissa tai sisätiloissa. Kaikki
muu laitteen käyttö on tarkoituksenvastaista. Korvausvaateet vaurioista, jotka johtu-
vat tarkoituksenvastaisesta käytöstä, evätään. Kaikki riskit vaurioista tai vammoista,
jotka johtuvat asiaankuulumattomasta käytöstä, kantaa yksin laitteen käyttäjä.
Toimintatapa
Infrapuna-anturi 2tunnistaa ja mittaa infrapunasäteilyn pinnalta, jota kohti se on
suunnattu. Laite määrittää infrapunasäteilystä pinnan lämpötilan.
Mitattavan pinnan havainnollistamista varten laite on varustettu laserosoittimella 1,
joka osoittaa mittausalueen keskelle.
Mittausalue sijaitsee laserpisteen ympärillä ja alue suurenee etäisyyden kasvaessa
mittauslaitteesta. Lisätietoja löytyy kappaleesta ”Lämpötilan mittaus”.

18 FI
Osien kuvaus
1Laserosoitin
2Infrapuna-anturi
3Mittauspainike
4Paristolokeron kansi
5Näyttö
6Viitearvon näyttö
7Lämpötilayksikkö
8Mittausarvo
9Toleranssialueen valinta
10 -painike
11 °C/°F/SET -painike
12 -painike
13 9V:n paristo
Toimituksen sisältö
1 infrapunalämpömittari
1 9V:n paristo
1 käyttöohje
Tekniset tiedot
Virtalähde: 1 x 9V:n paristo (tyyppi 6F22 tai 6LR61)
Mittausalue: -50 °C – +380 °C (-58 °F – +716 °F)
Mittaustarkkuus, kun lämpötila > 0 °C: ±1,5 °C tai ±1,5 % mittausarvosta
Mittaustarkkuus, kun lämpötila < 0 °C: ±3 °C tai ±3 % mittausarvosta
Laser-luokka: 2
Laserin aallonpituus: 650nm
Laserin lähtöteho: < 1mW
Käyttölämpötila: 0 °C – 40 °C
Ilmankosteus: ≤ 75%
Mitat: n. 18 x 12 x 4,2cm
Paino ilman paristoa: n. 170 g

19FI
Turvallisuusohjeet
Tutustu ennen tuotteen käyttöä huolellisesti kaikkiin käyttö- ja turvallisuusohjeisiin!
Liitä kaikki ohjeet tuotteen mukaan, jos annat sen muiden henkilöiden käyttöön!
Lasersäteilyn aiheuttama vaara
LASERSÄTEILY
ÄLÄ KATSO SÄTEESEEN
LASER LUOKKA 2
Laite on varustettu luokan 2 laserilla.
Älä koskaan osoita lasersäteellä ihmisiä tai eläimiä.
Älä koskaan katso suoraan säteeseen. Jo heikkokin lasersäde saattaa aiheut-
taa silmävamman.
Älä koskaan kohdista lasersädettä heijastaville pinnoille tai materiaaleihin.
Myös heijastava lasersäde voi aiheuttaa silmävaurioita.
Lasersäteen säätäminen voimakkaammaksi on kielletty. Loukkaantumisvaara!
Vahingoista, jotka aiheutuvat laseriin tehdyistä muutoksista tai turvallisuusohjei-
den laiminlyönnistä, ei oteta vastuuta.
Laitetta voivat käyttää 8 vuotta täyttäneet lapset sekä henkilöt,
jotka ovat fyysisiltä tai psyykkisiltä kyvyiltään tai aisteiltaan rajoittu-
neita tai joilla ei ole kokemusta tai tietoa laitteen käytöstä, jos he
käyttävät laitetta valvonnan alaisina tai heitä on opastettu laitteen turvallisessa
käytössä ja he ovat tietoisia laitteeseen liittyvistä vaaroista. Lapset eivät saa
leikkiä laitteella. Lapset eivät saa puhdistaa tai huoltaa laitetta ilman valvontaa.
Älä käytä tuotetta, jos havaitset siinä vaurioita.
Älä käytä laitetta avotulen läheisyydessä!
Suojaa laitetta kosteudelta ja nesteiden sisääntunkeutumiselta.
Vältä suoraa auringonvaloa.
Älä tee mitään muutoksia laitteeseen.
VARO! RÄJÄHDYSVAARA! Älä käytä laitetta paikoissa, joissa
on tulipalo- tai räjähdysvaara esimerkiksi palavien nesteiden tai
kaasujen läheisyydessä.

20 FI
Paristoja koskevat turvallisuusohjeet
HENGENVAARA! Pidä paristot lasten ulottumattomissa.
Pariston nielaisseen henkilön on välittömästi otettava yhteyttä lääkäriin!
VARO! RÄJÄHDYSVAARA! Älä koskaan lataa ei-ladattavia
paristoja uudelleen, älä oikosulje ja/tai avaa niitä!
Älä koskaan heitä paristoja tuleen tai veteen!
Älä altista paristoja mekaaniselle kuormitukselle.
Paristojen vuotoriski
Jos paristot vuotavat, poista ne välittömästi laitteesta, jotta tuote ei
vaurioidu!
Vältä kosketusta ihoon, silmiin ja limakalvoihin! Huuhtele paristohapolle
altistuneet kohdat välittömästi pelkällä vedellä ja ota yhteyttä lääkäriin!
Vältä äärimmäisiä olosuhteita ja lämpötiloja, jotka voivat vaikuttaa paristoihin
esim. lämpöpatterit/suora auringonvalo.
Ota paristot pois laitteesta, jos laitetta ei käytetä pitkään aikaan!
Laitteen vaurioitumisriski
Käytä vain ohjeessa mainittua paristotyyppiä!
Laita paristot laitteeseen aina oikein päin! Oikeanapaisuus on merkitty
paristolokeron kanteen.
Puhdista tarvittaessa pariston ja laitteen kosketuspinnat ennen pariston
sisäänasettamista.
Poista käytetty paristo välittömästi laitteesta!
Toimenpiteet ennen käyttöönottoa
Näyttö 5on peitetty suojakalvolla. Poista ensin suojakalvo laitteesta.
Aseta toimitukseen sisältyvä 9 V:n paristo laitteeseen. Suorita seuraavat toimenpiteet:
Pariston sisäänasetus/vaihto
Avaa paristolokeron kansi 4, jotta voit asettaa sisään / vaihtaa pariston 13 .
Työnnä kantta nuolen suuntaan ja avaa se.

21FI
Poista tarvittaessa vanha paristo ja aseta uusi sisään. Puhdista tarvittaessa
pariston ja laitteen kosketuspinnat ennen pariston sisäänasettamista. Käytä
laitteessa vain 9V:n paristoa tyyppiä 6F22 tai 6LR61.
Aseta paristo laitteeseen aina oikein päin. Oikea napaisuus on merkitty
paristolokeron kanteen (kuva C).
Sulje paristolokeron kansi.
Infrapunalämpömittari on nyt käyttövalmis.
Käyttöönotto
Tartu laitteen kahvaan niin, että voit käyttää etusormella mittauspainiketta 3
ja peukalolla painikkeita 10 -12 .
Päälle-/päältäkytkentä
Laite kytketään päälle painamalla mittauspainiketta 3. Näyttö 5kirkastuu
ja laitteesta kuuluu lyhyt äänimerkki.
Laite kytketään pois päältä pitämällä °C/°F/SET -painiketta 11 alaspainet-
tuna n. 3 sekunnin ajan. Laitteesta kuuluu kaksi lyhyttä äänimerkkiä.
Jos laitetta ei käytetä, näytön taustavalo sammuu n. 15 sekunnin kuluttua.
Noin 60 minuutin kuluttua laite kytkeytyy automaattisesti pois päältä, mistä on
merkkinä kaksi lyhyttä äänimerkkiä.
Lämpötilayksikön valinta
Päällekytkettäessä laitteessa on valittuna viimeksi käytössä ollut lämpötilayksikkö.
Paina lyhyesti °C/°F/SET -painiketta 11 , niin voit valita lämpötilayksikön 7
(°C tai °F).
Euroopassa käytettävä lämpötilayksikkö on °C.
Other manuals for 279816
3
Table of contents
Languages:
Other Powerfix Profi Thermometer manuals

Powerfix Profi
Powerfix Profi PTSI 9 A1 User manual

Powerfix Profi
Powerfix Profi 279816 User manual

Powerfix Profi
Powerfix Profi 291541 User manual

Powerfix Profi
Powerfix Profi 90572 User manual

Powerfix Profi
Powerfix Profi 291541 User manual

Powerfix Profi
Powerfix Profi 291541 User manual

Powerfix Profi
Powerfix Profi 78445 User manual

Powerfix Profi
Powerfix Profi 291541 User manual

Powerfix Profi
Powerfix Profi 279816 User manual

Powerfix Profi
Powerfix Profi PTSI 9 A1 User manual