7
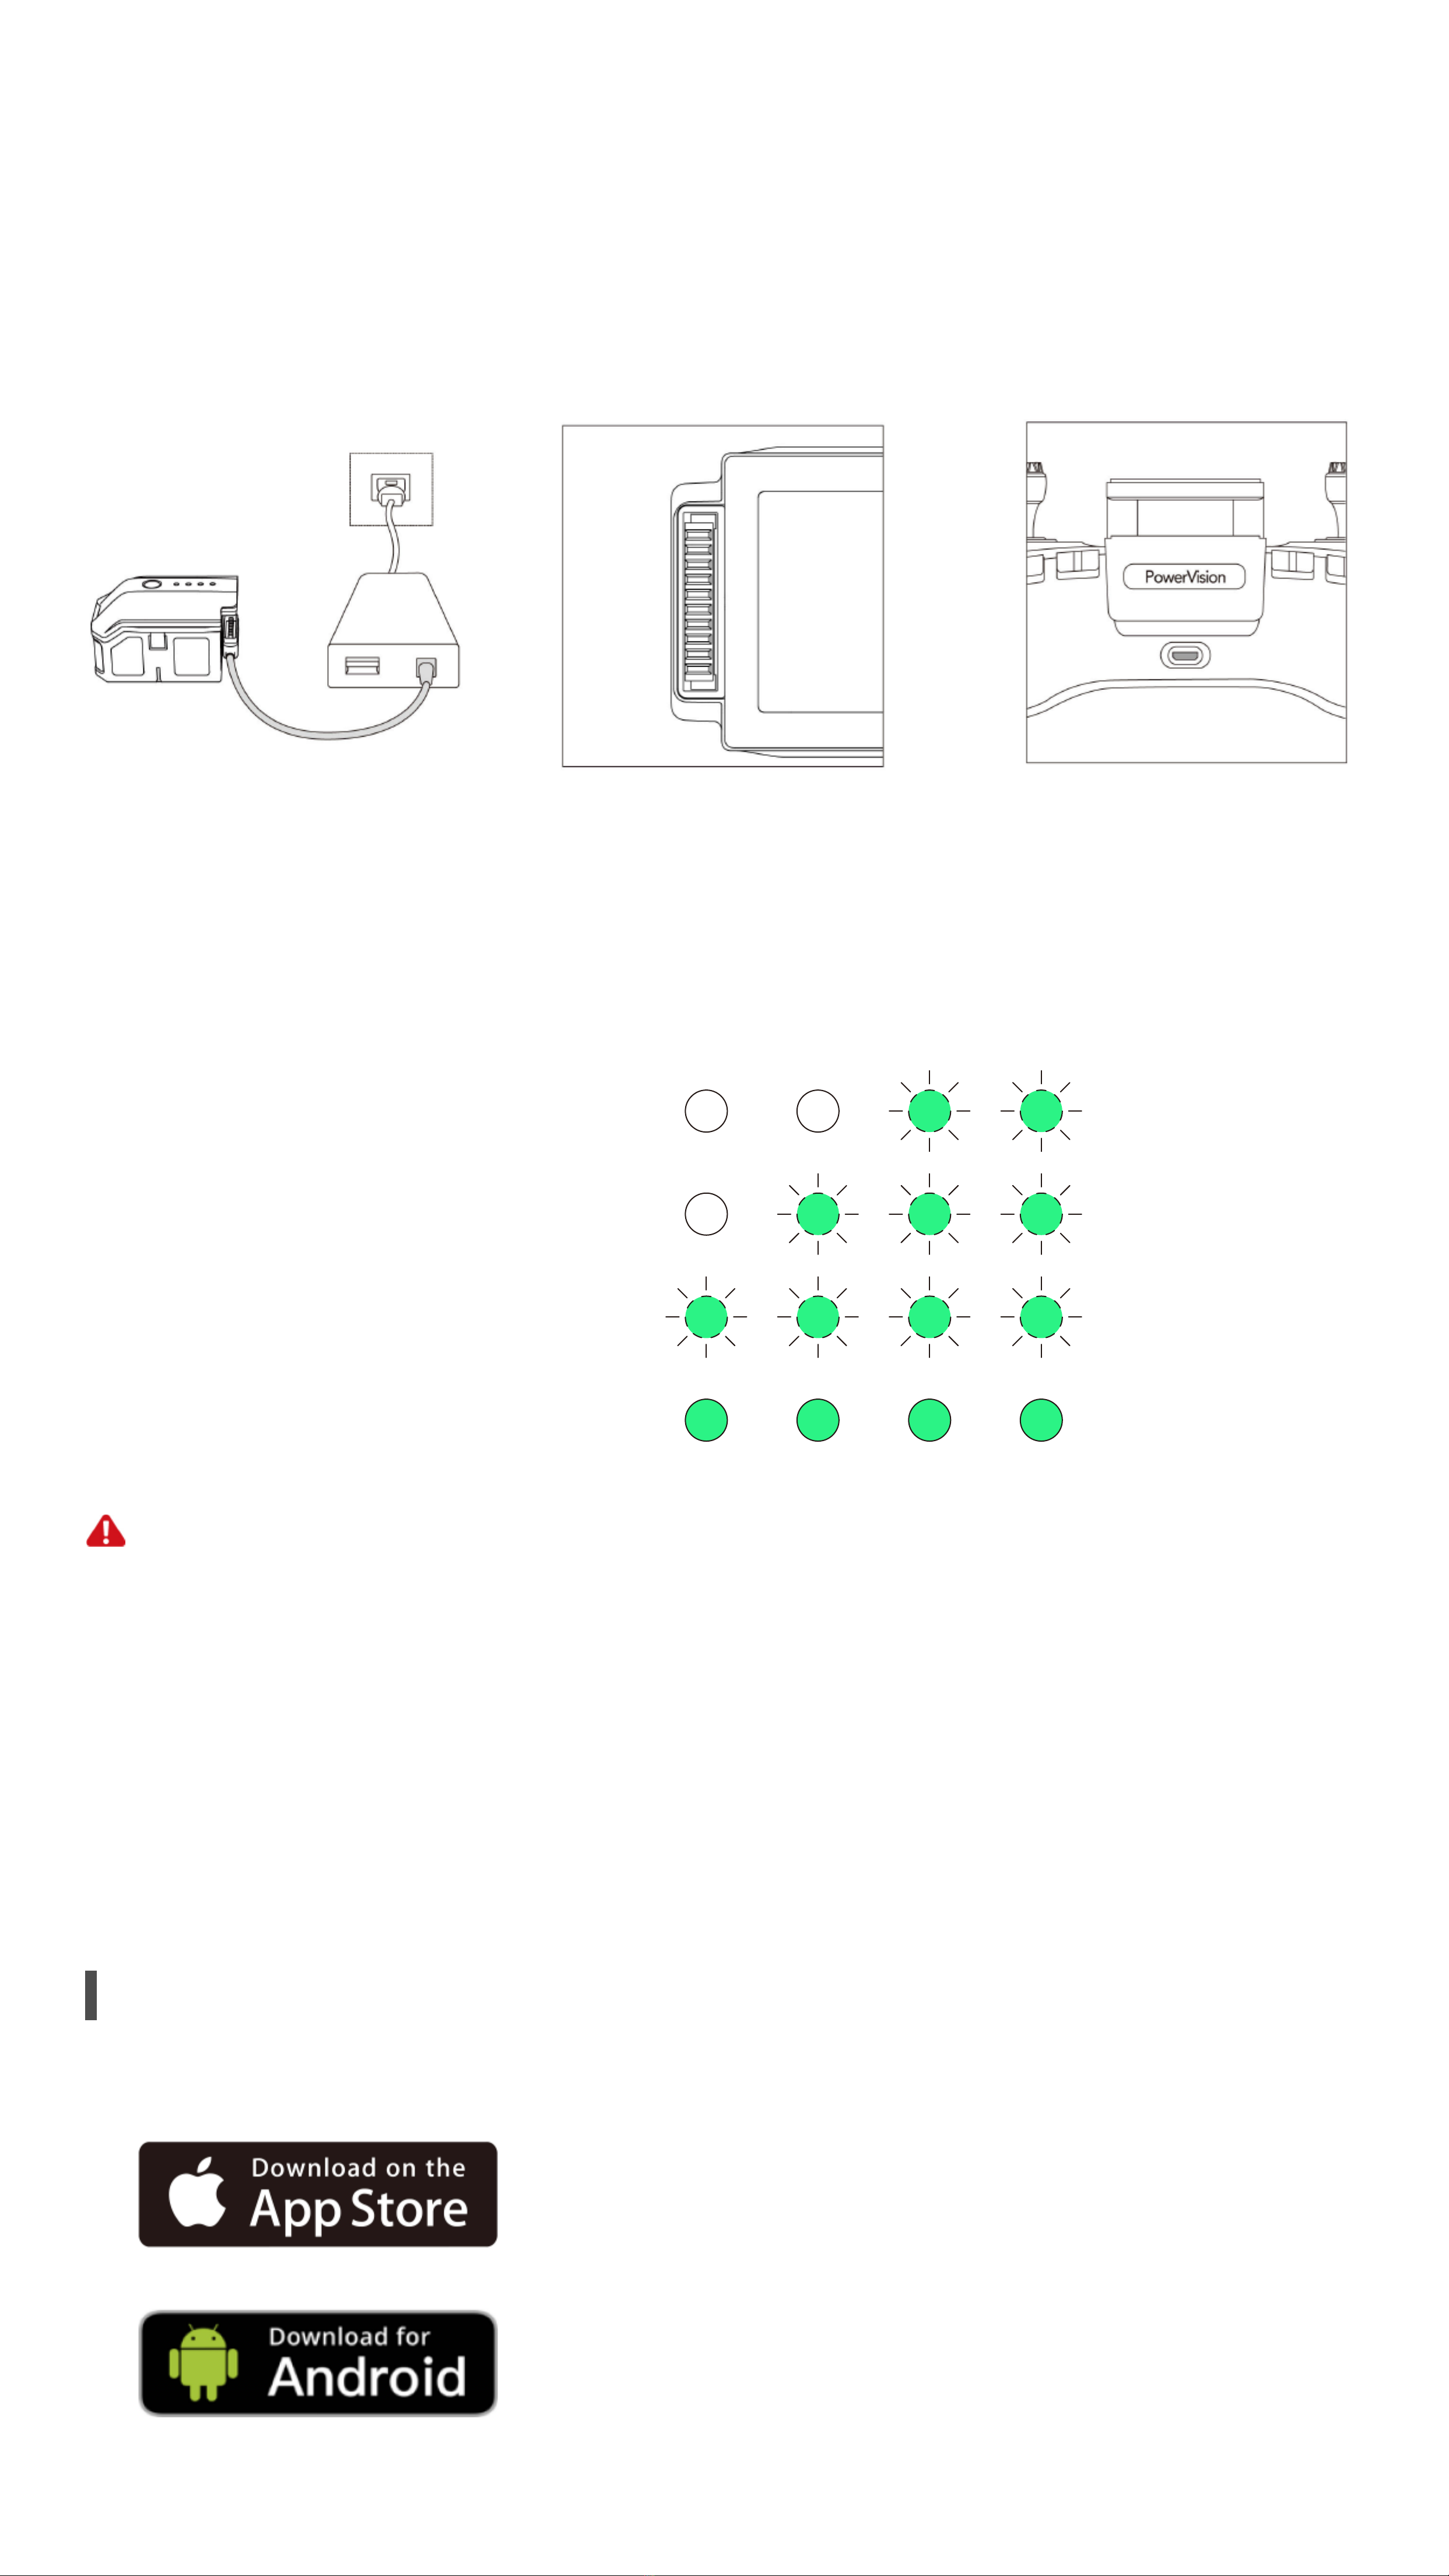
For an Apple device, the iOS 10.0 or above is required.
Open the Vision+ 2 App. An account is required to use all the functions of
the product, you can sign up with an email address or a phone number. Please
sign in once you have an account already.
If you haven’t signed up yet, we will create a new account for you.
a. Sign up with your email address
①Fill your email address and click the “Send Verication Code” button;
②Enter the 6-digit verication code you received in the input box and wait
for verication;
③After the verication, set your password. The password is required to be
8-20 characters, with both numbers and letters;
④We will show you the quality service that PowerVision provides for you,
as well as the corresponding service terms and policies. Read carefully
before you move on to the next step. Clicking the “Accept” button
indicates that you agree with all of our service terms and policies.
b. Sign up with your phone number
①Click the “Sign in with phone number” button in the sign-in interface;
②Fill the country code and your phone number correctly in the input box,
and click the “Send Verication Code” button;
③Enter the 6-digit verication code you received in the input box and wait
for verication;
④After the verication, set your password. The password is required to be
8-20 characters, with both numbers and letters;
⑤We will show you the quality service that PowerVision provides for you, as
well as the corresponding service terms and policies. Read carefully before
you move on to the next step. Clicking the “Accept” buttonindicates that
you agree with all of our service terms and policies and is going to become
one of our users.
◆How to Sign In
Run the Vision+ 2 App. You can choose to sign in with verication code or
your password.
• Sign in with verication code
a. To use your email address as the account
①Fill your email address correctly in the input box, and click the “Send
Verication Code” button;
②Enter the 6-digit verication code you received in the input box and wait
for verication;
③After the verication, you can sign in the App successfully.
b. To use your phone number as the account
①Click the “Sign in with phone number” button in the sign-in interface;
②Fill the country code and your phone number correctly in the input box,
and click the “Send Verication Code” button;
③Enter the 6-digit verication code you received in the input box and wait
for verication;
④After the verication, you can sign in the App successfully.
• Sign in with a password
①Click the “Sign in with password” button in the sign-in interface;
②Enter your password in the box and click the “Sign in” button.
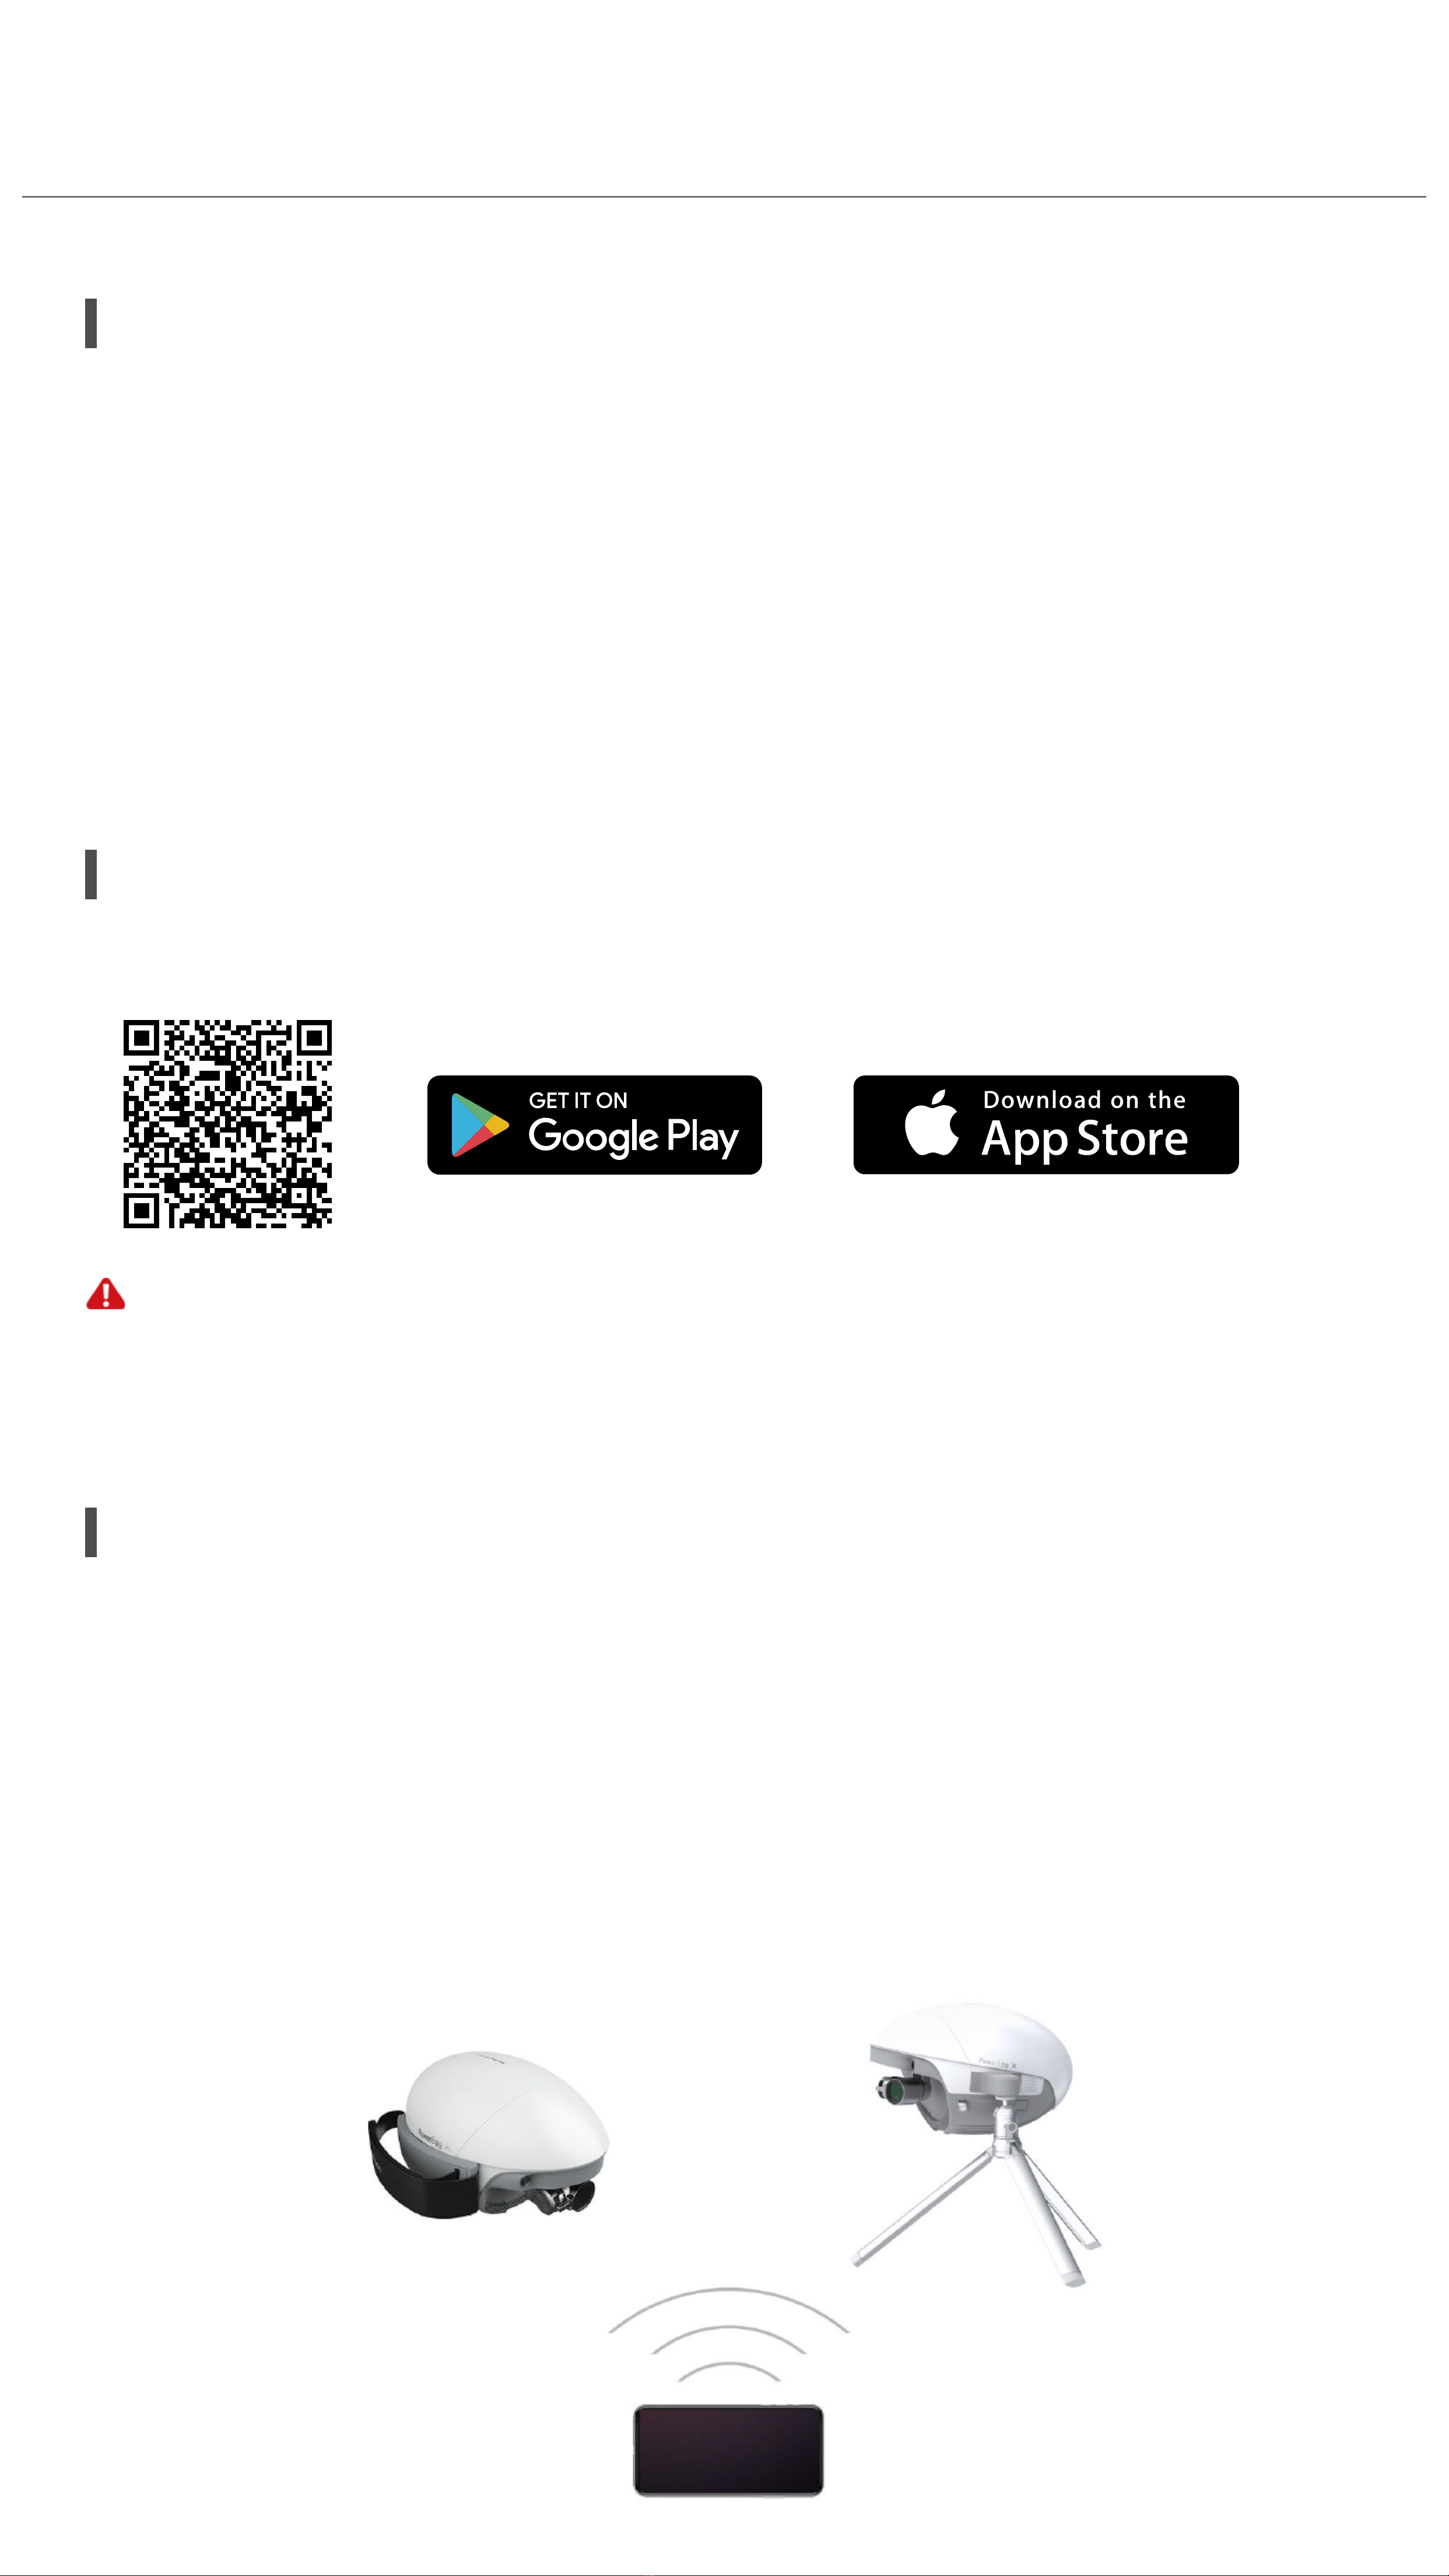
You can nd the App by scanning the QR code.


 user manual")