Controller
Standard Controller
The PowerEgg™ standard controller has integraded “one-click” technology. With one click, users can manage
takeo and landing, Return-to-Home, Follow Me, and have the camera orient toward the pilot.Users can easily
perform other tasks by using the standard two-handed controller, including landing gear retraction, gimbal
pitch control, gimbal roll control, photo taking, and video recording.
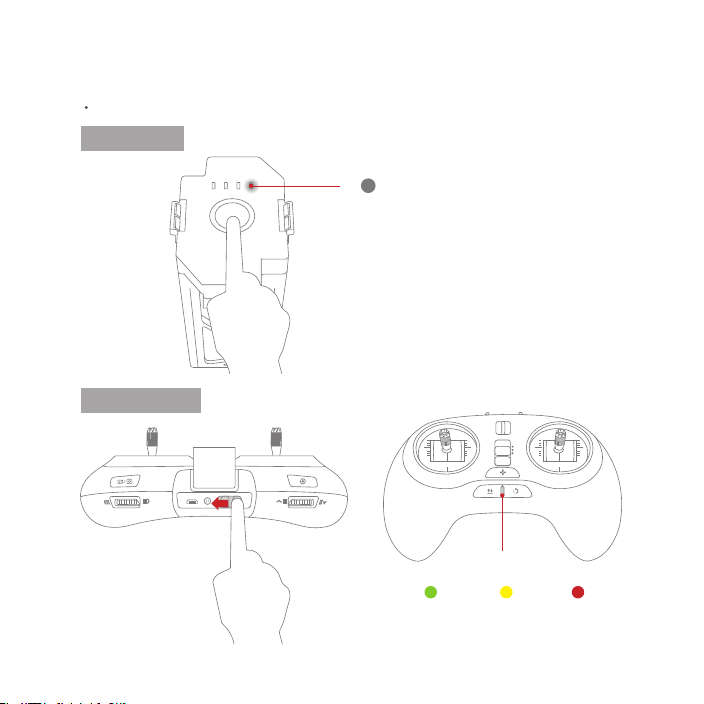
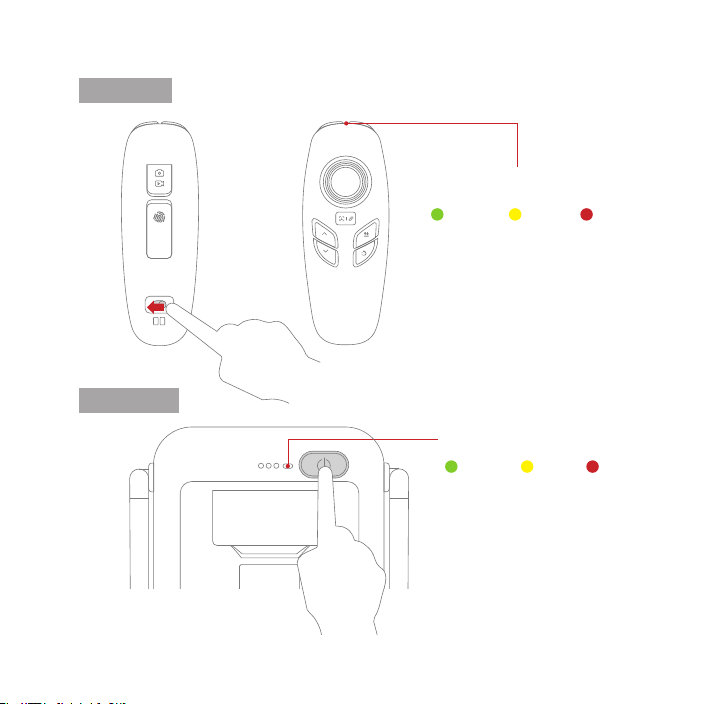
The PowerEgg™ standard controller is powered by a rechargeable battery with a capacity of 3000mAh It can
work continuously for 20 hours. Users may check battery percentage by the light indicator on the controller.
P
N
E
02
1
8
4
910
11
12
13
14
57
6
23
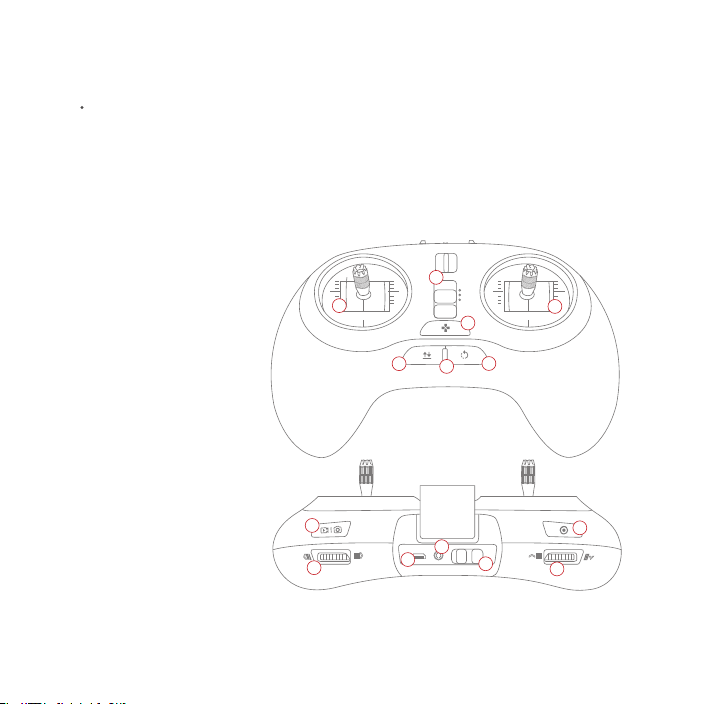
1.Mode switch
2.Left joystick
3.Right joystick
4.Custom button
5.Takeo/land/stop landing
6.status/battery indicator
7.Return-to-home/stop return to
home
8.Top right button: take photos/
videos
9.Right nger wheel: gimbal yaw
10.MicroUSB charge port
11.Port: connect to base station
12.Power Switch
13.Left top button: gimbal back to
position with short press / sele
with double press / gimbal face
downward with long press
14.left nger wheel: gimbal pitch
*Remote Control Mode:Users can choose between the Mode 1 and Mode 2 of controller modes in PowerEgg’s App. Mode 2
is recommended for beginner pilots.


 user manual")