7/24
SETUPOPTIONS-PROJECTOR CONFIGURATION
Adeviceconfigurationcanbesetconvenientlyviapressbuttonswitchand LCDdisplay.
Launch the projector. Press button ENTER more than 5 seconds to unlock panel, LCD display shows functional menus which have
their ownsub-menusfordesignatedfunctions,thebelowisthedetails
Pressbutton UP or DOWN ifyouwant tobrowse through thevariousSetupOptions.
Pressbutton ENTER to save your settings or enterthe next menu.
Pressbutton UP or DOWN to shift.
Press button FUNC, it will return to the upper menu one by one. If you stay for minutes defaulted will show display status
automatically.
TO SETTHE DMX STARTADDRESS
Eachprojector mustbegivenaDMX startaddress sothat the correctprojector responds to the correct control signals.ThisDMX start
address is the channel number from which the projector starts to “listen” to the digital control information being sent out from the
controller. The fixture have 3 DMX modes. There are standard mode, extended mode and short mode. For example standard mode
has 19 channels, so set the No. 1 projector’s address 001, No. 2 projector’s address 020, No. 3 projector’s address 039, No. 4
projector’s address 058, andsoon.
Launchtheprojector. Pressbutton ENTER more than5 secondsto unlockpanel.
Pressbutton FUNC todisplayDMXaddress;
Pressbutton UP and DOWN,youcanset theaddress;
Pressbutton ENTER to confirm,afterpowered nexttime,thelastsaved settingswillbeshowed.
Pressbutton FUNC,it willreturnto the upper menuonebyone.
STAND-ALONE MODE
Operate the projector without connecting a controller, enable the master mode in the operation panel, the projector
will run in Stand-Alone mode automatically.
DMX address can be set without limitations.
MASTER/SLAVE MODE
Many projectors can run synchronously in the Master/Slave mode by linking them with each other. Select one
projector as the master with setting options at any mode of master’s modes enabled and make the other projectors as
the slaves with setting options slave mode enabled and their DMX start address “001”.
Using XLR-XLR cables, Connect the first fixture’s output to the second fixture’s input, and connect the second fixture’s output to the
third fixture’s input and connect the rest fixtures in the same way. Eventually connect the last fixture’s output to a DMX terminator as
showninthe figurebelow.
Afterpowered,thegroupwillruninsynchronous Master/Slave Mode.
W-DMXDMX
PR-8163
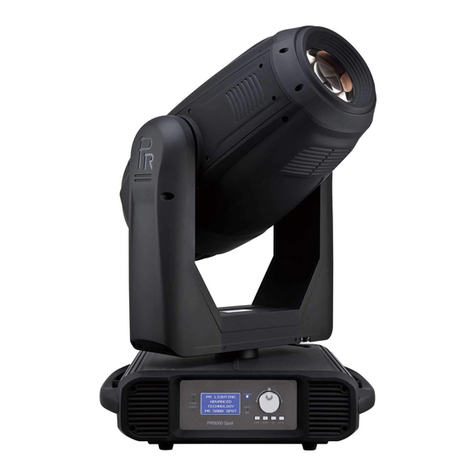
XRLED 700 Spot

