manuals.online logo
Brands
  1. Home
  2. •
  3. Brands
  4. •
  5. Prepac
  6. •
  7. Indoor Furnishing
  8. •
  9. Prepac TV-3232 Series User manual

Prepac TV-3232 Series User manual

Assembly Instructions
Mode d'assemblage
Sonoma Tall Corner TV
Stand
Meuble de coin en
hauteur pour télé
Series / Séries # _TV-3232
DATE CODE
Cabinet Parts / Pièces de l’armoire
Hinge (4)
Penture
RM-0470
Drawer Slide
Screw (16)
Vis pour coulisse
de tiroir
RM-0074
Hinge Package / Sac à Penture HP-0620
If you have any missing parts, please call:
1-877-PREPAC1 (1-877-773-7221) Mon - Fri
7:00am to 4:30pm Pacific Time (10:00am -
7:30pm Eastern) Please have your product series
number available (listed above). Or visit
www.prepacmfg.com
Si des pièces sont manquantes, veuillez
téléphoner au 1-877-PREPAC1 (1-877-773-7221)
lors des heures suivantes: LUN - VEN 7h 30 à
16h 30, heure du Pacifique. Veuillez noter le
numéro de série avant de téléphoner. Ou visite
www.prepacmfg.com. Pour le service en français.
contactez s’il vous plaît votre détaillant.
Tools Needed / Outils nécessaires
Hammer / Marteau
Phillips Screwdriver
Tournevis à pointe cruciforme Flathead Screwdriver
Tournevis principal plat
2" Confirmat Screws
Vis Confirmat 2" (14)
RM-0001
¾” Nail (16)
Clou ¾”
RM-0022
Screw Cover Caps (14)
Capuchons des vis
RM-0226 black / noir
RM-0523 maple / érable
HP-0633 (Black) HP-0634 (Maple)
Hardware / Quincaillerie
LB-0531 Page 1 of/de 3
Tack Glide (6)
Patin à clou
RM-0139
#8-32mm Machine
Screw (2)
Vis de machne de 32mm
RM-0465
Brushed Nickel Knob (2)
Poignée
RM-0464
nickel balayé
Shelf Support (4)
Support pour tablette
RM-0225 black / noir
RM-0537 maple / érable
Magnetic Catch & Plate (1 bag)
Attache magnétique et plaque
métal (1 sac)
RM-0472
1a.
1b. Hammer Tack Glides into the bottom of left & right sides and both gables.
À l’aide d’un marteau, enfoncez les patins à la base des côtés gauches et
droit et les pignons.
Tack Glide
Patins à clou
Sides (2)
Côtés
Cam
Ferrure
Top
dessus Gables (2)
Pignons
Side Molding (2)
Moulure latérale
Gable (2)
Pignon
GA-0476
maple / érable
GA-0416
Black / noir
Kicker (1)
Renforcement de structure
KR-0472 maple / érable
KR-0412 black / noir
Top / Dessus (1)
TP-0475 maple / érable
TP-0415 black / noir
Middle Shelf
Tablette au milieu (1)
SH-0475 maple / érable
SH-0415 black / noir
Bottom Shelf
Tablette du bas (1)
BT-0475 maple / érable
BT-0415 black / noir
Top Molding (1)
Moulure supérieure
TR-4712 maple / érable
TR-4112 black / noir
Middle Shelf Molding (1)
Moulure de tablette au milieu
TR-0480 maple / érable
TR-0420 black / noir
Adjustable Shelf
Tablette ajustable (1)
SF-0475 maple / érable
SF-0415 black / noir
Door (2)
Porte
DR-0475 maple / érable
DR-0415 black / noir
Backer (2)
Dos
BB-9706
maple /
érable
BB-0111
black /
Noir
Left Side (1)
Côté gauche
SL-0476
maple / érable
SL-0416
Black / noir
Right Side (1)
Côté droit
SR-0476
maple / érable
SR-0416
Black / noir
Left / gauche
TR-0482-L
maple / érable
TR-0422-L
Black / noir
Right / droit
TR-0482-R
maple / érable
TR-0422-R
Black / noir
© 2007-02-01
15mm Zinc Cam (6)
Ferrure en zinc
RM-0103
Blue Rapid Rod (6)
Tige rapide bleu
RM-0583
Plastic Dowels (12)
Goujons en plastique
RM-0072
Cam
Ferrure
Insert cams in the unlocked
position, with the opening facing
toward the hole for the blue rapid
rod.
Insérez les ferrures dans la
position déverrouillée,de façon
à ce que l’overture soit face au
trou de la tige rapide bleu.
Blue Rapid Rod
Tige rapide bleu
Blue Rapid Rod
Tige rapide bleu
Blue Rapid Rod
Tige rapide bleu
Insert cams and blue Rapid Rods into the top of the left & right
sides and both gables. Insert cams in the unlocked position,
with the opening facing toward the hole for the rapid rods.
Insérez les ferrures et les dans les côtés gauche
et droit et les pignons. Insérez les ferrures dans la position
déverrouillée,de façon à ce que l’overture soit face au trou de
la .
tige rapide bleu
tige rapide bleu
Confirmat screws
& cover caps
Vis Confirmat et
capuchons des vis
Kicker
Renforcement
2. Attach Middle Shelf, Bottom Shelf & Kicker to sides and gables with
Confirmat Screws.
Posez la tablette au milieu, la tablette du bas et le renforcement aux côtés
et pignons avec les vis Confirmat.
Attach top to sides and gables & tighten cams.
Fixez le dessus aux côtés et aux pignons et serrez les ferrures.
3.
Gables
Pignons
Use the flat head
screwdriver and turn cams
to the RIGHT almost 180
degrees until tight.
Utilizer le tournevis
principal plat et serrez
les ferrures en tournant
vers LA DROITE jusqu’a
180 degrés.
Tt siu
Locked
Verrouillé
Titus
Unlocked
Déverrouillé
LB-0531 Page 2 of/de 3
© 2007-02-01
4. Hammer plastic dowels halfway into all moldings
Marteler des goujons en plastique à mi-chemin dans
toutes moulures.
5. Attach top and shelf moldings.
Using your hands, apply even pressure to moldings and press firmly
Attacher les moulures supérieure et de tablette au mileu.
L'utilisation de vos mains, s'appliquer même de la pression aux moulures
et à la presse fermement
7.
8.
¾ Nail
Clou ¾
score
la marque
Insert shelf supports
Insérez les support pour tablette
Using ¾” nails, a
À l'aide des clou ¾ po., p
ttach backer to the sides and gables with the unfinished side to the back. Backer is pre-scored.
osez le dos aux côtés et pignons avec le côté non-fini au dos. Le dos déja-est pre-marqué.
Cabinet Molding
Moulure d’armoire
Door
Porte
9.
Attach hinges with Drawer Slide
Screws
Posez les pentures à l’aide des
vis pour coulisse de tiroir 5/8 po.
Attach the metal plate to the top
of each door
Posez les plaques métalliques
au-dessus de chaque porte.
10.
Molding
Moulure
LB-0531 Page 3 of/de 3
12. Attach knobs
Fixez les poignées
Machine Screw
Vis de machine
#6 - 5/8" Screw
Vis no.6 - 5/8"
Metal Plate
Plaque métal
Attach magnetic catch to bottom of middle shelf
molding
Posez les attaches magnétique à la moulure
supérieure du dessus.
11.
© 2007-02-01
Important
Make sure the hinge holes on
the side molding are facing into
the cabinet opening
Important
Assurez-vous que les trous de
pentures sur la moulure latérale
sont des revêtements dans
l'ouverture de module
Attach Side Moldings
Posez les moulures latérale.
6.

Other Prepac Indoor Furnishing manuals

Prepac SH-8445 User manual

Prepac

Prepac SH-8445 User manual

Prepac Queen User manual

Prepac

Prepac Queen User manual

Prepac DC-3345 User manual

Prepac

Prepac DC-3345 User manual

Prepac Sonoma SC-4820 User manual

Prepac

Prepac Sonoma SC-4820 User manual

Prepac MA-0320 Series User manual

Prepac

Prepac MA-0320 Series User manual

Prepac EC-6016 User manual

Prepac

Prepac EC-6016 User manual

Prepac BSCW-0707-2K User manual

Prepac

Prepac BSCW-0707-2K User manual

Prepac HangUps WRGW-0701-2M User manual

Prepac

Prepac HangUps WRGW-0701-2M User manual

Prepac HFQ-0500-1 User manual

Prepac

Prepac HFQ-0500-1 User manual

Prepac DNH-0339-1 User manual

Prepac

Prepac DNH-0339-1 User manual

Prepac DC-2428 User manual

Prepac

Prepac DC-2428 User manual

Prepac BSCW-0730-1 User manual

Prepac

Prepac BSCW-0730-1 User manual

Prepac SS-4824 User manual

Prepac

Prepac SS-4824 User manual

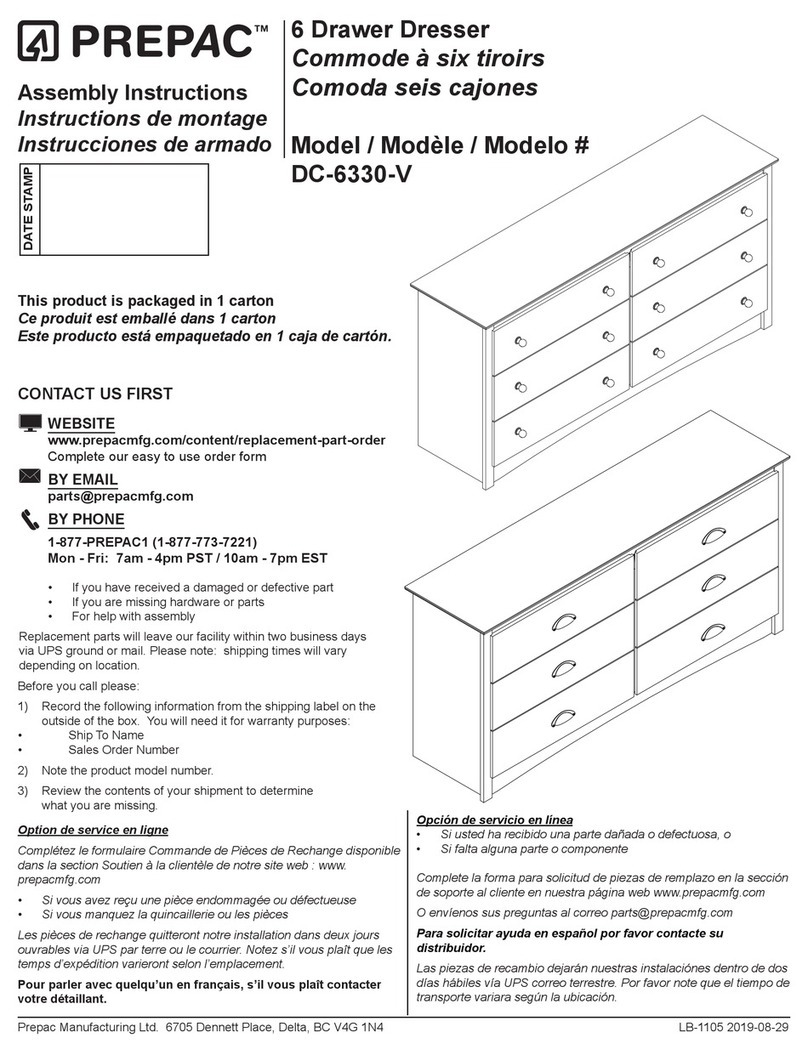
Prepac DC-6330-V User manual

Prepac

Prepac DC-6330-V User manual

Prepac DC-2354 User manual

Prepac

Prepac DC-2354 User manual

Prepac EMC-5022 User manual

Prepac

Prepac EMC-5022 User manual

Prepac BQ-6212-3K User manual

Prepac

Prepac BQ-6212-3K User manual

Prepac SH-6643 User manual

Prepac

Prepac SH-6643 User manual

Prepac Elite Storage WEW-3264 User manual

Prepac

Prepac Elite Storage WEW-3264 User manual

Prepac BK-8400-K User manual

Prepac

Prepac BK-8400-K User manual

Prepac BEP-3060 Series User manual

Prepac

Prepac BEP-3060 Series User manual

Prepac SOW-0200-1 User manual

Prepac

Prepac SOW-0200-1 User manual

Prepac DBR-0560-1 User manual

Prepac

Prepac DBR-0560-1 User manual

Prepac SH-6656 User manual

Prepac

Prepac SH-6656 User manual

Popular Indoor Furnishing manuals by other brands

siena GARDEN Falun 120.567 Assembly instruction

siena GARDEN

siena GARDEN Falun 120.567 Assembly instruction

Urban Barn AUSTIN QUEEN BED Assembly instructions

Urban Barn

Urban Barn AUSTIN QUEEN BED Assembly instructions

kingsley-bate Amalfi AM50 Assembly instructions

kingsley-bate

kingsley-bate Amalfi AM50 Assembly instructions

Auping 333B user manual

Auping

Auping 333B user manual

MOBB Health Care Alternating Pressure Mattress manual

MOBB Health Care

MOBB Health Care Alternating Pressure Mattress manual

Homelegance Atwood 2505BK-36 Assembly instructions

Homelegance

Homelegance Atwood 2505BK-36 Assembly instructions

Otto 69756201 Assembly instructions

Otto

Otto 69756201 Assembly instructions

DIR Baby Panda instruction manual

DIR

DIR Baby Panda instruction manual

BLADEZ GA-04P Assembly instruction

BLADEZ

BLADEZ GA-04P Assembly instruction

rst brands ASTER SL-SHLV-7 Assembly instructions

rst brands

rst brands ASTER SL-SHLV-7 Assembly instructions

BIG FURNITURE WAREHOUSE DELTA G-DLTLTVWGR Assembly instructions

BIG FURNITURE WAREHOUSE

BIG FURNITURE WAREHOUSE DELTA G-DLTLTVWGR Assembly instructions

WALA AXM Series Assembly manual

WALA

WALA AXM Series Assembly manual

Bontempi Casa CRUZ 01.80 Assembly instructions

Bontempi Casa

Bontempi Casa CRUZ 01.80 Assembly instructions

Glas Italia CROSSING Assembling and use instruction

Glas Italia

Glas Italia CROSSING Assembling and use instruction

Dedeman GARD 150 OG H2O5 Assembling Instruction

Dedeman

Dedeman GARD 150 OG H2O5 Assembling Instruction

Gautier GAMI H0D 160 quick start guide

Gautier

Gautier GAMI H0D 160 quick start guide

Habitat Leaf 819966 manual

Habitat

Habitat Leaf 819966 manual

Forte CLFK221 Assembling Instruction

Forte

Forte CLFK221 Assembling Instruction

manuals.online logo
manuals.online logoBrands
  • About & Mission
  • Contact us
  • Privacy Policy
  • Terms and Conditions

Copyright 2025 Manuals.Online. All Rights Reserved.