manuals.online logo
Brands
  1. Home
  2. •
  3. Brands
  4. •
  5. PROAIM
  6. •
  7. Camera Accessories
  8. •
  9. PROAIM DL-FLDB-01 User manual

PROAIM DL-FLDB-01 User manual

Other PROAIM Camera Accessories manuals
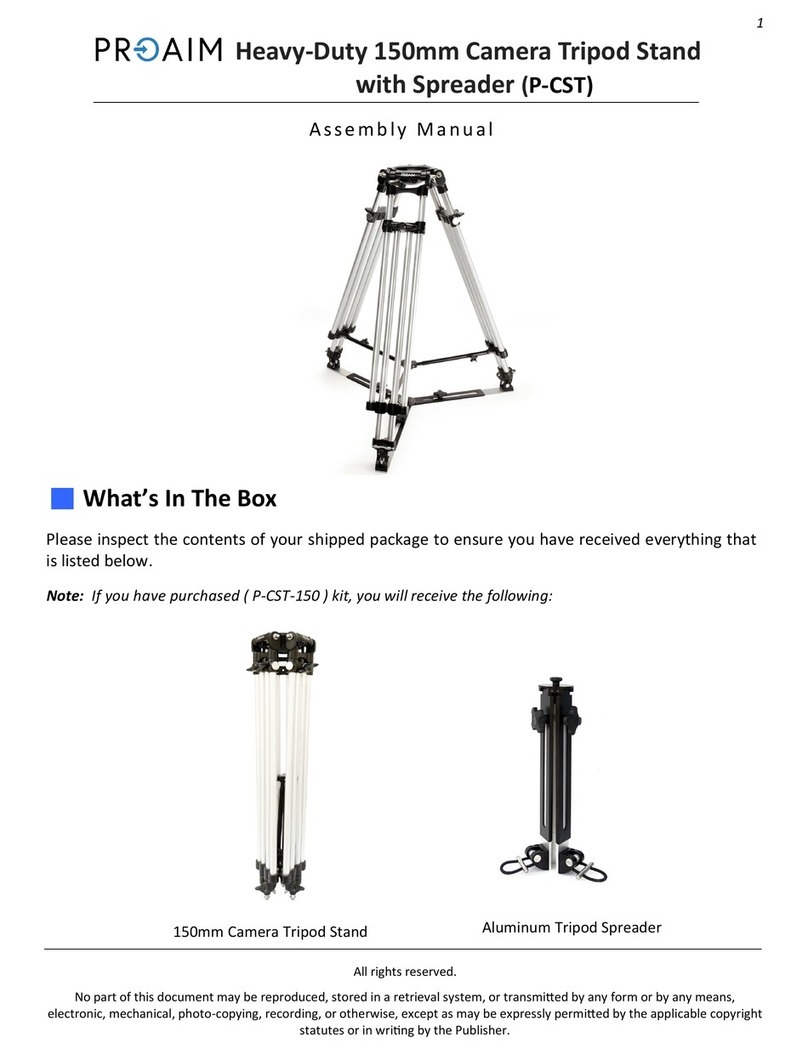
PROAIM P-CST User manual

PROAIM

PROAIM P-CST User manual

PROAIM FF-FCBE-01 User manual

PROAIM

PROAIM FF-FCBE-01 User manual
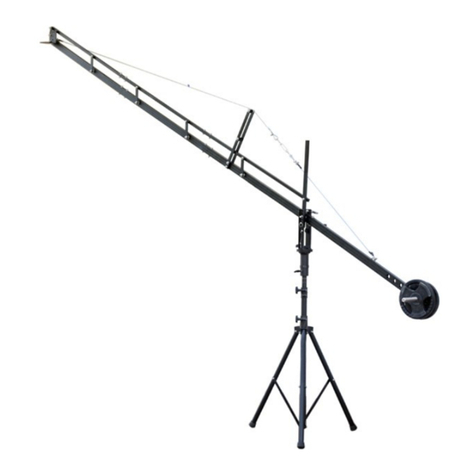
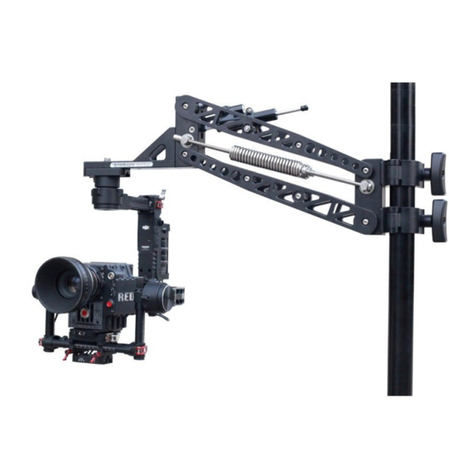
PROAIM 14ft. Jib Arm with Jib Stand User manual
PROAIM

PROAIM 14ft. Jib Arm with Jib Stand User manual

PROAIM VI-252-00 User manual

PROAIM

PROAIM VI-252-00 User manual
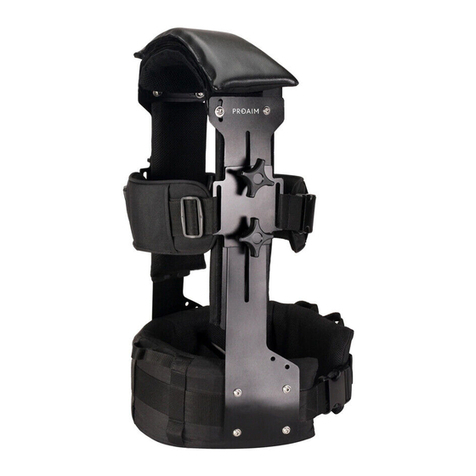
PROAIM P-GDTR-01 User manual

PROAIM

PROAIM P-GDTR-01 User manual

PROAIM SS90 User manual

PROAIM

PROAIM SS90 User manual
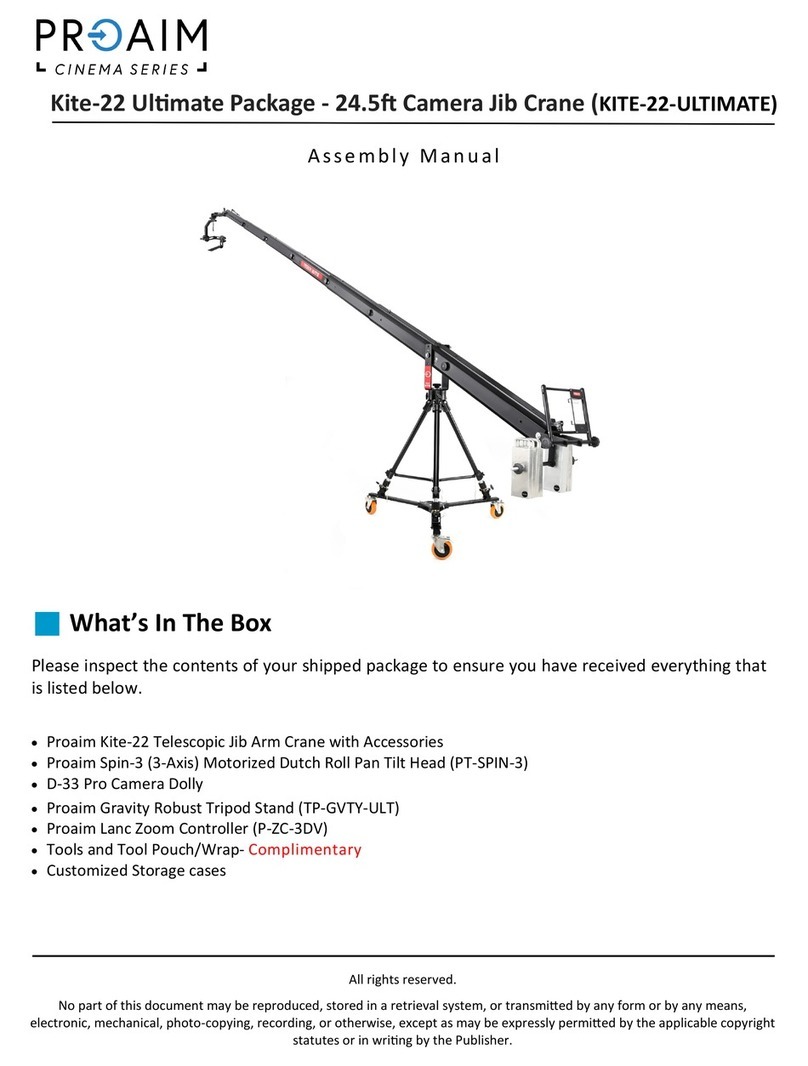
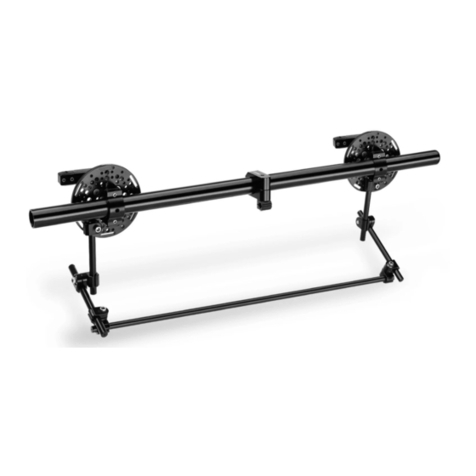
PROAIM Kite-22 Ultimate Package User manual
PROAIM

PROAIM Kite-22 Ultimate Package User manual

PROAIM P-BKST-02 User manual

PROAIM

PROAIM P-BKST-02 User manual
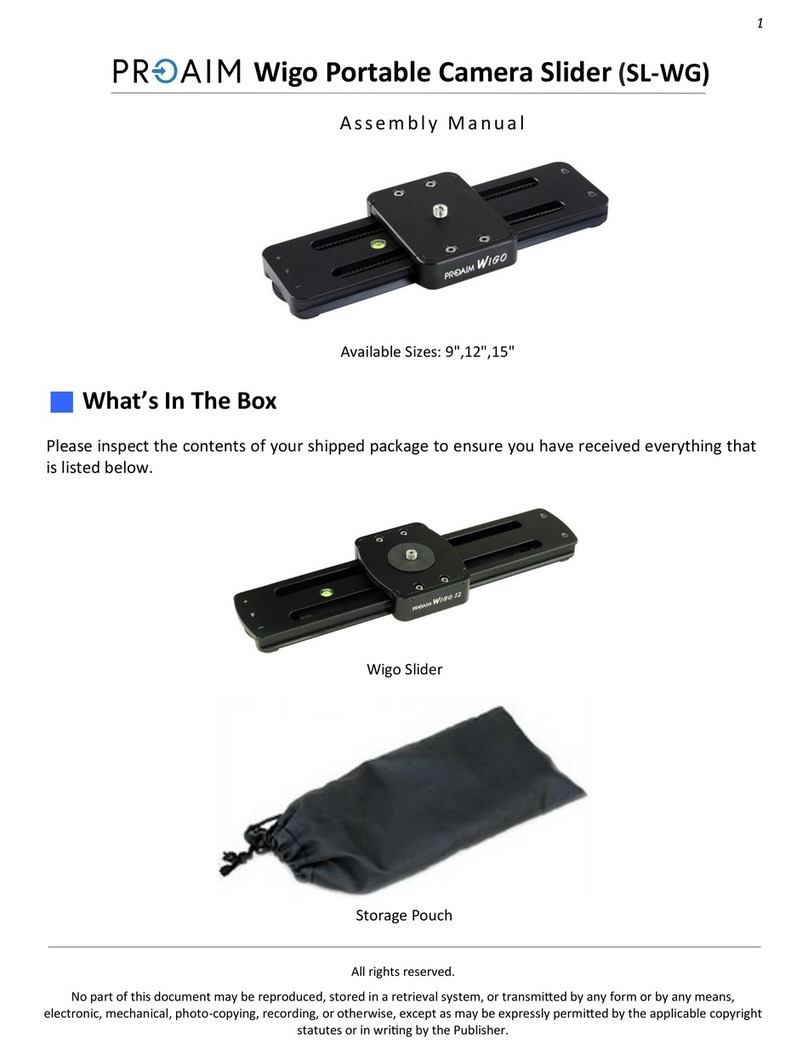
PROAIM SL-WG User manual

PROAIM

PROAIM SL-WG User manual
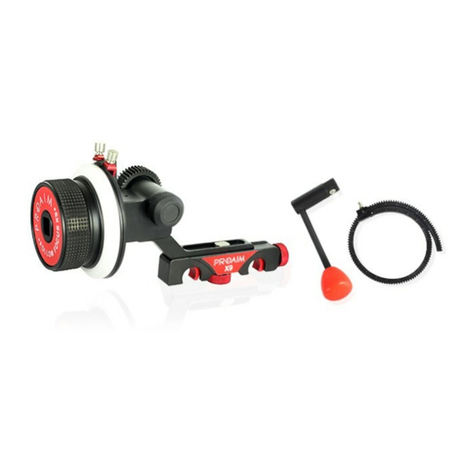
PROAIM Follow Focus X9 User manual

PROAIM

PROAIM Follow Focus X9 User manual
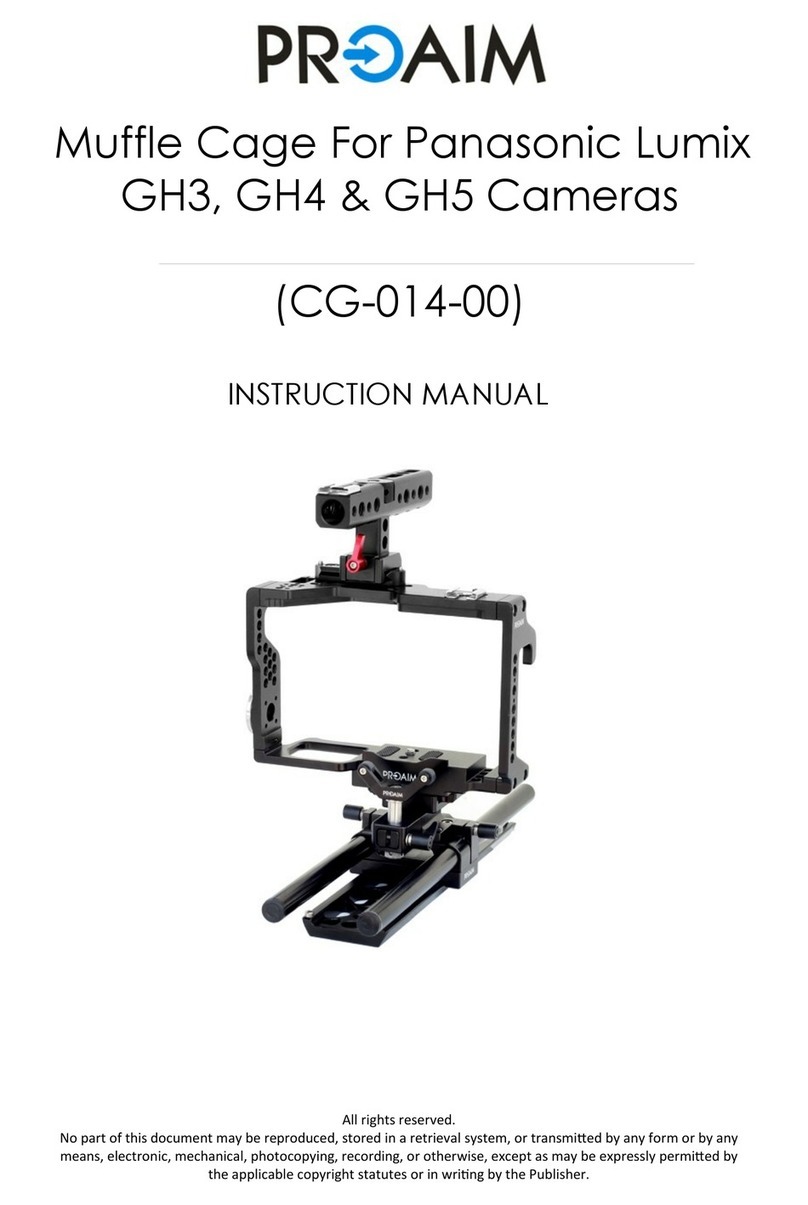
PROAIM CG-014-00 User manual

PROAIM

PROAIM CG-014-00 User manual
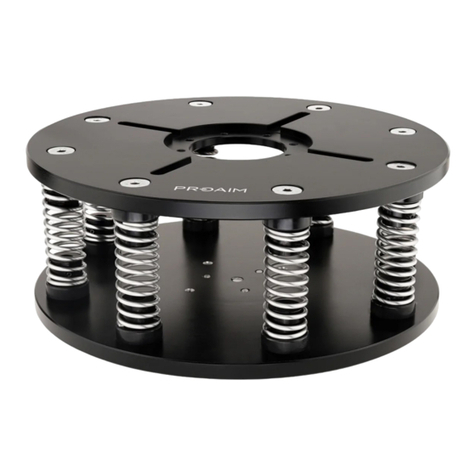
PROAIM VI-SPCM-01 User manual

PROAIM

PROAIM VI-SPCM-01 User manual
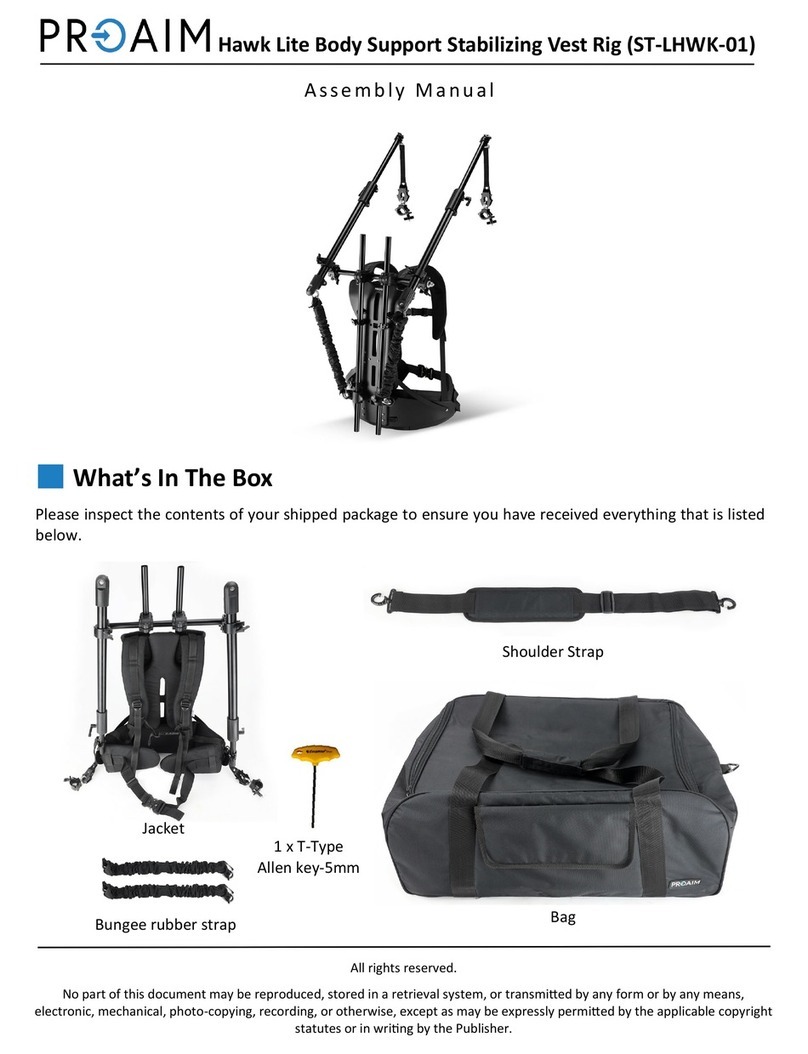
PROAIM ST-LHWK-01 User manual

PROAIM

PROAIM ST-LHWK-01 User manual
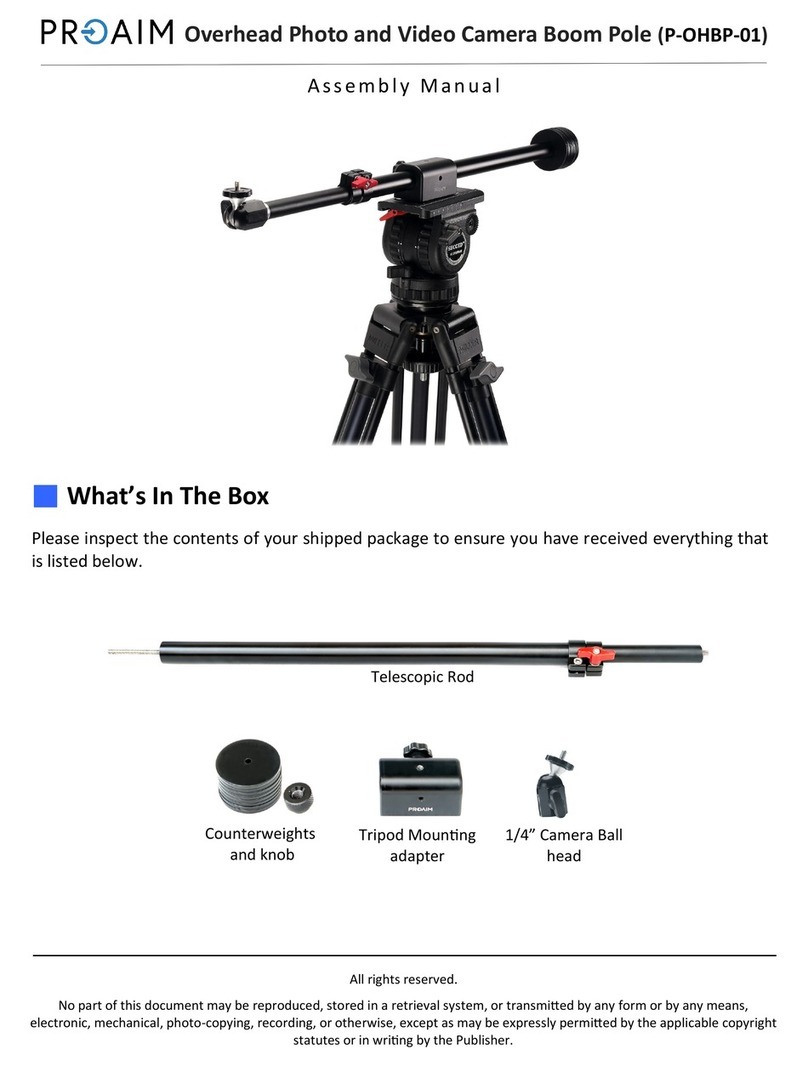
PROAIM P-OHBP-01 User manual

PROAIM

PROAIM P-OHBP-01 User manual
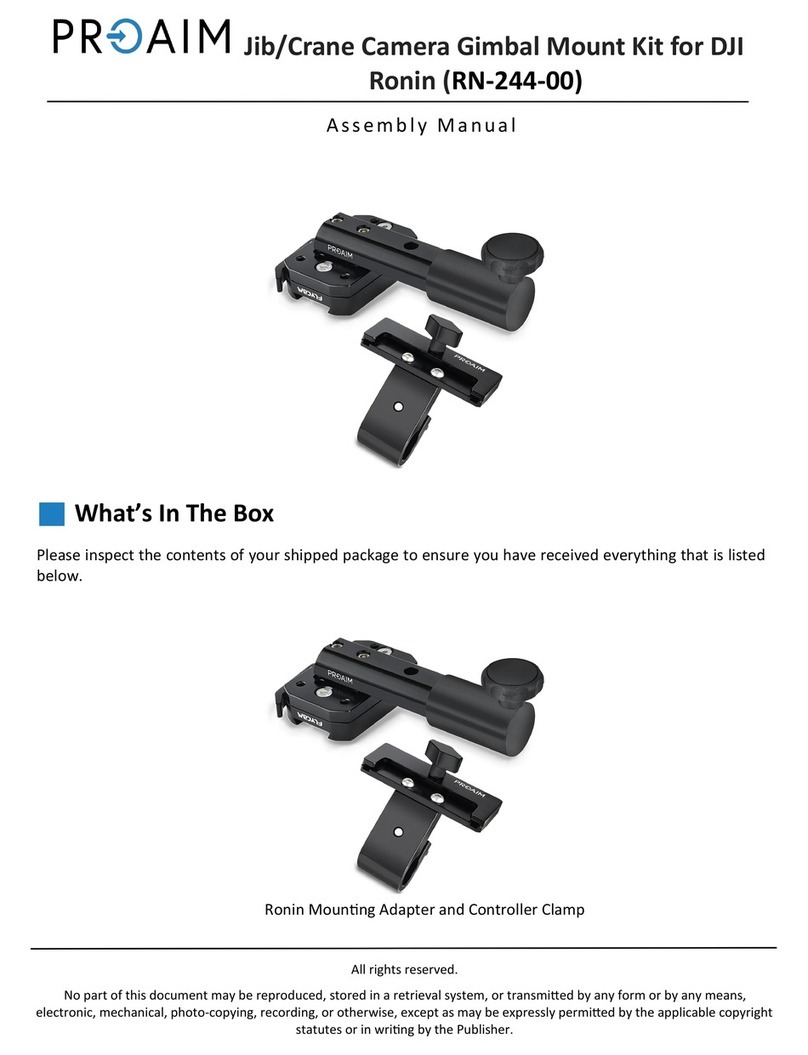
PROAIM RN-244-00 User manual

PROAIM

PROAIM RN-244-00 User manual
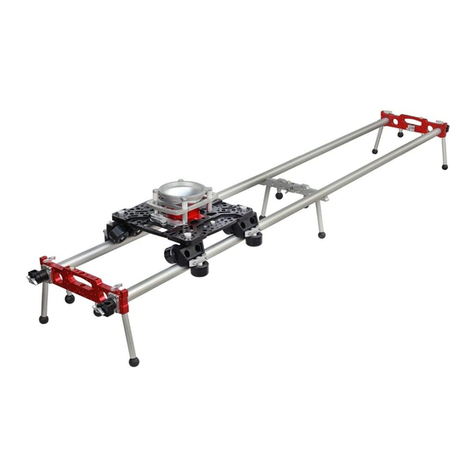
PROAIM Flymate SL-187-00 User manual

PROAIM

PROAIM Flymate SL-187-00 User manual
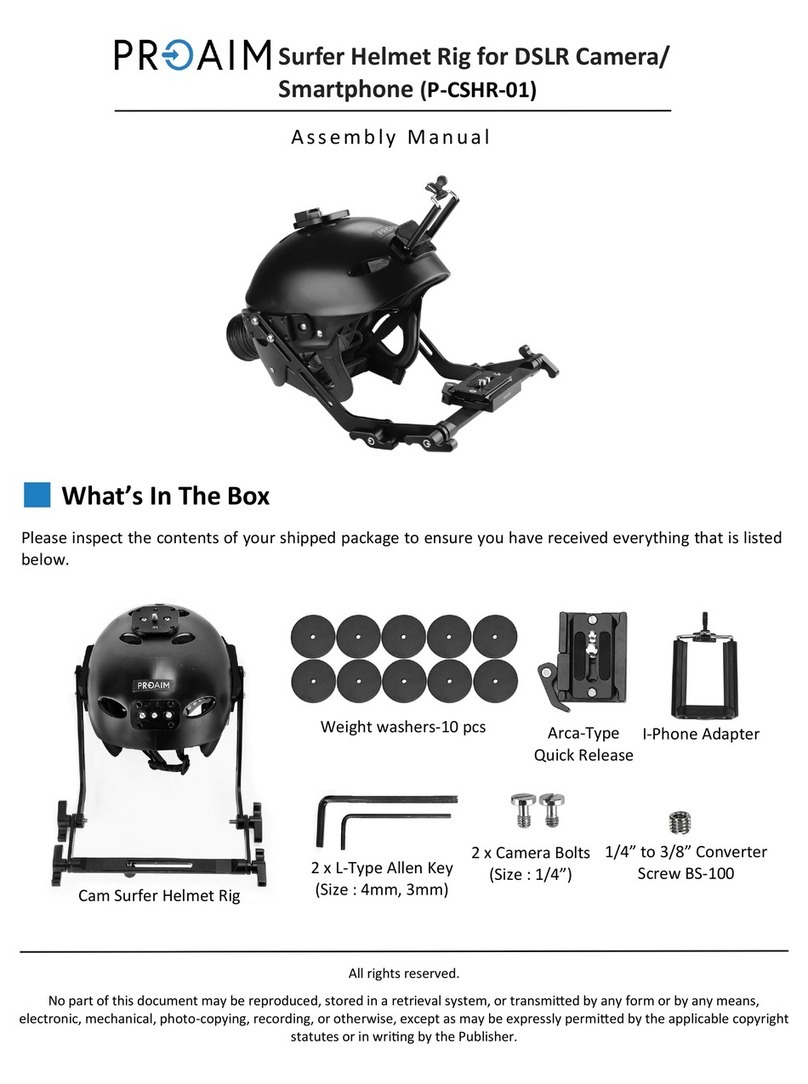
PROAIM P-CSHR-01 User manual

PROAIM

PROAIM P-CSHR-01 User manual
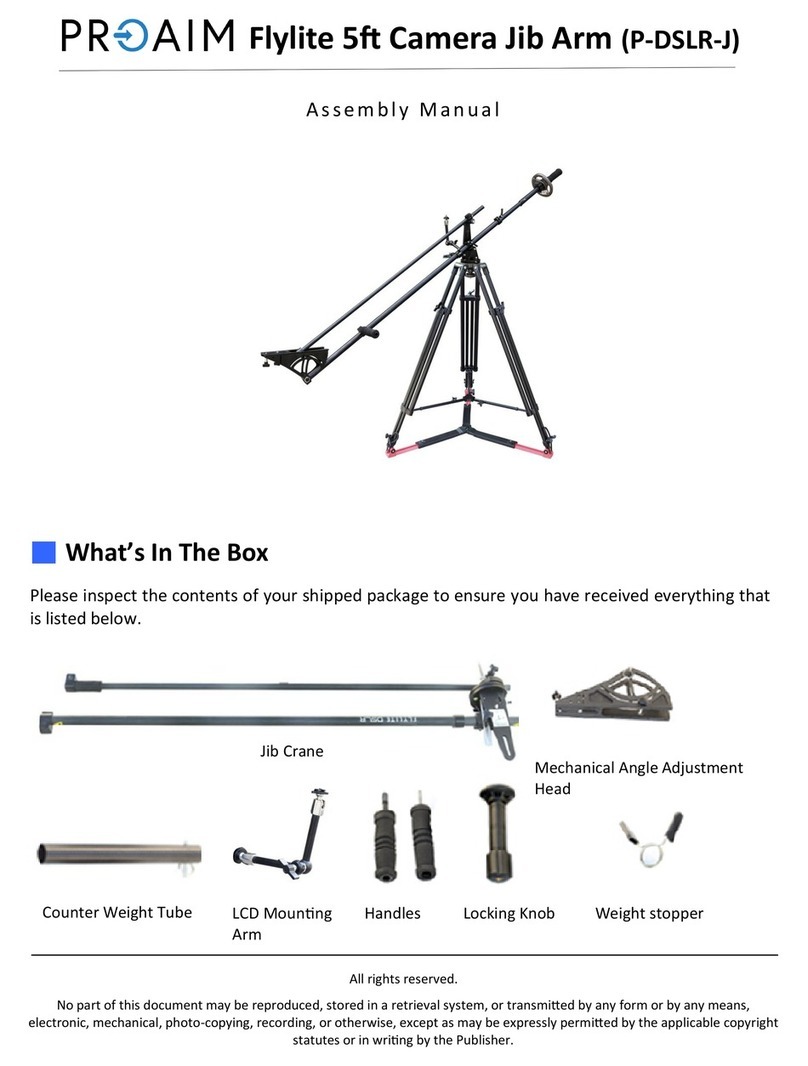
PROAIM Flylite User manual

PROAIM

PROAIM Flylite User manual
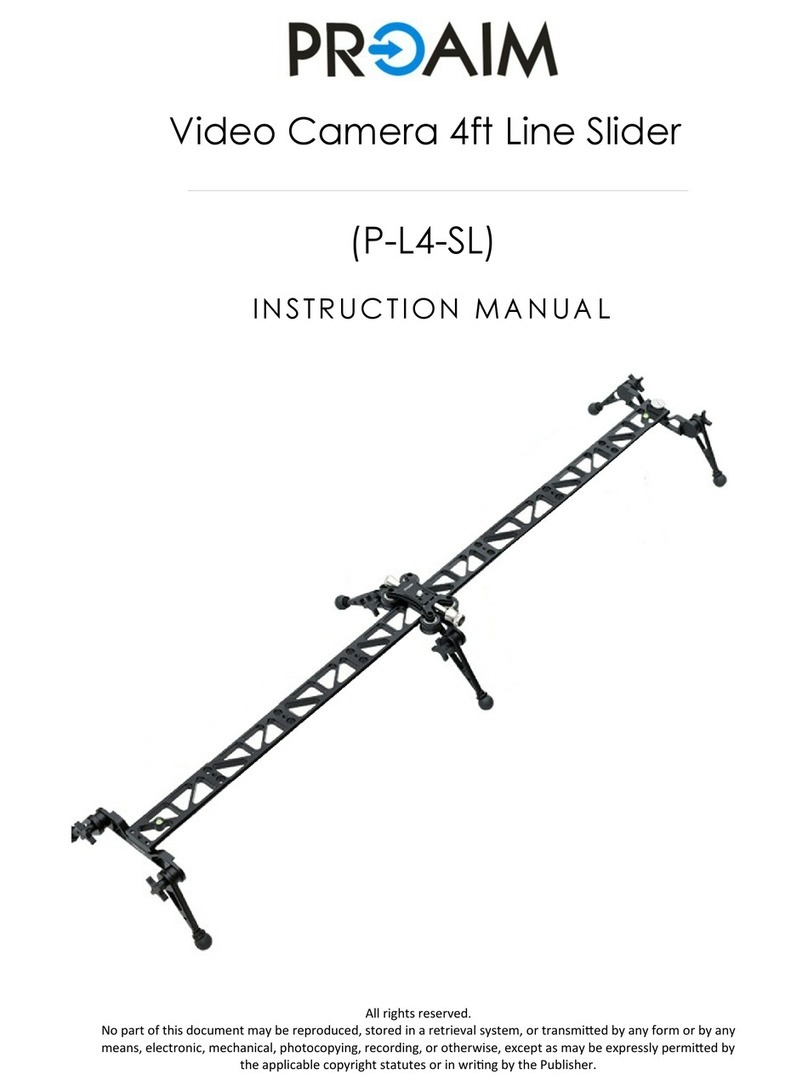
PROAIM P-L4-SL User manual

PROAIM

PROAIM P-L4-SL User manual
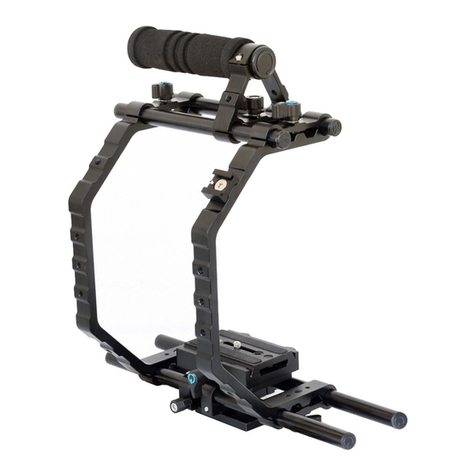
PROAIM 9CTH-TMP User manual

PROAIM

PROAIM 9CTH-TMP User manual

PROAIM CINEMA Series User manual

PROAIM

PROAIM CINEMA Series User manual

PROAIM CINEMA LV-4WAY-01 User manual

PROAIM

PROAIM CINEMA LV-4WAY-01 User manual

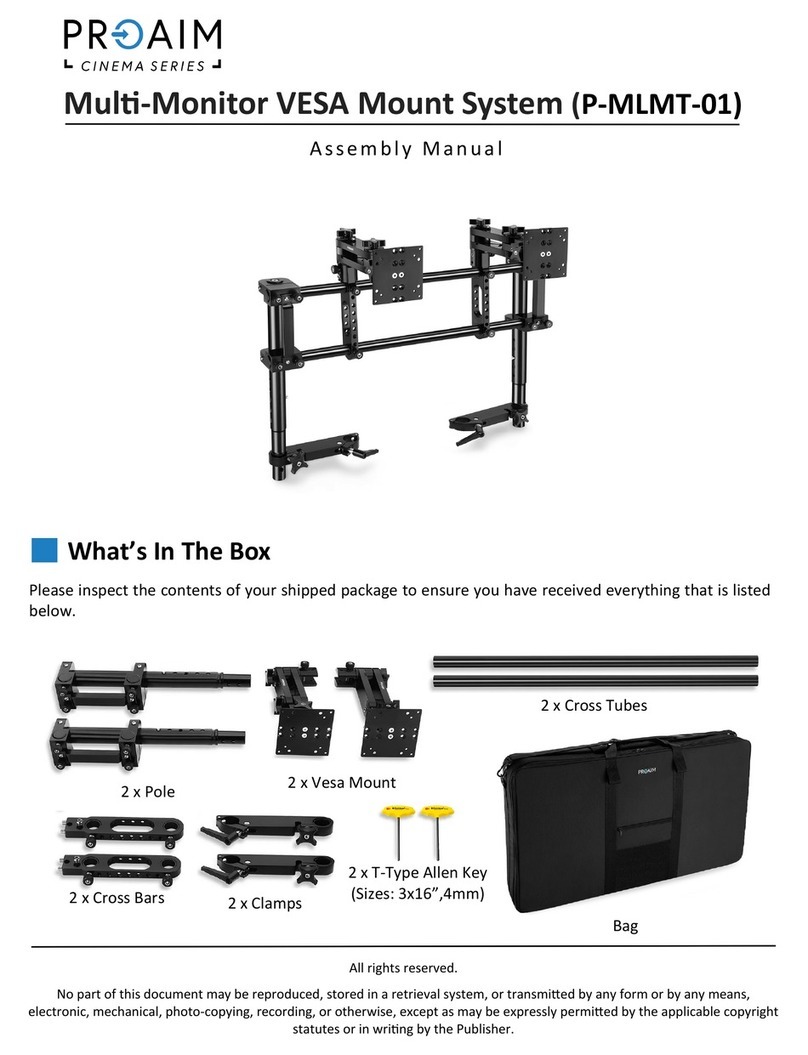
PROAIM P-MLMT-01 User manual

PROAIM

PROAIM P-MLMT-01 User manual

PROAIM CINEMA Series User manual

PROAIM

PROAIM CINEMA Series User manual

Popular Camera Accessories manuals by other brands

CamRanger CamRanger user manual

CamRanger

CamRanger CamRanger user manual

Custom Brackets HDV CAGE KIT Instructions for use

Custom Brackets

Custom Brackets HDV CAGE KIT Instructions for use

Aegis ABL052010P user manual

Aegis

Aegis ABL052010P user manual

Saft SRA Series Installation and operating instructions

Saft

Saft SRA Series Installation and operating instructions

Kodak TIB5200 technical information

Kodak

Kodak TIB5200 technical information

Videotec HEG instruction manual

Videotec

Videotec HEG instruction manual

Ikelite 6171.11 manual

Ikelite

Ikelite 6171.11 manual

Pentax Auto Bellows Slide Copier K user manual

Pentax

Pentax Auto Bellows Slide Copier K user manual

Nikon UT-1 user manual

Nikon

Nikon UT-1 user manual

dji RONIN 4D quick start guide

dji

dji RONIN 4D quick start guide

SLIK ABLE 300DX user manual

SLIK

SLIK ABLE 300DX user manual

Rebelcell 36V70 user manual

Rebelcell

Rebelcell 36V70 user manual

Trojan GC2 48V quick start guide

Trojan

Trojan GC2 48V quick start guide

Calumet 7100 Series CK7114 operating instructions

Calumet

Calumet 7100 Series CK7114 operating instructions

Ropox 4Single Series User manual and installation instructions

Ropox

Ropox 4Single Series User manual and installation instructions

Cambo Wide DS Digital Series Main operating instructions

Cambo

Cambo Wide DS Digital Series Main operating instructions

Samsung SHG-120 Specification sheet

Samsung

Samsung SHG-120 Specification sheet

Ryobi BPL-1820 Owner's operating manual

Ryobi

Ryobi BPL-1820 Owner's operating manual
manuals.online logo
manuals.online logoBrands
  • About & Mission
  • Contact us
  • Privacy Policy
  • Terms and Conditions

Copyright 2025 Manuals.Online. All Rights Reserved.

1
Please inspect the contents of your shipped package to ensure you have received everything that is listed
below.
Foldable Camera Plaorm Dolly
(DL-FLDB-01)
Assembly Manual
All rights reserved.
No part of this document may be reproduced, stored in a retrieval system, or transmied by any form or by any means,
electronic, mechanical, photo-copying, recording, or otherwise, except as may be expressly permied by the applicable copyright
statutes or in wring by the Publisher.
What’s In The Box
4 x Pneumac Wheels
Foldable Dolly Plaorm with
2 x 100 mm Bowl Adapter Push/Pull Bar
Steering Bar
4 x Track Wheels Seat Rod
Euro Mount 360° Rotatable
Wheels
Euro Mount with Seat
Rod Holder
3 x Tripod Holder
(Spiked Feet)
4mm, 6mm Allen
Keys
Seat
2
Funcons
Comfort & Convenience
Adjustable Operator
Seat
Dolly has a comfortable seat
aached to the Euro Mount
with Seat Rod Holder so you can
capture your shots quickly while
on the go.
Dolly Plaorm
Two pre-mounted
100mm bowls on its
plaorm, enabling you
to capture low-level
shots without addional
equipment.
100mm Bowl
Eortless and instant
installaon via provided
holes, allowing the setup
to be mounted on the
plaorm without any
hassle.
Euro Mount
Adapter
Maneuver in Preferred
Direcon
Telescopic Push/ Pull Bar
Camera dolly allows the
operator to maneuver the
equipment using their preferred
method, oering exibility.
Steering Bar
Adjust the Seat Posions
Seat Break
Easy to Adjust Posion
360 degree movement
Seat Rod
Euro Mount with
Seat Rod Holder
With the smart integraon
of the wheelset that rotates
with the Seat, you can lm
a 360° eld of view to
capture everything
sur-rounding the sphere.
Adapts Euro Mount ,
100 mm Bowl Adapter
3
Foldable Plaorm Dolly Setup
• As the Foldable Dolly is collapsed for
packaging, open the Dolly by pulling it as
shown in the image.
• The Foldable Dolly is fully open.
Feature: Dolly can be neatly folded and stowed
away in a single package. The Dolly features two
pre-mounted 100mm bowls on its plaorm,
enabling you to capture low-level shots without
addional equipment.
Collapsible Design
100mm Bowls
4
• Loosen and remove all four knobs of the Dolly
and insert Pneumac Wheels, as shown in the
image.
• Aer aaching the Wheels, properly secure
them by re-inserng and ghtening the knobs
for a secure aachment between the wheels
and the Foldable Dolly.
• The Pneumac Wheels are fully secured with
the Floor Dolly, as shown in the image.
• Mount the Euro Mount Adapter on the
Foldable Dolly by matching the holes on the
plaorm.
Pneumac Wheels Setup
• Loosen and remove the knob of the Foldable
Dolly.
Euro Mount Adapter Setup
5
Feature: A robust Euro Mount Adapter is also
included for an eortless and instant installaon
via provided holes, allowing the setup to be
mounted on the plaorm without any hassle.
Euro Mount Adapter Compability with provided holes
Euro Mount Adapter
6
• Aer mounng the Seat Rod, secure it using
the knob, as shown in the image.
• Loosen bolts of the Rotatable Wheels using
the Allen key to allow movement of the
Wheels.
• Loosen the ratchet knob of the Euro Mount
Seat Rod holder and insert 360° Rotatable
wheels in it.
• Aer inserng the Rotatable wheels, secure
them using the ratchet knob.
• The Rotatable wheels are aached to the
Euro mount with a Seat rod, as shown in the
image.
Seat Rod Holder Setup
360° Rotatable Wheels Setup
• Mount the Euro Mount with Seat Rod on
the Foldable Dolly.
7
Seat Rod Setup
• Loosen the ratchet knob of the Seat Rod and
aach 360° Rotatable Wheels with it.
• Aer aaching the Rotatable wheels, secure
the setup using the ratchet knob as shown in
the image.
Feature: The Camera Dolly has a comfortable
seat aached to the Euro Mount with Seat Rod
Holder so you can capture your shots quickly
while on the go.
• The Seat Rod has features such as height
adjustment and Seat brake so you can easily
set your Seat up/down and lock the Seat’s
posion
• The Seat is telescopic, allowing height
adjustment with a simple lever mechanism.
Feature: With the smart integraon of the
wheelset that rotates with the Seat, you can lm
a 360° eld of view to capture everything
surrounding the sphere.
8
Capture 360° Field of View Revolving Wheel Set
9
• Pull the knob of the Foldable Dolly to mount
the Push/Pull Bar.
Push/Pull Bar Assembly
• Insert the Push/Pull Bar on the provided holes
of the Dolly plaorm.
• Aer inserng the Push/Pull Bar, properly se-
cure it using the knob.
Telescopic Push/Pull Bar
10
• Insert the Steering Bar by slightly loosening the
knob.
• To extend the length of the Steering Bar, un-
lock its ratchet lever and pull the Bar upwards.
• Unlock the ratchet lever of the Push/ Pull Bar
and push the Bar upwards.
• Aer posioning the Push/ Pull Bar according
to your requirement, secure it by locking the
ratchet lever.
• To stabilize the movement/direcon of the
Steering Bar, lock it with the push/ Pull Bar as
shown in the image.
• Press the push pin buon and stretch out the
Handle for movement of the handle, as shown
in the image.
Steering Bar Assembly