manuals.online logo
Brands
  1. Home
  2. •
  3. Brands
  4. •
  5. Progetti
  6. •
  7. Clock
  8. •
  9. Progetti LINE Manual

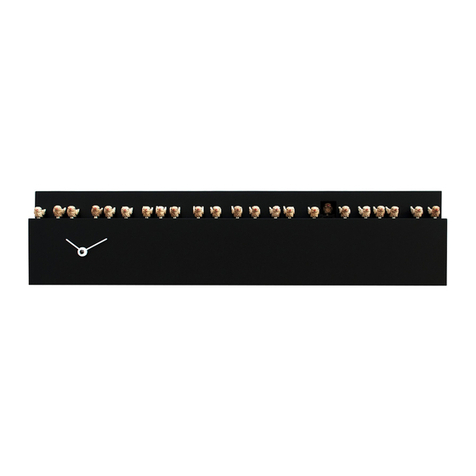
Progetti LINE Manual

Other Progetti Clock manuals

Progetti LIBERTY Manual

Progetti

Progetti LIBERTY Manual

Progetti Cugino ITT Manual

Progetti

Progetti Cugino ITT Manual

Progetti FATTI + IN LA' Manual

Progetti

Progetti FATTI + IN LA' Manual

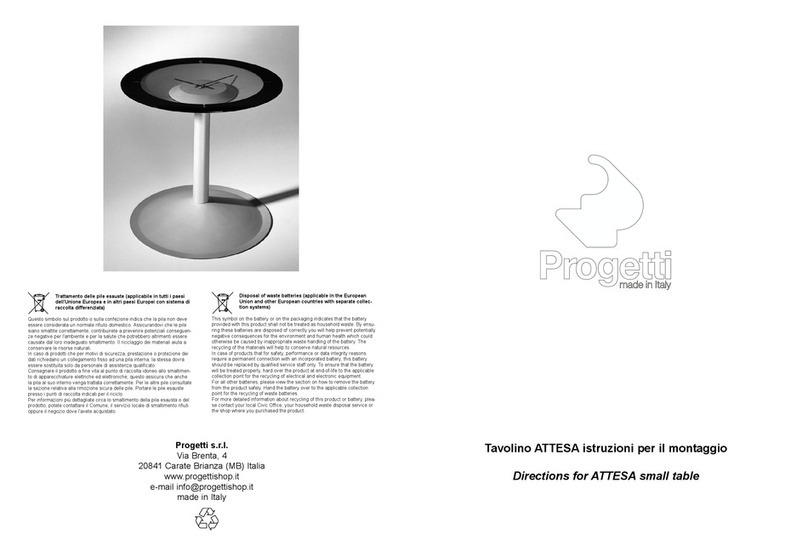
Progetti ATTESA Manual

Progetti

Progetti ATTESA Manual

Progetti Alice User manual

Progetti

Progetti Alice User manual

Progetti KALIMERO Manual

Progetti

Progetti KALIMERO Manual

Progetti TARGET Manual

Progetti

Progetti TARGET Manual

Progetti H:M:S: Manual

Progetti

Progetti H:M:S: Manual

Progetti o'Coque Manual

Progetti

Progetti o'Coque Manual

Progetti ILTEMPOVOLA Manual

Progetti

Progetti ILTEMPOVOLA Manual

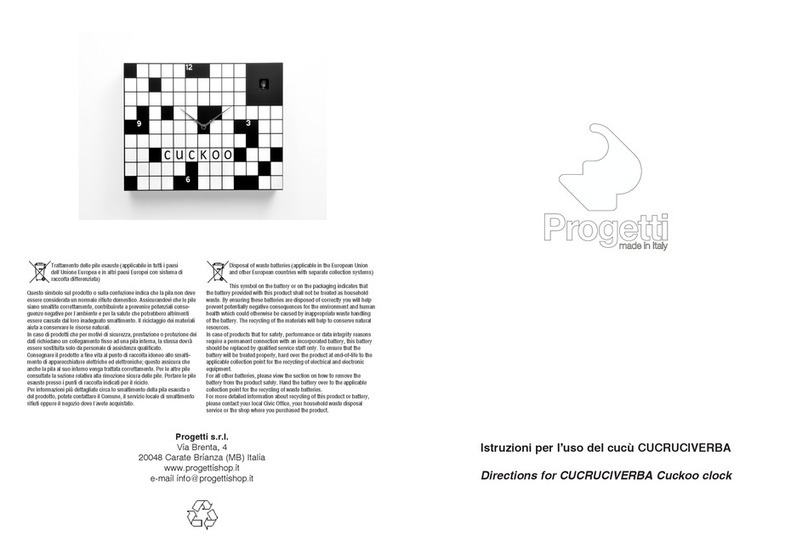
Progetti CUCRUCIVERBA Manual

Progetti

Progetti CUCRUCIVERBA Manual

Progetti TIPTOP Manual

Progetti

Progetti TIPTOP Manual

Progetti Q01 User manual

Progetti

Progetti Q01 User manual

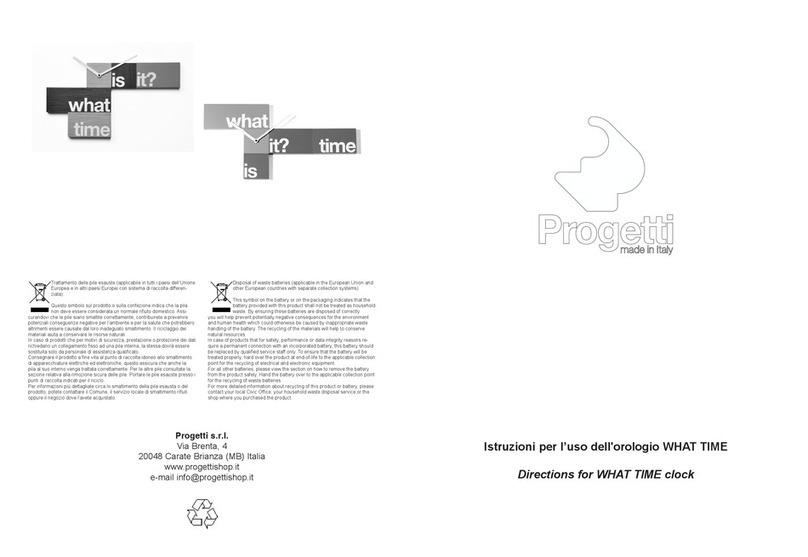
Progetti WHAT TIME Manual

Progetti

Progetti WHAT TIME Manual

Progetti FREETIME Manual

Progetti

Progetti FREETIME Manual

Progetti q02 Manual

Progetti

Progetti q02 Manual

Progetti ILTEMPOSTRINGE Manual

Progetti

Progetti ILTEMPOSTRINGE Manual

Progetti HOME SWEET HOME Manual

Progetti

Progetti HOME SWEET HOME Manual

Popular Clock manuals by other brands

Sapling NTP 7000 Series installation manual

Sapling

Sapling NTP 7000 Series installation manual

Amano MTX-30F Installation & operation guide

Amano

Amano MTX-30F Installation & operation guide

La Crosse Technology BBB86118v3 Setup guide

La Crosse Technology

La Crosse Technology BBB86118v3 Setup guide

BEARWARE 304474 manual

BEARWARE

BEARWARE 304474 manual

LS & S RTC103U instruction manual

LS & S

LS & S RTC103U instruction manual

BitGen Technologies LED Walk/Don't Walk Clock user manual

BitGen Technologies

BitGen Technologies LED Walk/Don't Walk Clock user manual

Heathkit GC-1005 Assembly manual

Heathkit

Heathkit GC-1005 Assembly manual

Oregon Scientific PRYSMA RMR221P manual

Oregon Scientific

Oregon Scientific PRYSMA RMR221P manual

Andrew O'Malley DOTKLOK Assembly instructions

Andrew O'Malley

Andrew O'Malley DOTKLOK Assembly instructions

Nixie Clock Divergence Meter user manual

Nixie Clock

Nixie Clock Divergence Meter user manual

La Crosse Technology WS-8256-AL user manual

La Crosse Technology

La Crosse Technology WS-8256-AL user manual

Mini Gadgets MCPro user manual

Mini Gadgets

Mini Gadgets MCPro user manual

Casio TMR-200 user guide

Casio

Casio TMR-200 user guide

La Crosse Technology WT-3141b Quick setup instructions

La Crosse Technology

La Crosse Technology WT-3141b Quick setup instructions

IKEA ROTBLÖTA manual

IKEA

IKEA ROTBLÖTA manual

U-Line Н-2811 instructions

U-Line

U-Line Н-2811 instructions

Silicon Laboratories SI5324 manual

Silicon Laboratories

Silicon Laboratories SI5324 manual

Bresser MyTime 8020313CM3000 instruction manual

Bresser

Bresser MyTime 8020313CM3000 instruction manual

manuals.online logo
manuals.online logoBrands
  • About & Mission
  • Contact us
  • Privacy Policy
  • Terms and Conditions

Copyright 2025 Manuals.Online. All Rights Reserved.

Trattamento delle pile esauste (applicabile in tutti i paesi dell’Unione
Europea e in altri paesi Europei con sistema di raccolta differen-
ziata)
Questo simbolo sul prodotto o sulla confezione indica che la pila
non deve essere considerata un normale riuto domestico. Assi-
curandovi che le pile siano smaltite correttamente, contribuirete a prevenire
potenziali conseguenze negative per l’ambiente e per la salute che potrebbero
altrimenti essere causate dal loro inadeguato smaltimento. Il riciclaggio dei
materiali aiuta a conservare le risorse naturali.
In caso di prodotti che per motivi di sicurezza, prestazione o protezione dei dati
richiedano un collegamento sso ad una pila interna, la stessa dovrà essere
sostituita solo da personale di assistenza qualicato.
Consegnare il prodotto a ne vita al punto di raccolta idoneo allo smaltimento
di apparecchiature elettriche ed elettroniche; questo assicura che anche la
pila al suo interno venga trattata correttamente. Per le altre pile consultate la
sezione relativa alla rimozione sicura delle pile. Portare le pile esauste presso i
punti di raccolta indicati per il riciclo.
Per informazioni più dettagliate circa lo smaltimento della pila esausta o del
prodotto, potete contattare il Comune, il servizio locale di smaltimento riuti
oppure il negozio dove l’avete acquistato.
Disposal of waste batteries (applicable in the European Union and
other European countries with separate collection systems)
This symbol on the battery or on the packaging indicates that the
battery provided with this product shall not be treated as household
waste. By ensuring these batteries are disposed of correctly you
will help prevent potentially negative consequences for the environment
and human health which could otherwise be caused by inappropriate waste
handling of the battery. The recycling of the materials will help to conserve
natural resources.
In case of products that for safety, performance or data integrity reasons re-
quire a permanent connection with an incorporated battery, this battery should
be replaced by qualied service staff only. To ensure that the battery will be
treated properly, hard over the product at end-of-life to the applicable collection
point for the recycling of electrical and electronic equipment.
For all other batteries, please view the section on how to remove the battery
from the product safely. Hand the battery over to the applicable collection point
for the recycling of waste batteries.
For more detailed information about recycling of this product or battery, please
contact your local Civic Ofce, your household waste disposal service or the
shop where you purchased the product.
Progetti s.r.l.
Via Brenta, 4
20841 Carate Brianza (MB) Italia
www.iProgetti.eu
Apple App iProgetti
e-mail [email protected]
made in Italy
Istruzioni per l’uso dell’orologio LINE
Directions for LINE clock
Leggere attentamente le istruzioni prima di installare il vostro orologio.
Il vostro orologio è uno strumento delicato atto alla misurazione del tempo e va
trattato con estrema cura e delicatezza. Il movimento è dell’azienda tedesca UTS
nota per la qualità dei suoi prodotti.
Ogni orologio viene testato per almeno 24H e controllato in ogni suo aspetto prima
di essere imballato e spedito. Tutti gli orologi che lasciano il nostro magazzino
sono integri e perfettamente funzionanti. Non tenere l’orologio in ambienti polvero-
si. Non far ruotare le lancette troppo velocemente ma con lentezza e delicatezza.
Progetti non risponde di malfunzionamenti causati dall’errata installazione o da un
utilizzo non corretto dell’orologio.
Messa in funzione dell’orologio.
Legare i numeri con il filo di nylon in dotazione rispettando sommariamente le
misure riportate nel disegno A (misure in mm).
80
130
140
150
140
60
180
90
60
80
7090
Il nodo consigliato è quello riportato nella figura B.
Legare le estremità dei tre fili ai fori posti sul retro dell’orologio.
Inserire la batteria.
Appendere l’orologio alla parete e regolare l’ora.
Non lasciare le batterie esaurite all’interno del movimento perchè la possibile per-
dita di acido potrebbe danneggiare irreparabilmente il movimento dell’orologio.
Please read the instructions carefully before installing your clock.
Your clock is a delicate instrument suitable for measurement of time and should
be treated with extreme care and delicacy. Clock movement is made by the
German company UTS well known for the quality of its products.
Each clock is tested at least 24H and controlled in every aspect before being
packed and shipped. All clocks that leave our warehouse are undamaged and fully
functional. Do not hold the cuckoo in dusty locations. Do not turn the hands too
quickly but slowly and gently.
Progetti shall not be liable for malfunctions caused by incorrect installation or incor-
rect use of the clock.
Cuckoo-clock operating instructions
Tie the numbers with the nylon supplied with it roughly measurements shown in
drawing A (lengths in millimeter).
80
130
140
150
140
60
180
90
60
80
7090
The Clove Hitch is recommended as shown in Figure B.
Tie the ends of the three lines to the holes in the back of the clock.
Insert the batteriea.
Hang the clock on the wall and set time.
Do not leave exhausted batteries within the movement because the possible loss
of fluid may cause irreparable damage to the clock movement.