manuals.online logo
Brands
  1. Home
  2. •
  3. Brands
  4. •
  5. Progetti
  6. •
  7. Clock
  8. •
  9. Progetti LIBERTY Manual

Progetti LIBERTY Manual

Trattamento delle pile esauste (applicabile in tutti i paesi dell’Unione
Europea e in altri paesi Europei con sistema di raccolta di󰀨eren-
ziata)
Questo simbolo sul prodotto o sulla confezione indica che la pila
non deve essere considerata un normale riuto domestico. Assi-
curandovi che le pile siano smaltite correttamente, contribuirete a prevenire
potenziali conseguenze negative per l’ambiente e per la salute che potrebbero
altrimenti essere causate dal loro inadeguato smaltimento. Il riciclaggio dei
materiali aiuta a conservare le risorse naturali.
In caso di prodotti che per motivi di sicurezza, prestazione o protezione dei dati
richiedano un collegamento sso ad una pila interna, la stessa dovrà essere
sostituita solo da personale di assistenza qualicato.
Consegnare il prodotto a ne vita al punto di raccolta idoneo allo smaltimento
di apparecchiature elettriche ed elettroniche; questo assicura che anche la
pila al suo interno venga trattata correttamente. Per le altre pile consultate la
sezione relativa alla rimozione sicura delle pile. Portare le pile esauste presso i
punti di raccolta indicati per il riciclo.
Per informazioni più dettagliate circa lo smaltimento della pila esausta o del
prodotto, potete contattare il Comune, il servizio locale di smaltimento riuti
oppure il negozio dove l’avete acquistato.
Disposal of waste batteries (applicable in the European Union and
other European countries with separate collection systems)
This symbol on the battery or on the packaging indicates that the
battery provided with this product shall not be treated as household
waste. By ensuring these batteries are disposed of correctly you
will help prevent potentially negative consequences for the environment
and human health which could otherwise be caused by inappropriate waste
handling of the battery. The recycling of the materials will help to conserve
natural resources.
In case of products that for safety, performance or data integrity reasons re-
quire a permanent connection with an incorporated battery, this battery should
be replaced by qualied service sta󰀨 only. To ensure that the battery will be
treated properly, hard over the product at end-of-life to the applicable collection
point for the recycling of electrical and electronic equipment.
For all other batteries, please view the section on how to remove the battery
from the product safely. Hand the battery over to the applicable collection point
for the recycling of waste batteries.
For more detailed information about recycling of this product or battery, please
contact your local Civic O󰀩ce, your household waste disposal service or the
shop where you purchased the product.
Progetti s.r.l.
Via Brenta, 4
20841 Carate Brianza (MB) Italia
www.progetti.life
Apple App iProgetti
e-mail [email protected]
made in Italy
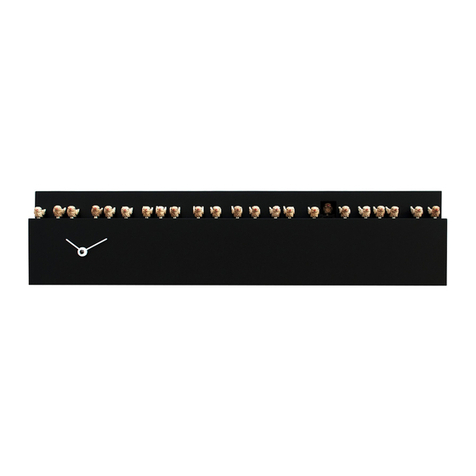
Istruzioni per l’uso del cucù LIBERTY
Directions for LIBERTY clock
Leggere attentamente le istruzioni prima di installare il vostro orologio.
Progetti non risponde di malfunzionamenti causati dall’errata installazione o da un utilizzo non
corretto dell’orologio.
Foro 1A e 1B
Foro 2A e 2B
Foro 3A e 3B
Foro 4A e 4B
Foro 5A e 5B
Foro 6A e 6B
Verificare la posizione del dischetto in plastica fatto per appendere l’orologio e posizionare l’orologio
difronte a voi appoggiato sul retro con il dischetto a ore 12.
Nel bordo ci sono 6 coppie di fori che numereremo idealmente da 1 a 6 partendo dalla vostra sinistra (vedi
immagine). Il primo foro in alto a sinistra sarà la posizione 1A, quello esattamente sotto 1B, la coppia di fori
immediatamente a sinistra saranno 2A e 2B e così di seguito.
Inserire nel foro 1A un tondino in plastica lungo cm 64. Inserire l’altra estremità nel foro 3B.
Nel foro 1B inserirne uno lungo cm 32 ed inserire l’altra estremità nel foro 2A.
Nel foro 2B inserire un tondino da cm 86 e l’altra estremità nel foro 5A.
Nel foro 3A inserire un tondino lungo cm 98 ed inserire l’altra estremità nel foro 6B
Nel foro 4A inserirne uno lungo cm 32 ed inserire l’altra estremità nel foro 5B.
Nel foro 4B inserire un tondino lungo cm 64 e l’altra estremità nel foro 6A.
Please read the instructions carefully before installing your clock.
Progetti shall not be liable for malfunctions caused by incorrect installation or incorrect use of the
clock.
Holes 1A e 1B
Holes 2A e 2B
Holes 3A e 3B
Holes 4A e 4B
Holes 5A e 5B
Holes 6A e 6B
Verify the location of the plastic disc, made to hang the clock, and place the clock in front of you, resting on
the back, with the disc at 12 o’clock.
On the edge there are 6 pairs of holes that will ideally be numbered from 1 to 6 starting from your left (see
picture). The first hole in the upper left will be the position 1A, that is exactly below 1B, the holes on the left
immediately will be 2A and 2B and so on.
Insert a 64 cm long plastic rod in hole 1A. Insert the other end into hole 3B.
In hole 1B insert one long 32 cm and insert the other end into hole 2A.
In hole 2B insert a rod of 86 cm and the other end into hole 5A.
In hole 3A insert a rod length 98 cm and insert the other end into hole 6B
In hole 4A insert one long 32 cm and insert the other end into hole 5B.
In hole 4B insert a rod length of 64 cm and the other end into hole 6A.

Other Progetti Clock manuals

Progetti TIPTOP Manual

Progetti

Progetti TIPTOP Manual

Progetti ILTEMPOVOLA Manual

Progetti

Progetti ILTEMPOVOLA Manual

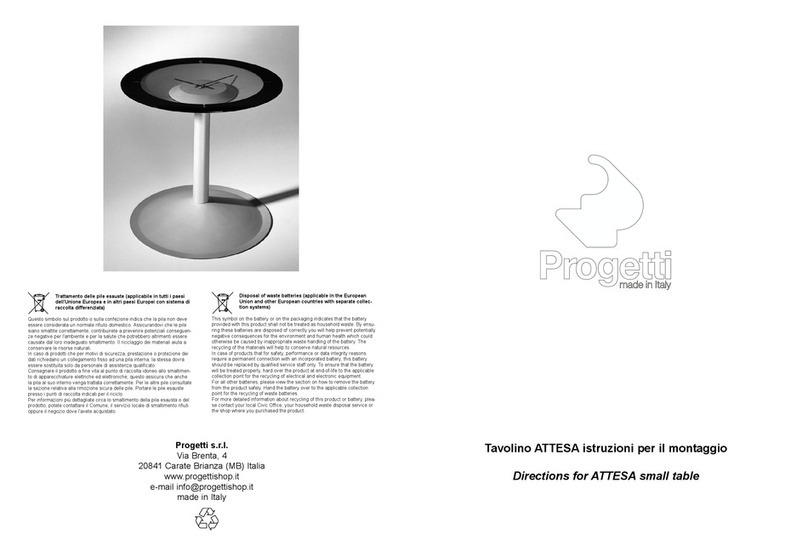
Progetti ATTESA Manual

Progetti

Progetti ATTESA Manual

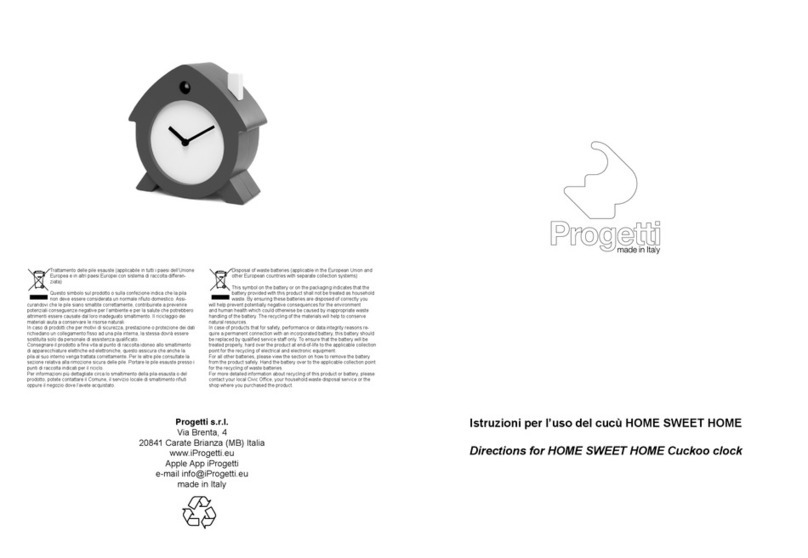
Progetti HOME SWEET HOME Manual

Progetti

Progetti HOME SWEET HOME Manual

Progetti Cugino ITT Manual

Progetti

Progetti Cugino ITT Manual

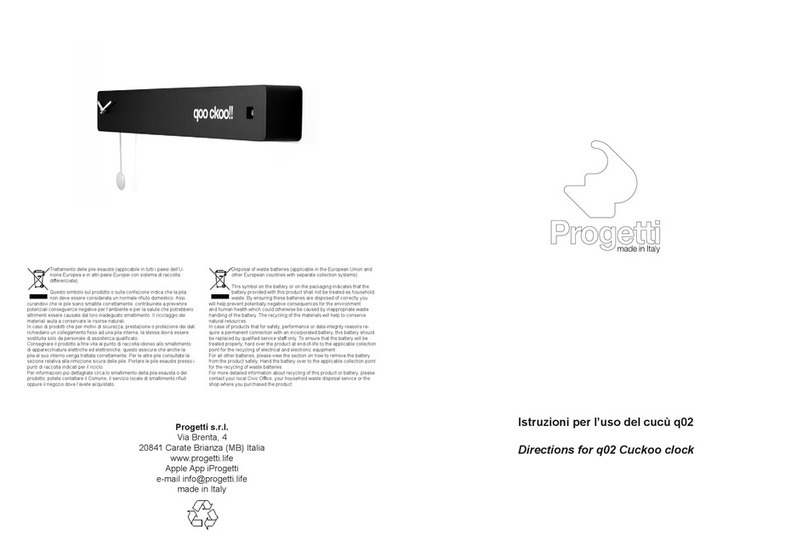
Progetti q02 Manual

Progetti

Progetti q02 Manual

Progetti LINE Manual

Progetti

Progetti LINE Manual

Progetti KALIMERO Manual

Progetti

Progetti KALIMERO Manual

Progetti CUCRUCIVERBA Manual

Progetti

Progetti CUCRUCIVERBA Manual

Progetti ILTEMPOSTRINGE Manual

Progetti

Progetti ILTEMPOSTRINGE Manual

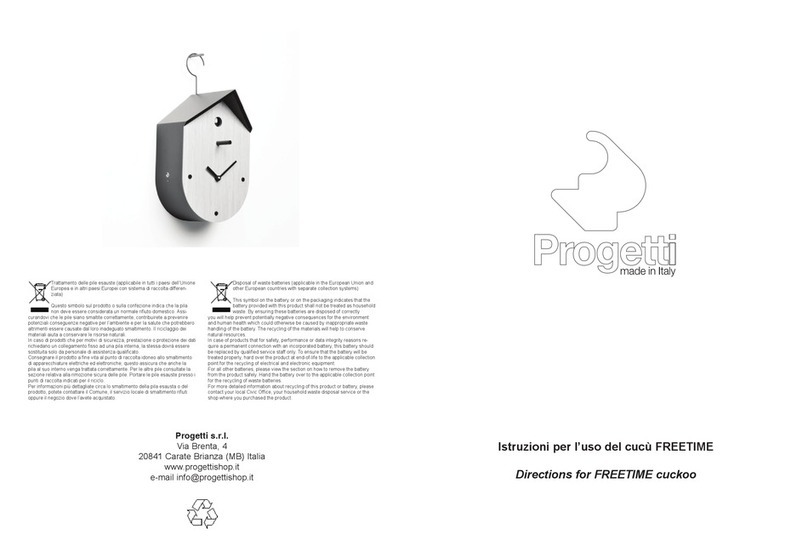
Progetti FREETIME Manual

Progetti

Progetti FREETIME Manual

Progetti FATTI + IN LA' Manual

Progetti

Progetti FATTI + IN LA' Manual

Progetti Alice User manual

Progetti

Progetti Alice User manual

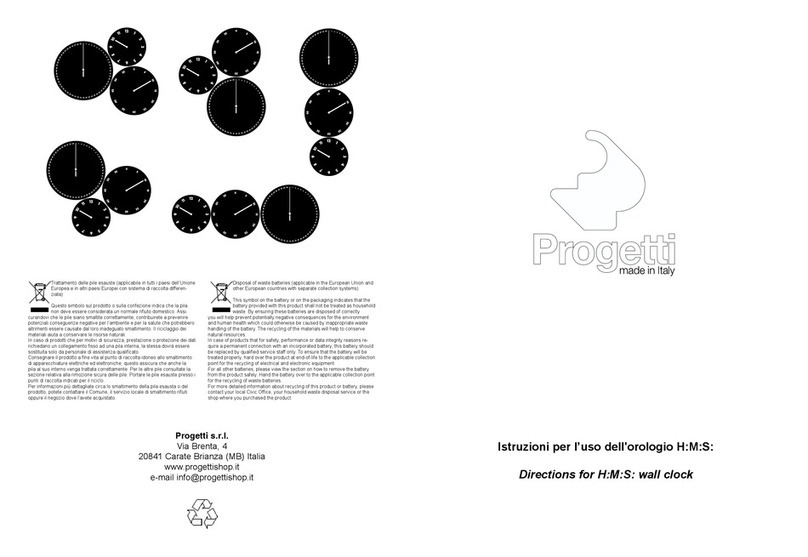
Progetti H:M:S: Manual

Progetti

Progetti H:M:S: Manual

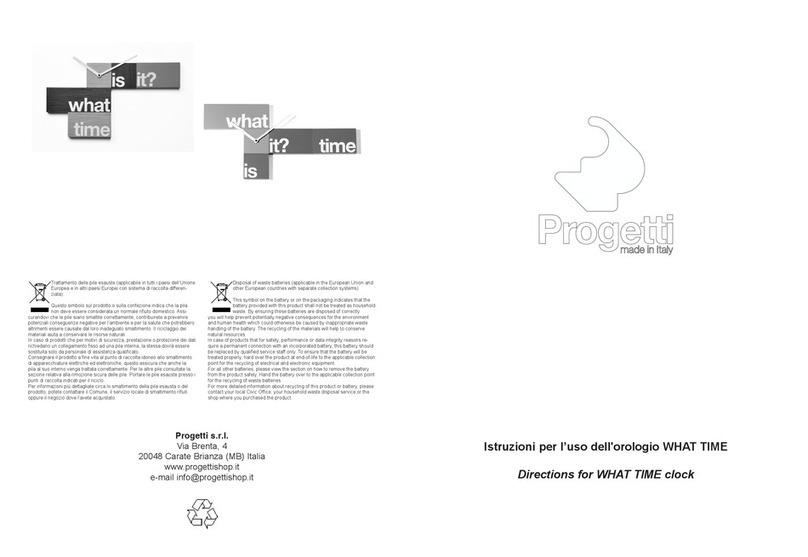
Progetti WHAT TIME Manual

Progetti

Progetti WHAT TIME Manual

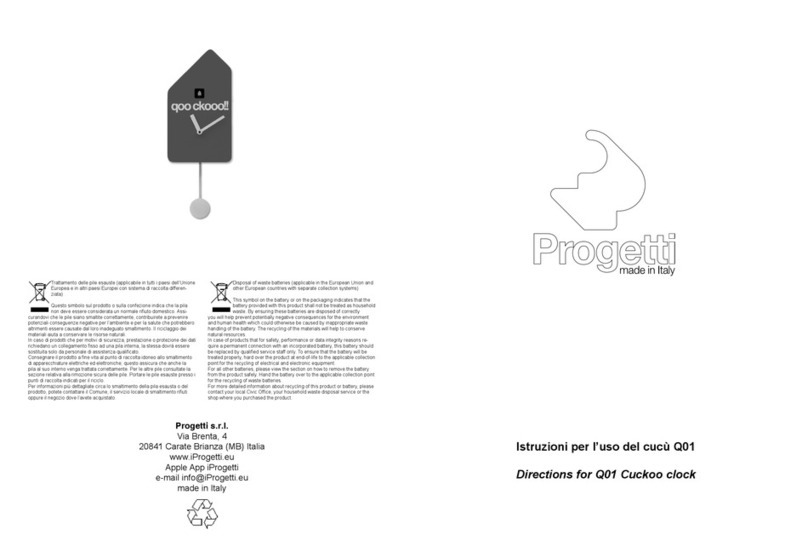
Progetti Q01 User manual

Progetti

Progetti Q01 User manual

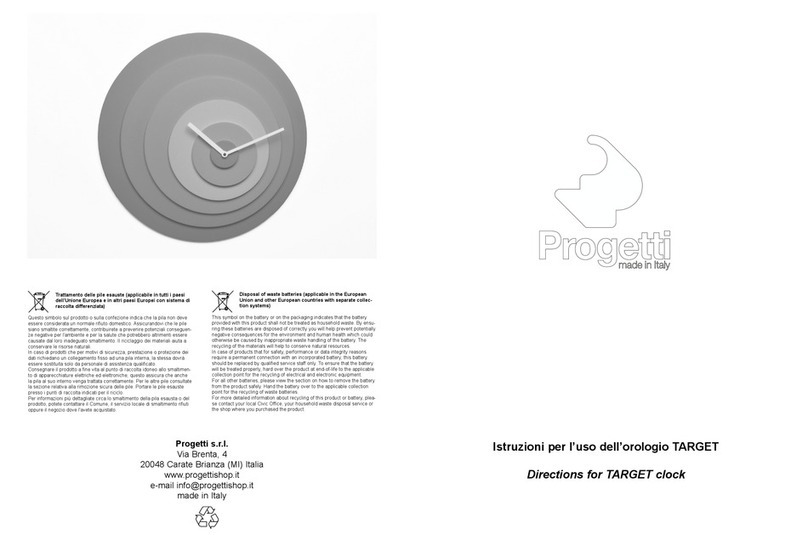
Progetti TARGET Manual

Progetti

Progetti TARGET Manual

Progetti o'Coque Manual

Progetti

Progetti o'Coque Manual

Popular Clock manuals by other brands

WESTERSTRAND Analogue NTP Clock manual

WESTERSTRAND

WESTERSTRAND Analogue NTP Clock manual

Valcom VIP-D425DS user guide

Valcom

Valcom VIP-D425DS user guide

Blumfeldt Paddington Early Bird manual

Blumfeldt

Blumfeldt Paddington Early Bird manual

Conrad Electronic 39 88 56 operating instructions

Conrad Electronic

Conrad Electronic 39 88 56 operating instructions

Peweta 41 Series user manual

Peweta

Peweta 41 Series user manual

Excalibur GB01 operating manual

Excalibur

Excalibur GB01 operating manual

Perel WC101 user manual

Perel

Perel WC101 user manual

Velleman WT3003 manual

Velleman

Velleman WT3003 manual

Bodet Style Mondiale Installation and operation manual

Bodet

Bodet Style Mondiale Installation and operation manual

La Crosse Technology 433-3833 quick start guide

La Crosse Technology

La Crosse Technology 433-3833 quick start guide

Davtron M880A quick start guide

Davtron

Davtron M880A quick start guide

Steren CLK-915 quick guide

Steren

Steren CLK-915 quick guide

Blumfeldt 10028601 manual

Blumfeldt

Blumfeldt 10028601 manual

WESTERSTRAND Analogue NTP Clock manual

WESTERSTRAND

WESTERSTRAND Analogue NTP Clock manual

La Crosse Technology WS-6118 instruction manual

La Crosse Technology

La Crosse Technology WS-6118 instruction manual

Scarlett SC-852 instruction manual

Scarlett

Scarlett SC-852 instruction manual

Mobatime DSC. 250.4 instruction manual

Mobatime

Mobatime DSC. 250.4 instruction manual

Oregon Scientific JM889NR user manual

Oregon Scientific

Oregon Scientific JM889NR user manual

manuals.online logo
manuals.online logoBrands
  • About & Mission
  • Contact us
  • Privacy Policy
  • Terms and Conditions

Copyright 2025 Manuals.Online. All Rights Reserved.