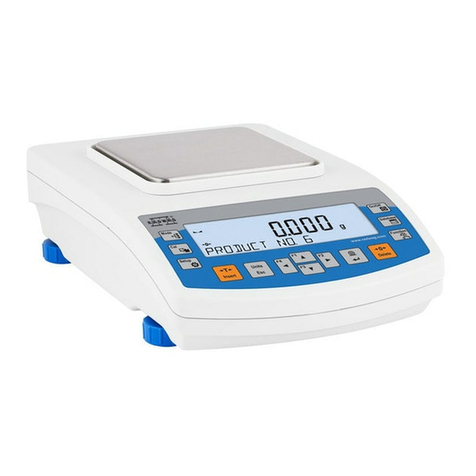
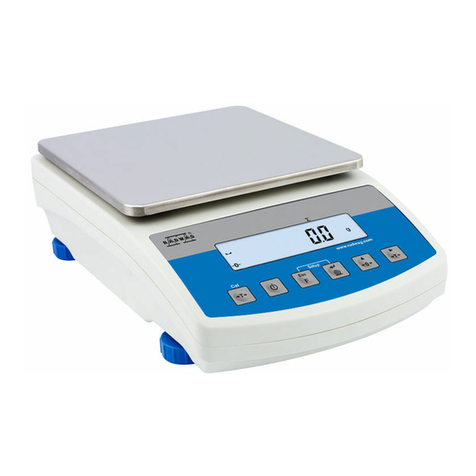
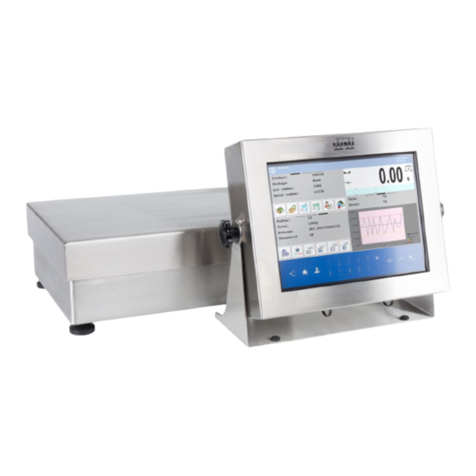
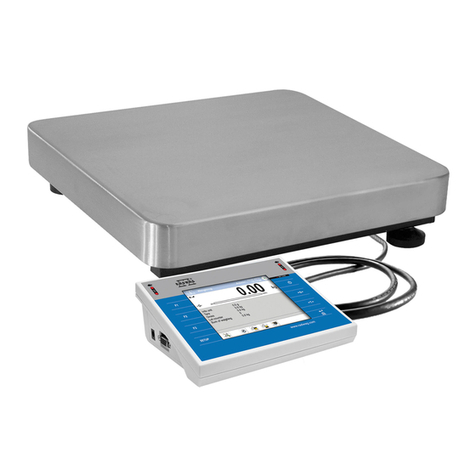
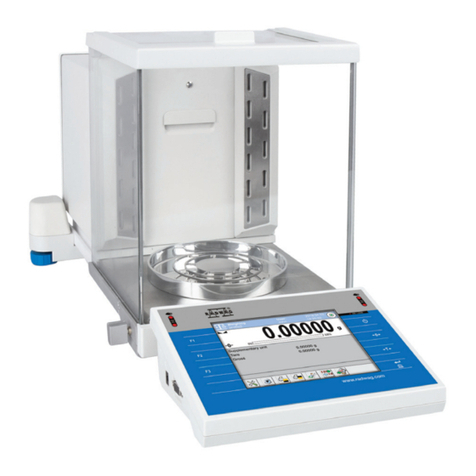
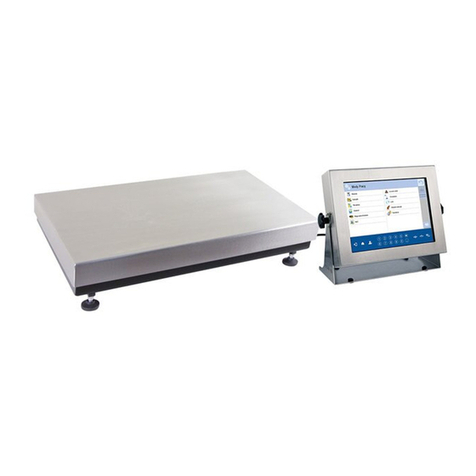
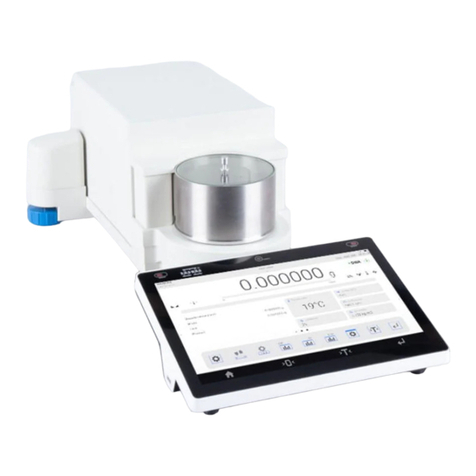
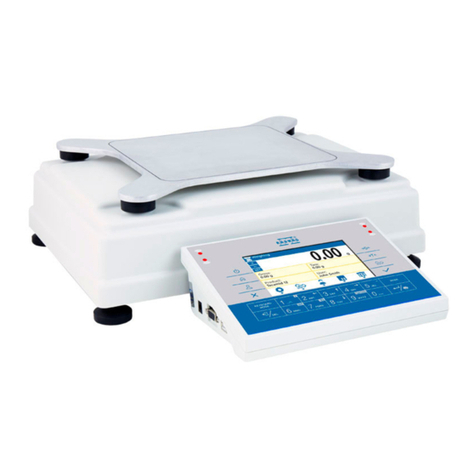
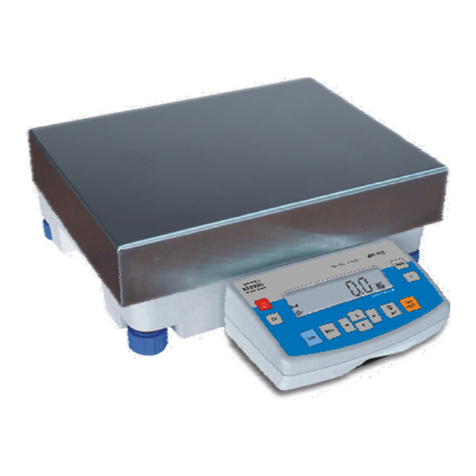
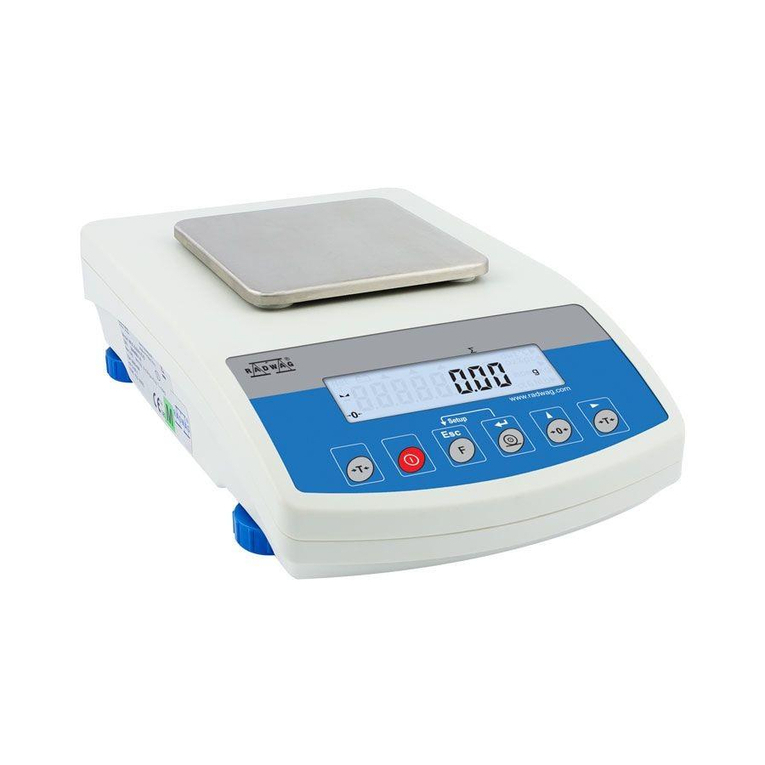
RADWAG AS X2 PLUS User guide

Start up Guide
Analytical and
Precision Balances
Inicio rápido
Balanzas analíticas y de precisión
IMMB-04-02-04-22-EN-ES
Analitycal Balances:
Balanzas analíticas:
• AS X2 PLUS
Precision Balances:
Balanzas de precisión:
• PS X2
• PS X2.M
• WLC X2

To view a complete User Manual go to the website or scan QR code:
radwag.com/en/manuals/6972
Para ver el manual de usuario completo, vaya al sitio web o escanee el código QR:

*The plug type may vary by country.
AS X2 PLUS (d = 0,01 mg)
AS X2 PLUS (d = 0,1 mg)
WLC X2 (d = 0,1 mg)
PS X2 (d = 1 mg) | WLC X2 (d = 1 mg)
*El tipo de enchufe puede variar según el país.
1. CONTENT
CONTENIDO
Balance Weighing pan Draft shield Centring ring Bottom insert Power
adapter*
Fabric dust
cover
Balanza Platillo de
pesaje
Protección
del platillo
Anillo de
centraje
Cubierta
inferior Alimentador* cubierta
protectora
×1 ×1 ×1 ×1 ×1 ×1 ×1
Balance Weighing pan Draft shield Bottom insert Power adapter*
Balanza Platillo de pesaje Protección del platillo Cubierta inferior Alimentador*
×1 ×1 ×1 ×1 ×1
Balance Weighing pan Draft shield Bottom insert Power adapter*
Balanza Platillo de pesaje Protección del platillo Cubierta inferior Alimentador*
×1 ×1 ×1 ×1 ×1
Balance Weighing pan Draft shield Grounding foot Foot Power adapter*
Balanza Platillo de pesaje Protección del
platillo
Pie de puesta
a tierra Pie Alimentador*
×1 ×1 ×1 ×1 ×3 ×1

TOP
1 2 3
Keep the packaging should a warranty
claim or service be required.
*The plug type may vary by country.
PS X2.M
WLC X2 (d = 10 mg)
PS 3000.X2
Guarde el embalaje para fines de
garantía y servicio.
*El tipo de enchufe puede variar según el país.
Balance Weighing pan Draft shield Grounding foot Foot Power adapter*
Balanza Platillo de pesaje Protección
del platillo
Pie de puesta
a tierra Pie Alimentador*
×1 ×1 ×1 ×1 ×3 ×1
Balance Weighing pan Grounding foot Foot Power adapter*
Balanza Platillo de pesaje Pie de puesta
a tierra Pie Alimentador*
×1 ×1 ×1 ×3 ×1
Balance Weighing pan Draft shield Power adapter*
Balanza Platillo de pesaje Protección del platillo Alimentador*
×1 ×1 ×1 ×1
2. UNPACKING
DESEMBALAJE

+40 °C
+104°F
+10 °C
+50 °F
Operate the device in a room where the temperature ranges between
10–40 °C (50–104 °F) and where the relative humidity is below 80 %.
Place the balance on a solid surface to ensure stability. To obtain stable
and repeatable weighing results, an anti-vibration table is recommended.
Place the balance away from heat
sources. Avoid exposing the balance
to the sunlight.
Avoid air drafts and air movements
at the workstation.
Avoid exposing the balance to
amagnetic field. Do not weigh
magnetic substances.
Make sure that the balance is placed
on an even surface.
Do not place the balance in a
hazardous area. Do not weigh
explosive materials.
Do not place the balance on an
unstable ground exposed to shocks
and vibrations.
El dispositivo debe usarse en habitaciones libres de polvo con temperatura del
aire: 10–40 ° C (50–104 ° F) y humedad relativa óptima por debajo del 80%.
Cualquier cambio de temperatura debe ser gradual y muy lento.
La balanza debe colocarse sobre una mesa estable o una consola de pared.
Para lograr los resultados más estables y repetibles, se recomienda utilizar una
mesa antivibratil.
Utilice la balanza lejos de fuentes de
calor. No lo exponga a la luz directa
del sol.
No utilice la balanza en una superficie
irregular o desigual.
No exponga el dispositivo a campos
magnéticos. No pese sustancias
magnéticas.
No lo utilice en lugares inestables
sujetos a golpes y vibraciones.
Evite las ráfagas y el movimiento del
aire.
No lo utilice en una atmósfera
potencialmente explosiva. No pese
materiales explosivos ni inflamables.
3. RECOMMENDATIONS AND WARNINGS
RECOMENDACIONES Y ADVERTENCIAS
1 2
1 2
Keep the transport
lock should
a warranty claim or
service be required.
Check whether the grounding
spring takes its intended location.
Make sure that the grounding
spring juts slightly out of the hole.
Check whether the grounding
spring takes its intended location.
Make sure that the grounding
spring juts slightly out of the hole.
Grounding
foot
Keep the transport
lock should
a warranty claim or
service be required.
AS X2 | WLC X2 (d = 0,1 mg)
PS X2.M | WLC X2 (d = 1 mg) | WLC X2 (d = 10 mg)
PS X2.M | WLC X2 (d = 1 mg)
AS X2
Guarde bloqueos de
transporte en caso de que
se requiere la garantía
o el servicio.
Verifique que el resorte de puesta
a tierra esté colocado correctamente.
Asegúrese de que el resorte de puesta
a tierra sobresalga levemente del orificio.
Verifique que el resorte de puesta
a tierra esté colocado correctamente.
Asegúrese de que el resorte de puesta
a tierra sobresalga levemente del orificio.
Pie de puesta a tierra
Guarde bloqueos de
transporte en caso de que
se requiere la garantía
o el servicio.
4.2. Grounding spring check
Comprobación del resorte de puesta a tierra
4.1. Transport lock removal
Quitar los bloqueos de transporte
4. ACTIVITIES TO BE DONE PRIOR TO OPERATION
PASOS QUE DEBEN REALIZARSE ANTES DE LA OPERACIÓN

1 2 3 4
12
1
1
2
2
3
3
Install the grounding foot
in a freely selected opening.
Install the grounding foot
in a freely selected opening.
AS X2 (d = 0,1 mg) |WLC X2 (d = 0,1 mg)
PS X2 (d = 1 mg) | WLC X2 (d = 1 mg)
WLC X2 (d = 10 mg)
AS X2 (d = 0.01 mg)
Instale el pie de conexión
a tierra en cualquier agujero
elegido.
Instale el pie de conexión
a tierra en cualquier agujero
elegido.
5. COMPONENTS ASSEMBLY
MONTAJE DE ELEMENTOS DE LA BALANZA

1 2
1 2 3
up to 8 h
1 2 3
USB 1 USB 2
Prior to switching the device on, let
it reach room temperature (estimated
stabilisation time: up to 8 hours).
Connect the power adapter to DC
connector.
Connect the power
adapter to the mains.
Install the grounding foot
in a freely selected opening.
PS 3000.X2
No conecte la balanza hasta que alcance
la temperatura ambiente (tiempo aproxi-
mado de estabilización: hasta 8 horas).
Conecte el cable de alimentación
al conector de CC ubicado en la parte
posterior del dispositivo.
Conecte el cable de
alimentación a la red.
PS X2.M
Instale el pie de conexión
a tierra en cualquier agujero
elegido.
6.1. Temperature stabilisation
Estabilización de la temperatura de trabajo
6. PREPARING FOR WORK
PREPARACIÓN DE LA BALANZA PARA EL TRABAJO

To switch the device on,
press ON / OFF key.
Press levelling icon. Check the balance level state. The arrows shows
how to move the balance foots to level the balance.
To level the balance turn its feet, keep turning
the feet until the level indicator takes central position. Correct leveling screen. Press button
to end the operation.
Presione el icono de nivelación.
Verifique el estado de la nivelación de la balanza.
Las flechas indican la dirección de rotación de los
pies para nivelar la balanza.
Gire los pies de la balanza hasta que el punto en
el nivel de burbuja (pantalla de la balanza) esté
centrado.
Balanza ha sido nivelada
Para cerrar la ventana, presione el botón .
Para encender
el dispositivo, presione
el botón ON / OFF.
6.3. Levelling
Nivelación de la balanza
6.2.Switching the balance on
Encender el dispositivo

Proximity sensor Proximity sensor
Switching ON/OFF
Home screen
Displaying
previous screen
Confirming an operation
or printing a report
Taring Zeroing
Editable tool bar
with quick access keys
Editable information fields
(labels, text fields and buttons)
Working modes list
List of current working
mode functions
Weighing result window
Status bar
Parameters Adjustment Header
printout
Footer
printout
Tare Units Products
database
Operators
database
DatabasesAutolevel*
Sensor de proximidad Sensor de proximidad
Conectar / desconectar
de la balanza
Pantalla principal
Salir
a la pantalla anterior
Aprobación de la ope-
ración o impresión del
informe
Botones de acceso
directo.
Campo de información editable
Lista de modos
de trabajo
Lista de funciones del
modo de trabajo actualy
Ventana de resulta-
dos de pesaje
Barra de estado
Parámetros Calibración Imprimir
encabe-
zamiento
Imprimir pie
de pagina
Tara Unidades Productos Usuario Base d
e datos
Autolevel*
*only in PLUS balances/ Solo la serie PLUS
Puesta a ceroTara
7. PANEL AND SCREEN
TECLADO Y PANTALLA
7.2. Home screen
Pantalla principal
7.1. Panel keys
Teclado

0.00000
Tare:
0.00000 g
User:
Gross:
0.00000 g
Product:
Weighing
1 2
Internal adjustment
Adjustment
Please wait...
1 2
Press “Adjustment” button. Make sure that the weighing pan is empty
and press button to confirm.
The adjustment mass standard does not come with
the balance. Prior to adjustment prepare the right
mass standard. You are recommended to use mass
standard of class F1 or F2. View the table and select
the mass standard you need.
External adjustment is carried out using an external mass
standard of the right accuracy and weight value, which value
depends on balance type and capacity.
Press “Adjustment” button. Wait for the process completion.
Pulsar el botón “ Calibración”.
Asegúrese de que el platillo de pesaje esté
vacío y presione la tecla .
Antes de iniciar el proceso de calibración, debe obtener
el patrón de masa adecuada. Se recomienda utilizar el
patrón de clase F1 o F2.Seleccione el patrón de masa
adecuado para su balanza en la tabla de la derecha.
Calibración externa se realiza utilizando un patrón externo de la exac-
titud y la masa adecuada depende del tipo y capacidad de balanza.
Presione el botón “Calibración”. Espere a que se complete la calibración.
8.1.2. Adjustment (for models with an external adjustment only)
Calibración (solo para los modelos con calibración externa)
8.1.1. Adjustment (for models with an internal adjustment only)
Calibración (solo para los modelos con calibración interna)
8. BASIC OPERATIONS
OPERACIONES BÁSICAS
Balance model
Modelo de balanza
Mass standard
Patrón de masa
WLC 0.6.X2 500 g
WLC 2.X2 2 000 g
WLC 6.X2 5 000 g
WLC 10.X2 10 000 g
WLC 1/10.X2 10 000 g
WLC 20.X2 20 000 g
WLC 21.X2 20 000 g

3 4
5 6
1 2
3 4
Wait for completion of the start mass
determination process.
Load the weighing pan with mass standard
and press button to confirm.
Wait for the process completion. Unload the weighing pan.
Make sure that the weighing pan is empty and
press “Zeroing” button.
The balance has been zeroed.
Espere a que finalice el proceso de determina-
ción de masa inicial.
Cargue el platillo de pesaje con patrón de
masa y presione la tecla para confirmar.
Espere a que se complete la calibración. Quitar patrón de masa del platillo.
Asegúrese de que el platillo de pesaje esté vacío
y presione la tecla “Puesta a cero”.
La balanza se ha puesto a cero.
8.2. Zeroing
Puesta a cero

1 2
Press the icon of the current
working mode, to display the list of
working modes.
Press the current weight unit icon
to display list of available units.
Weighing
Dosing
Checkweighing
Formulas
Percent weighing
Statistics
Parts counting
Animal weighing
Solids density
Liquids density
Peak hold
Gram [g]
Miligram [mg]
Carat [c]
Pound [lb]
Ounce [oz]
Troy ounce [ozt]
Pennyweight [dwt]
Hong Kong Tael [tlh]
Singapore tael [tls]
Taiwanese tael [tlt]
Chinese tael [tlc]
Momme [m]
Grain [gr]
Tical [ti]
Newton [N]
Baht [baht]
Tola [tola]
Mesghal [msg]
User unit 1
User unit 2
With loaded weighing pan: upon stabilisation
of the weighing result, press “Tare” button.
The balance has been tared.
Presione el icono del modo de trabajo
actual para mostrar la lista de modos
de trabajo.
Presione el icono de la unidad de
peso actual para mostrar una lista de
las unidades disponibles.
Pesaje
Dosificación
Calculo de piezas
Recetas
Desviaciones
porcentuales
Estadística
Pesaje de animales
Densidad de
cuerpos sólidos
Densidad del liquido
Con un platillo cargado: después de obtener un
resultado estable, haga clic en el botón “Tara”.
Balanza ha sido tarada.
8.4. Working modes / units selection
Modo de trabajo / Selección de las unidades
8.3. Taring
Tara

1 2
0.00000
Tare:
0.00000 g
User:
Admin
Gross:
0.00000 g
Product:
Weighing Databases
Products 0
Packaging 0
Customers 0
Users 1
1 2
0.00000
Tare:
0.00000 g
User:
Gross:
0.00000 g
Product:
Weighing User
Log out
Admin
3 4
1111
Password
0.00000
Tare:
0.00000 g
User:
Admin
Gross:
0.00000 g
Product:
Weighing
Some balance settings are accessible for Administrator exclusively.
Prior balance parameters setup, log in as Administrator.
Press “Databases” button. Select “Users” database.
Prior to balance users setup, log in as Administrator (point 9.1.).
Press “Operators” button. Users list is displayed, select “Admin” option.
You have logged as the Administrator.
Press button to activate numeric keyboard.
Enter „1111” password and press button to confirm.
Pulsar el botón “Base de datos”. Seleccione la base de datos “Usuarios”.
Ha iniciado sesión como administrador.
Algunas configuraciones de la balanza solo están disponibles para el administrador.
Antes de configurar los parámetros de la balanza, inicie sesión como administrador.
Presione el botón para activar el teclado numérico.
Introducir la contraseña „1111” y confirmar pulsando .
Pulsar el botón “Usuario”.
Seleccione “Administrador” de la lista de usuarios que
aparece.
Antes de configurar usuarios, inicie sesión como Administrador (consulte el paso 9.1).
9.2. User settings
Configuración del usuario
9. SETTINGS
AJUSTES
9.1. Administrator’s logging in
Inicio de sesión de administrador

Users
Admin
New
Name New
Password
Permissions
******
User
Code
New
Name John Smith
Password
Permissions
******
User
Code
3
5
7
4
6
Select “Name” parameter.
User name has been entered.
Following the above procedure, set remaining parameters:
Press button.
Enter user name and press button to confirm.
Se ha introducido el nombre de usuario.
Siguiendo el procedimiento anterior, configure los parámetros restantes:
Seleccione el parámetro “Nombre”.Pulsar el botón .
Ingrese su nombre de usuario y presione
el botón para confirmar.
Code: | Código: :
Enter user ID | Ingrese un ID de usuario único:nika
Password: | Contraseña:
Enter user password | dar al usuario una contraseña:
Permissions:| Nivel de permisos:
Set respective access level
(user, advanced user, administrator)
conceder permisos
(usuario, usuario avanzado, administrador)

1 2
0.00000
Tare:
0.00000 g
User:
Admin
Gross:
0.00000 g
Product:
Weighing Parameters
Adjustment
Communication
Peripherals
Working modes
Working modes
Availability
Parts counting
Checkweighing
Weighing
Weighing
Readout
Autotare
Print mode When stable
Proximity sensors
3 4
Proximity sensors
Left sensor None
Right sensor
Right sensor
Accept / Print
Print header
Print footer
Zeroing
5 6
Press “Parameters” button. Parameters list is displayed, select
“Working Modes” parameter.
Select “Weighing” parameter. Select “Proximity Sensors” parameter.
Select the appropriate sensor (right or left). Select function that is to be assigned to the
chosen sensor.
Prior balance proximity sensors setup, log in as Administrator (point 9.1.).
You can assign the proximity sensors with different functions for each working mode (the sensors will trigger
different operation for each working mode). See the below procedure of sensors setup for the weighing mode.
Following the above procedure you can configure sensors for other working modes.
Pulsar el botón “Parámetros“.
Seleccione el parámetro “Pesaje”.
En la lista de usuarios que se muestra,
seleccione “Modos de trabajo”.
Puede asignar una función específica a cada sensor de proximidad. Además, puede asignar una función diferente
a un sensor dado en diferentes modos de trabajo. Véase un ejemplo del procedimiento de configuración del sensor
para el modo de trabajo “Pesaje”.
Seleccione el parámetro “Sensores de proximidad”.
Antes de configurar los sensores de proximidad, inicie sesión como administrador (consulte el paso 9.1.).
Seleccione un sensor específico (derecho
o izquierdo) de la lista. Seleccione la función que desea asignar
al sensor dado.
Siguiendo el procedimiento anterior, puede configurar sensores para otros modos de trabajo.
9.3. Proximity sensors setup
Configuración de sensores de proximidad

Wi-Fi ®is a registered trademark of Wi-Fi Alliance.
Computer
Computer Computer
Computer
Printer
Printer
Printer
Printer
Keyboard
Barcode
scanner
Barcode scanner
Power adapter
Additional
display
Wi-Fi® es una marca registrada de Wi-Fi Alliance.
Ordenador
OrdenadorOrdenador
Ordenador
Impresora
Impresora
Impresora
Impresora
Teclado
Lector de código
de barras
Lector de
código de barras
Alimentador
Pantalla
adicional
10. PERIPHERAL DEVICES CONNECTORS
CONEXIÓN DE LOS DISPOSITIVOS EXTERNOS

Prior to cleaning it is necessary
to disconnect the device from the
mains! Remove the plug from the
outlet, disconnect all cables.
Use soft cloth made of either natural
or synthetic fiber exclusively. Avoid
using cloth made of stiff/hard fabric,
this could cause scratches on the
surface!
Apply the cleanser onto the cloth.
Mind not to apply the cleanser
directly onto the device!
Do not use aggressive cleaning
agents (e.g. solvents, chlorine
preparations, corrosive chemicals,
bleach).
Neither use substances of sharp
structure nor intended for
scrubbing.
Make sure that neither dust nor
liquid gets inside the weighing
system (device inside).
Antes de comenzar a limpiar,
asegúrese de desconectar la balanza
de la fuente de alimentación. Retire
el enchufe de la toma de corriente y
desconecte todos los demás cables
conectados a la balanza.
Para la limpieza, use solo paños
suaves hechos de microfibras, fibras
naturales o sintéticas.¡No utilice paños
abrasivos ni ningún material que
pueda rayar la superficie!
Primero, aplique el agente de limpieza
al paño.¡Nunca aplique el limpiador
directamente sobre el dispositivo!
No utilice productos de limpieza
agresivos (p. Ej., Disolventes, prepa-
rados que contengan cloro, cáusti-
cos y lejías).
No utilice limpiadores abrasivos
ni agentes abrasivos.
Tenga cuidado de que no en-
tre polvo o líquido en el sistema
de pesaje (dentro del dispositivo)
11. DEVICE CLEANING
LIMPIEZA Y MANTENIMIENTO
11.1. Guidelines and precautions
Recomendaciones y advertencias

• GLASS PANES AND COMPONENTS can be cleaned using window cleaner.
• WEIGHING PANS AND STAINLESS STEEL OR ALUMINIUM COMPONENTS can be cleaned using a cloth slightly
soaked in a solution of water and gentle cleanser (e.g. soap or dishwashing liquid).
• OPERATION PANEL AND HOUSING can be cleaned using a cloth slightly soaked in a solution of water and gentle
cleanser (e.g. soap or dishwashing liquid).
• Dry sample leftovers can be removed using either brush or handheld vacuum cleaner.
•Clean components can be dried using soft cloth or dust-free paper towel, with this the remaining moist will be
absorbed.
• Install all the components providing they are completely dry.
Shall it be necessary to disassemble the weighing chamber,
follow the description provided in section 11.3.
• VIDRIO Y ELEMENTOS DE VIDRIO se pueden limpiar con un limpiacristales.
• PLATILLO Y ELEMENTOS DE ACERO INOXIDABLE Y ALUMINIO puede limpiarlo con un paño ligeramente
humedecido con una solución suave de agua y un agente limpiador suave (p. ej., jabón o lavavajillas).
• INDICADOR Y BALANZA puede limpiarlo con un paño ligeramente humedecido con una solución suave de agua
y un agente limpiador suave (p. ej., jabón o lavavajillas).
• Puede eliminar los restos de muestras secas con un cepillo o una aspiradora de mano pequeña.
• Puede secar los elementos limpios con un paño suave y seco o usar una toalla de papel sin polvo para absorber
la humedad restante.
• Instale todas las partes del dispositivo solo después de que estén completamente secas.
Si es necesario desmontar los componentes de la cámara de pesaje, proceda como
se describe en la sección 11.3.
11.2. Cleaning instructions
Consejos para limpiar el dispositivo

1
2 43
Prior disassembling weighing chamber elements make sure the balance is turned off and unplugged
from the mains. When disassembling the elements, use tweezers that come standard with the
instrument.
Press the moldings on the housing and lift the movable element up.
Press the moldings
on the housing and lift
the movable element up.
Now you can take
out the front glass.
Now you can take
out the upper glass.
Asegúrese de que la microbalanza esté apagada y desconectada de la fuente de alimentación antes de des-
montar los componentes de la cámara de pesaje. Utilice pinzas estándar para desmontar los componentes.
Presione los pestillos a los lados del bisel frontal y tire hacia arriba.
Sujete las pestañas del
tablero y tire de él.
Levanta el parabrisas
hacia arriba.
Deslice la tapa de
cristal.
11.3. Weighing chamber elements disassembly
Desmontaje de elementos de la cámara de pesaje
Other manuals for AS X2 PLUS
2
This manual suits for next models
3
Table of contents
Other RADWAG Scale manuals

RADWAG
RADWAG HX5.EX User manual

RADWAG
RADWAG AS series User manual

RADWAG
RADWAG WLC User manual

RADWAG
RADWAG AS X2 PLUS User guide

RADWAG
RADWAG WLT L Series User manual

RADWAG
RADWAG WTC 6 User manual

RADWAG
RADWAG WTC 200 User manual

RADWAG
RADWAG PS X7.M User guide

RADWAG
RADWAG WPW/E User manual

RADWAG
RADWAG PM 5Y User guide

RADWAG
RADWAG WLC User manual

RADWAG
RADWAG C315 Series User manual

RADWAG
RADWAG PS Series User manual

RADWAG
RADWAG MW-01-A User manual

RADWAG
RADWAG HRP User manual

RADWAG
RADWAG WPY User manual

RADWAG
RADWAG XA 4Y.A PLUS User guide

RADWAG
RADWAG WPY/KB series User manual

RADWAG
RADWAG AS R2 User manual

RADWAG
RADWAG AS X2 PLUS User guide